TROUBLESHOOTING
Try the solutions suggested here first in order to avoid the cost of an unnecessary service call.
Nothing will operate
???Is the power outlet properly wired and polarized?
Try another outlet to check for proper wiring and polarity.
???Is the power supply cord unplugged?
Plug into a properly grounded 3 prong outlet.
???Has a household fuse been blown or has the circuit breaker been tripped?
Replace the fuse or reset the circuit.
???Is the main or regulator gas shutoff valve in the off position?
See Installation Instructions.
???Is the range properly connected to the gas supply?
Contact a trained repair specialist or see Installation Instructions.
Surface burners will not operate
???Is this the first time the surface burners have been used?
Turn on any one of the surface burner knobs to release air from the gas lines.
???Is the control knob set correctly?
Push in knob before turning to a setting.
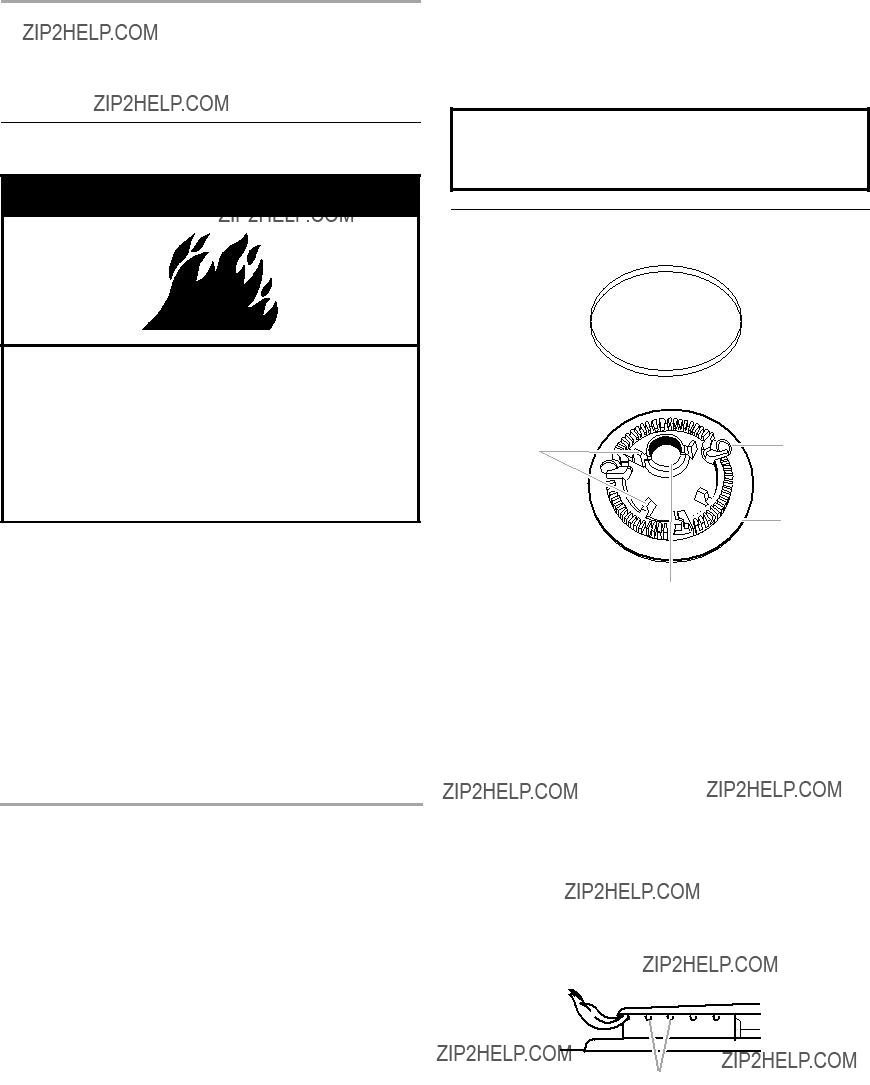
???Are the burner ports clogged?
On sealed burner models, see ???Sealed Surface Burners??? section.
On open burner models, see ???Surface Burners??? section.
Surface burner flames are uneven, yellow and/or noisy
???Are the burner ports clogged?
On sealed burner models, see ???Sealed Surface Burners??? section.
On open burner models, see ???Surface Burners??? section.
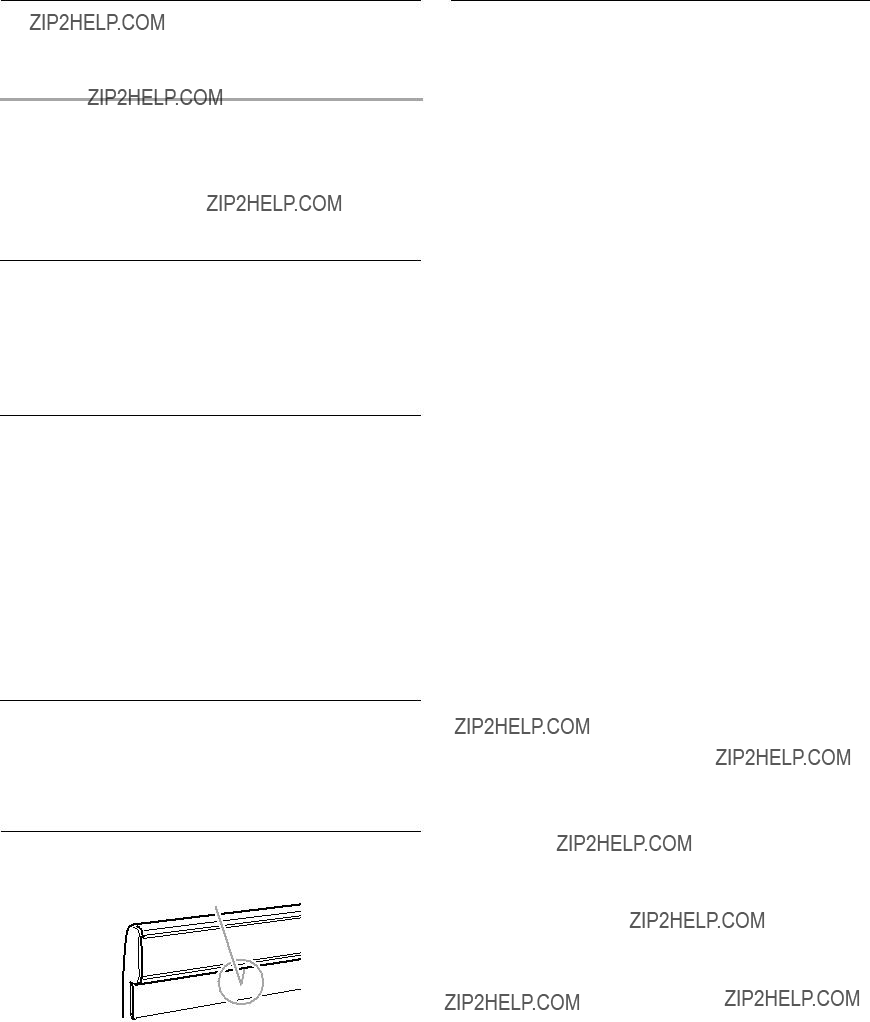
???On models with caps, are the burner caps positioned properly?
See ???Sealed Surface Burners??? section.
???Is the burner damaged?
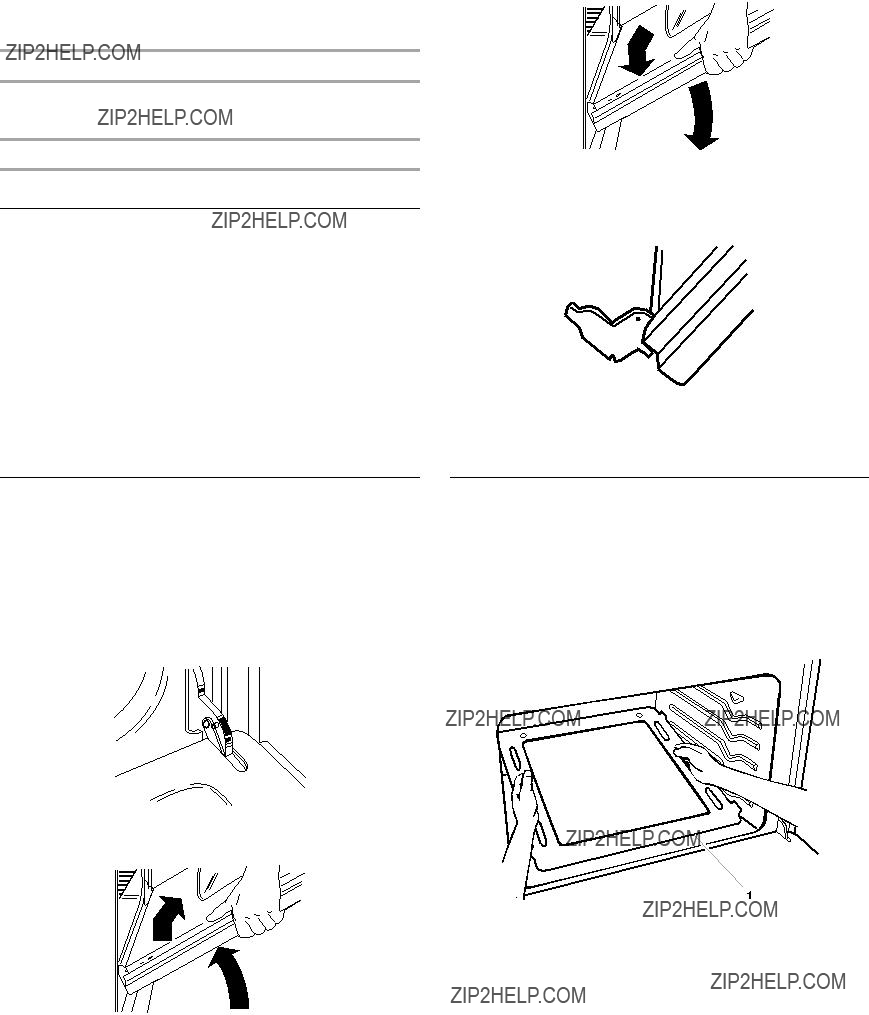
On models with caps, look for warped cap. Place cap, flat side-down, on a flat surface. If cap wobbles noticeably, it is warped. Place cap on different burner for further check of warping. Replace warped cap. Contact a trained repair specialist if the condition does not improve.
???Is the air/gas mixture correct?
Contact a designated service technician to check the air/ gas mixture, or see the Installation Instructions.
???Is propane gas being used?
The appliance may have been converted improperly. Contact a trained repair specialist.
Surface burner makes popping noises
???Is the burner wet?
Let it dry.
Cookware not level on cooktop
???Is the range level?
Level the range. (See the Installation Instructions.)
???Is the proper cookware being used?
Use cookware with a flat bottom. (See ???Cookware??? section.)
Excessive heat around cookware on cooktop
???Is the cookware the proper size?
Use cookware about the same size as the surface cooking area, element or surface burner. Cookware should not extend more than 1 in. (2.5 cm) outside the cooking area.
???Are the right side surface burners rotated toward each other?
See ???Burner Rotation??? section.
Oven will not operate
???Is the power outlet properly wired and polarized?
Try another outlet to check for proper wiring and polarity.
???Is this the first time the oven has been used?
Turn any one of the surface burner knobs on to release air from the gas lines.
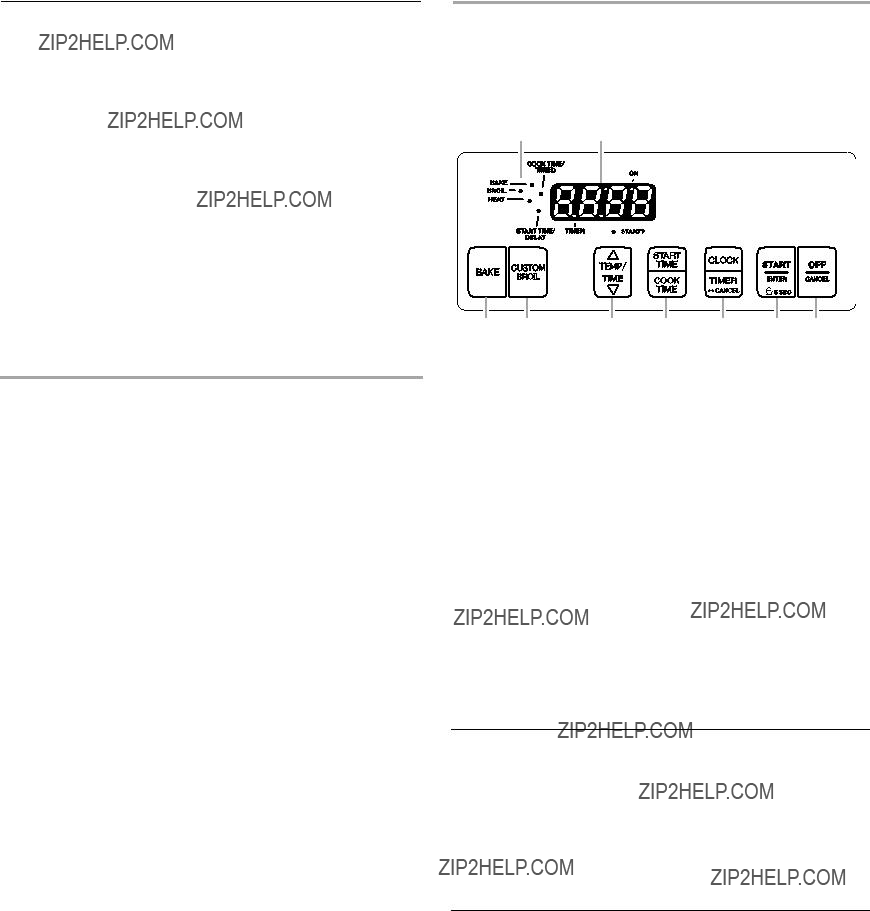
???Is the electronic oven control set correctly?
See ???Electronic Oven Control??? section.
???On some models, is the Oven Lockout set?
See ???Oven Lockout??? section.
???Is the main or regulator gas shutoff in the off position?
Contact a designated service technician or see the Installation Instructions.
Oven makes muffled ticking noise when in use
???This is normal and occurs when the oven burner cycles on and off to hold the set oven temperature.
Oven burner flames are uneven, yellow, or noisy
???Is propane gas being used?
The appliance may have been converted improperly. Contact a trained repair specialist.
???Is the air/gas mixture correct?
Contact a designated service technician to check the air/gas mixture or see the Installation Instructions.
Oven temperature too high or too low
???Does the oven temperature calibration need adjustment?
See ???Oven Temperature Control??? section.
Display shows messages
???Is the display showing ???PF????
There has been a power failure. Touch OFF/CANCEL to clear the display. Reset the clock, if needed. See ???Clock??? section.
???Is the display showing ???F??? followed by a number?
Touch OFF/CANCEL to clear the display. If an ???F??? code appears again, contact a trained repair specialist.
???Has a delay start been set?
See ???Timed Cooking??? section.

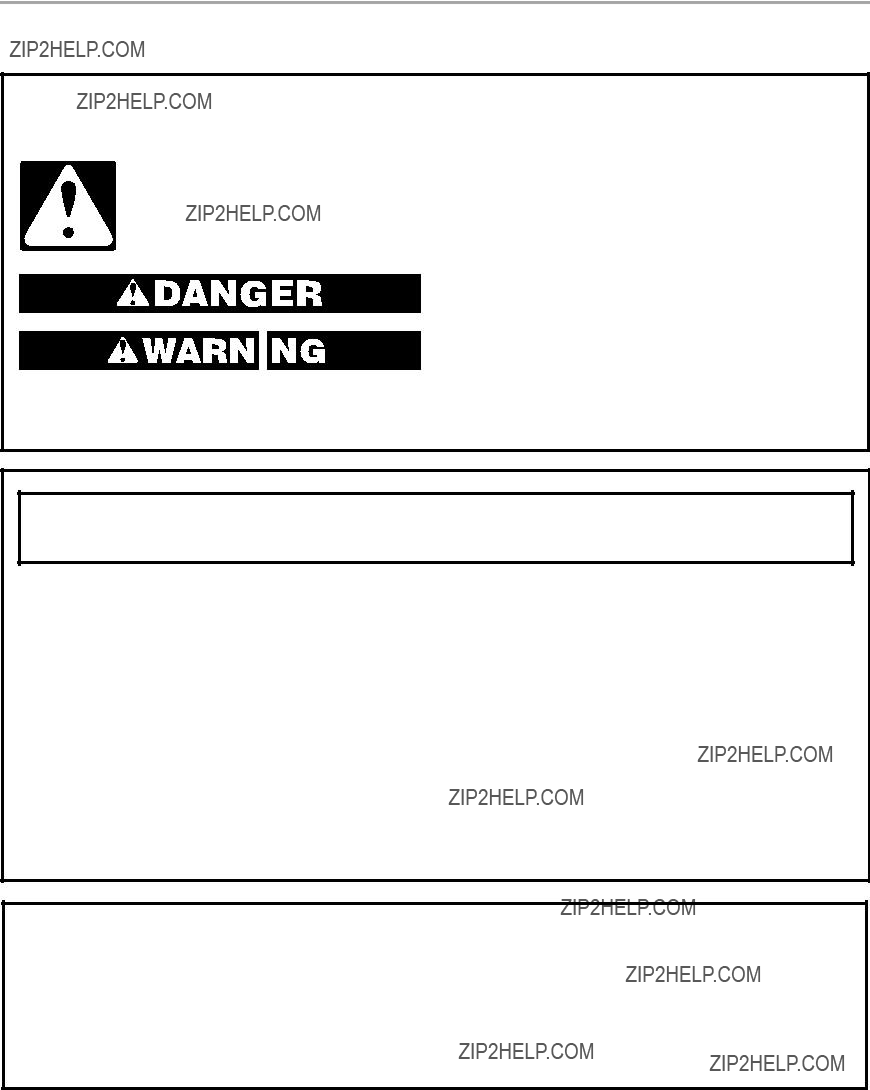
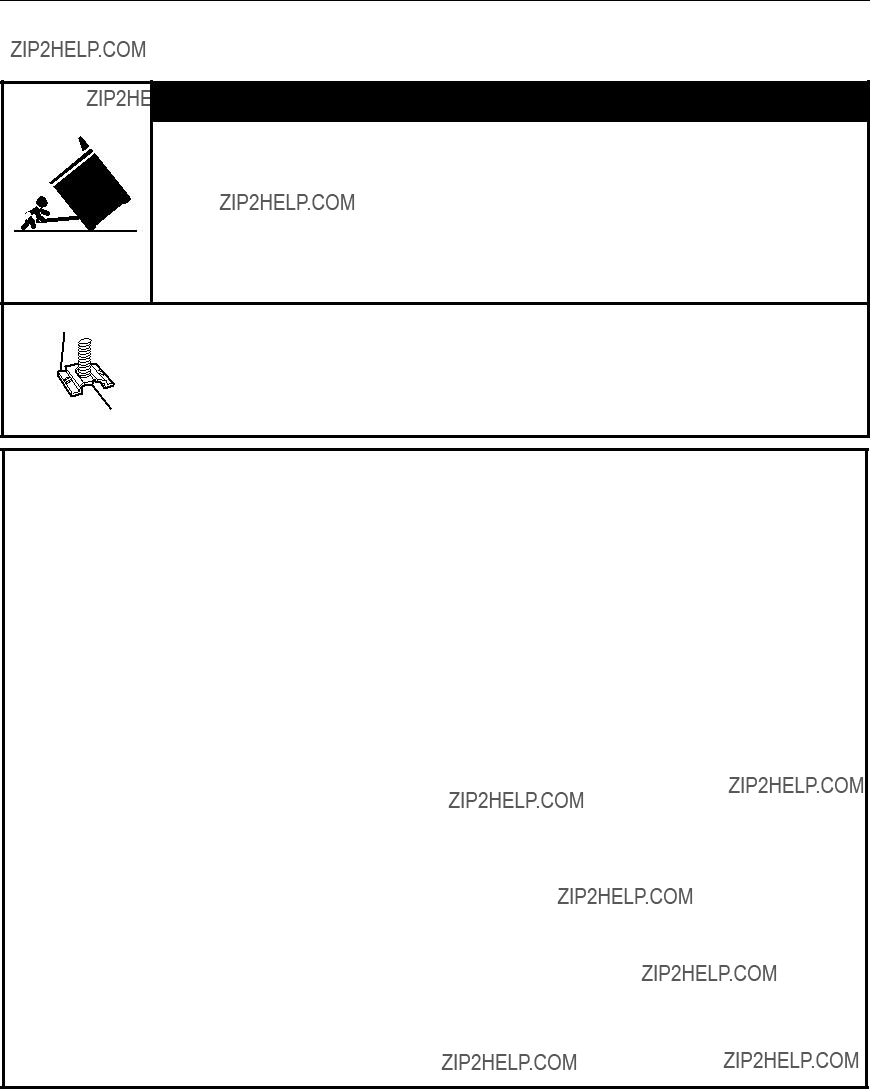
 WARNING
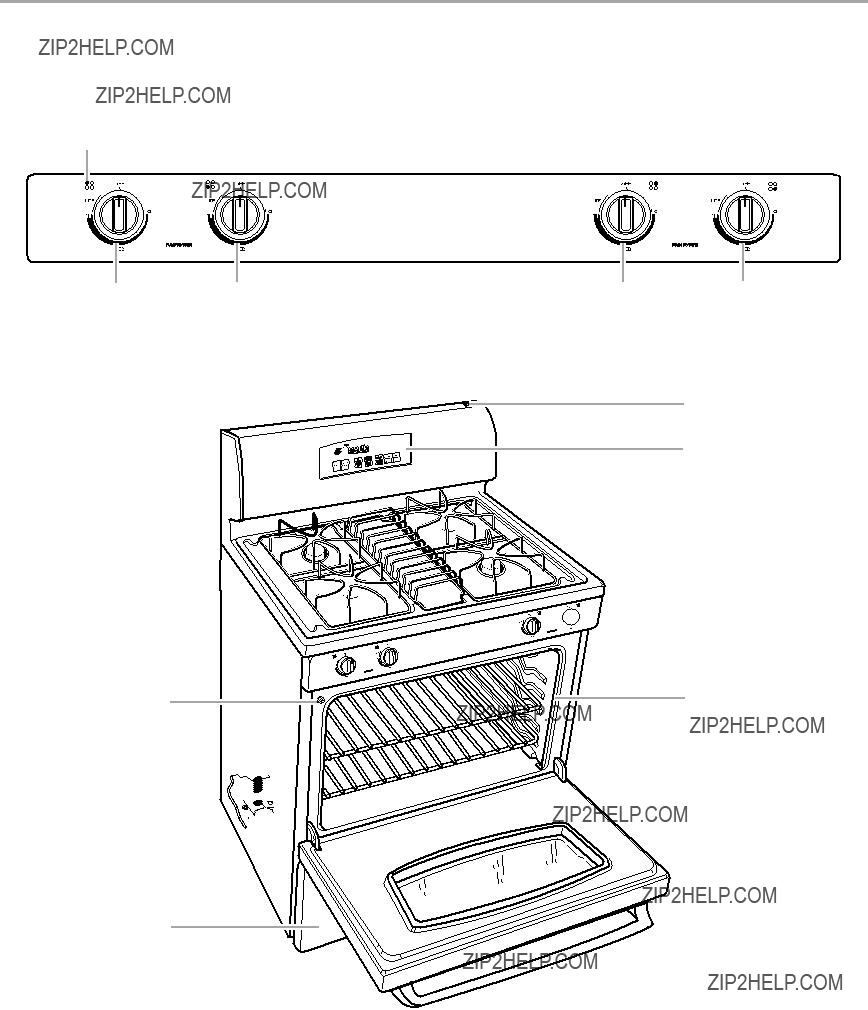
 2
2 


 12
12


 13
13


 WARNING
 1
1


 WARNING


 PELIGRO
 ADVERTENCIA
 ADVERTENCIA
 10
10 2
2 


 12
12


 13
13


 ADVERTENCIA
 1
1


 ADVERTENCIA


