Starting/Stopping the Dehumidifier
NOTE: Before turning on the dehumidifier, be sure that the bucket is empty and fits all the way into the dehumidifier.
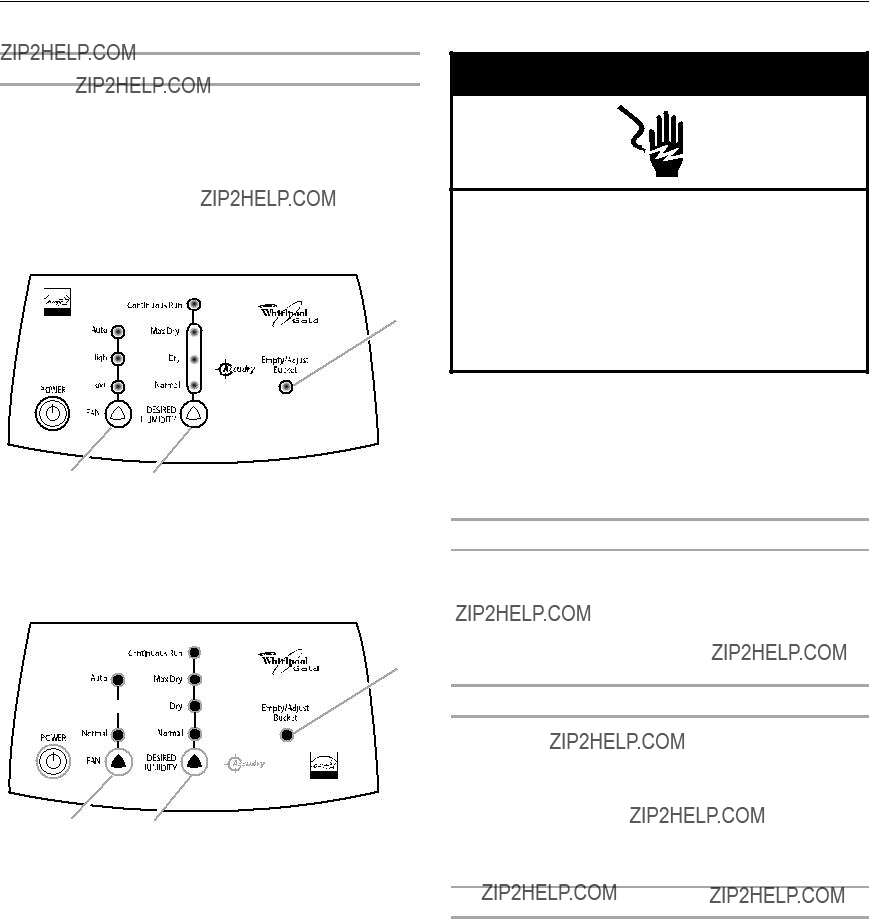
Control Type 1
NOTES:
???Minimum operating temperature is 65??F (18??C) for model AD25B.
???Minimum operating temperature is 55??F (13??C) for model AD25D.
AB
A.Light glows, indicating the bucket is full or is not in correct position.
B.Adjusts amount of moisture removed from room.
Control Type 2
NOTE: Minimum operating temperature is 55??F (13??C).
AB
C
A.Light glows, indicating the bucket is full or is not in correct position.
B.Adjusts amount of moisture removed from room.
C.Selects fan speed.
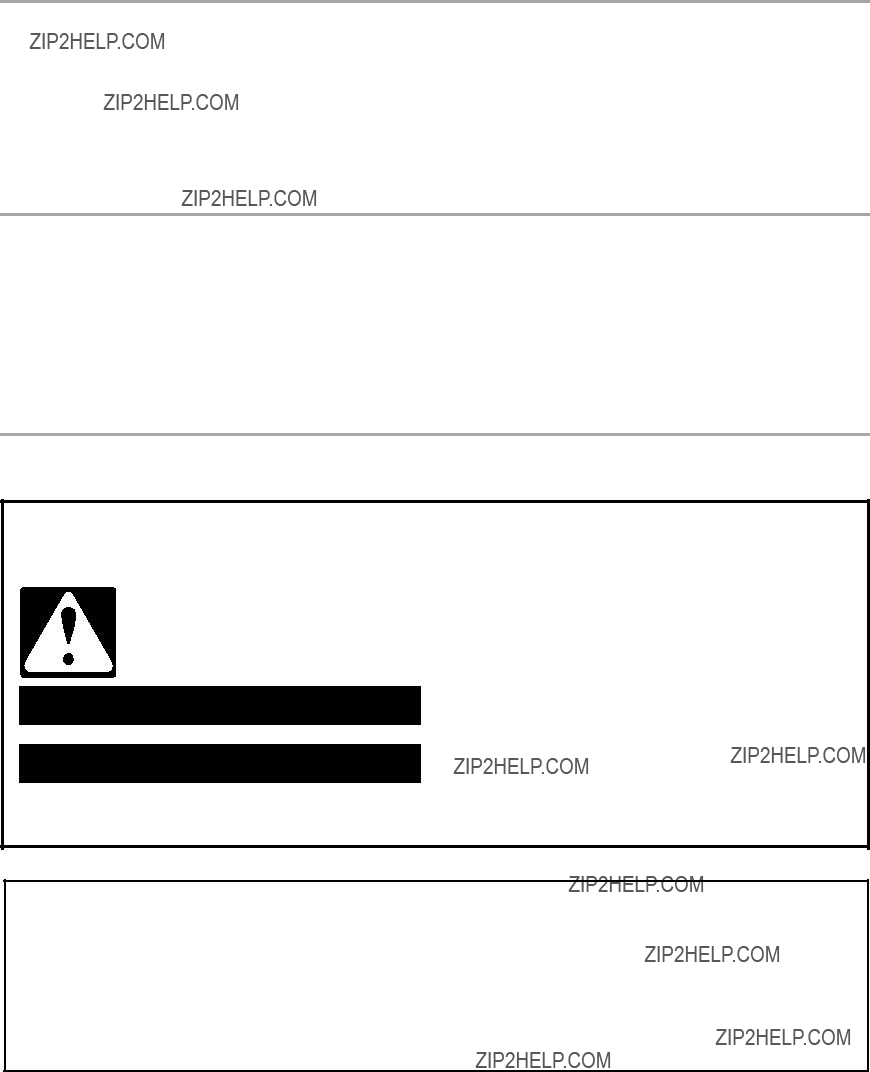
 WARNING
Electrical Shock Hazard
Plug into a grounded 3 prong outlet.
Do not remove ground prong.
Do not use an adapter.
Do not use an extension cord.
Failure to follow these instructions can result in death, fire, or electrical shock.
1.Plug into a grounded 3 prong outlet.
2.To turn on dehumidifier, turn DRYNESS CONTROL clockwise.
IMPORTANT: If the Empty/Adjust Bucket light comes on, the dehumidifier will not operate. Empty or adjust bucket.
3.To turn off dehumidifier, turn DRYNESS CONTROL counterclockwise to OFF.
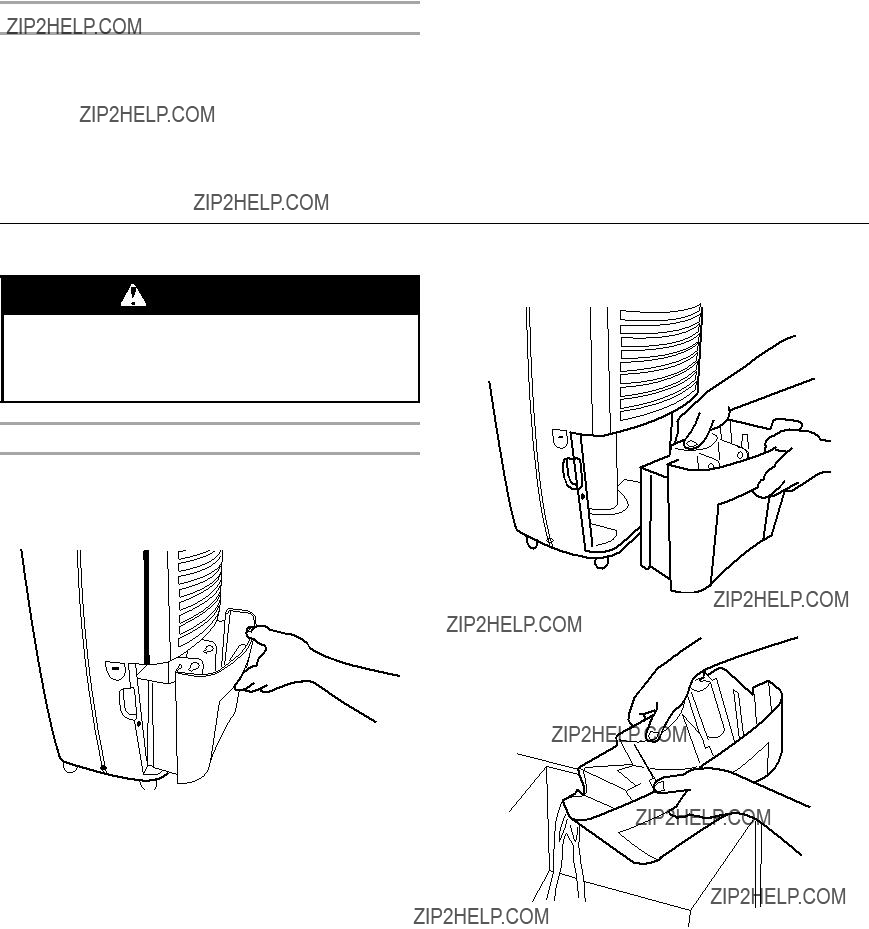
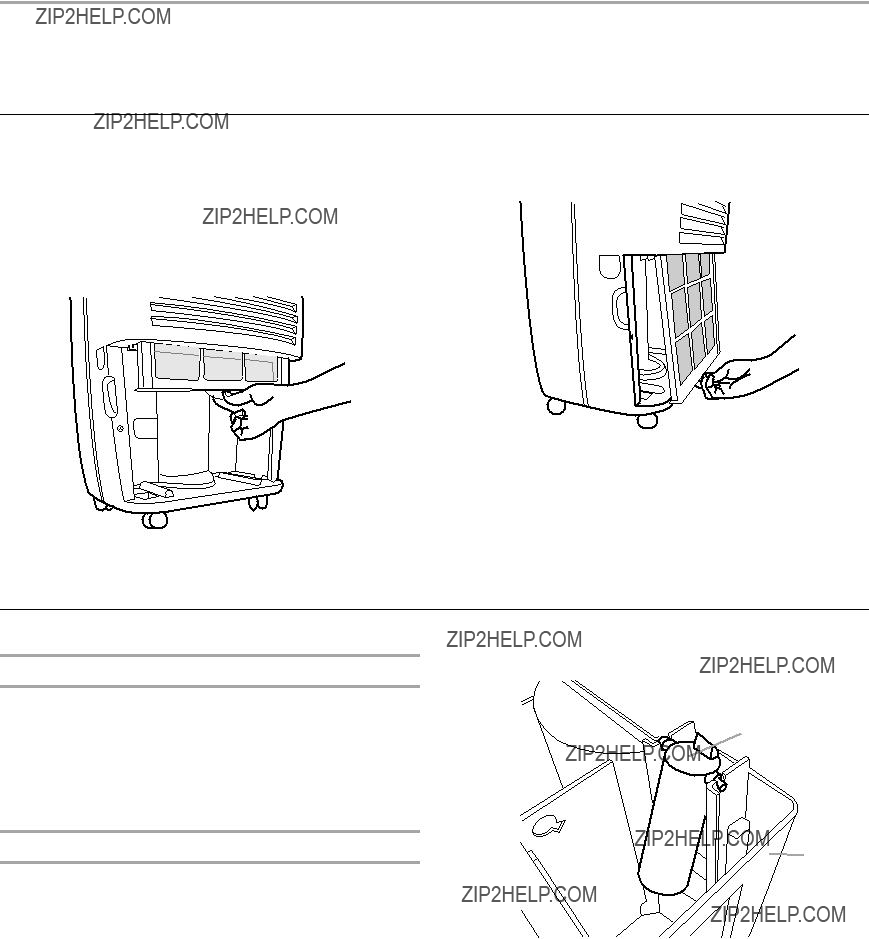
Empty/Adjust Bucket Light
If this light is on, the dehumidifier is not running. This light indicates that you need to check:
???If the bucket is full, empty and reinstall bucket.
???If the bucket is not in position, remove the bucket and reinstall. Make sure the bucket fits all the way into the dehumidifier and the light is off, or dehumidifier will not run.
Fan Speed (Control Type 2 Models Only)
The Fan Speed controls fan operation
???High???for faster moisture removal
???Low???for quieter moisture removal
Dryness Control
The Dryness Control regulates the amount of moisture in the room. Turn the control knob clockwise for more drying. Turn the control knob counterclockwise for less drying. Turn the control knob to ???Dry??? to maintain average humidity conditions.
NOTES:
???For the first few days of use, turn the DRYNESS CONTROL clockwise to CONTINUOUS RUN to remove extra moisture from the furnishings as well as the room air.
???For all models except AD25B, the Deicer will turn off the compressor if a low temperature condition exists. Turning the Dryness Control will not increase or decrease the amount of moisture removed. Compressor operation will resume when the low temperature condition no longer exists.
 DANGER
 WARNING
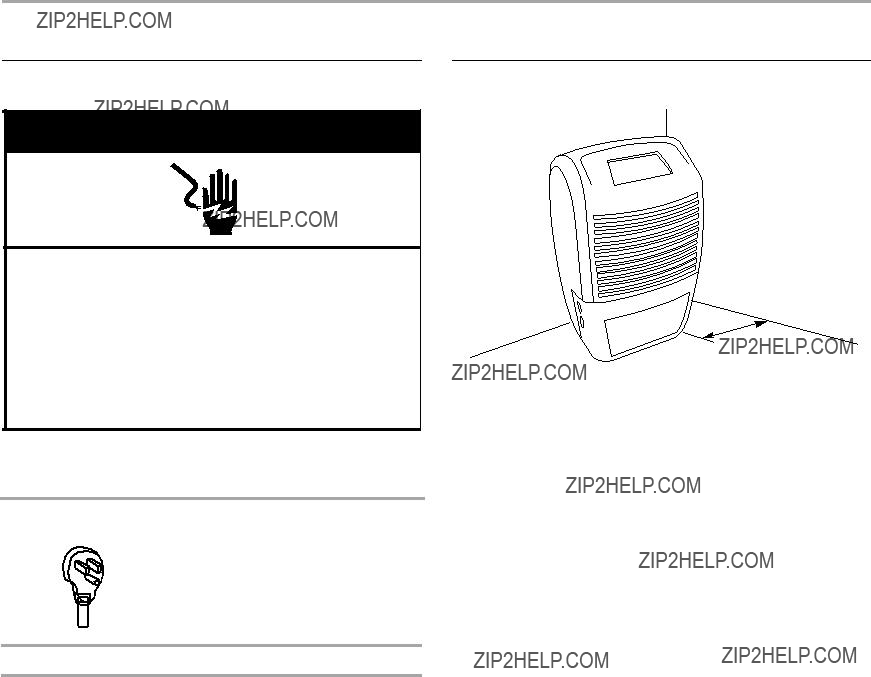
 WARNING
 WARNING
 Turbo
Turbo
 WARNING
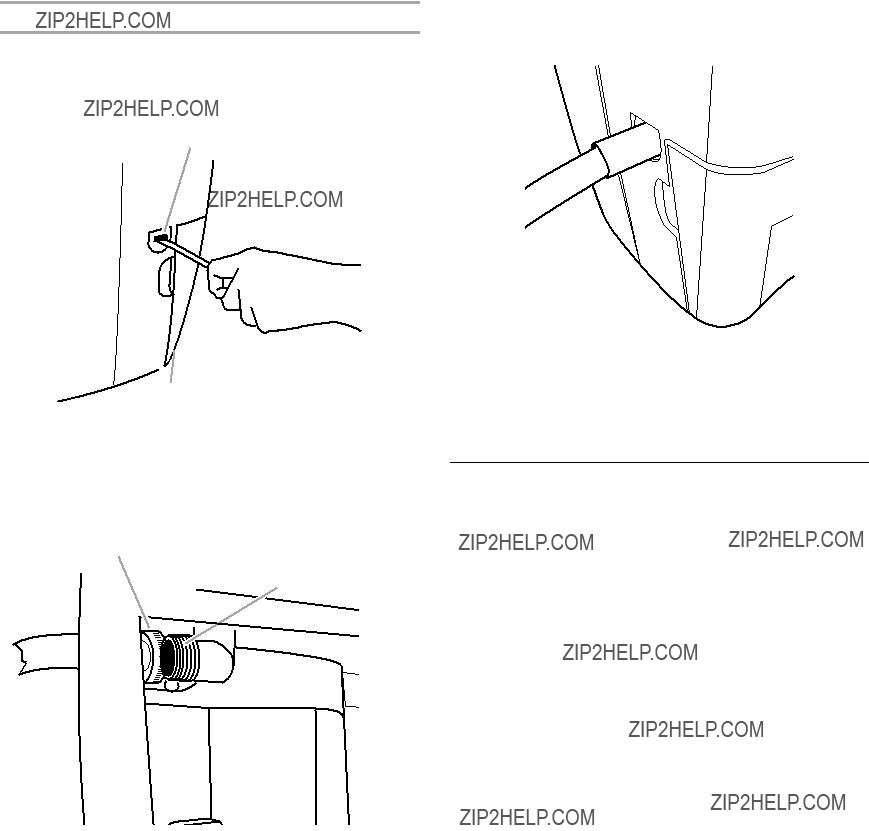

 WARNING

 PELIGRO
 ADVERTENCIA
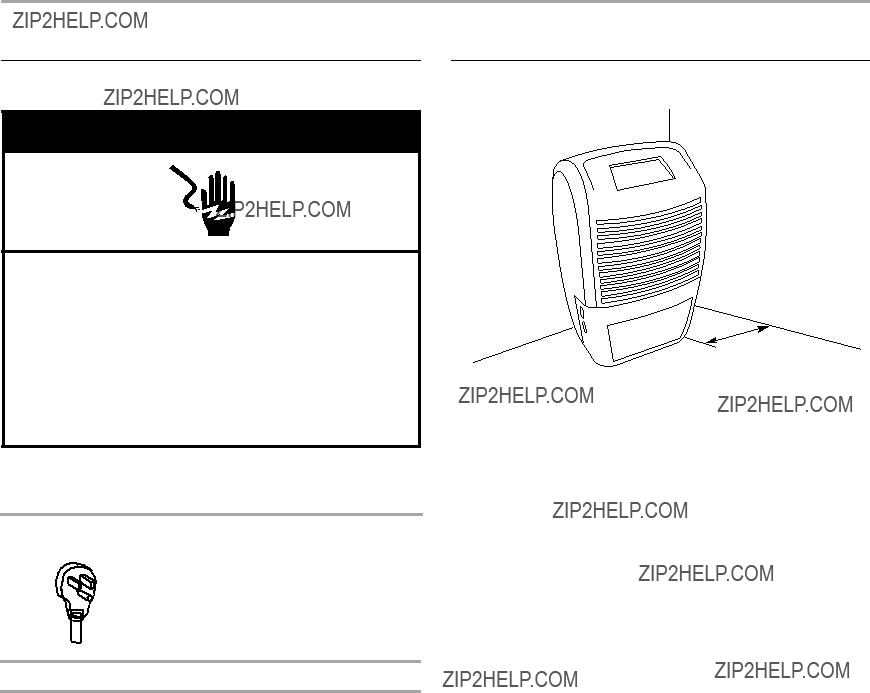
 ADVERTENCIA
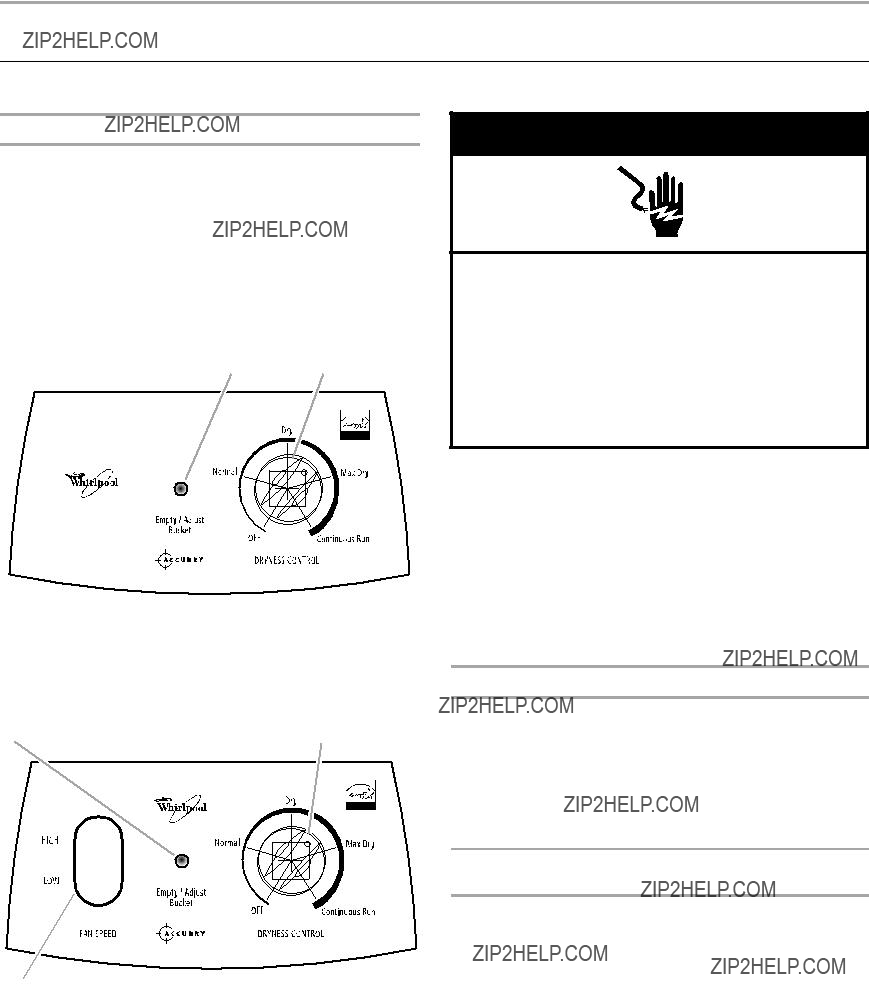
 ADVERTENCIA
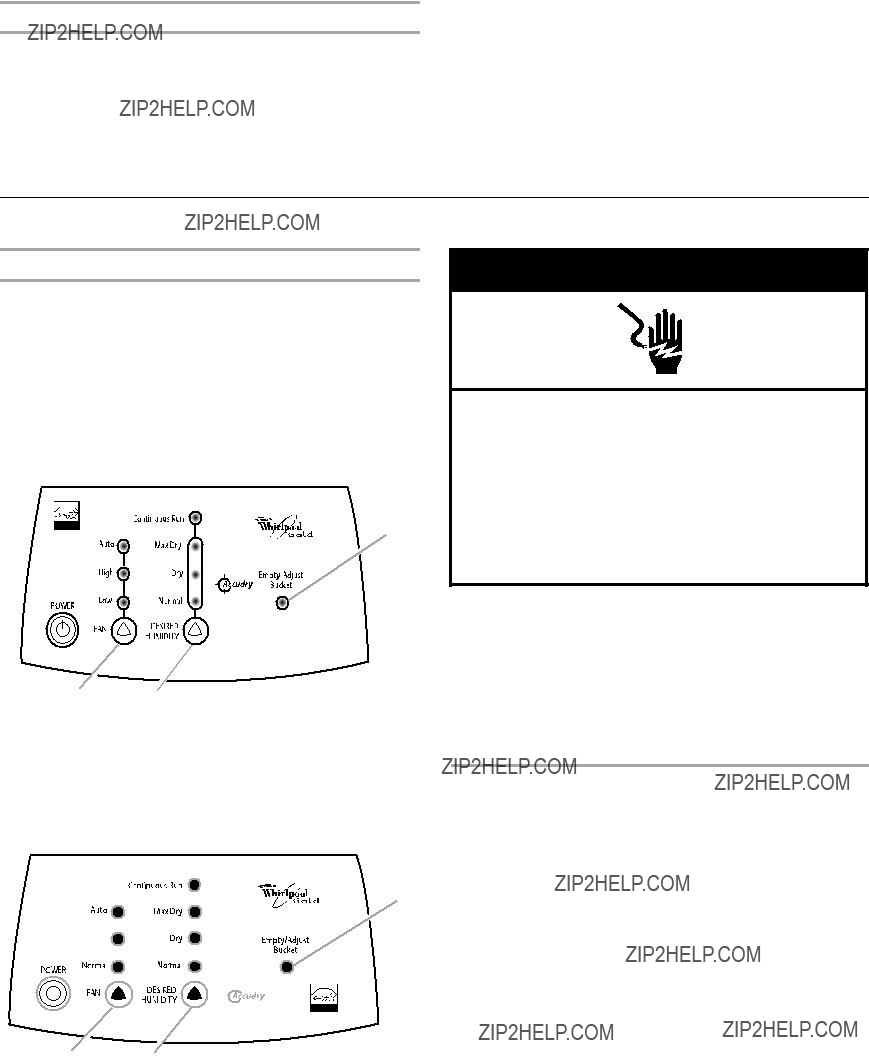
 ADVERTENCIA
 ADVERTENCIA
 ADVERTENCIA