WARNING
To prevent fire or shock hazard, do not expose the unit to rain or moisture.
RISK OF ELECTRIC SHOCK
DO NOT OPEN
CAUTIO : TO REDUCE THE RISK OF ELECTRIC SHOCK,
DO NOT REMOVE COVER (OR BACK).
NO USER-SERVICABLE PARTS INSIDE.
REFER SERVICING TO QUALIFIED SERVICE PERSONNEL.
This symbol is intended to alert the user to the presence of unisulated "dangerous voltage" within the
products enclosure that may be of sufficient magnitude to constitute a risk of electric shock to persons.
This symbol is intended to alert the user to the presence of important operating and maintenance
(servicing) instructions in the literature accompanying the appliance.
CAUTION (SLV-998HF)
To prevent electric shock, do not use this polarized AC plug with an extension cord, receptacle or other outlet unless the blades can be fully inserted to prevent blade exposure.
WARNING
The AC power cord must be changed at a qualified service shop.
Precautions
Safety
*For SLV-998HF/998HF MX, operate the unit only on 120 V AC, 60 Hz. For SLV-998HF PX/998HF CS, operate the unit on 110 to 240 V AC, 50/60 Hz.
*If anything falls into the cabinet, unplug the unit and have it checked by qualified personnel before operating it any further.
*This unit is not disconnected from the AC power source (mains) as long as it is connected to the wall outlet, even if the unit itself has been turned off.
*(SLV-998HF only) One blade of the plug is wider than the other for the purpose of safety and will fit into the power outlet only one way. If you are unable to insert the plug fully into the outlet, contact your Sony dealer.
*Unplug the unit from the wall outlet if you do not intend to use it for an extended period of time. To disconnect the cord, pull it out by the plug, never the cord.
Installing
*Allow adequate air circulation to prevent internal heat buildup.
*Do not place unit on surfaces (rugs, blankets, etc.) or near materials (curtains, draperies) that may block the ventilation slots.
*Do not install the unit near heat sources such as radiators or air ducts, or in a place subject to direct sunlight, excessive dust, mechanical vibration or shock.
*Do not install the unit in an inclined position. It is designed to be operated in a horizontal position only.
*Keep the unit and cassettes away from equipment with strong magnets, such as microwave ovens or large loudspeakers.
*Do not place heavy objects on the unit.
*If the unit is brought directly from a cold to a warm location, moisture may condense inside the VCR and cause damage to the video head and tape.
When you first install the unit, or when you move it from a cold to a warm location, wait for about one hour
before operating the unit.
Information
For customers in the USA (SLV-998HF/ 998HF PX
You are cautioned that any changes or modifications not expressly approved in this manual could void your authority to operate this equipment.
This equipment has been tested and found to comply with the limits for a Class B digital device, pursuant to Part 15 of the FCC Rules. These limits are designed to provide reasonable protection against harmful
interference in a residential installation. This equipment generates, uses, and can radiate radio frequency
energy and, if not installed and used in accordance with the instructions, may cause harmful interference to radio communications. However, there is no guarantee that interference will not occur in a particular installation. If this equipment does cause harmful interference to radio or television reception, which can be determined by turning the equipment off and on, the user is encouraged to try to correct the interference by one or more of the following measures:
*Reorient or relocate the receiving antenna.
*Increase the separation between the equipment and receiver.
*Connect the equipment into an outlet on a circuit different from that to which the receiver is connected.
*Consult the dealer or an experienced radio/TV technician for help.
Caution
Television programs, films, video tapes and other materials may be copyrighted. Unauthorized recording of such material may be contrary to the provisions of the copyright laws. Also, use of this recorder with cable television transmission may require authorization from the cable television transmission and/or program owner.


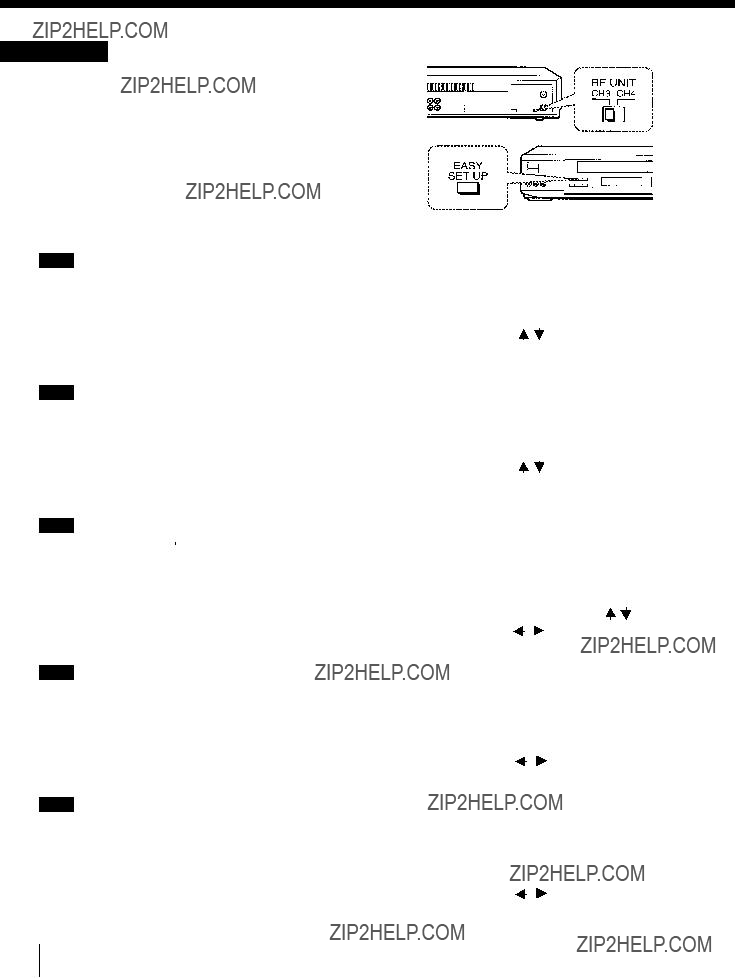
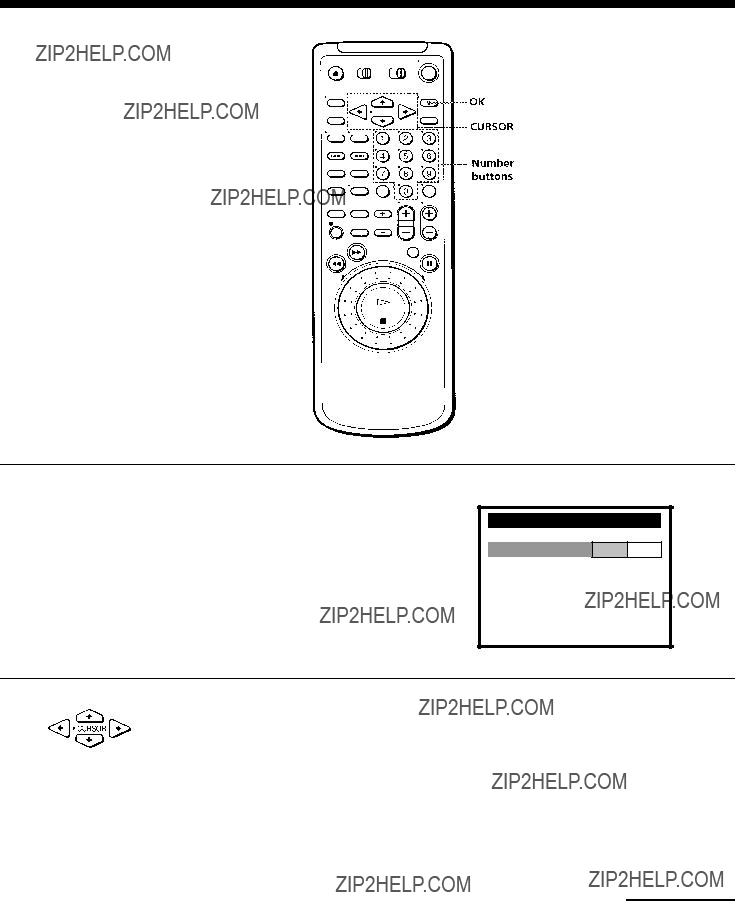
 to select an item, then push OK


 to enter the ZIP/ POSTAL CODE in your area and press OK. (You can also use the number buttons to enter the
 For details, see page 40.


 to enter the ZIP / POSTAL CODE in your area and press OK. (You can also use the number buttons to enter the


 to enter the ZIP / POSTAL CODE in your area and press OK. (You can also use the number buttons to enter the


 to enter the ZIP / POSTAL CODE in your area and press OK. (You can also use the number buttons to enter the
 . For details, see page 40.


 to select an item, then push OK
 to select MANAL
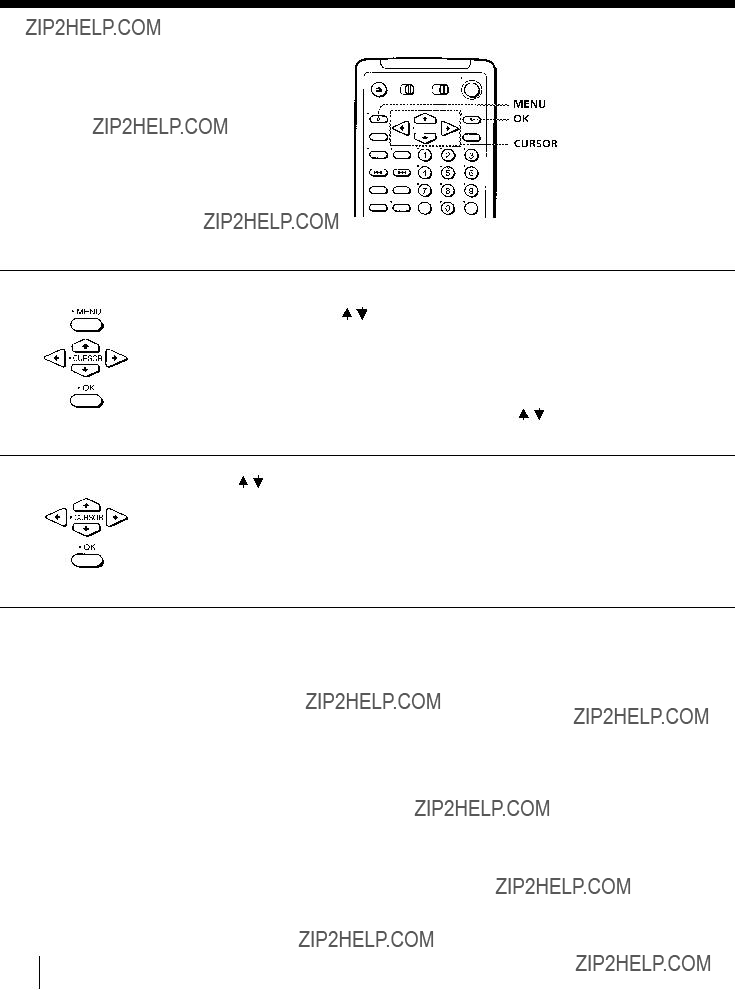

 to move the cursor to CLOCK SET and press OK.
 to select

 to select
 to select NO for
 ATLANTIC
 EASTERN
  CENTRAL
 PACIFIC
  ALASKA
 HAWAII
  AUTO
AUTO

 to move the cursor to CLOCK SET and press OK.
 to select Then push OK
 to select MANUAL, then press OK.
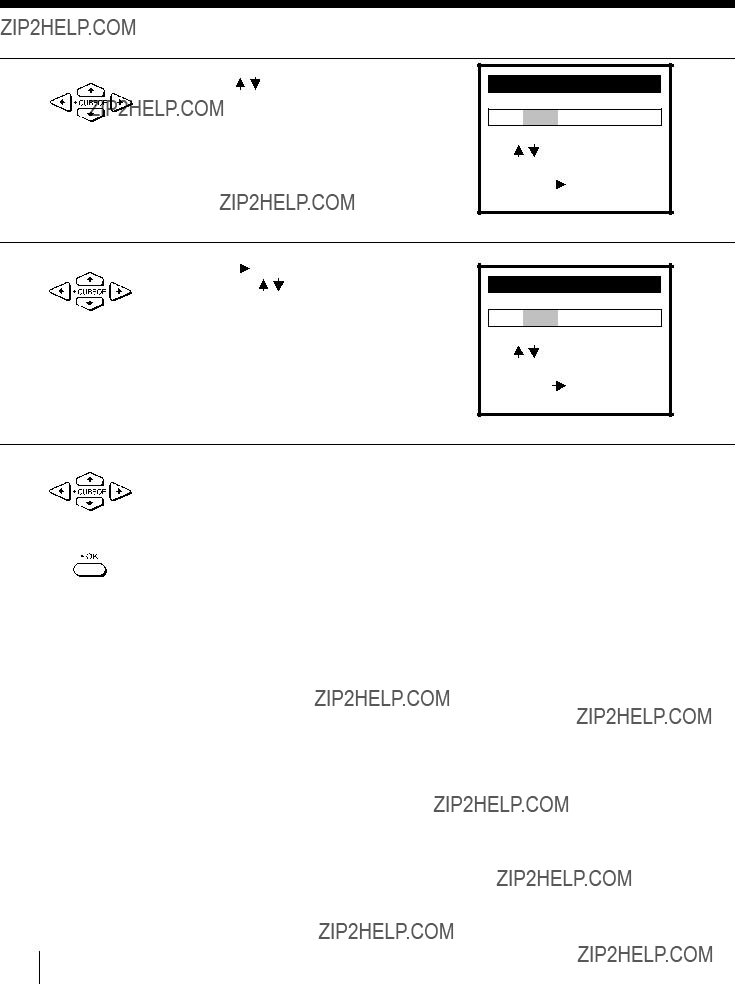

 to move the cursor to CABLE BOX CONTROL and press OK.

 to select the output channel for the cable box, then press OK.