\\Miyoshi-win\data1 (k)\@ALAYA\DPF-D830\IM\-11_GB\0817M_4262215111DPFD830U2_GB\020REG.fm Master: Right
010COV.book Page 5 Tuesday, August 17, 2010 2:37 PM
Read this before using
Notes on playback
Connect the AC adaptor to an easily accessible AC outlet. Should you notice an abnormality in it, disconnect it from the AC outlet immediately.
Notes on copyrights
Duplication, edition, or printing of a CD, TV programs, copyrighted materials such as pictures or publications, or any other materials except for your own recording or creation is limited to private or domestic use only. Unless you hold copyright or have permission of copyright holders for the materials to be duplicated, use of those materials beyond this limit may infringe the provisions of the copyright law and be subject to the copyright holders claim for damages. When using photo images with this digital photo frame, pay special attention not to infringe the provisions of the copyright law. Any unauthorized use or modification of other???s portrait may also infringe their rights.
For some demonstrations, performances, or exhibits, photography may be forbidden.
Recording contents are not guaranteed
Sony shall assume no responsibility for any accidental or consequential damages or loss of the recording contents which may be caused by use or malfunction of the digital photo frame or memory card.
Backup recommendations
To avoid potential risk of data loss caused by accidental operation or malfunction of the digital photo frame, we recommend that you save a backup copy of your data.
Notes on LCD screen
???Do not press against the LCD screen. The screen may be discolored and that may cause a malfunction.
???Exposing the LCD screen to direct sunlight for a long period may cause malfunctions.
???The LCD screen is manufactured using extremely high-precision technology, so over 99.99% of the pixels are operational for effective use. However, there may be some tiny black points and/or bright points (white, red, blue or green in color) that constantly appear on the LCD screen. These points are normal in the manufacturing process and do not affect the viewing in any way.
???Images may trail across on the LCD screen in a cold location. This is not a malfunction.
5 GB

 010COV.book Page 2 Tuesday, August 17, 2010 2:37 PM


 Remote sensor
 (Enter) buttons
 USB mini B connector (page 29)
 ) button
 ) button


 ) button


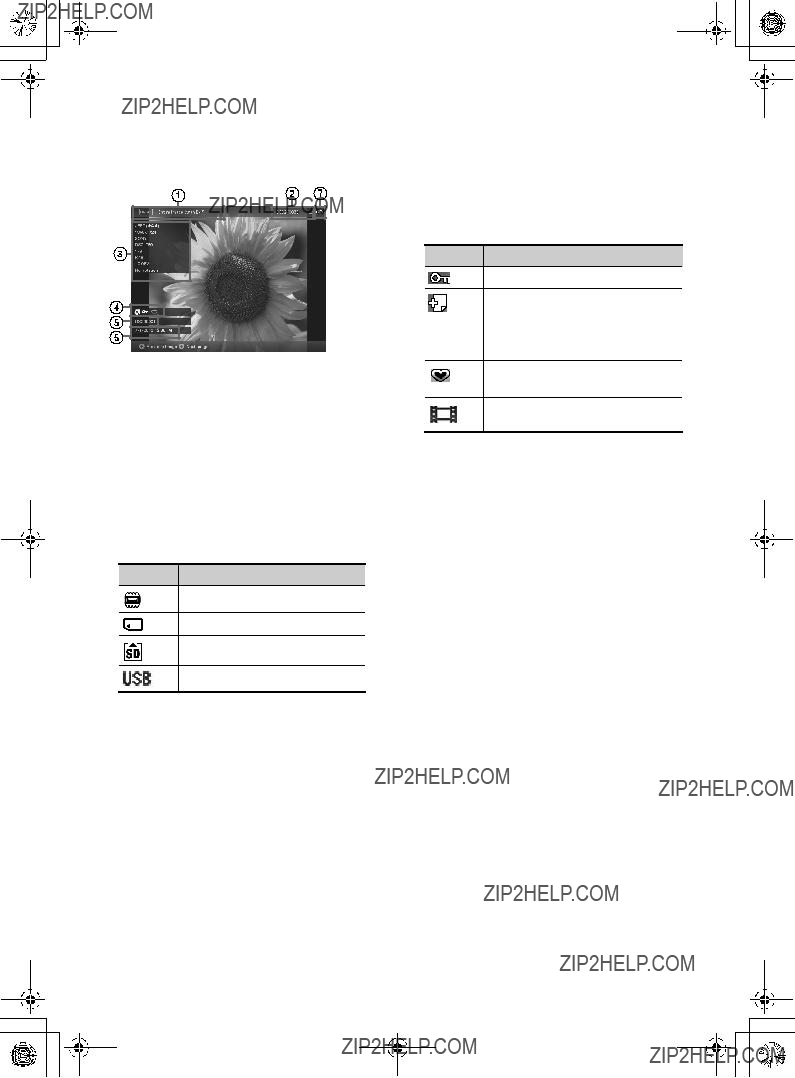
 mark is displayed in the upper right of the screen when the photo frame is in use during charging.
 (Settings) tab.
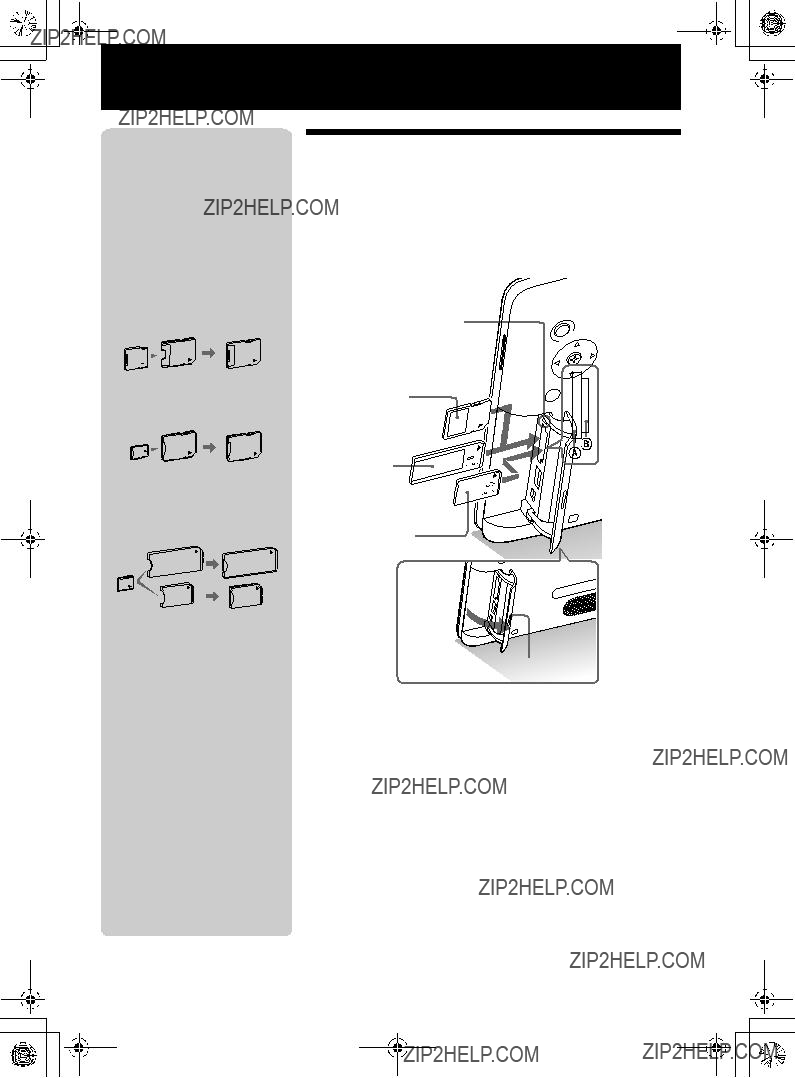


 (INDEX).
 (Settings) tab with
  (Slideshow) on the view mode screen, the music file with a check mark (
 (Settings) tab with
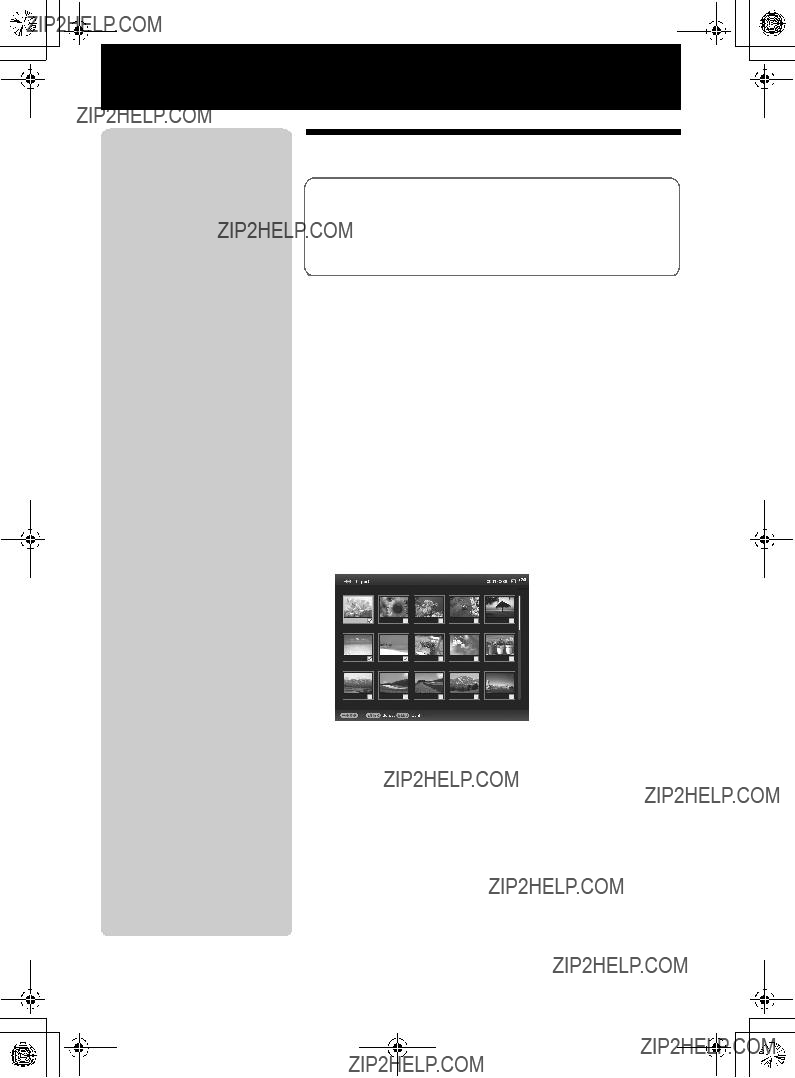
 (Editing) tab.
 (Editing) tab.
 (Editing) tab.
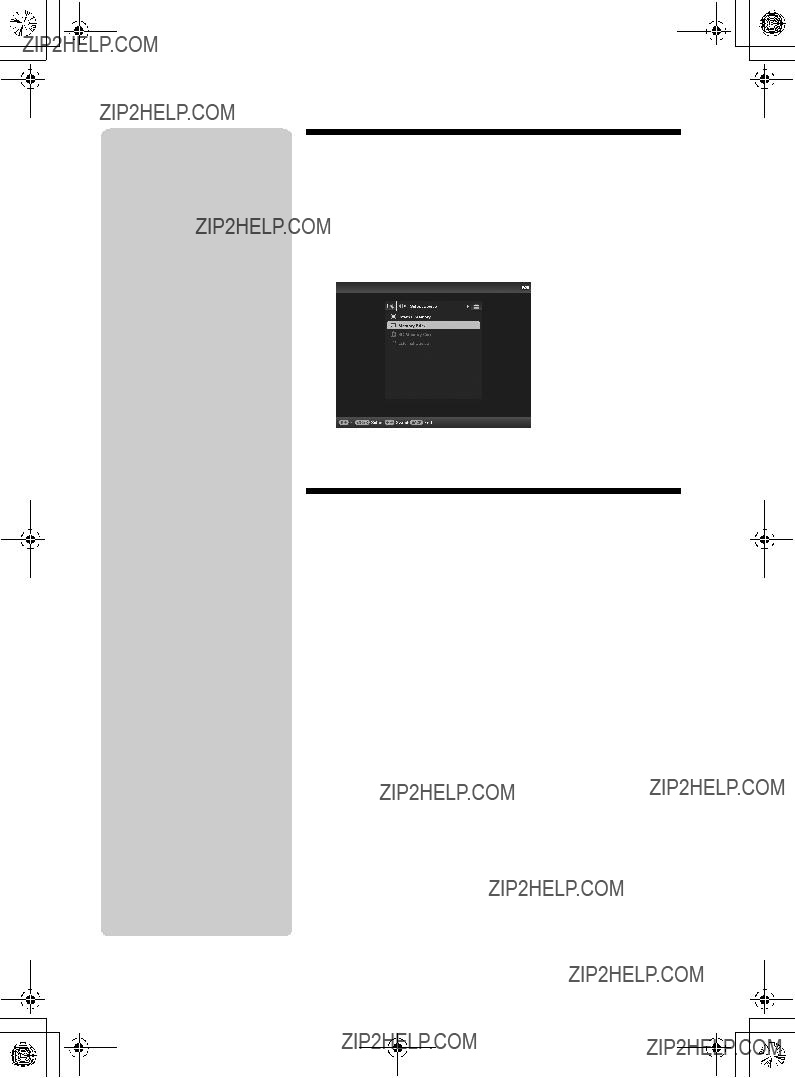
 (Select device) tab.
 (Select device) tab with
  (Editing) tab,
  (zoom in) on the remote control in Single view mode. To reduce an enlarged image, press
  (zoom out).
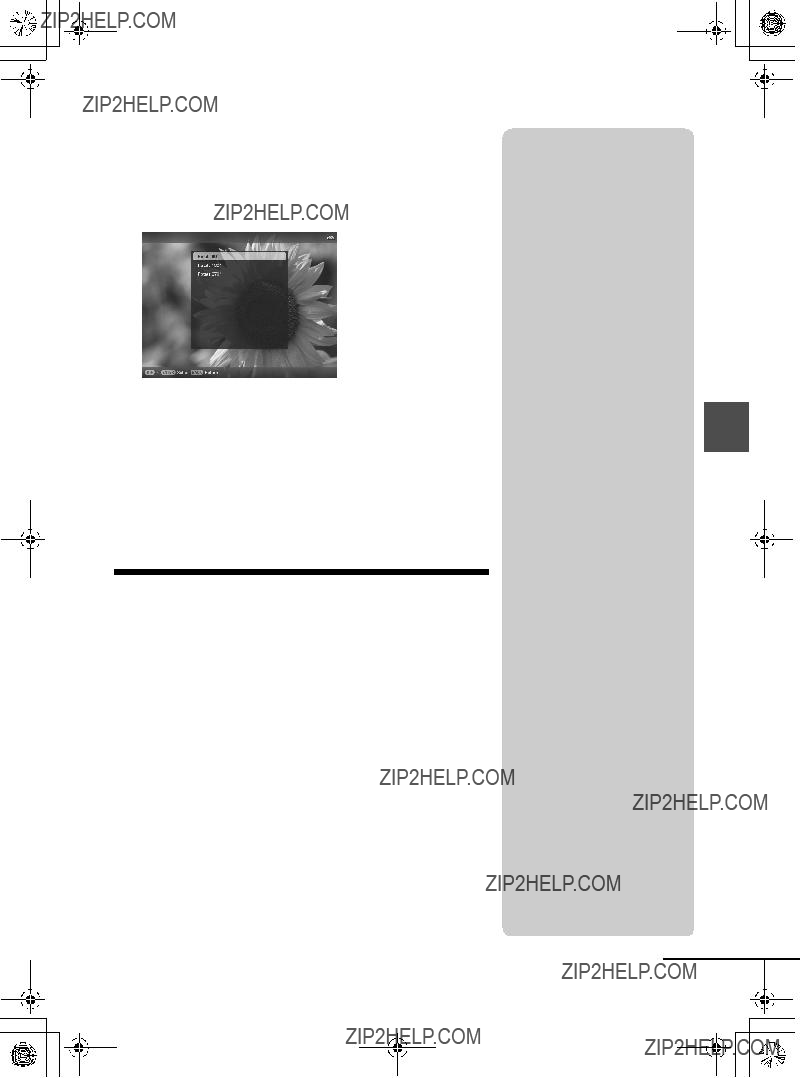
 (Editing) tab,
  (ROTATE) on the remote control. The image rotates 90 degrees counterclockwise every time you press the button.
 (Settings) tab.

 (Settings) tab.
 (Settings) tab only.


 12 V, 1.5 A
 ,
, 
 , ???Memory Stick???,


 , ???Memory Stick Duo???,


 , ???MagicGate


 , ???Memory Stick PRO


