Specifications
System
Laser
Semiconductor laser Format
VHS NTSC standard Video recording system
Rotary head helical scanning FM system Video heads
Double azimuth four heads Video signal
NTSC color, EIA standards Tape speed
SP: 33.35 mm/s (1 3 8 inches/s)
EP: 11.12 mm/s ( 7 16 inches/s)
LP: 16.67 mm/s ( 11 16 inches/s), playback only
Maximum recording/playback time
8 hrs. in EP mode (with T-160 tape) Rewind time
Approx. 1 min (with T-120 tape)
Tuner section
Channel coverage VHF 2 to 13 UHF 14 to 69
CATV A-8 to A-1, A to W, W+1 to W+84 Antenna
75-ohm antenna terminal for VHF/UHF
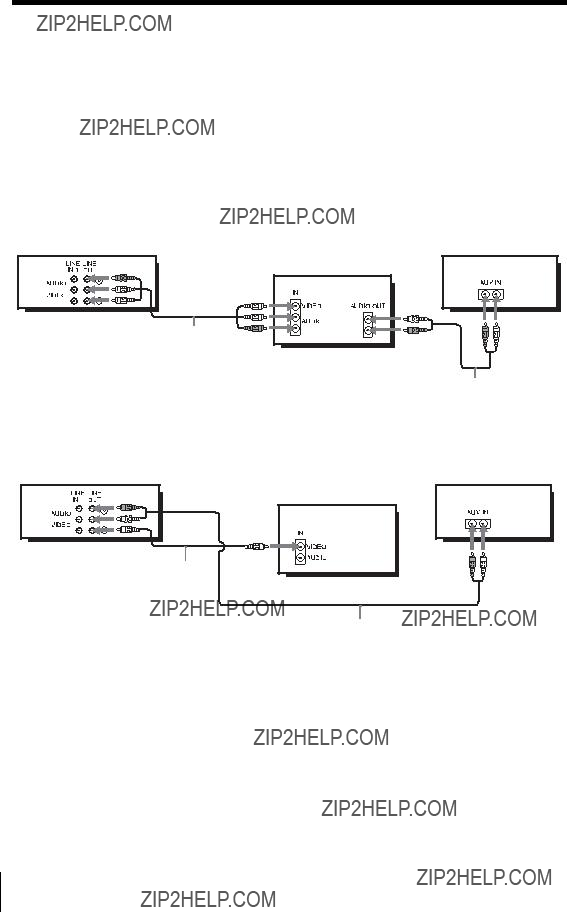
Inputs and outputs
LINE IN 1 and LINE-2 IN
VIDEO IN, phono jack (1 each)
Input signal: 1 Vp-p, 75 ohms, unbalanced, sync negative
AUDIO IN, phono jacks (2 each) Input level: 327 mVrms
Input impedance: more than 47 kilohms
LINE OUT
VIDEO OUT, phono jack (1)
Output signal: 1 Vp-p, 75 ohms, unbalanced, sync negative
AUDIO OUT, phono jacks (2) Standard output: 327 mVrms Load impedance: 47 kilohms
Output impedance: less than 10 kilohms
DIGITAL OUT
OPTICAL, Optical output jack ???18 dBm (wave length: 660 nm) COAXIAL, phono jack
Output signal: 0.5 Vp-p, 75 ohms
COMPONENT VIDEO OUT (Y, Pb, Pr) Phono jack
Y: 1.0 Vp-p/Pb, Pr: 0.7 Vp-p, 75 ohms
S-VIDEO OUT
4-pin, mini-DIN jack
Y: 1.0 Vp-p, unbalanced, sync negative
C: 0.286 Vp-p, load impedance 75 ohms
Timer section
Clock
Quartz locked Timer indication
12-hour cycle Timer setting
8 programs (max.)
General
Power requirements 120 V AC, 60 Hz
Power consumption 25 W
Power back-up
Back-up duration: 0 min Operating temperature
0??C to 45??C (32??F to 113??F) Storage temperature
???20??C to 60??C (???4??F to 140??F) Operating humidity
25% to 80%
Dimensions including projecting parts and controls (w/h/d)
Approx. 430 ?? 85 ?? 287 mm (Approx. 17 ?? 3.4 ?? 11.5 inches)
Mass
Approx. 3.6 kg (Approx. 7.9 lbs)
Supplied accessories
Remote commander (1) Size AA (R6) batteries (2)
75-ohm coaxial cable with F-type connectors (1) Audio/video cord (pinplug ??3 y pinplug ??3) (1)
Design and specifications are subject to change without notice.
ENERGY STAR?? is a U.S. registered mark.
As an ENERGY STAR?? Partner, Sony Corporation has determined that this product meets the ENERGY STAR?? guidelines for energy efficiency.


 C
C C
C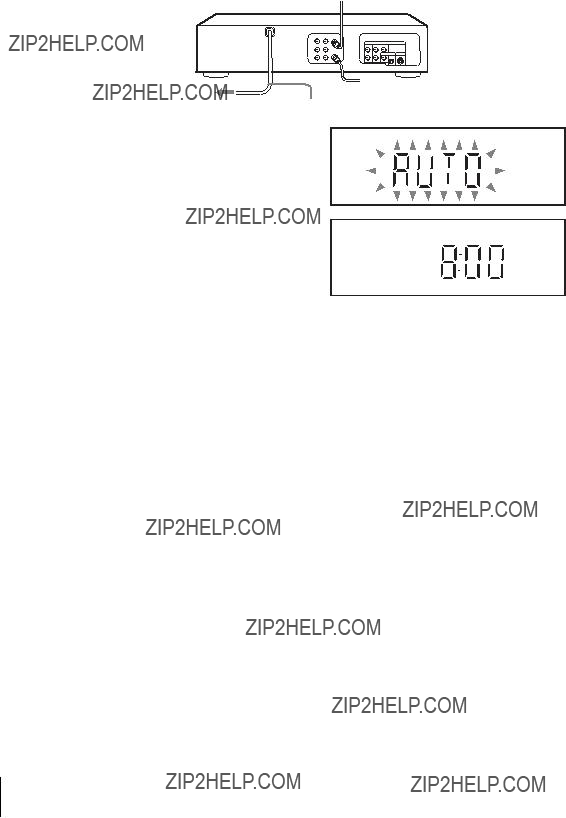


 A Match the type of connector on your TV: A, B, or C.


 ENTER
ENTER 
 RETURN
 SET UP
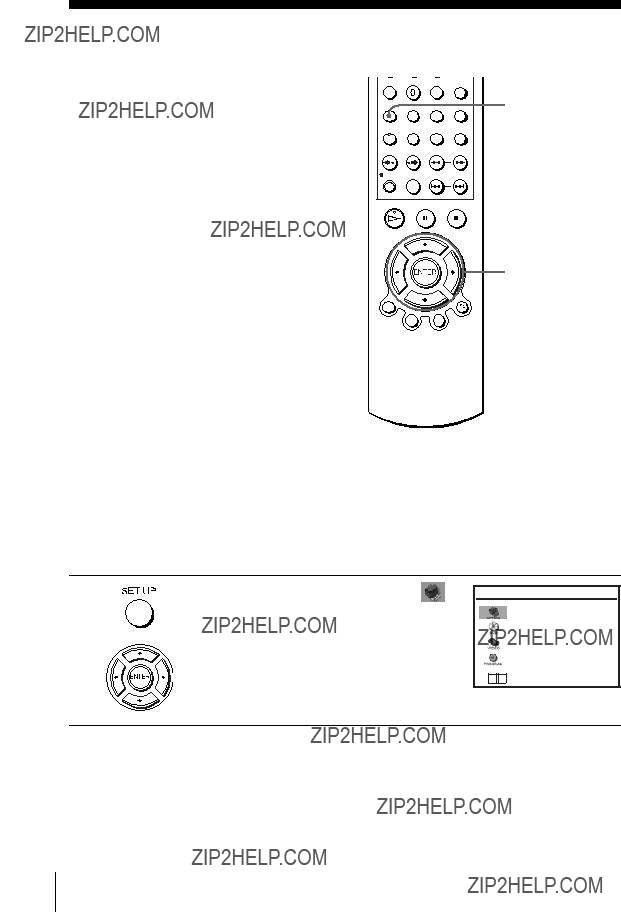


 Please Wait


 SET UP
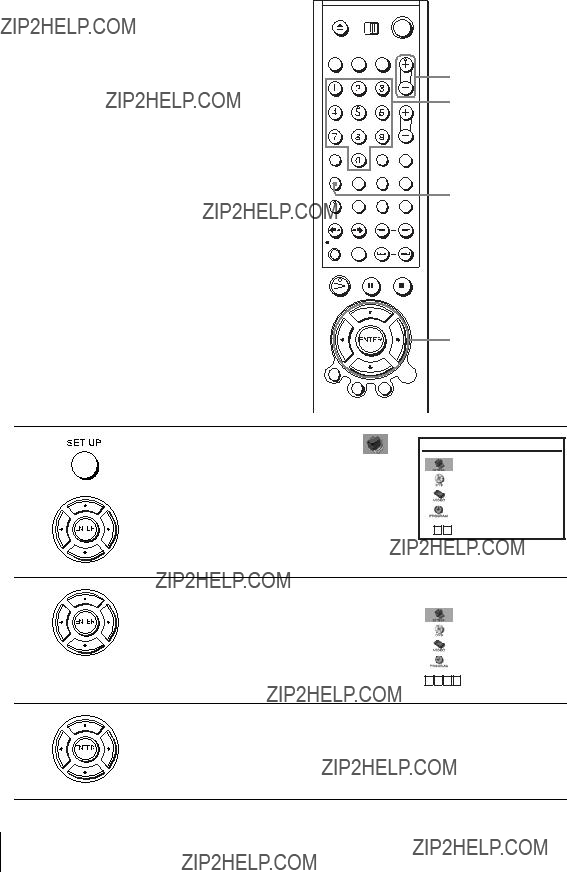


 to ADD press
 to DELETE


 to ADD press
 to DELETE


 /
/ 

 m/M y
m/M y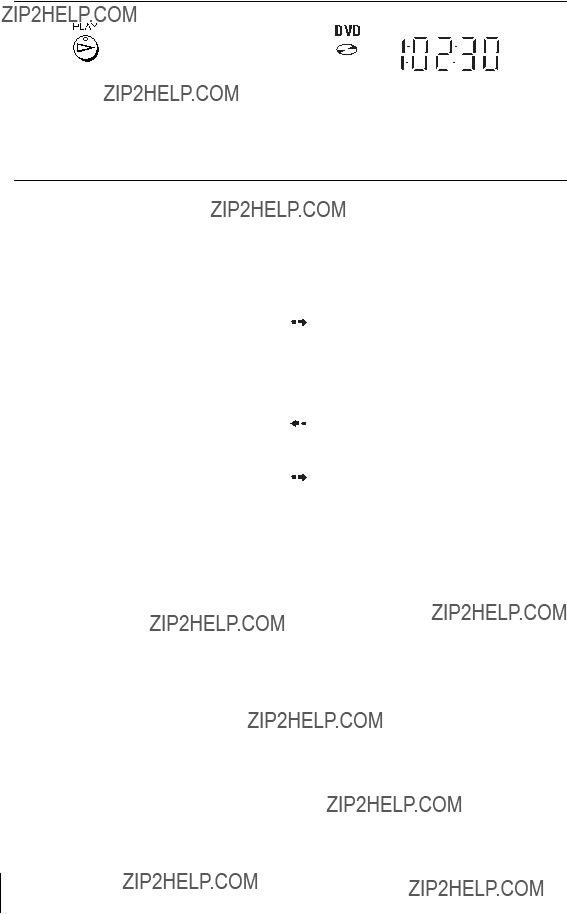

 or
or 


 0 ~ 9
0 ~ 9 
 ENTER
ENTER


 0 ~ 9
0 ~ 9 
 ENTER
ENTER


 0 ~ 9
0 ~ 9 
 ENTER
ENTER


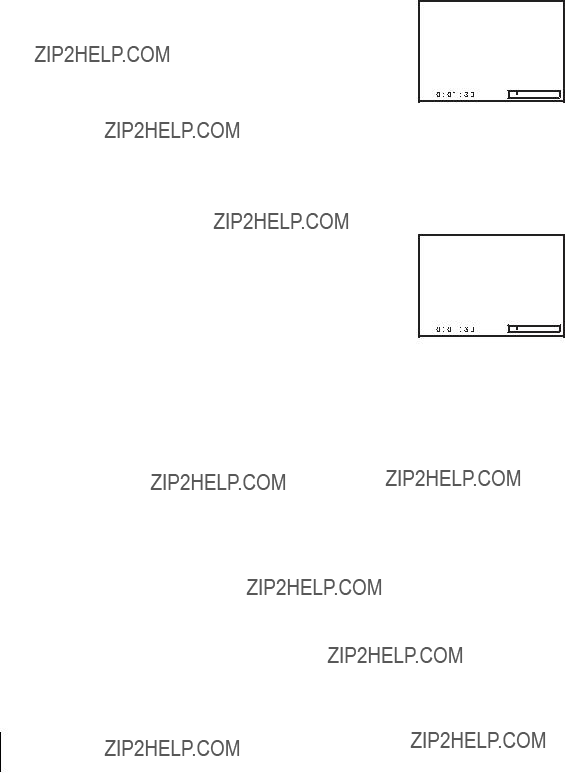
 REPLAY. The VCR rewinds the tape about 10 seconds in the SP mode (about 15 seconds in the EP mode) on the counter for each press of the button, and restarts playback.
 SKIP. The VCR skips the tape 30 seconds on the counter each time the button is pressed (up to four times) and playback is resumed.


 ENTER
ENTER

 TV/VIDEO
 INPUT
INPUT
 v
v
 B
B
 b
b 
 indicator appears in the display window and the VCR stands by for recording.
 indicator appears, the timer settings overlap. To check, change or cancel the program setting, repeat the steps of
  indicator appears, this means that the VCR is currently recording this program.


 ENTER
ENTER 
 RETURN
 SET UP


 CLEAR
CLEAR SET UP
 TIMER
TIMER


 indicator remains lit if there is a timer setting. The


 ENTER
ENTER 
 RETURN
 SET UP
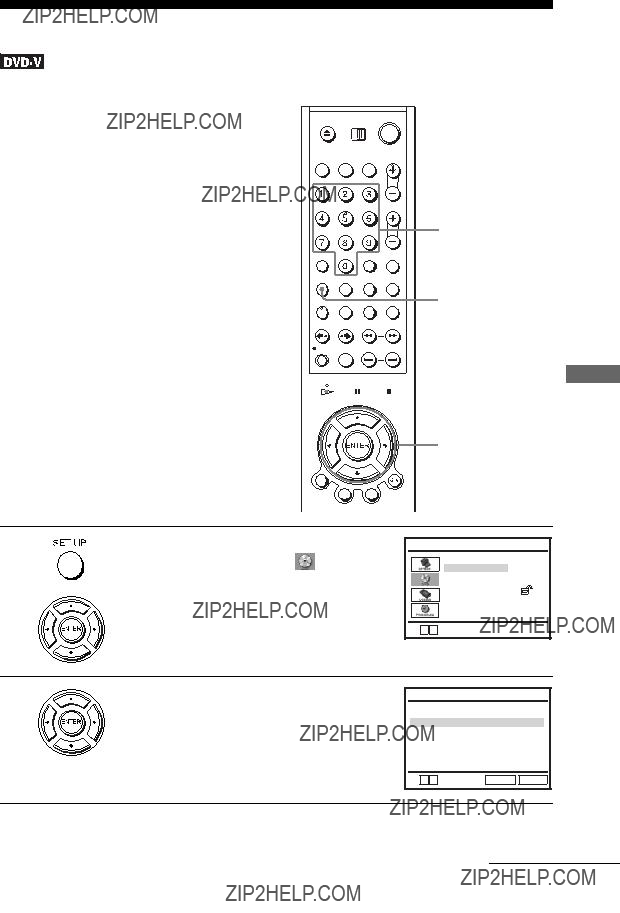


 ??? appears.
 ??? to the position where you want to zoom in.


 ??? appears in the display when you press ANGLE during playback. This means that you can change the viewing angle.
 ANGLE
ANGLE B/b
B/b


 B
B
 b
b


 V
V
 v
v


 CLEAR
CLEAR REPEAT
 B/b
B/b Off
Off


 B/b
B/b ENG DOLBY DIGITAL 3/2.1CH 1/2


 B/b
B/b


 REPEAT
 TOP MENU


 ENTER
ENTER 
 RETURN
 SET UP


 ENTER
ENTER 
 RETURN
 SET UP


 ENTER
ENTER 
 RETURN


 ???, then press ENTER.
 ???, then press ENTER. ???
  ??? appears.
 ??? to the position where you want to zoom in.

 ???, then press ENTER. The ???Interval??? menu appears.


 Interval


 MENU
MENU


 indicator disappears and the VCR returns to normal recording mode.

 SEARCH


 or
or 


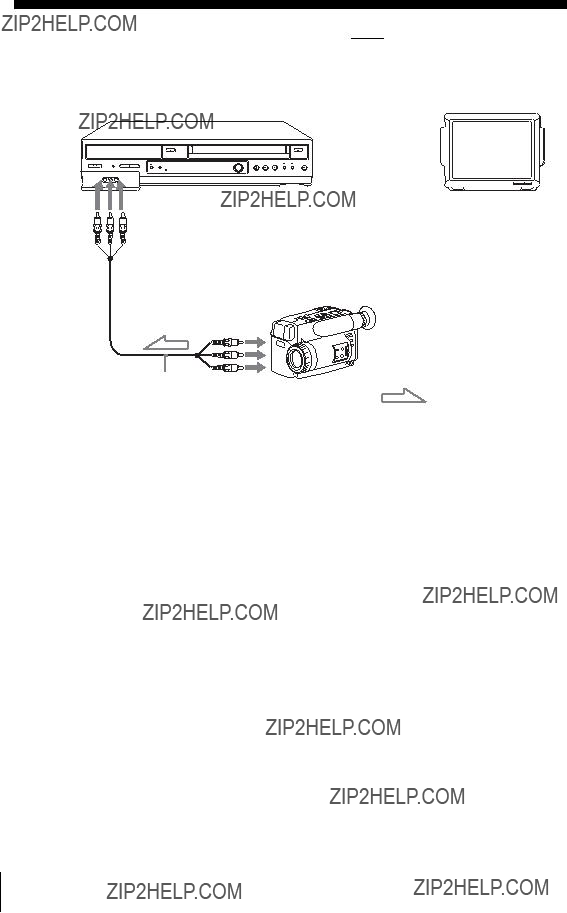


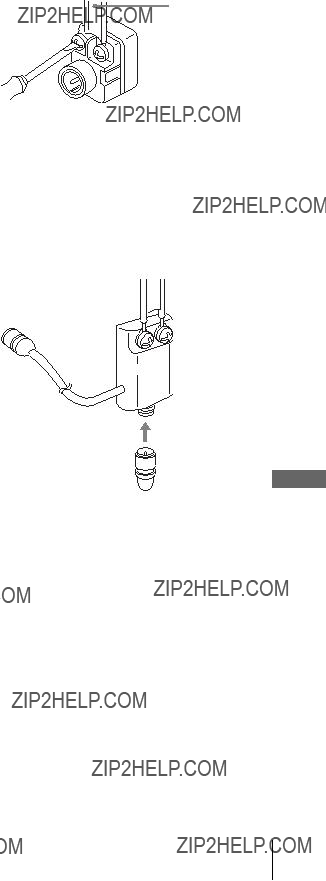
 lead cable
 cable
cable


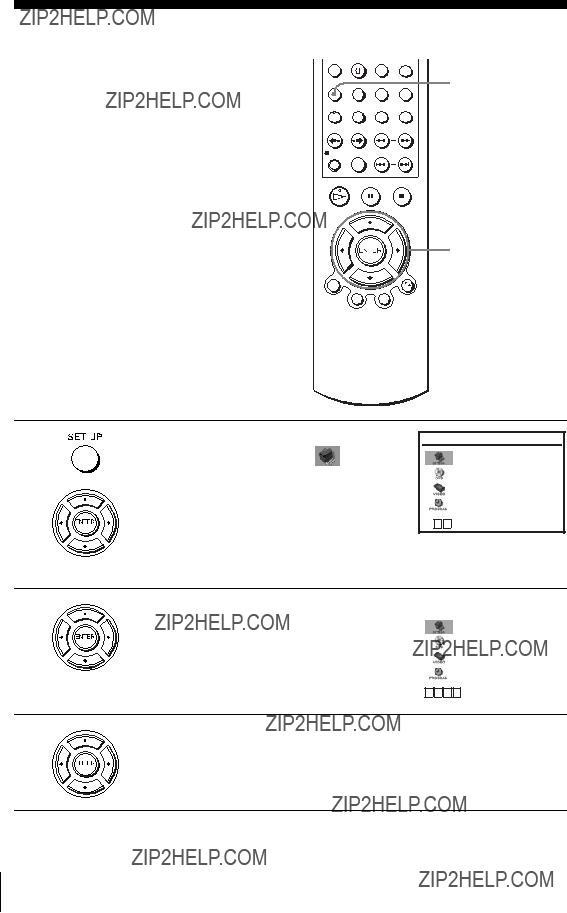
 Remote sensor


 SKIP button
  REPLAY button
 SKIP button

