DEAR SHARP CUSTOMER
Thank you for your purchase of the Sharp Combination Liquid Crystal Television and DVD/CD player. To ensure safety and many years of trouble-free operation of your product, please read the Important Safety Instructions carefully before using this product.
IMPORTANT SAFETY INSTRUCTIONS
Electricity is used to perform many useful functions, but it can also cause personal injuries and property damage if improperly handled. This product has been engineered and manufactured with the highest priority on safety. However, improper use can result in electric shock and/or fire. In order to prevent potential danger, please observe the following instructions when installing, operating and cleaning the product. To ensure your safety and prolong the service life of your Liquid Crystal Television, please read the following precautions carefully before using the product.
1)Read these instructions.
2)Keep these instructions.
3)Heed all warnings.
4)Follow all instructions.
5)Do not use this apparatus near water.
6)Clean only with dry cloth.
7)Do not block any ventilation openings. Install in accordance with the manufacturer???s instructions.
8)Do not install near any heat sources such as radiators, heat registers, stoves, or other apparatus (including amplifiers) that produce heat.
9)Do not defeat the safety purpose of the polarized or grounding-type plug. A polarized plug has two blades with one wider than the other. A grounding type plug has two blades and a third grounding prong. The wide blade or the third prong are provided for your safety. If the provided plug does not fit into your outlet, consult an electrician for replacement of the obsolete outlet.
10)Protect the power cord from being walked on or pinched particularly at plugs, convenience receptacles, and the point where they exit from the apparatus.
11)Only use attachments/accessories specified by the manufacturer.
12)Use only with the cart, stand, tripod, bracket, or table specified by the manufacturer, or sold with the
apparatus. When a cart is used, use caution when moving the cart/apparatus combination to avoid injury from tip-over.
13) Unplug this apparatus during lightning storms or when unused for long periods of time.
14)Refer all servicing to qualified service personnel. Servicing is required when the apparatus has been damaged in any way, such as power-supply cord or plug is damaged, liquid has been spilled or objects have fallen into the apparatus, the apparatus has been exposed to rain or moisture, does not operate normally, or has been dropped.
Additional Safety Information
15)Power Sources???This product should be operated only from the type of power source indicated on the marking label. If you are not sure of the type of power supply to your home, consult your product dealer or local power company. For products intended to operate from battery power, or other sources, refer to the operating instructions.
16)Overloading???Do not overload wall outlets, extension cords, or integral convenience receptacles as this can result in a risk of fire or electric shock.
17)Object and Liquid Entry???Never push objects of any kind into this product through openings as they may touch dangerous voltage points or short-out parts that could result in a fire or electric shock. Never spill liquid of any kind on the product.
18)Damage Requiring Service???Unplug this product from the wall outlet and refer servicing to qualified service personnel under the following conditions:
a)When the AC cord or plug is damaged,
b)If liquid has been spilled, or objects have fallen into the product,
c)If the product has been exposed to rain or water,
d)If the product does not operate normally by following the operating instructions.
Adjust only those controls that are covered by the operating instructions as an improper adjustment of other controls may result in damage and will often require extensive work by a qualified technician to restore the product to its normal operation,
e)If the product has been dropped or damaged in any way, and
f)When the product exhibits a distinct change in performance - this indicates a need for service.
19)Replacement Parts???When replacement parts are required, be sure the service technician has used replacement parts specified by the manufacturer or have the same characteristics as the original part. Unauthorized substitutions may result in fire, electric shock, or other hazards.
20)Safety Check???Upon completion of any service or repairs to this product, ask the service technician to perform safety checks to determine that the product is in proper operating condition.
21)Wall or ceiling mounting???When mounting the product on a wall or ceiling, be sure to install the product according to the method recommended by the manufacturer.


 1
1

 2
2

 3
3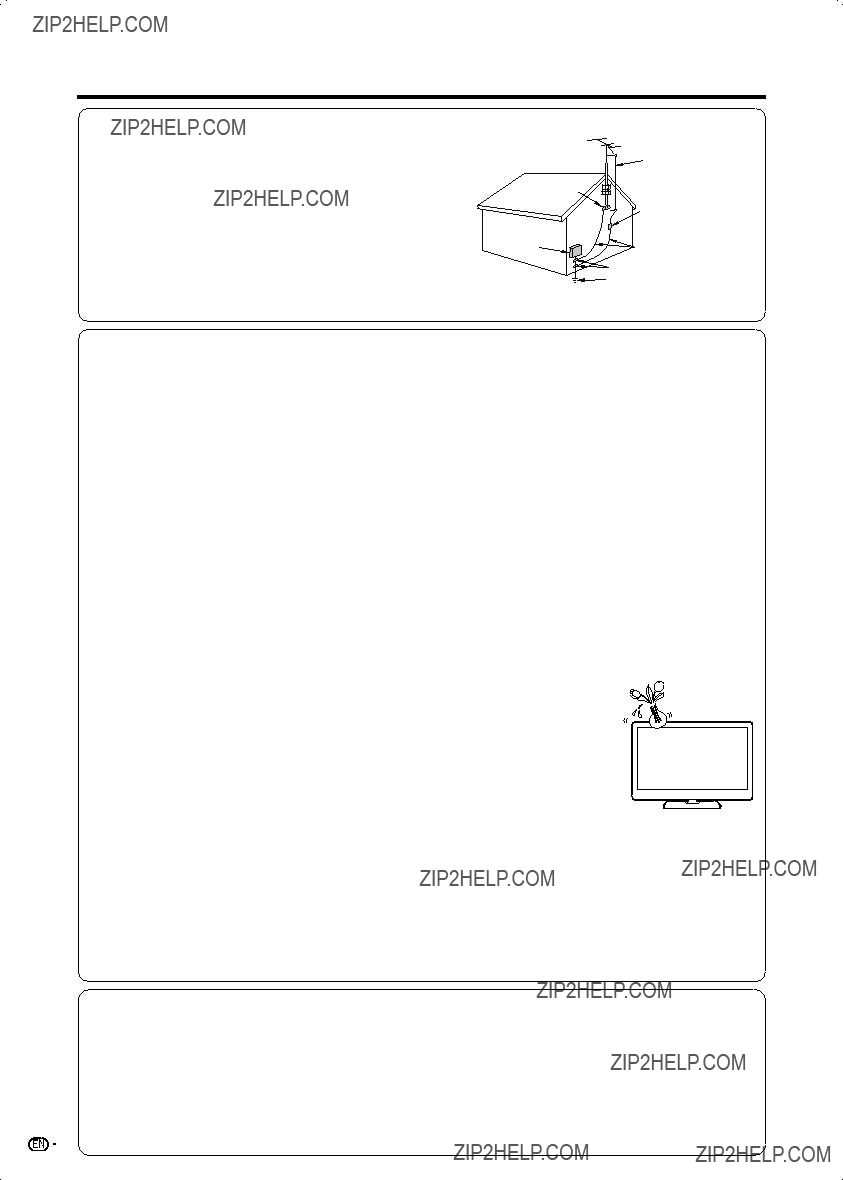


 No objects filled with liquids, such as vases, should be placed on the product.
 player stand in its new surroundings for about an hour before switching it on, or make sure that the room temperature rises gradually. Condensation may also form during the summer if the player is exposed to the breeze from an air conditioner. In such cases, change the location of the player.
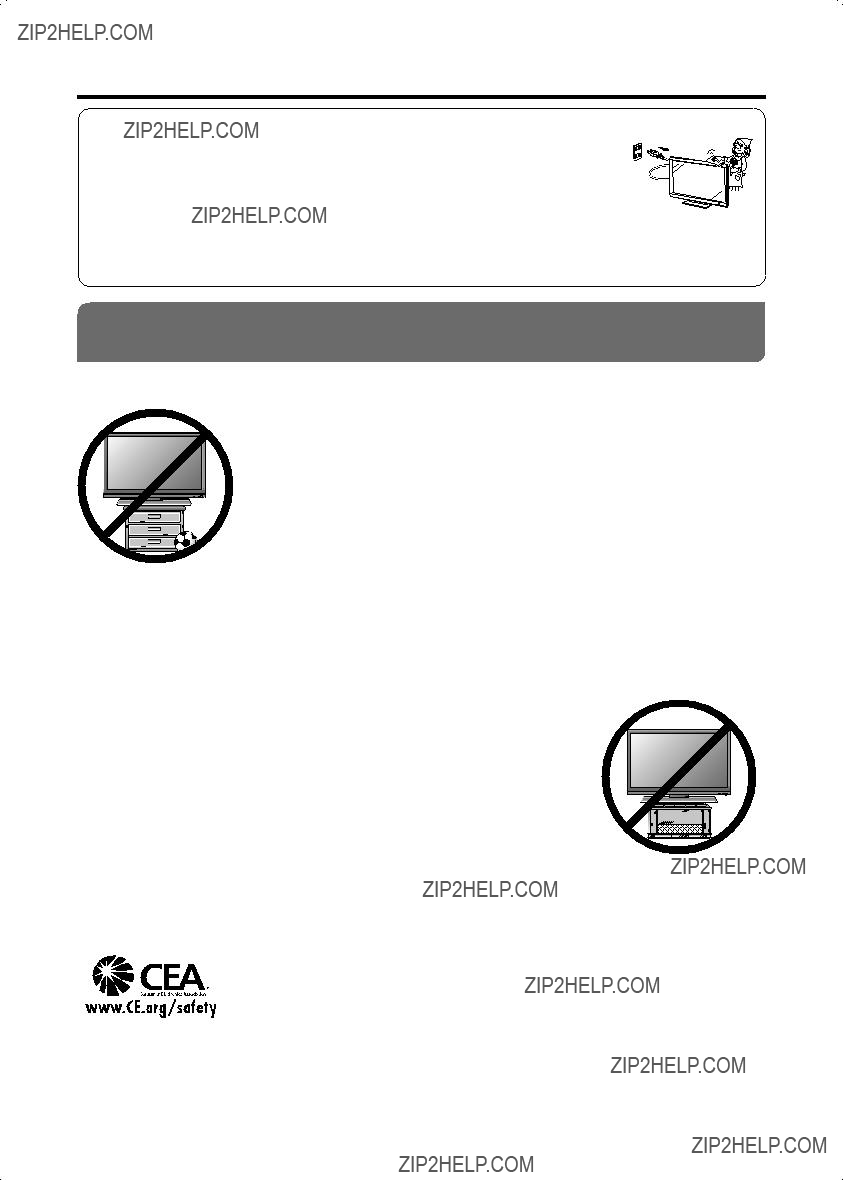

 5
5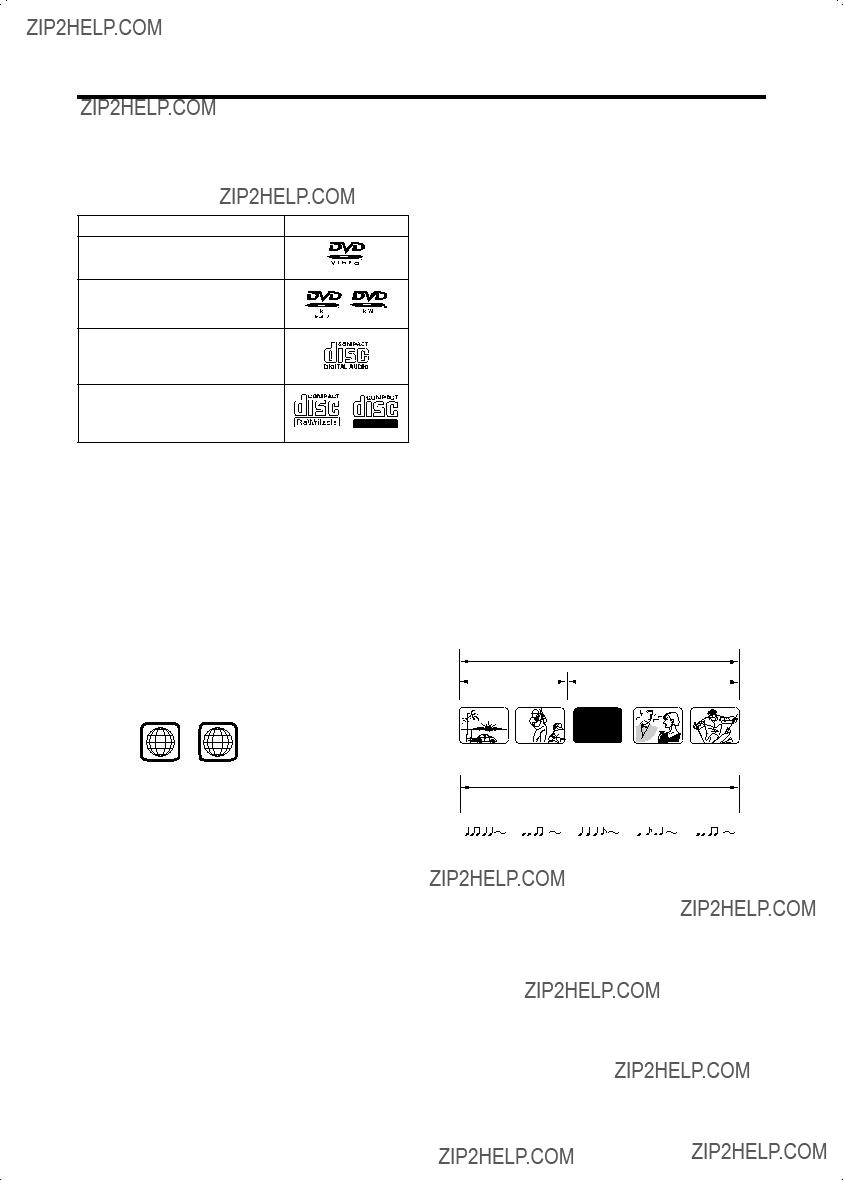

 6
6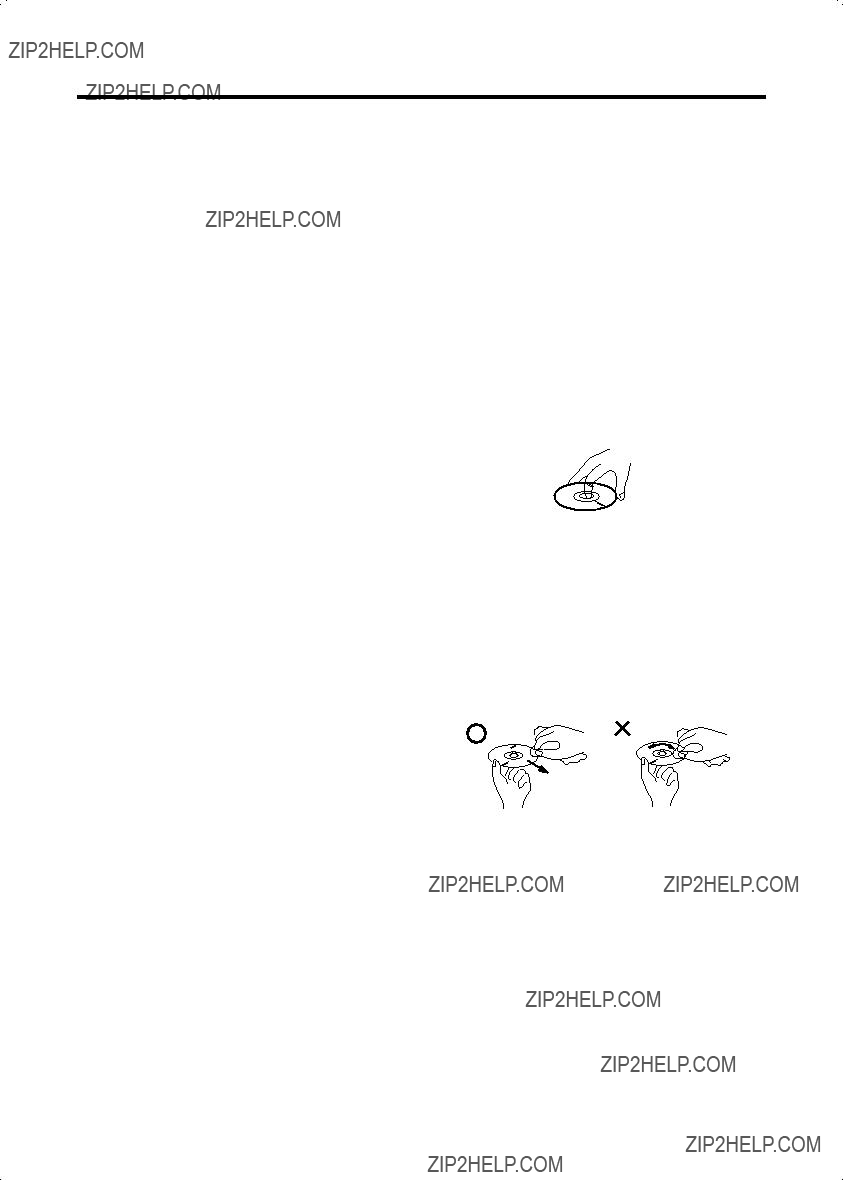

 7
7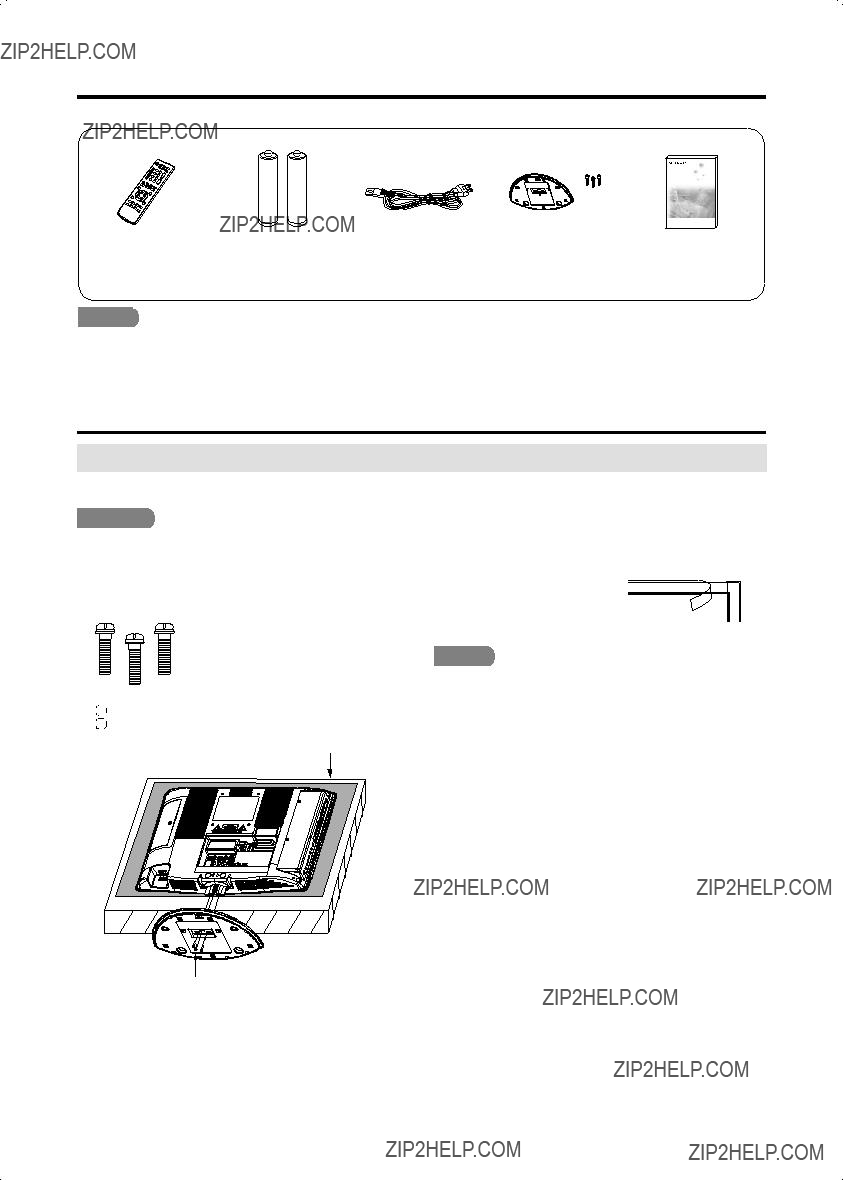

 8
8


 AC outlet
 9
9

 10
10

 11
11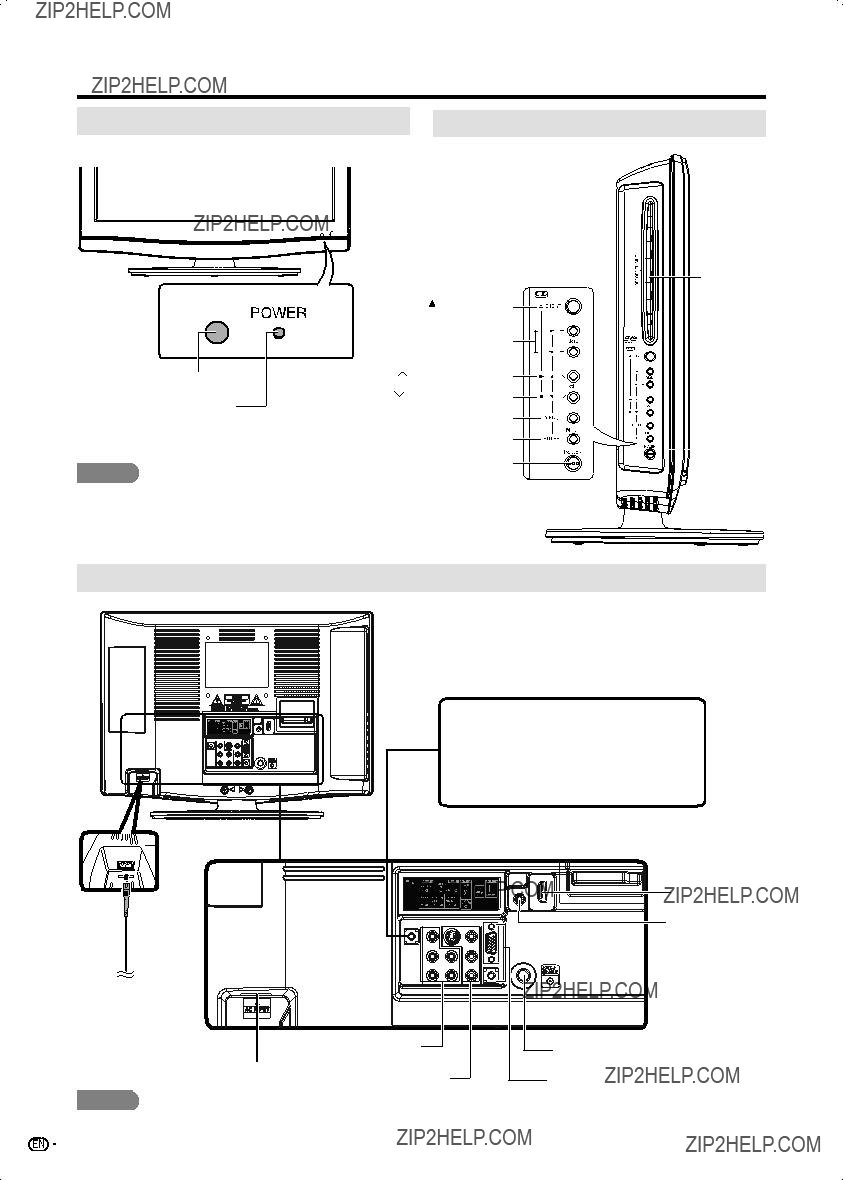


 29
29


 30
30


 13
13

 14
14

 15
15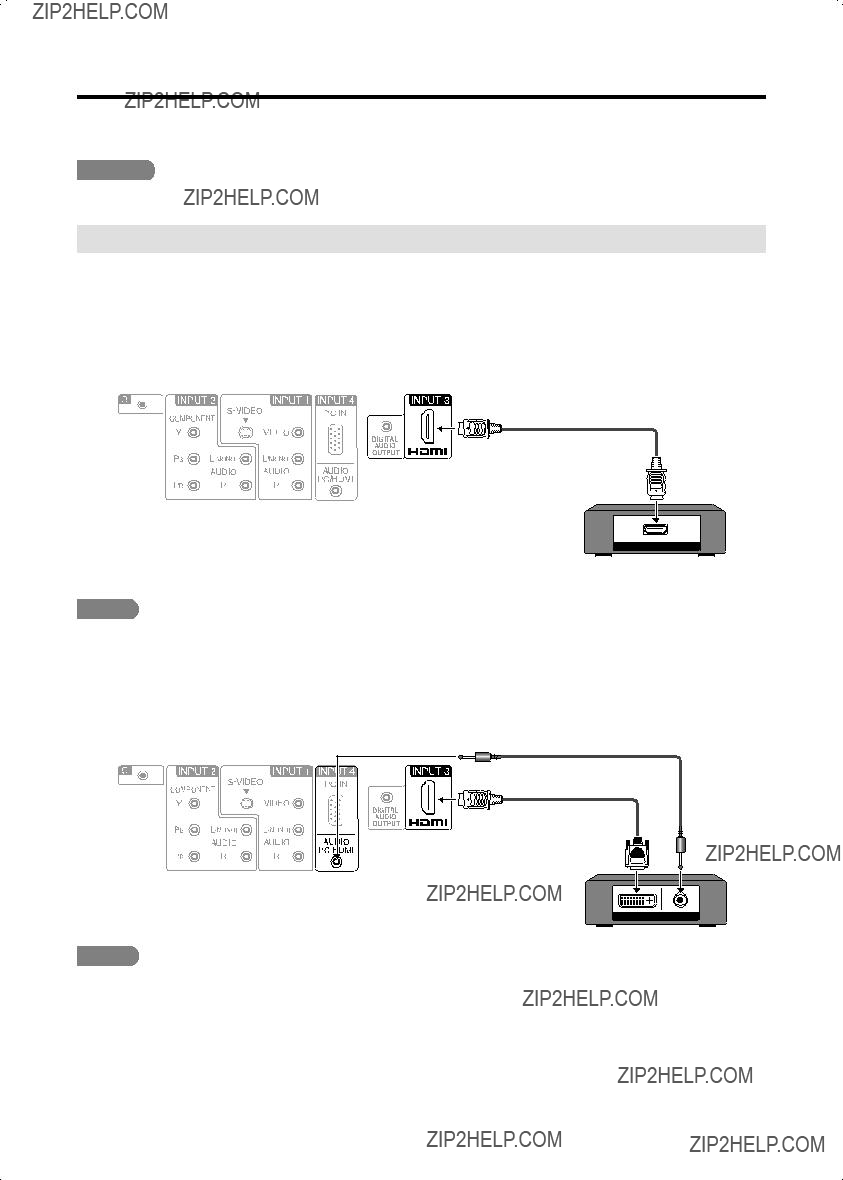

 16
16

 17
17
 HDMI-certified
 18
18
 19
19
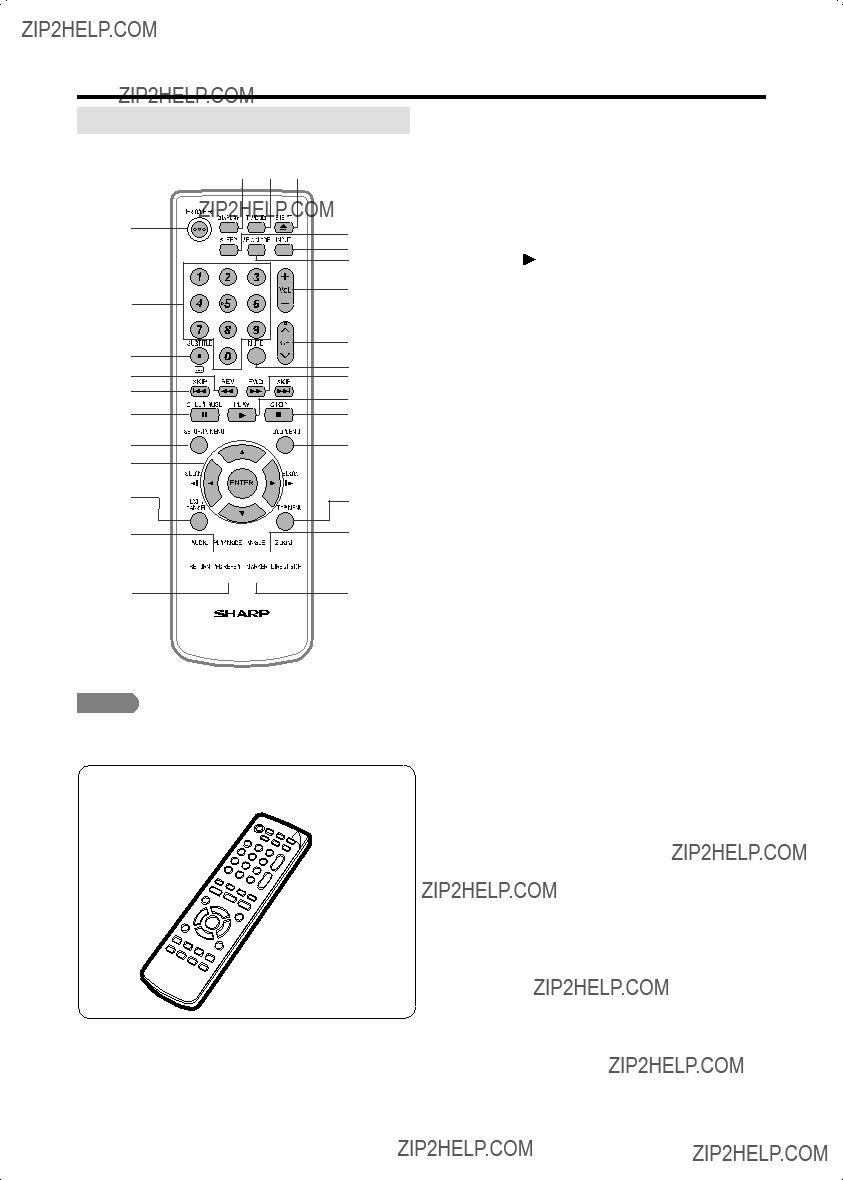
 /
/ on the remote control unit or on the TV/DVD.
 20
20

 .
.
 21
21
 , () @ / + = -
 22
22

 23
23
 ??? appears instead of the number.
 24
24


 25
25

 26
26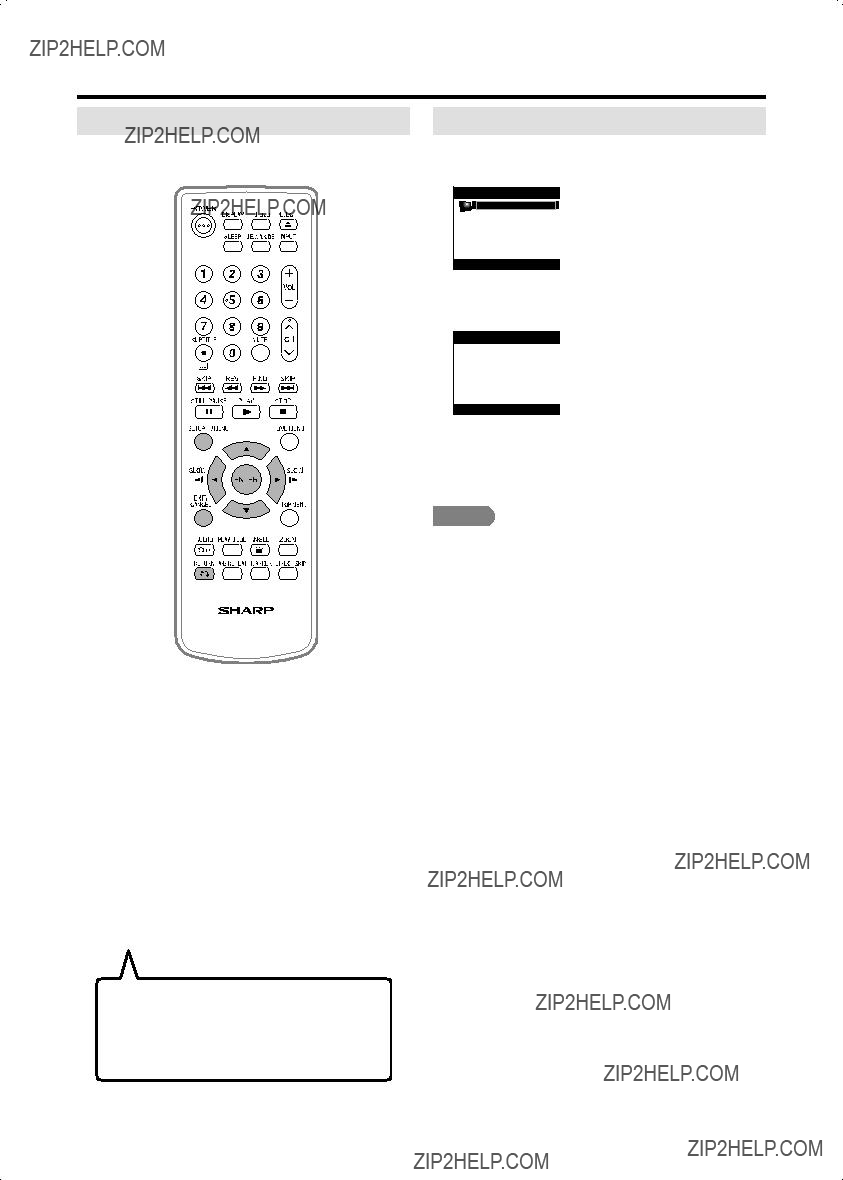

 27
27

 28
28 ??? changes to ???Loading??? and then playback will commence.
 29
29

 30
30
 Current/Total
 Current/Total
 Current/Total
 Current/Total
 31
31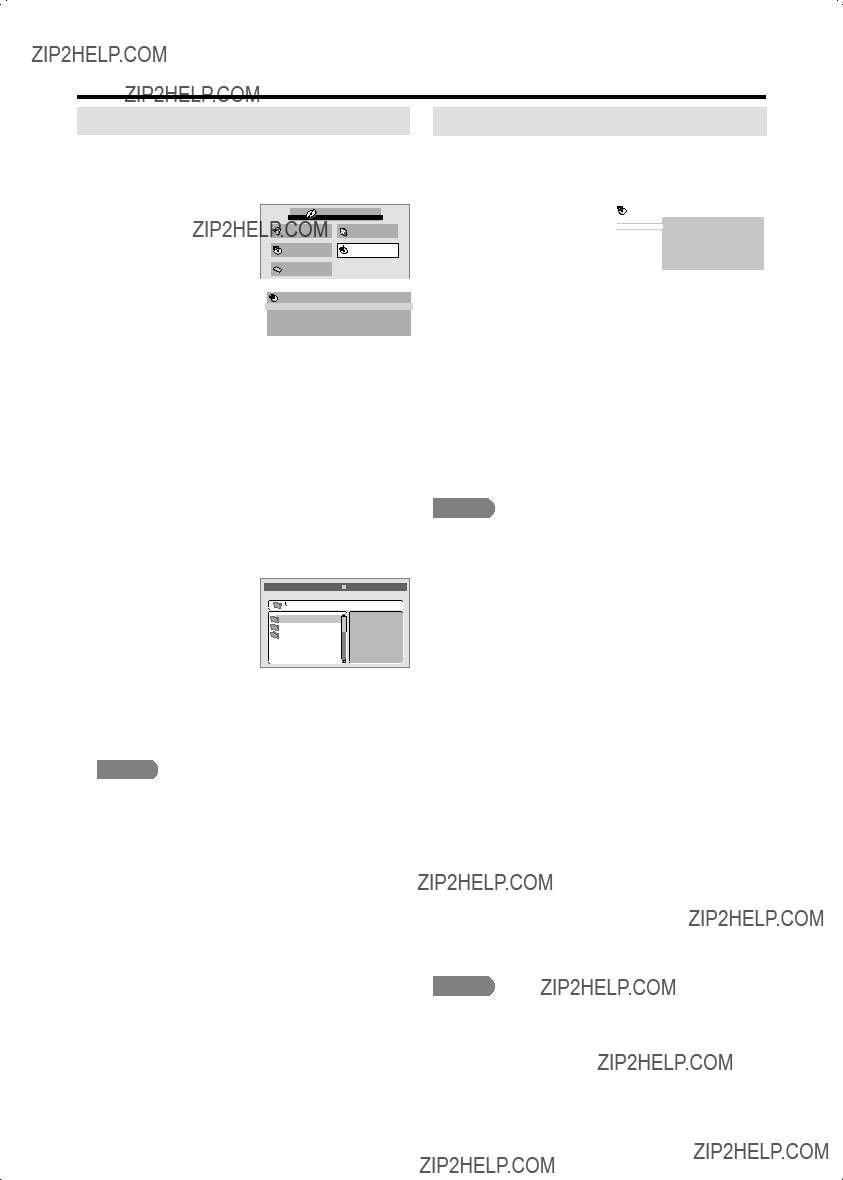

 ) or
) or 
 ) to move previous/next page.
 Folder4
 32
32
 Track or Folder number
  or Time by using
 33
33

 34
34

 35
35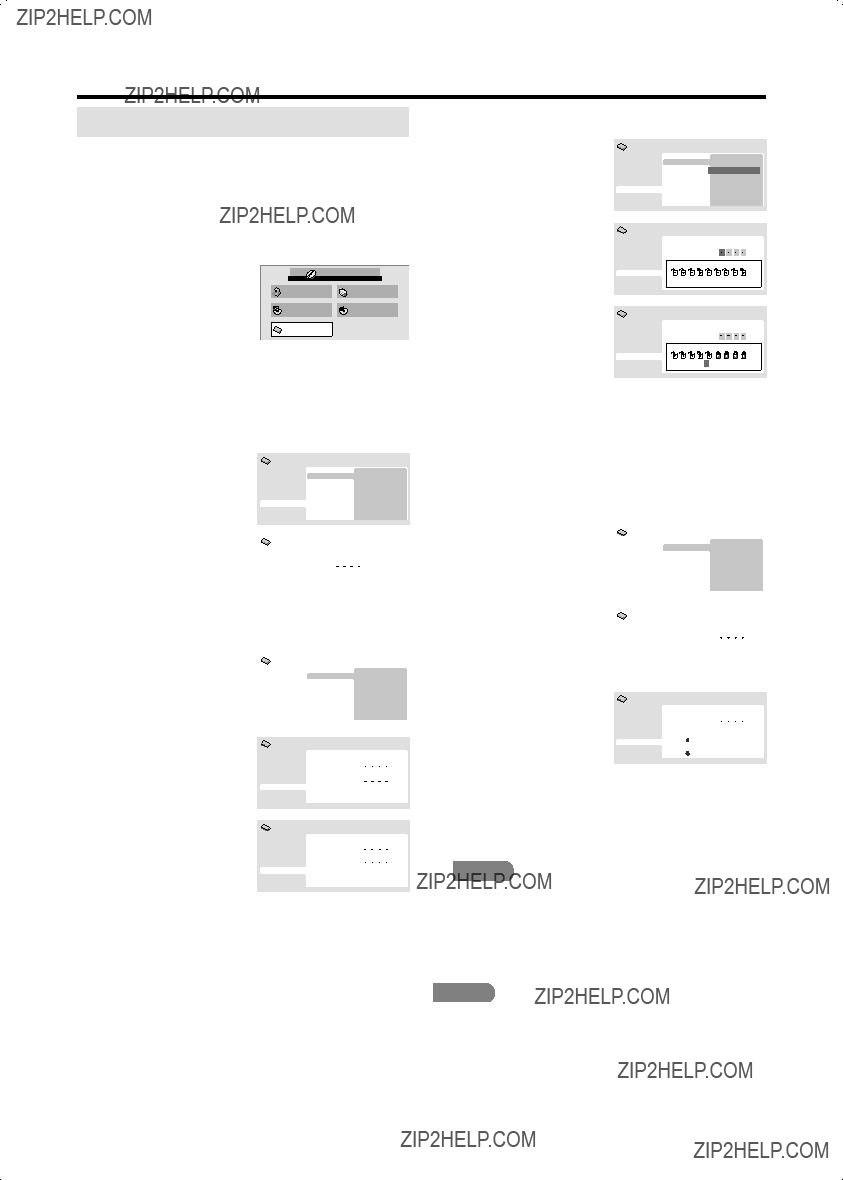

 36
36

 37
37

 38
38
 39
39

 40
40

 41
41