GE Appliances
Safety Information
Oven . . . . . . . . . . . . . . . . . . . . . . . 6
Safety Precautions . . . . . . . . . 3, 4
Surface Units . . . . . . . . . . . . . . . . 5
Operating Instructions
Broiling Guide . . . . . . . . . . . . . .15
Clock and Timer . . . . . . . . . . . .16
Convection Roasting Guide . . .22
Cookware . . . . . . . . . . . . . . . . . . .9
Oven Thermostat . . . . . . . . . . .24
Sabbath Feature . . . . . . . . . . . . .13
Surface Units . . . . . . . . . . . . . . 7, 8
Timed Baking & Roasting . . . .17
Care and Cleaning
Broiler Pan & Grid . . . . . . . . . . 29
Control Knobs . . . . . . . . . . . . . 27
Oven Light . . . . . . . . . . . . . . . . .29
Oven Shelves . . . . . . . . . . . . . . . 28
Glass Cooktop . . . . . . . . . . . . . . 31
Surfaces . . . . . . . . . . . . . . . . . . . .30
Troubleshooting Tips . . .
Customer Service
Product Registration . . . 2, 37, 38
Owner???s Manual
JB940
JB960
JB965
JBP85


 WARNING!
 SAFETY PRECAUTIONS
 WARNING!
 SAFETY PRECAUTIONS

 WARNING!
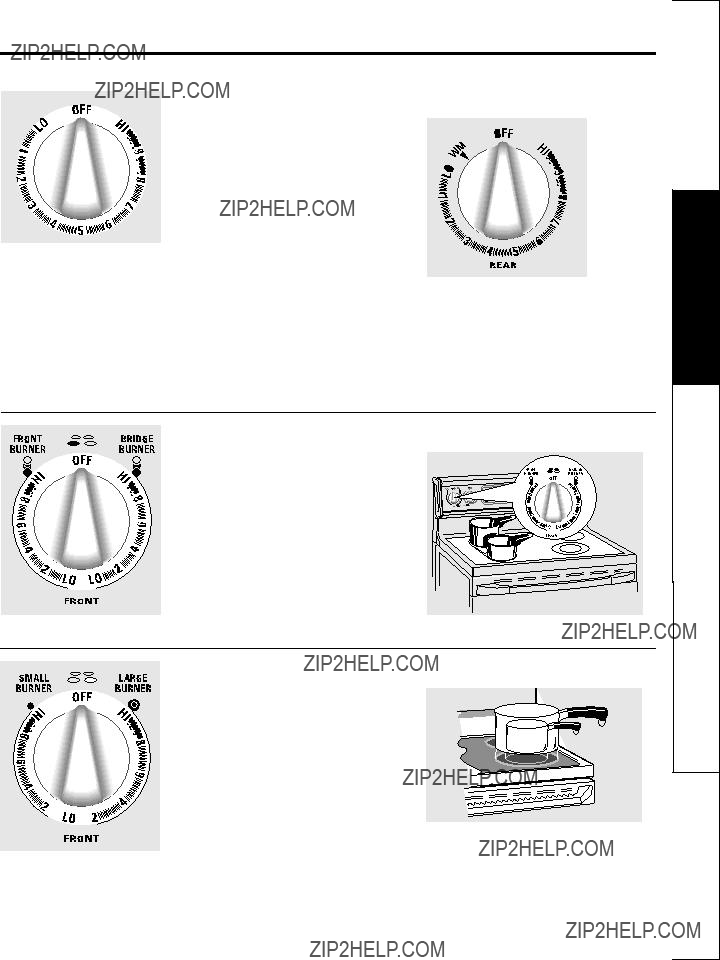


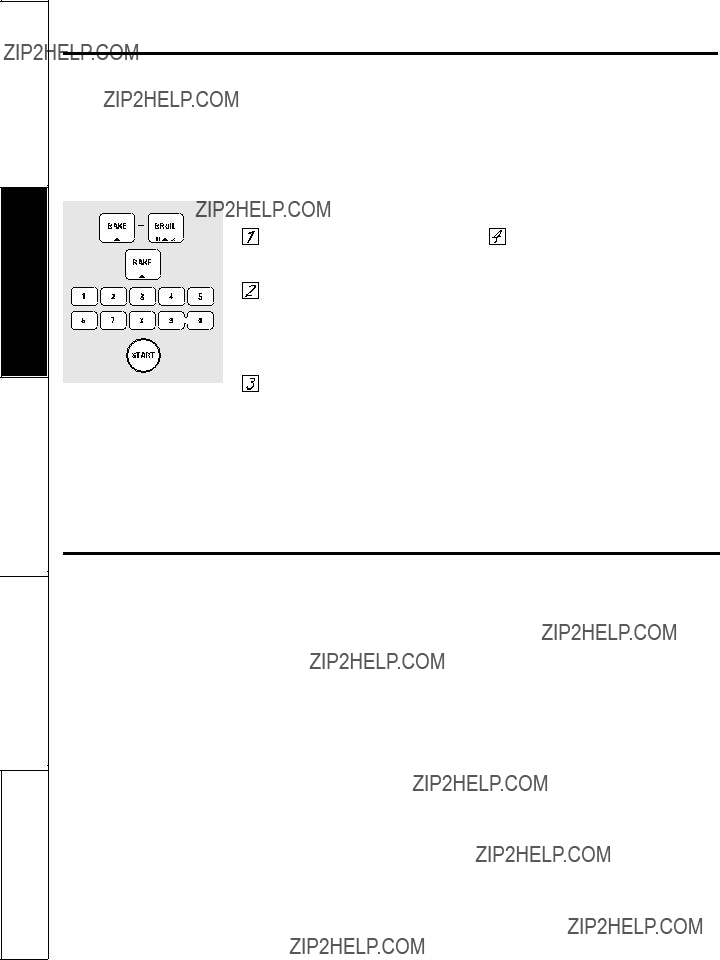
 Touch the

 Touch the
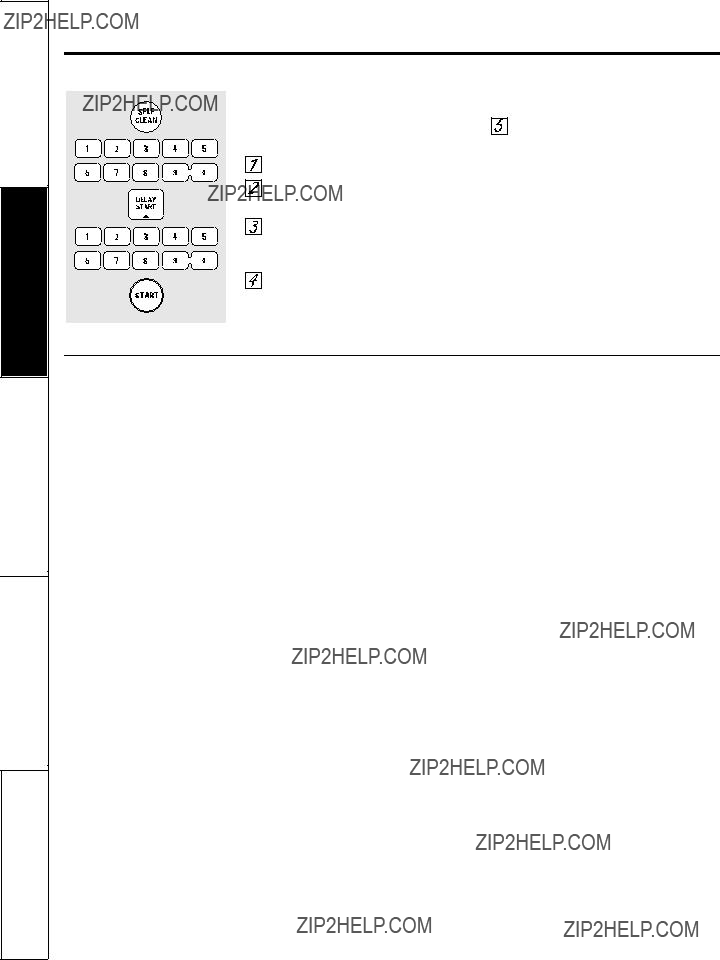

 Touch the

 Touch the

 Touch the
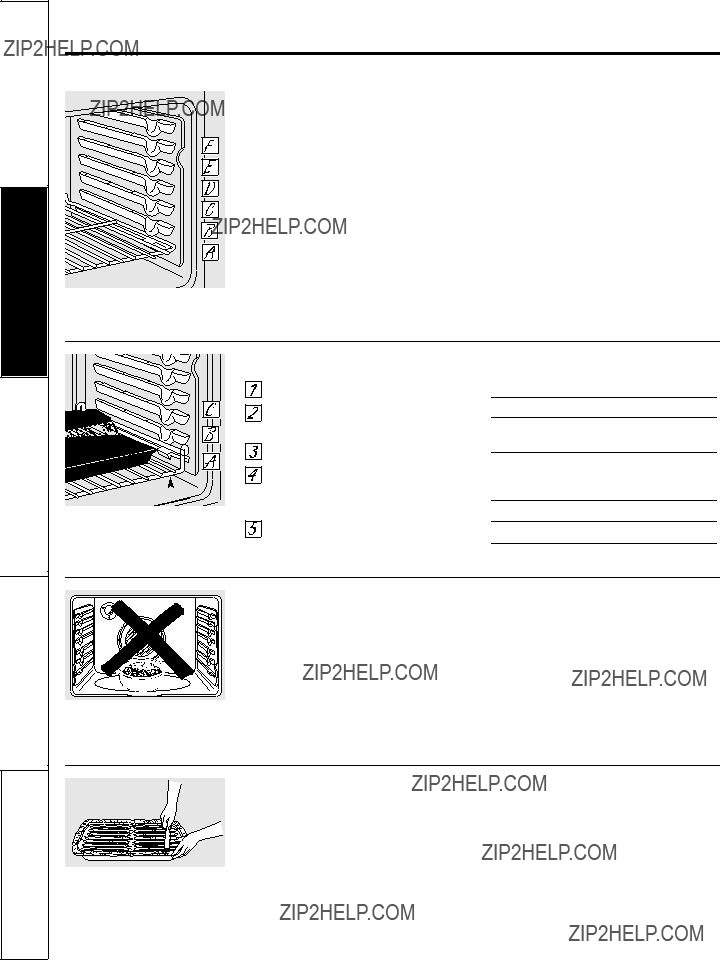


 Post
Post