ENGLISH
ENGLISH

 Introduction
Thank you for purchasing this SHARP product. To obtain the best performance from this product, please read this manual carefully. It will guide you in operating your SHARP product.
Features
This subwoofer incorporates the Tymphany Linear Array Transducer ( LAT ) technology developed by Tymphany Corporation. This Technology uses a linear array of multiple smaller diaphragms to generate sound as opposed to the single diaphragm used in the conventional cone speakers. Such arrangement enables:
Powerful low bass without the need for large enclosures compared to the conventional speakers, hence the sleek and compact design of this subwoofer.
Minimization of structural vibrations which makes it possible to place the subwoofer close to your audio system without affecting the critical circuitry.
Contents
General Information
Page
General Information
Accessories
Please confirm that the following accessories are included.
RCA cable (2 pins - 2 pins) x 1 RCA cable (1 pin - 2 pins) x 1
Precautions . . . . . . . . . . . . . . . . . . . . . . . . . . . . . . . . . . . . . . . . . . 2 Controls and indicators . . . . . . . . . . . . . . . . . . . . . . . . . . . . . . . . 3
Preparation for Use
Subwoofer preparation. . . . . . . . . . . . . . . . . . . . . . . . . . . . . . . . . 4 Placing the subwoofer . . . . . . . . . . . . . . . . . . . . . . . . . . . . . . . . . 4 Subwoofer connections to TVs . . . . . . . . . . . . . . . . . . . . . . . . . . 5 AC power connection . . . . . . . . . . . . . . . . . . . . . . . . . . . . . . . . . 6 Remote control . . . . . . . . . . . . . . . . . . . . . . . . . . . . . . . . . . . . 6 - 7
Basic Operation
General control . . . . . . . . . . . . . . . . . . . . . . . . . . . . . . . . . . . . 7 - 8
Advanced Feature
Operating the TV with the remote control . . . . . . . . . . . . . . . . . 8
References
Troubleshooting chart . . . . . . . . . . . . . . . . . . . . . . . . . . . . . . . . . 9 Maintenance . . . . . . . . . . . . . . . . . . . . . . . . . . . . . . . . . . . . . . . . 10 Specifications . . . . . . . . . . . . . . . . . . . . . . . . . . . . . . . . . . . . . . . 10


 up blue)
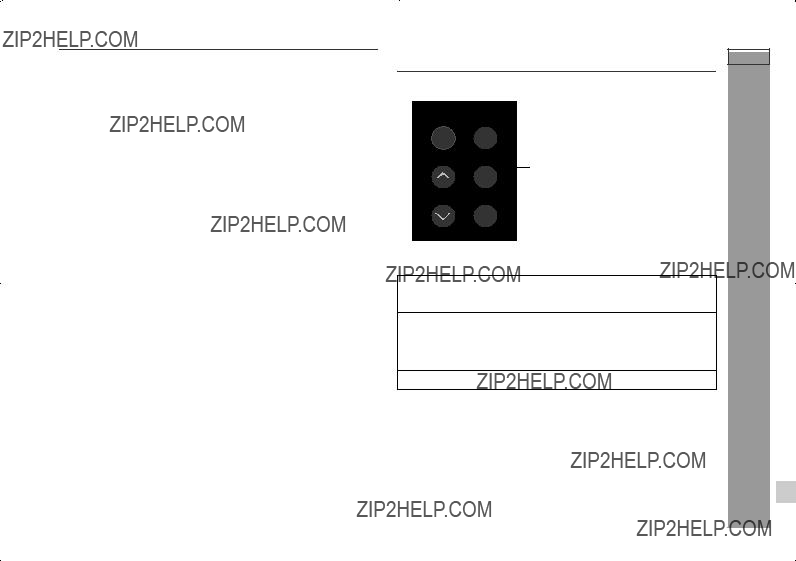
 or CH DOWN
  button to set the channel.
 or CH DOWN
  button enables TV channel switching.
