INFORMACI??N IMPORTANTE (Continuaci??n)
ADVERTENCIA - Las Normas de la FCC establecen que cualquier cambio o modificaci??n no autorizada que se realice en este equipo y que no est?? expresamente aprobado por el fabricante podr??a anular la autoridad del usuario para utilizar este equipo.
DESECHO DEL PRODUCTO
Este producto utiliza un Tubo de rayos cat??dicos (TRC) que contiene soldadura de esta??o y plomo. El desecho de estos materiales deber?? ser considerando regulaciones ambientales. Para obtener informaci??n sobre el desecho o el reciclado, p??ngase en contacto con las autoridades locales o con Electronics Industries Alliance: www.eiae.org
PRECAUCI??N: No coloque el cable de alimentaci??n de CA debajo del televisor u otro elemento pesado.
MEDIDAS DE SEGURIDAD IMPORTANTES
PRECAUCI??N : Lea por favor todas estas instrucciones antes de poner en funcionamiento su televisor, y gu??rdelas para poder utilizarlas en el futuro.
La energ??a el??ctrica permite realizar muchas funciones ??tiles. Este aparato ha sido dise??ado y fabricado para garantizar su seguridad f??sica. Sin embargo, UNA UTILIZACI??N INAPROPIADA PODR??A SER LA CAUSA DE DESCARGAS EL??CTRICAS O INCENDIOS. Para mantener el buen funcionamiento de este equipo y evitar problemas, siga las normas b??sicas indicadas a continuaci??n cuando lo instale, utilice o repare.
1.Desenchufe el televisor del tomacorriente antes de limpiarlo.
2.No utilice l??quidos ni aerosoles de limpieza. Para limpiar el televisor utilice un pa??o h??medo.
3.No utilice accesorios que no los recomiende el fabricante del televisor porque podr??an causar peligros.
4.No utilice el televisor cerca del agua ??? por ejemplo, cerca de una ba??era, lavado, fregadero o lavadora, en un s??tano h??medo, cerca de una piscina, etc.
5.No utilice este televisor sobre un carrito, un soporte o una mesa inestables. El televisor podr??a caerse causando ser??as heridas a ni??os o adultos, y, por supuesto, el aparato se estropear??a. Ponga el televisor solamente sobre un carrito o soporte recomendado por el fabricante, o vendido junto con
el televisor.
6. La combinaci??n de carrito y televisor debe moverse con mucho cuidado. Las paradas r??pidas, la fuerza excesiva y las superficies irregulares pueden ser la causa de que la combinaci??n de televisor y carrito se volteen.
7.Cuando instale el televisor en una pared o en una estanter??a siga las instrucciones del  fabricante, y utilice el kit de montaje aprobado por el fabricante.
8.Las ranuras y aberturas de la caja y del panel posterior o inferior sirven para la ventilaci??n del aparato, para que ??ste funcione bien y para evitar que se caliente. Estas aberturas no deben taparse nunca. Este televisor no debe colocarse en un lugar cerrado (como un estante para libros) si ??ste no dispone de la ventilaci??n apropiada.
9.Las aberturas no deben taparse nunca con un pa??o u otro material; y las aberturas del panel inferior no deben taparse tampoco colocando el televisor sobre una cama, sof??, alfombra u otra superficie similar. Este televisor no debe ponerse nunca cerca o encima de un radiador u otro aparato que produzca calor.
10.Este televisor s??lo debe funcionar con la fuente de corriente indicada en la etiqueta del fabricante. Si no est?? seguro acerca del tipo de corriente de su hogar, p??ngase en contacto con el concesionario de quien adquiri?? el televisor o con la compa????a el??ctrica local.
En el caso de equipos de televisi??n dise??ados para funcionar con bater??as, consulte las instrucciones de uso.
11.Como medida de seguridad, el equipo de televisi??n est?? equipado con un enchufe polarizado de dos hilos. El enchufe polarizado de dos hilos solamente calza de una sola manera en el tomacorriente.
Si el enchufe no entra en el tomacorriente, p??dale a un electr??cista que le coloque un tomacorriente nuevo. No modifique el enchufe porque anular?? esta caracter??stica de seguridad.
12.No permita que se apoye nada sobre el cable de alimentaci??n. No ponga este televisor donde el cable pueda ser deformado por personas que caminen sobre ??l.
41


 signal


 SLEEP T I MER
 V I DEO ADJ UST
 AUD I O SEL ECT

 PARENT CONTROL
 SET UP
 SET UP
 SET UP
 L ANGUAGE
 ENGL I SH

 SLEEP T I MER
 V I DEO ADJ UST
 AUD I O SEL ECT

 PARENT CONTROL
 SET UP

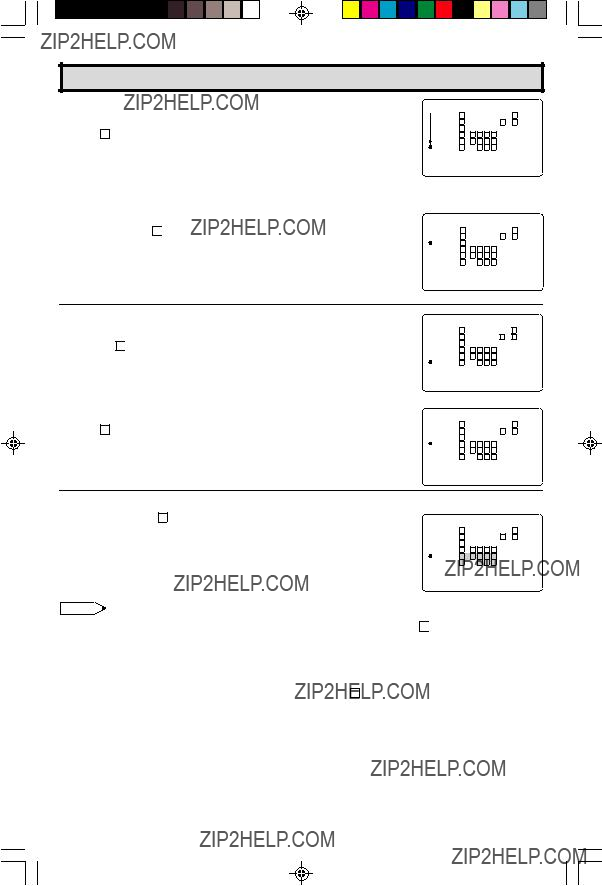
 TINT
TINT 

 COLOR
COLOR 

 BRIGHT
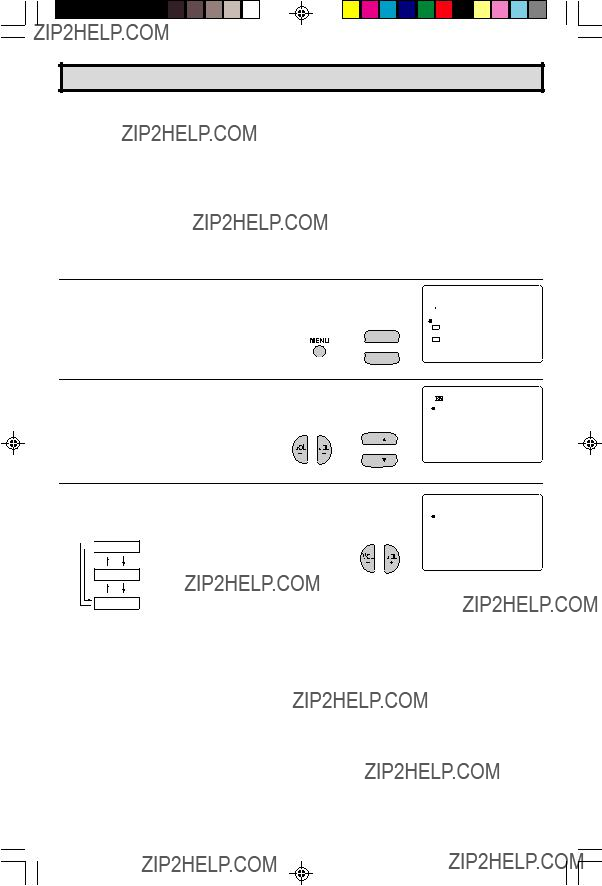


 SLEEP T I MER
 V I DEO ADJ UST
 AUD I O SEL ECT

 PARENT CONTROL
 SET UP
 STEREO
 AUD I O SELECT
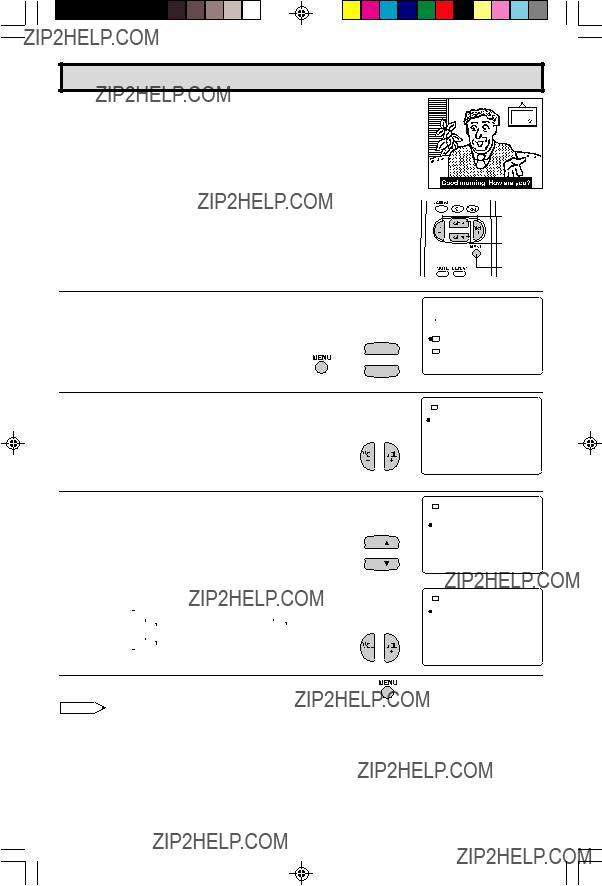
 ??? symbol to ensure that captions will be shown.


 SLEEP T I MER
 V I DEO ADJ UST
 AUD I O SEL ECT

 PARENT CONTROL
 SET UP


 SLEEP T I MER
 V I DEO ADJ UST
 AUD I O SEL ECT

 PARENT CONTROL
 SET UP


 SLEEP T I MER
 V I DEO ADJ UST
 AUD I O SEL ECT

 PARENT CONTROL
 SET UP

 PARENT CONTROL


 AGE : BLOCK
 DOWNLOAD : ON


 V I EWI NG T I ME

 SLEEP T I MER
 V I DEO ADJ UST
 AUD I O SEL ECT

 PARENT CONTROL


 SET UP
 V I EW T I MER
 V I EWI NG T I ME


 SLEEP T I MER
 V I DEO ADJ UST
 AUD I O SEL ECT

 PARENT CONTROL

 SET UP
 SET UP
 EZ SETUP

 SET UP
 SET UP
 CH SET T I NG
 EZ SETUP
 A I R / CABLE


 AIR
AIR 

 CABLE STD

 CABLE HRC

 CABLE IRC


 A I R
A I R CABLE HRC


 SET UP
 SET UP


 SET UP


 SLEEP T I MER
 V I DEO ADJ UST
 AUD I O SEL ECT

 PARENT CONTROL
 SET UP


 SET UP


 ???
???


 I D : _ _ __
 RESE T
 RESET
RESET


 SET UP
 SCREEN FORMAT
 4:3 16:9
 4:3 16:9


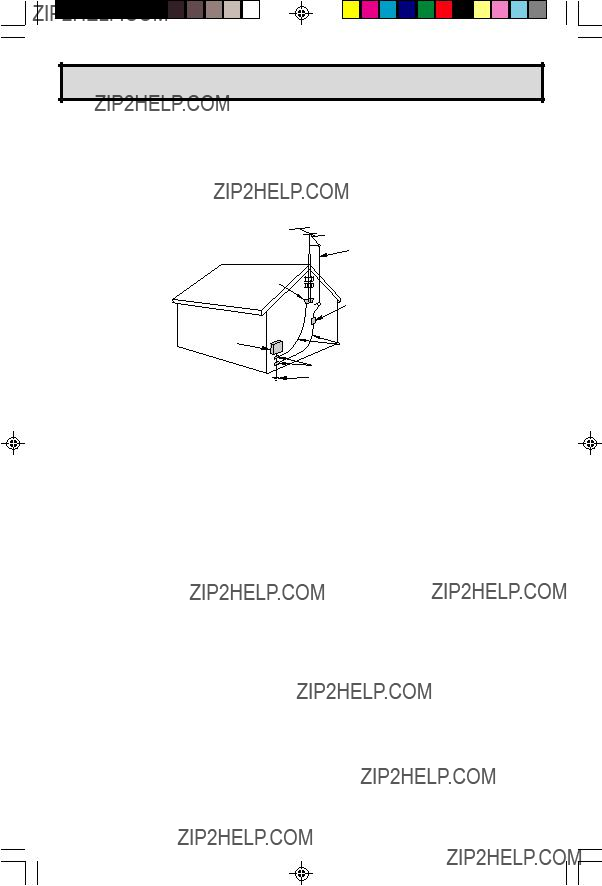
 To VIDEO OUTPUT