ENGLISH
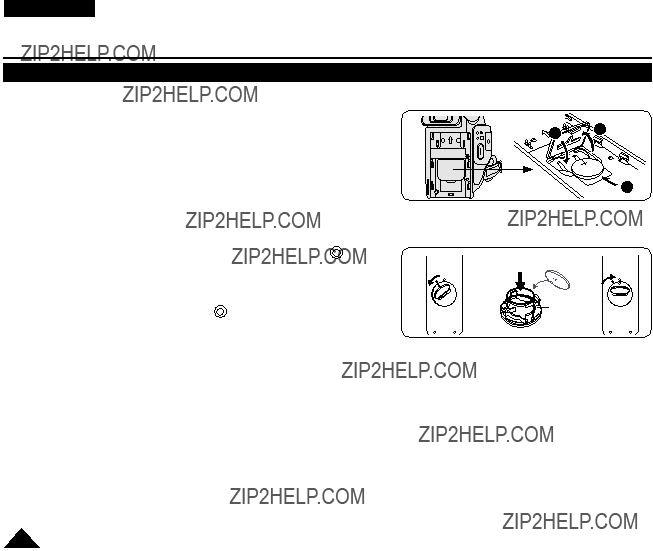
Maintenance
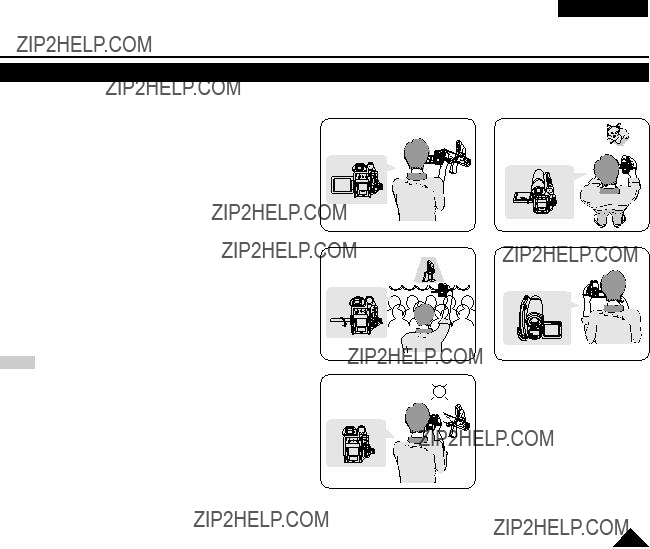
Using Your DVD Camcorder Abroad
???Each country or region has its own electric and colour systems.
???Before using your DVD Camcorder abroad, check the following items.
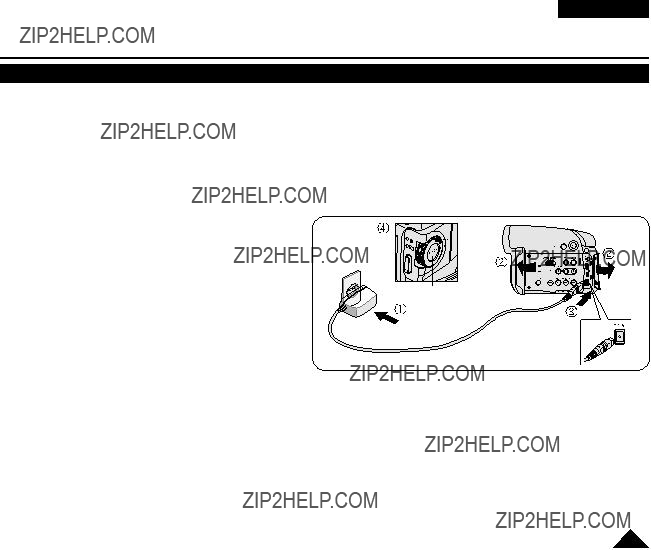
Power sources
???You can use your DVD Camcorder in any country or area with the supplied AC Power adapter within 100V to 240V, 50/60 Hz.
???Use a commercially available AC jack adapter, if necessary, depending on the design of the local wall outlet.
Color system
You can view your recordings using the built-in LCD screen and view???nder.
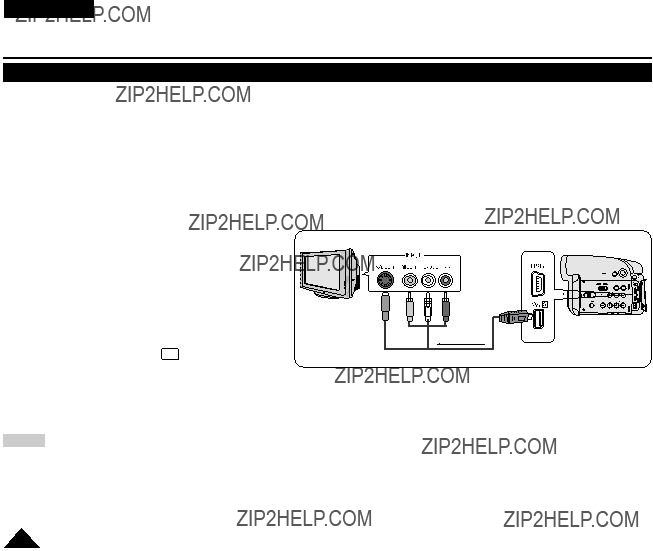
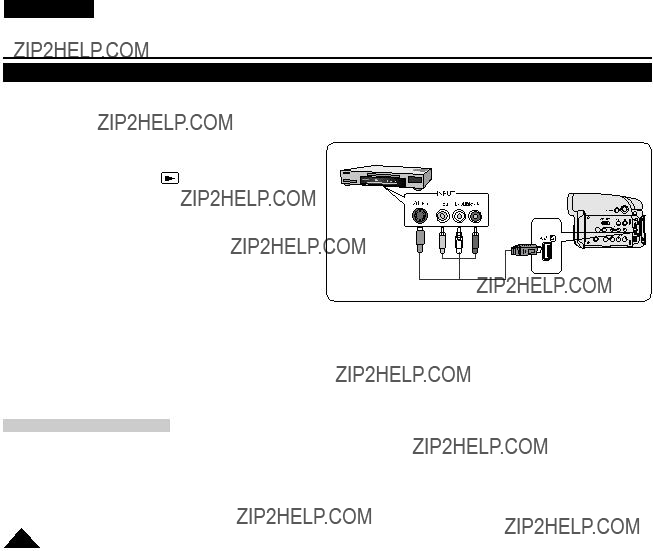
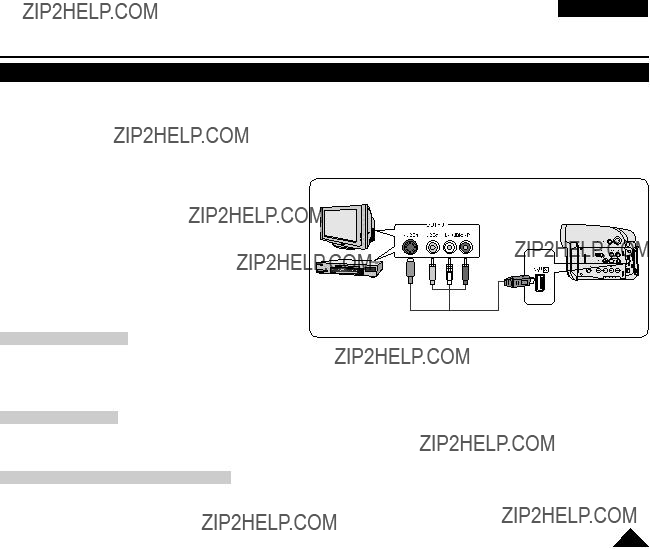
However, to view your recordings on a television set or to copy it to an external device as a video cassette recorder (VCR)/ DVD Recorder/ Player, the television set or an external device must be PAL-compatible and have the appropriate Audio/Video jacks. Otherwise, you may need to use a separate Video Format Transcoder (PAL-NTSC format Converter).
PAL-compatible Countries/Regions
Australia, Austria, Belgium, Bulgaria, China, CIS, Czech Republic, Denmark, Egypt, Finland, France, Germany, Greece, Great Britain, Holland, Hong Kong, Hungary, India, Iran, Iraq, Kuwait, Libya, Malaysia, Mauritius, Norway, Romania, Saudi Arabia, Singapore, Slovak Republic, Spain, Sweden, Switzerland, Syria, Thailand, Tunisia, etc.
NTSC-compatible Countries/Regions
Bahamas, Canada, Central America, Japan, Korea, Mexico, Philippines, Taiwan, United States of America, etc.
Note
You can make recordings with your DVD Camcorder and view pictures on the LCD Screen from anywhere in the world.


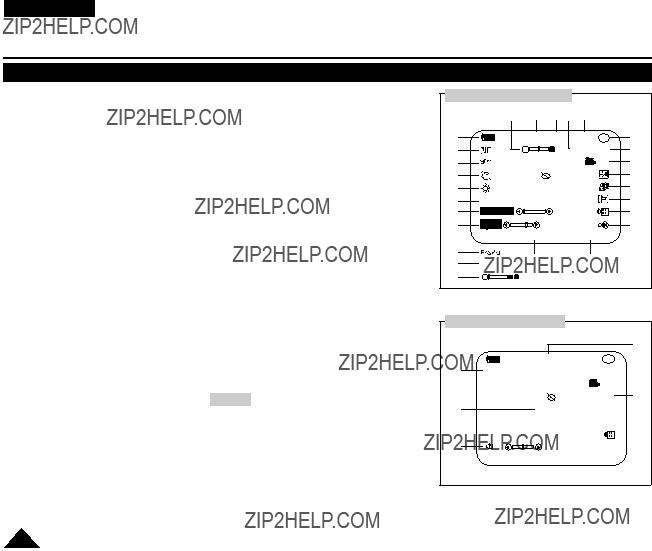
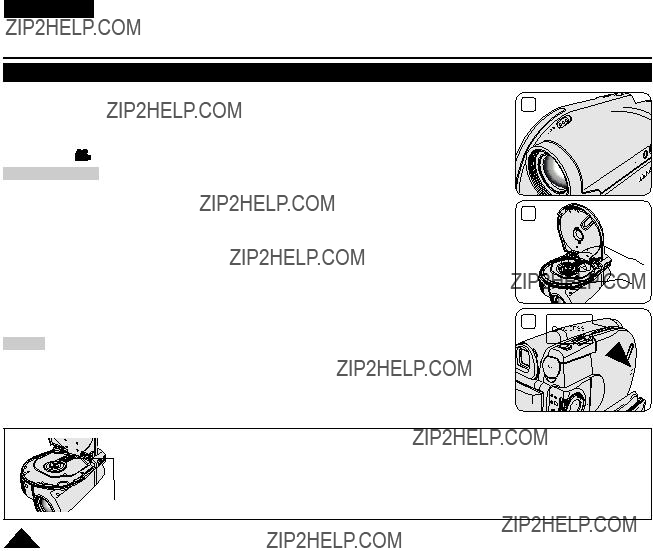
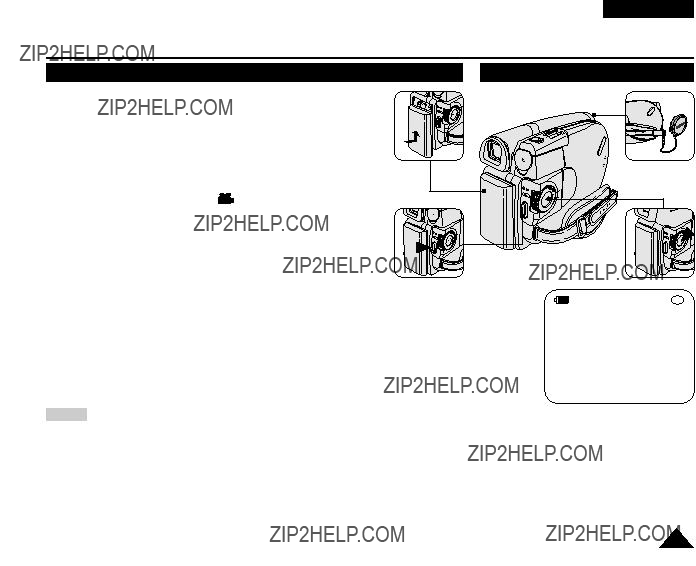
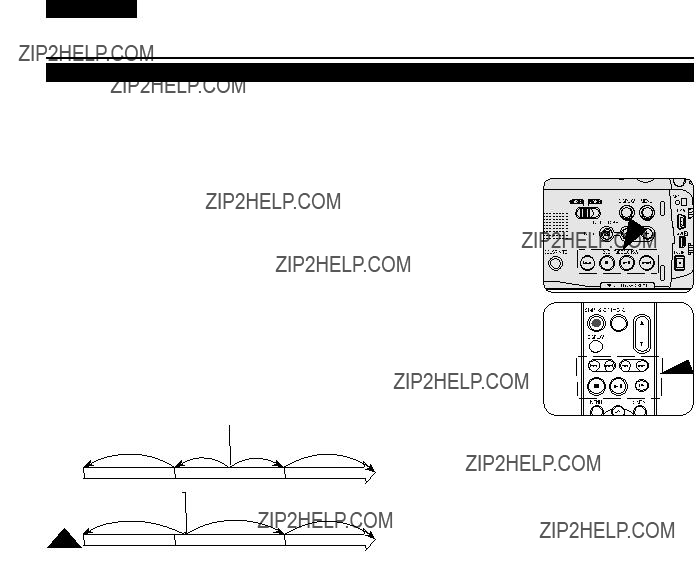
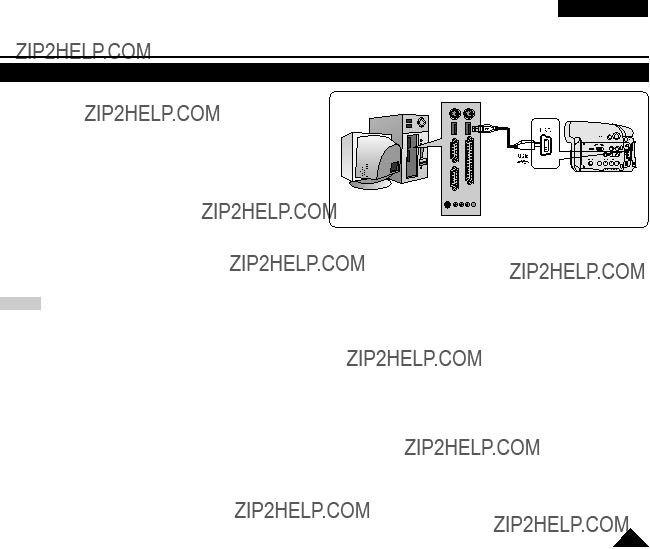
 8. Jack Cover
 10. Multi cable Jack
 11. DC IN Jack
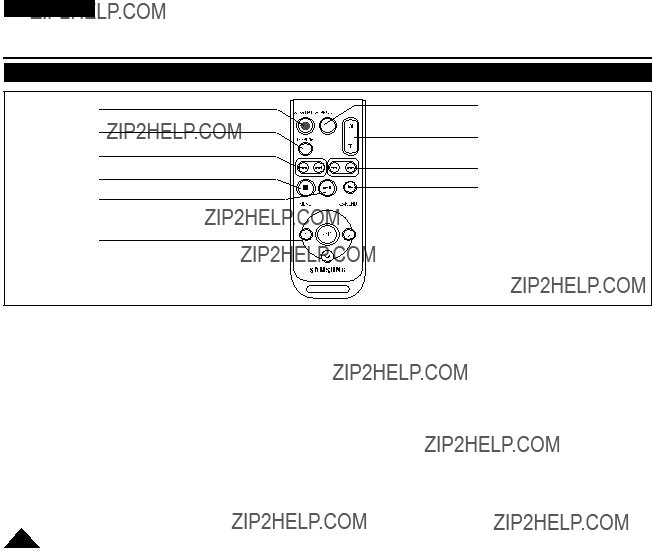


 12.
12.  )/Down(
 )/Left(
 )/Right(
  )/OK
)/OK )/Down(
 )/Left(
 )/Right(
  )/OK
)/OK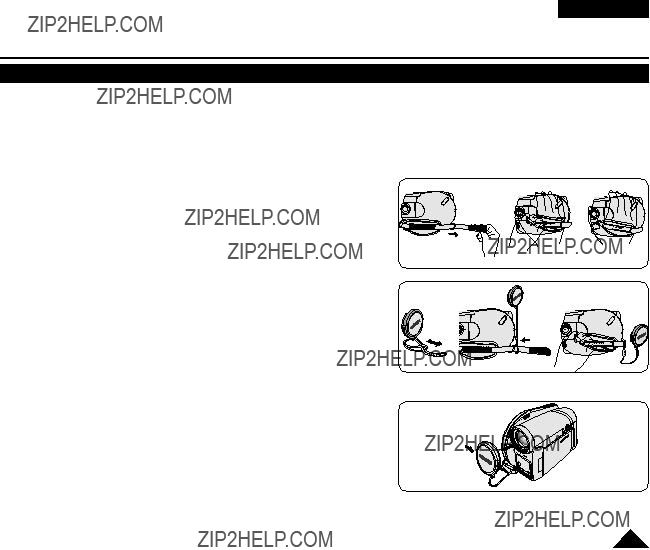


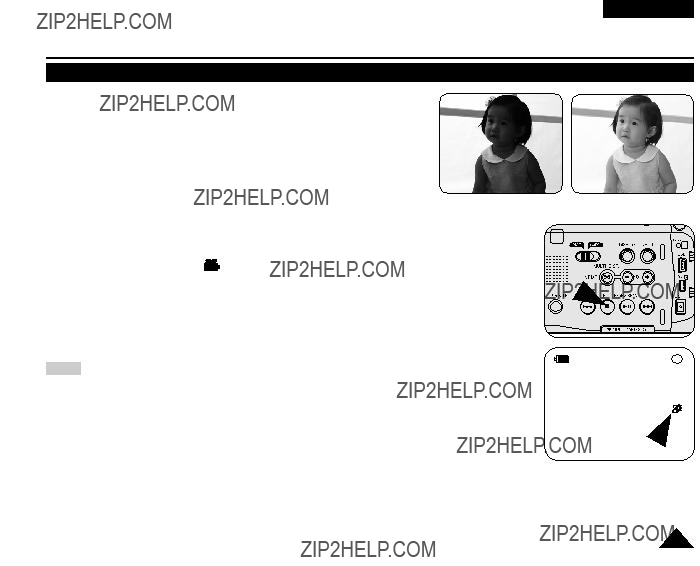
 > indicator blinks on the display. The screen will turn blue when the battery is almost completely discharged.


 ) will blink for 3 seconds on the LCD Screen and then disappear.


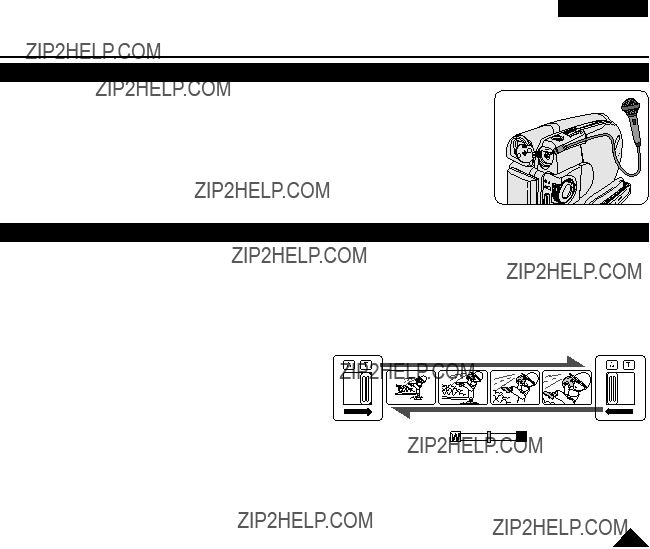
 Move
Move 
 Move
Move  Move
Move 


 and
and 
 .
.


 001
001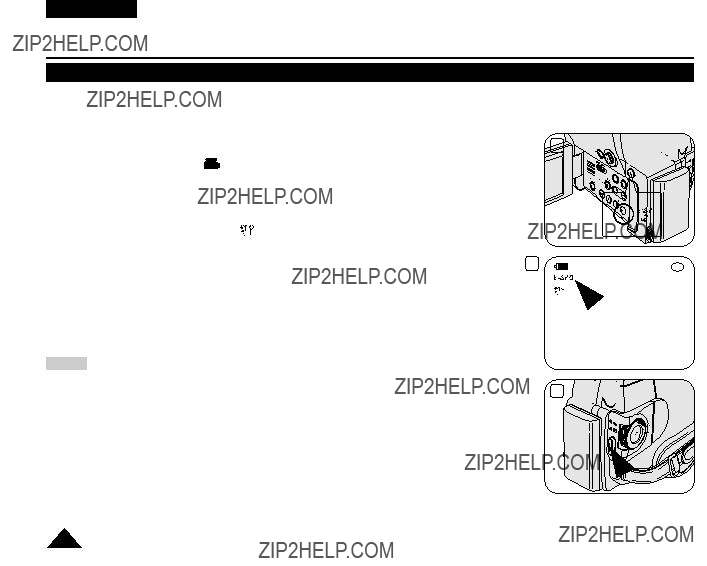


 ???
???


 ???
???


 ???
???


 ???
???

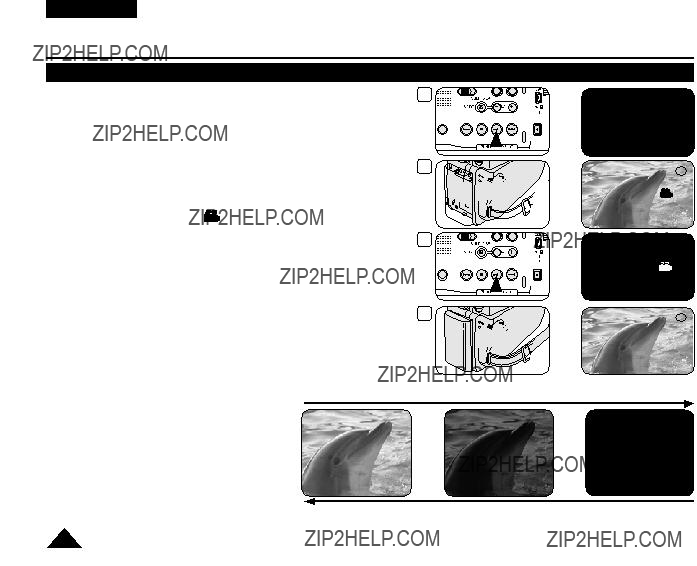
 ) is displayed.
 )>
)> 
 )>
)> 
 ) is displayed.
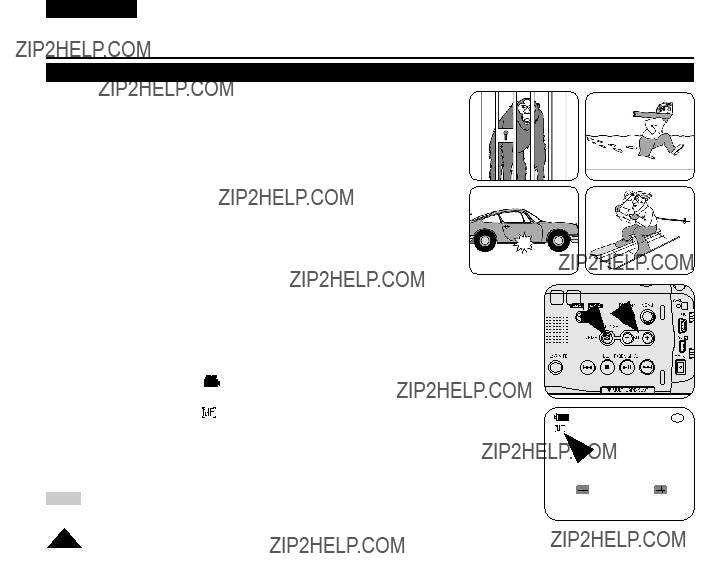

 )> mode
 )> mode
 )> (High Shutter Speed) mode


 Move
Move 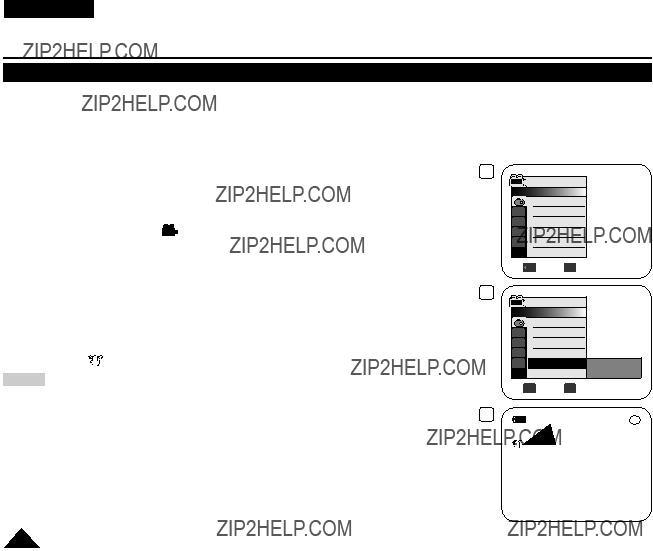
 Move
Move 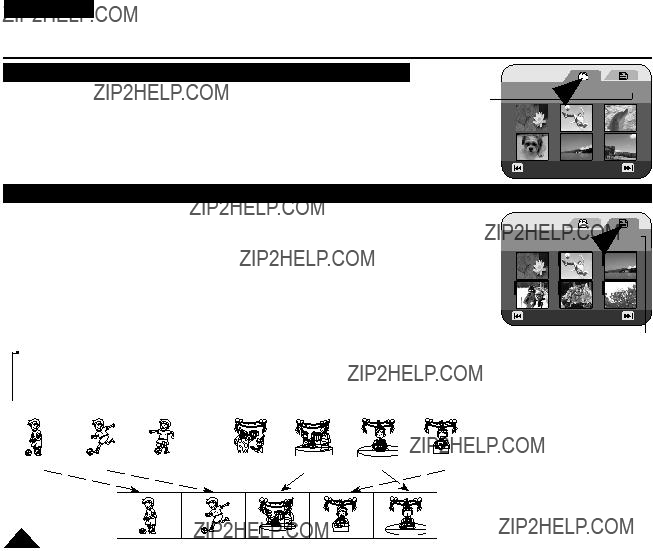


 10
10 


 >.
>.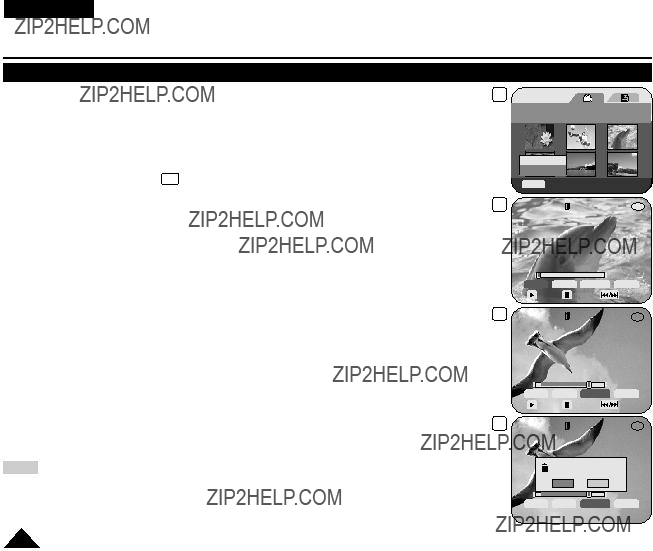
 (Player)]
 Play
Play  Pause
Pause  Search
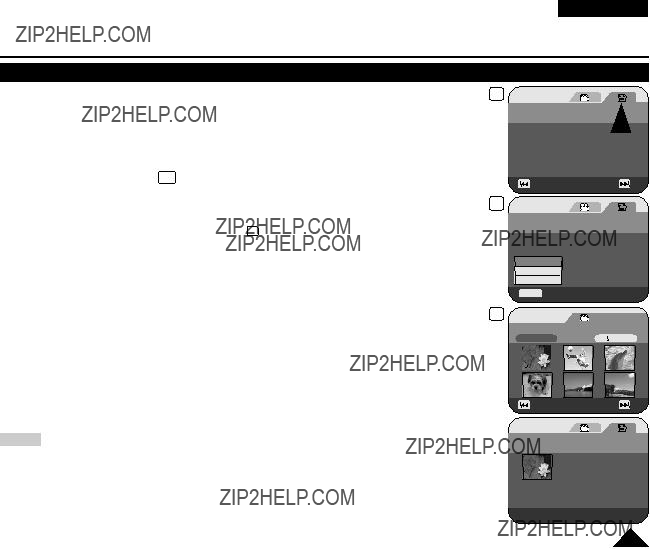
 (Player)]
 ), then move the
 ).
). Previous Page Next Page
 (Player)]
 ), then move the
  ).
).
 10
10 


 (Player)]
 ), then move the
  ).
). >.
>. Playlist
 Move
Move  Playlist
 (Player)]
 ), then move the
 ).
).
 (Player)]
 ), then move the
  ).
).

 (Player)]
 ), then move the
  ).
).

 Play
Play  Pause
Pause  Search
 Play
Play  Pause
Pause  Search
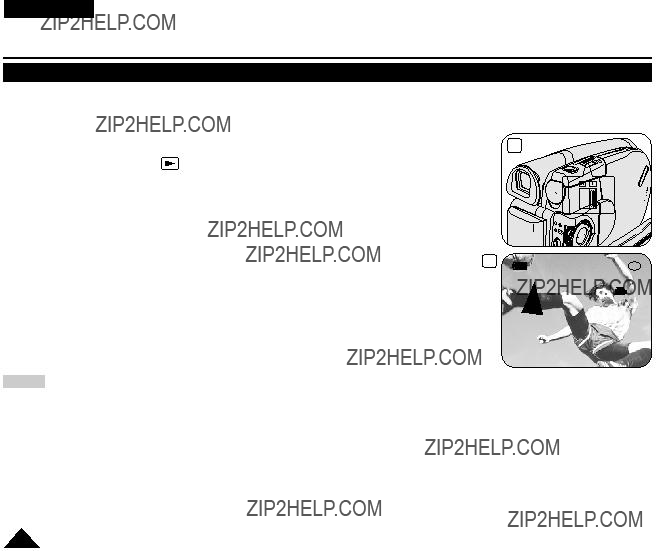
 (Camera)]
  (Player)]
 ???Disc Manager
 Move
Move 
 Move
Move  ???Disc Manager
 ???Disc Manager
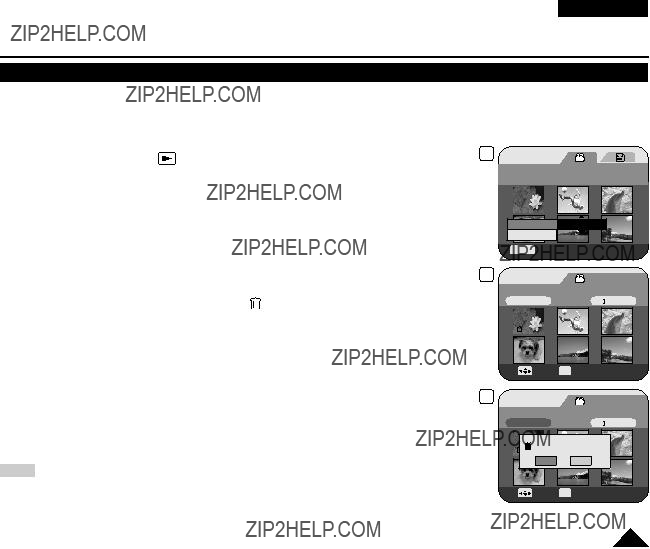
 Cannot edit in camcorder.

 and
and 
 .
.


 and
and  .
.
 ???Disc Manager
 Move
Move  ???Disc Manager
 Move
Move 

 (Player)]


 DCIM
DCIM File number
 Move
Move 

 (Player)]

 (Player)]
 ) is displayed.
 Previous Page Next Page
 Move
Move  ) mark when they are displayed.
 (Player)]
 ???Memory
 Move
Move 
 ???Memory
 Move
Move 
 (Player)]
 Move
Move  ???Memory
 Move
Move 


 16 min
 (Player)]
 ), then move it right to highlight the moving image icon (
 ).
).
 playback.


 malfunction.


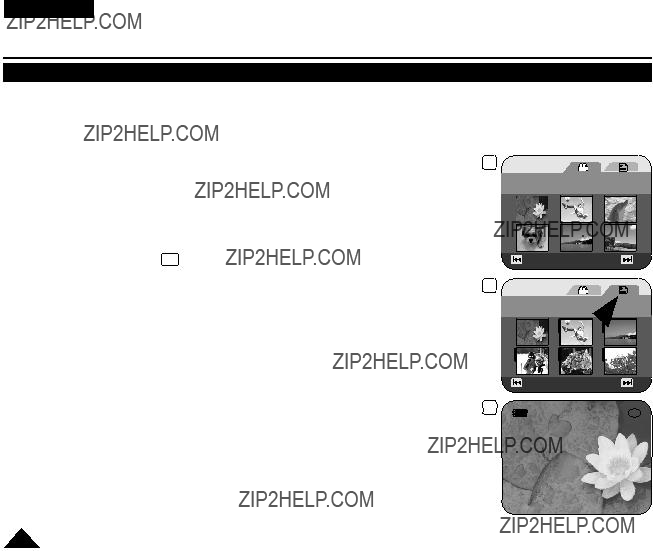
 (Player)]
 ) and number of prints are displayed.
 (Player)]
 Previous Next


 (Camera)]
  (Player)]


 ??? are trademarks of Sony Corporation.

 mentioned herein may be the trademarks or registered trademarks of their respective companies.


 ?????????? (GREECE)