Searching for a still image
??? The Photo Search works only in <Player> mode. ???page 19
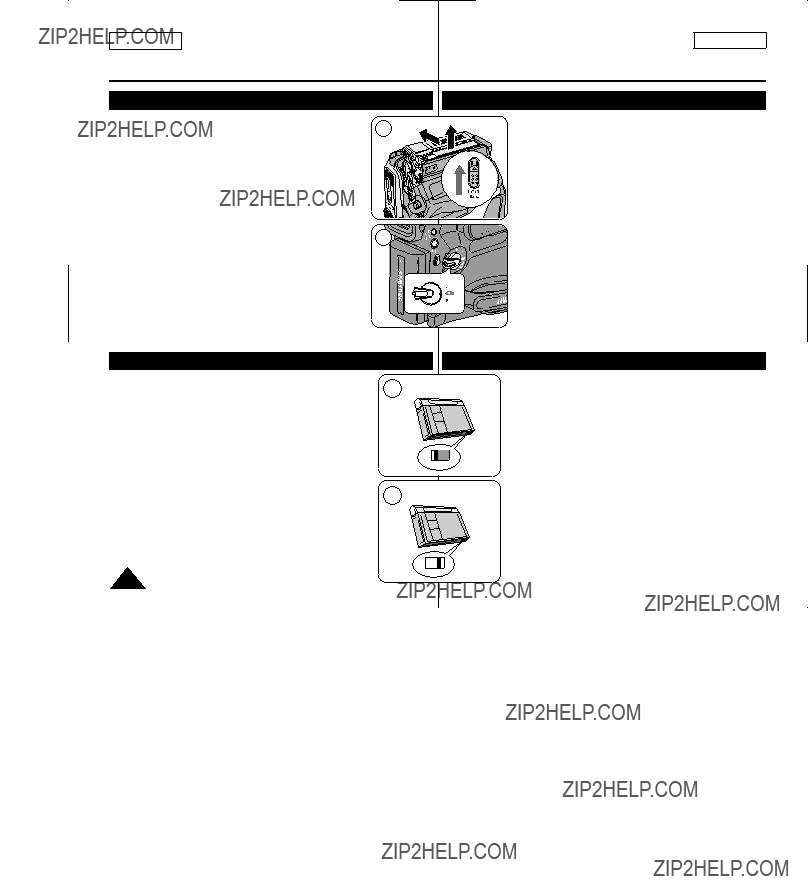
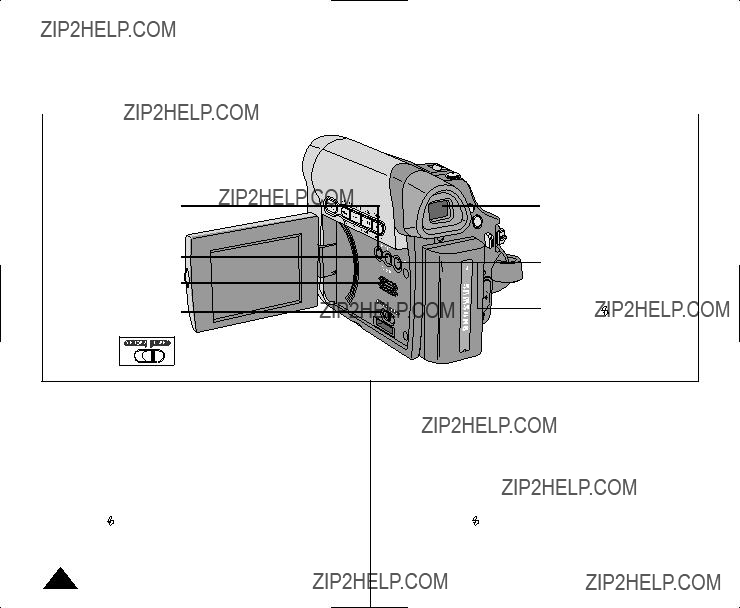
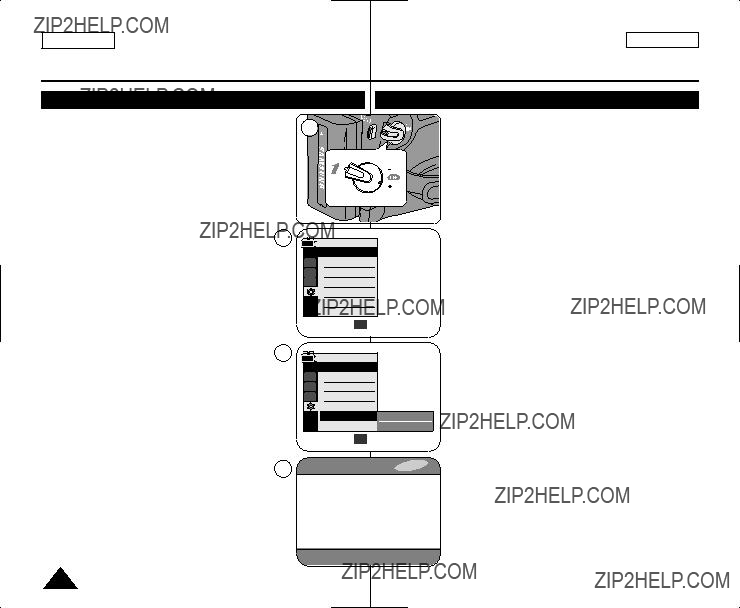
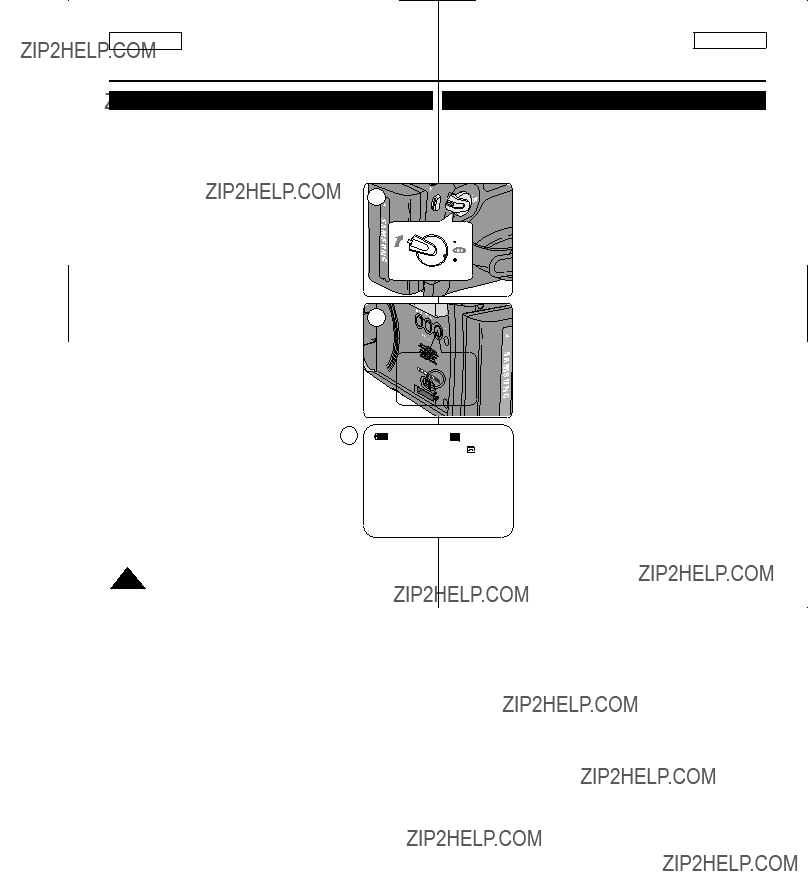
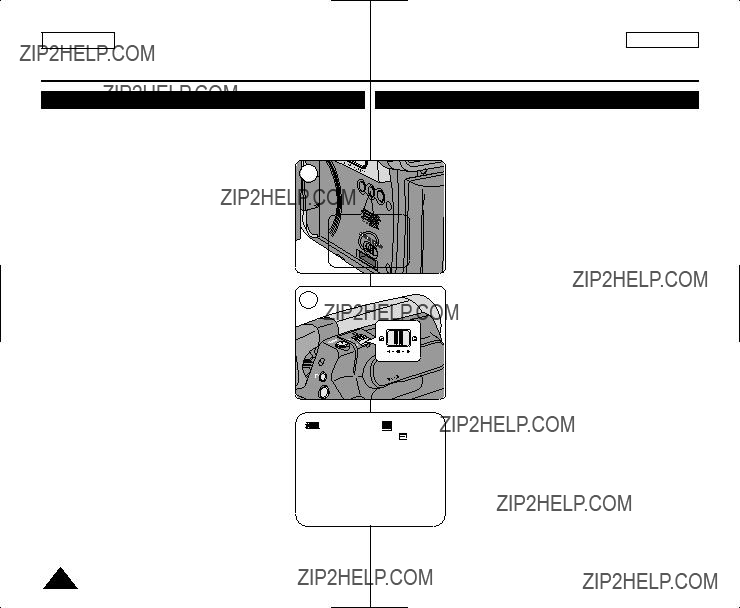
1.Set the [Power] switch to [PLAYER].
2.Set the [Mode] switch to [TAPE].
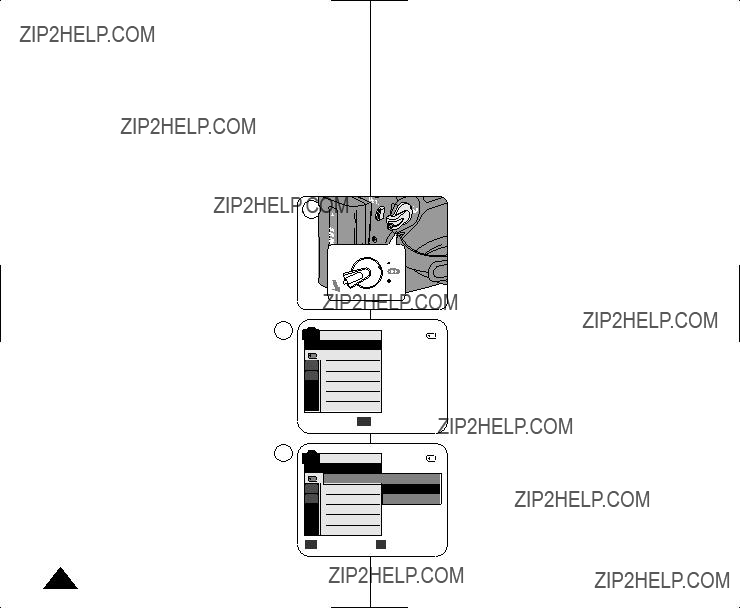
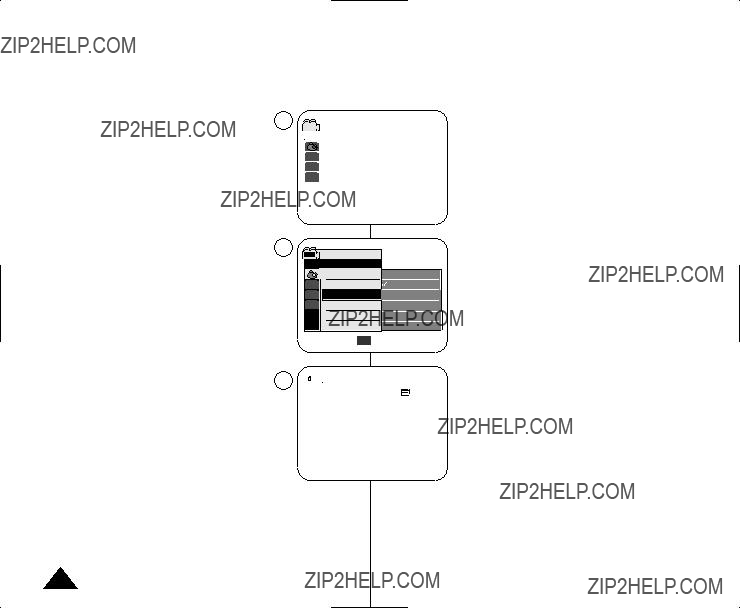
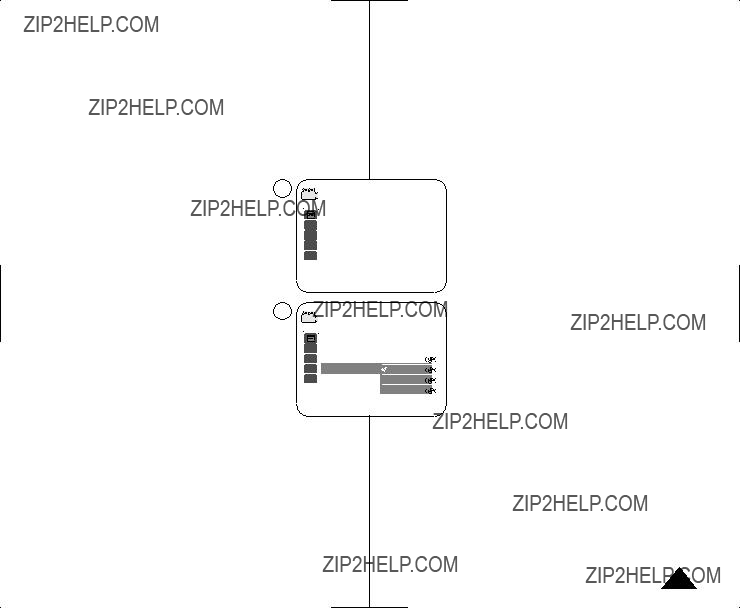
3.Press the [MENU] button.
??? The menu list will appear.
4.Move the [Zoom] lever to the up or down to select <Tape>, then press the [OK] button.
5.Move the [Zoom] lever to the up or down to select
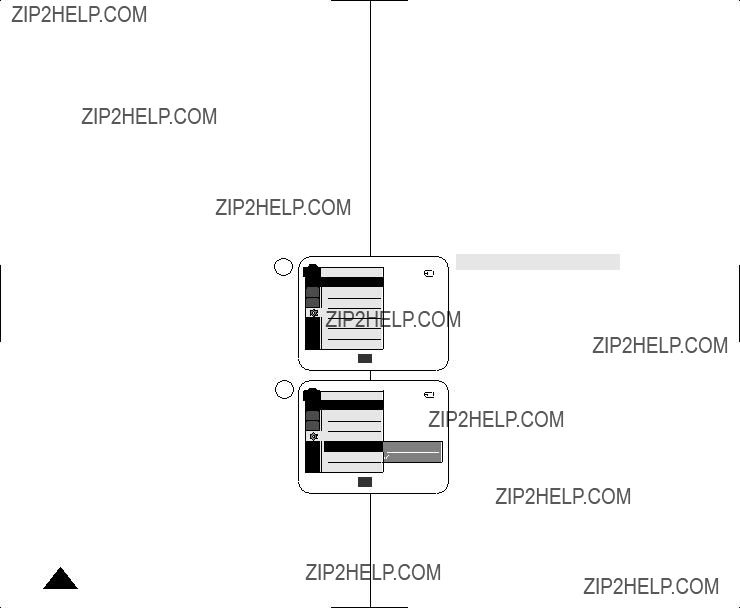
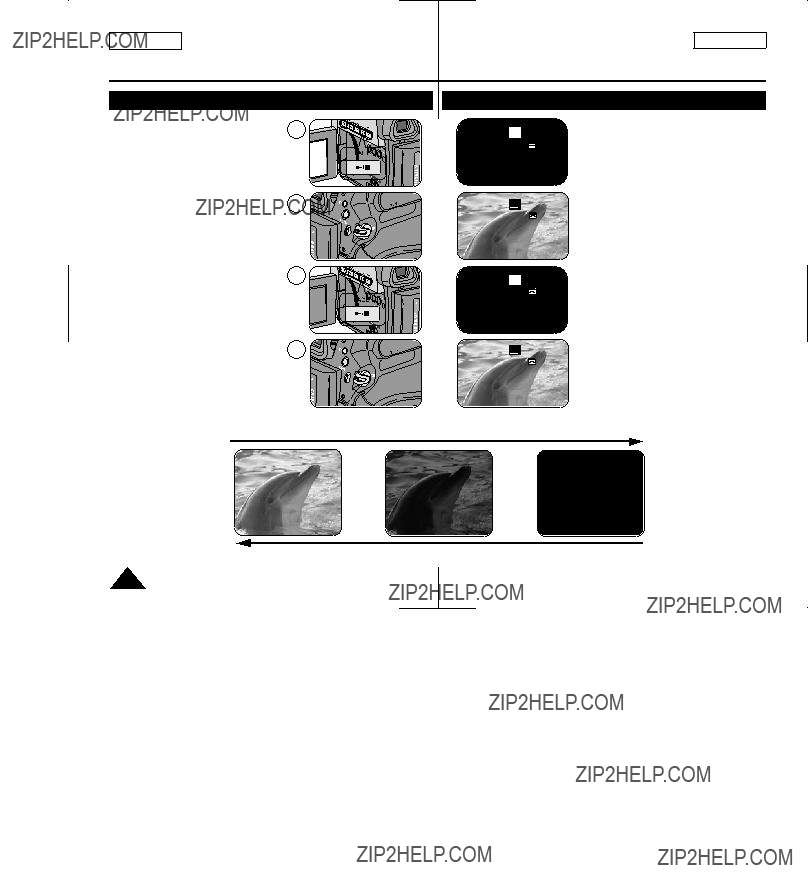
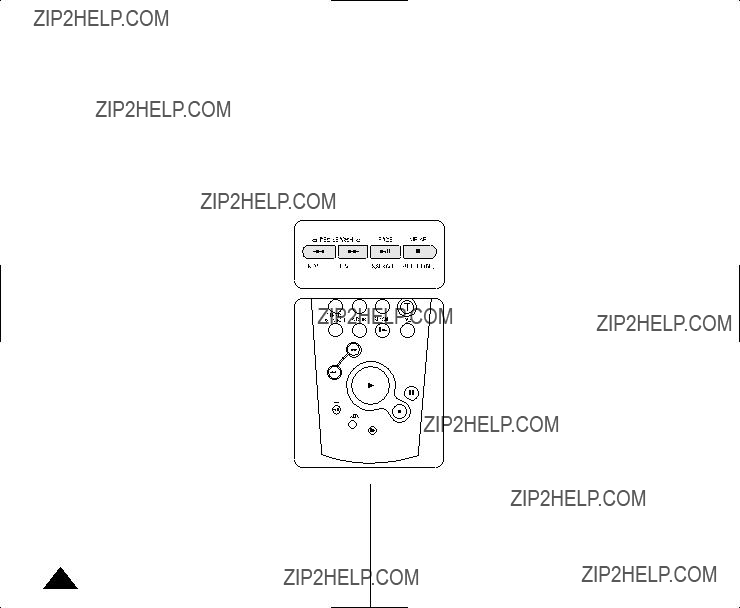
6. Press the [????/?????? (REW/FF)] buttons to search the still image. ??? The photo search process appears while you are
searching.
??? After completing the search, the Camcorder displays the still image.
??? When there are no still images recorded on the tape, it will be fully rewound or forwarded.
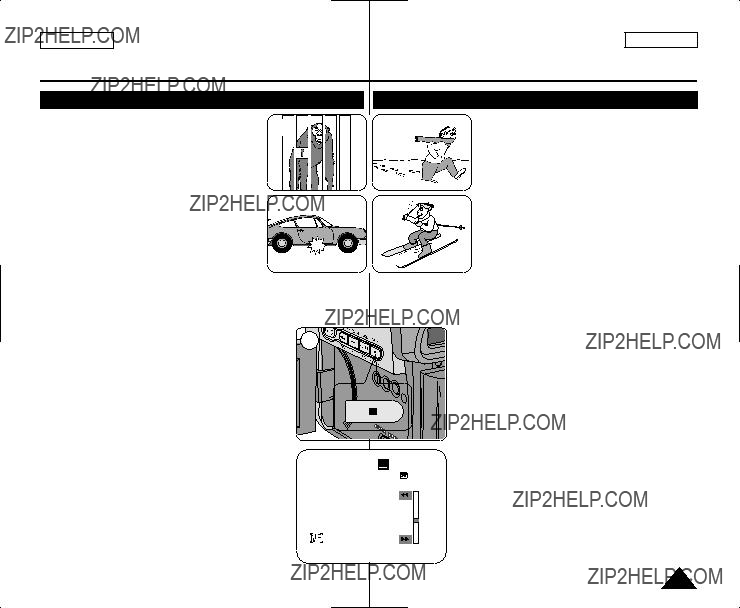
7. To exit, press the [??? (STOP)] or [MENU] button.
[ Notes ]
???Still image recording is not available while recording.
???You can use still image recording by using the [PHOTO] button on the remote control. Pressing the [PHOTO] button on the remote control records the still image with automatic focusing. (SC-D965 only)
???Still image recording is not available while COLOR NITE or 16:9 Wide is in use.
???DIS, Digital Zoom, COLOR NITE, Visual Effect are not available, when still image recording.
???Still image recording while EASY.Q, DIS or Digital Zoom mode is in use will release the current mode.
(After a still image is taken, the mode will return automatically.)
56
1.Coloque el interruptor [Power] en [CAMERA].
2.Coloque el interruptor [Mode] en [TAPE].
3.Presione el bot??n [PHOTO].
???La imagen fija se graba durante aproximadamente 6 y 7 segundos.
4.Tras haber grabado la imagen fotogr??fica, la videoc??mara vuelve a su modo anterior.
B??squeda de una imagen fija
???La b??squeda de foto s??lo est?? disponible en modo
<Player>. ???p??g. 19
1.Coloque el interruptor [Power] en [PLAYER].
2.Coloque el interruptor [Mode] en [TAPE].
3.Presione el bot??n [MENU].
???Aparecer?? la lista de men??s.
4.Mueva la palanca [Zoom] arriba o abajo para seleccionar <Tape> y presione el bot??n [OK].
5.Mueva la palanca [Zoom] arriba o abajo para seleccionar
<Photo Search> y presione el bot??n [OK].
???Aparecer?? ????/?????? en la pantalla LCD.
6.Presione los botones [????/?????? (REW/FF)] para buscar la imagen fotogr??fica.
???El proceso de b??squeda de foto aparece mientras se busca.
???Tras finalizar la b??squeda, la videoc??mara muestra la imagen fotogr??fica.
???Cuando no hay im??genes fijas grabadas en la cinta, se rebobinar?? o se pasar?? completamente.
7.Para salir, presione el bot??n [??? (STOP)] o [MENU].
[ Notas ]
???La grabaci??n de im??genes no est?? disponible al grabar.
???Puede utilizar la grabaci??n de im??genes fijas utilizando el bot??n [PHOTO] del control remoto.
Al pulsar el bot??n [PHOTO] del mando a distancia se graba la imagen fija con el enfoque autom??tico. (S??lo SC-D965)
???La grabaci??n de im??genes fijas no est?? disponible mientras se encuentra en uso COLOR NITE o 16:9 Wide.
???DIS, Digital Zoom, COLOR NITE, Visual Effect no est??n disponibles durante la grabaci??n de im??genes fijas.
???La grabaci??n de im??genes fijas mientras se est?? en el modo EASY.Q, DIS o Digital Zoom liberar?? el modo actual. (Tras capturar una imagen fija, el modo volver?? a ajustarse autom??ticamente en el modo anterior.)


 MENU
MENU 


 ) will blink for 3 seconds on the LCD Screen and then disappear.


 ) parpadear?? durante 3 segundos en la pantalla LCD y desaparecer??.


 On
On

 On
On


 Battery Pack is removed from the Camcorder and
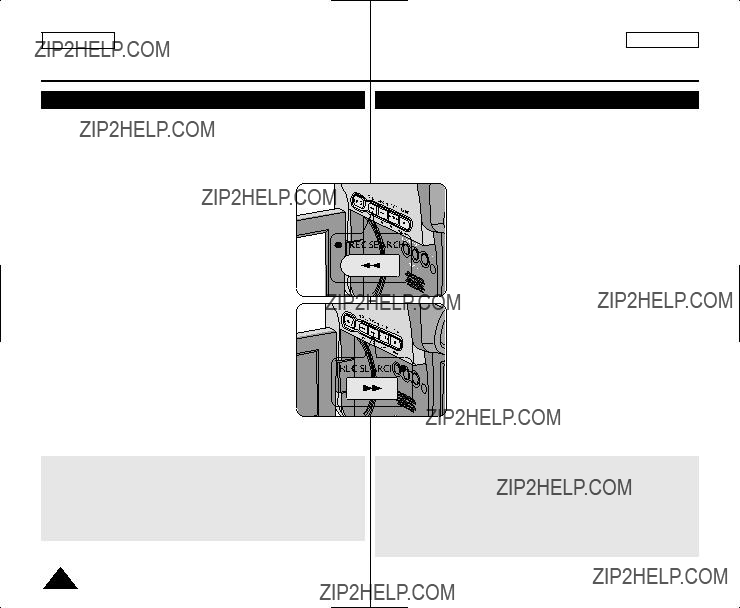


 ) icon is displayed.
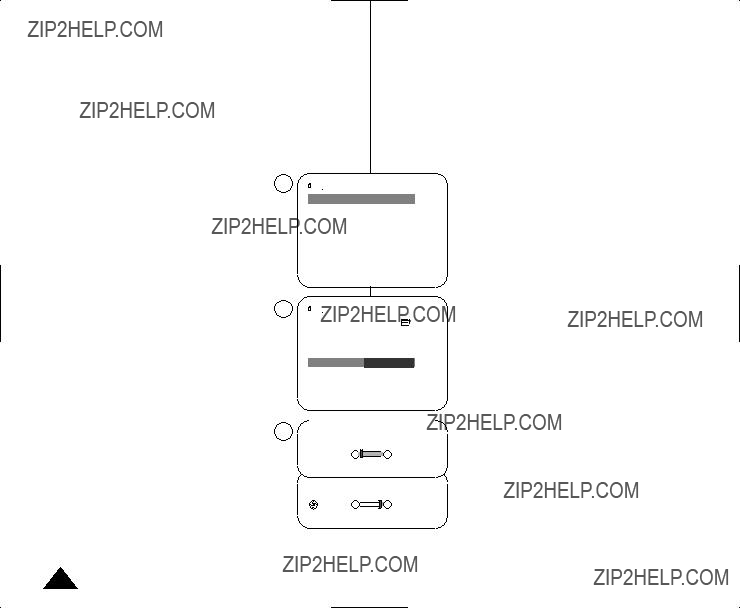


 ) is displayed.


 Protection


 A
A 1min
1min

 (Red-eye
 (reducci??n autom??tica de ojos rojos), el flash se dispara dos veces: una para realizar la reducci??n de ojos rojos y otra para sacar la imagen principal. Existe un desfase de aproximadamente 1,5 segundos entre los flashes.