ENGLISH
Digital Video Camcorder
VP - D361(i)/D361W(i)/
D362(i)/D363(i)/
D364W(i)/D365W(i)
AF Auto Focus
CCD Charge Coupled Device
LCD Liquid Crystal Display
RoHS compliant
Our product complies with ???The Restriction Of the use of
certain Hazardous Substances in electrical and electronic
equipment???, and we do not use the 6 hazardous materials- Cadmium(Cd), Lead (Pb), Mercury (Hg), Hexavalent Chromium (Cr+6), Poly Brominated Biphenyls (PBBs), Poly Brominated Diphenyl Ethers(PBDEs)- in our products.
Owner???s Instruction Book
Before operating the unit, please read this Instruction Book thoroughly, and retain it for future reference.
This product meets the intent of
Directive 89/336 CEE, 73/23 CEE, 93/68 CEE.
Use only approved battery packs.
Otherwise, there is a danger of overheating, fire or explosion. Samsung is not responsible for problems occurring
due to using unapproved batteries.
ESPA??OL
Videoc??mara digital
VP - D361(i)/D361W(i)/
D362(i)/D363(i)/
D364W(i)/D365W(i)
AF Enfoque autom??tico
CCD Dispositivo acoplado porcarga
LCD Pantalla de cristal l??quido
Compatibilidad RoHS
Nuestro producto cumple con ???La restricci??n de uso de
ciertas sustancias peligrosas en equipo el??ctrico y
electr??nico???, y no utilizamos los seis materiales peligrosos: Cadmio Cd), Plomo (Pb), Mercurio (Hg), Cromo hexavalente (Cr+6), bifenilos polibrominados (PBBs), difenilos ??teres polibrominados (PBDEs)- en nuestros productos.
Manual de instrucciones
Antes de utilizar la c??mara lea detenidamente este manual de instrucciones y cons??rvelo para consultas posteriores
Este producto cumple con las normas CEE 89/336, CEE 73/23 y CEE93/68.
Utilice ??nicamente bater??as aprobadas. De lo contrario, existe peligro de sobrecalentamiento, incendio o explosi??n. Los problemas causados por el uso de accesorios no autorizados no los cubre la garant??a de Samsung.


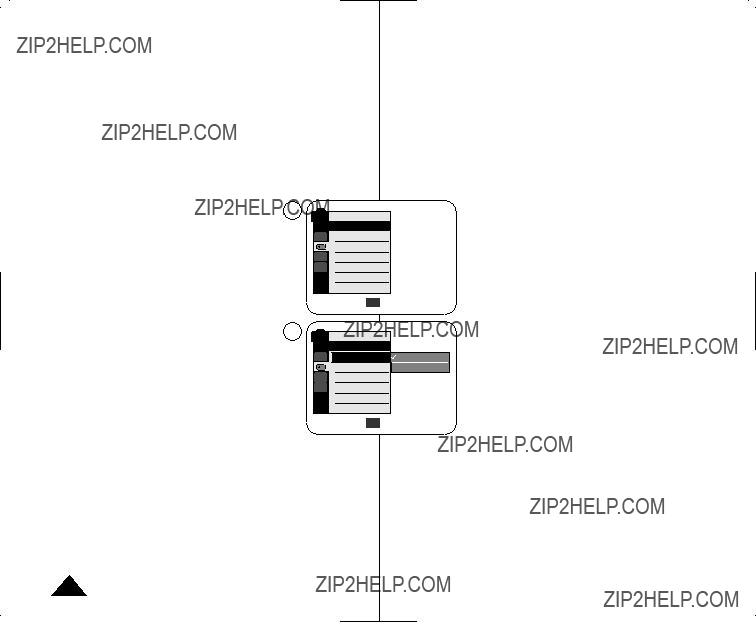
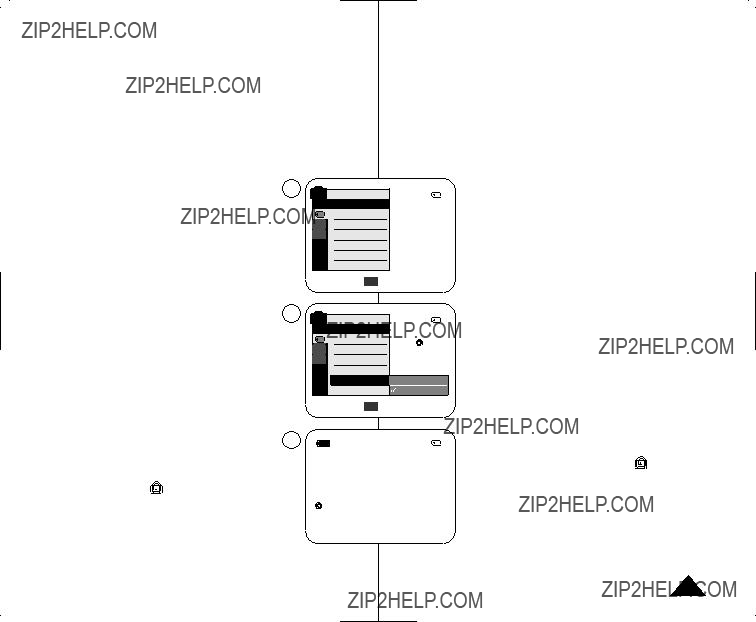
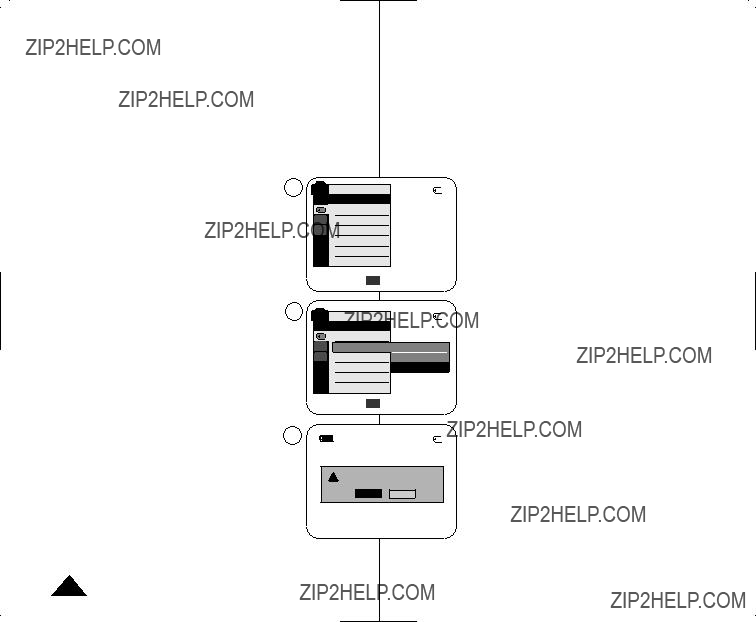
 MENU
MENU 


 ) will blink for 3 seconds on the LCD Screen and then disappear.


 ) parpadear?? durante 3 segundos en la pantalla LCD y desaparecer??.


 On
On


 )>
)>  )>
)> 

 COLORNITE
 LIGHT
LIGHT 


 ) icon is displayed.
 ).
).
 )>
)>  [ Notas ]
 )>
)> 

 COLOR NITE
 ??
?? [ Peligro ]


 ) icon is displayed.

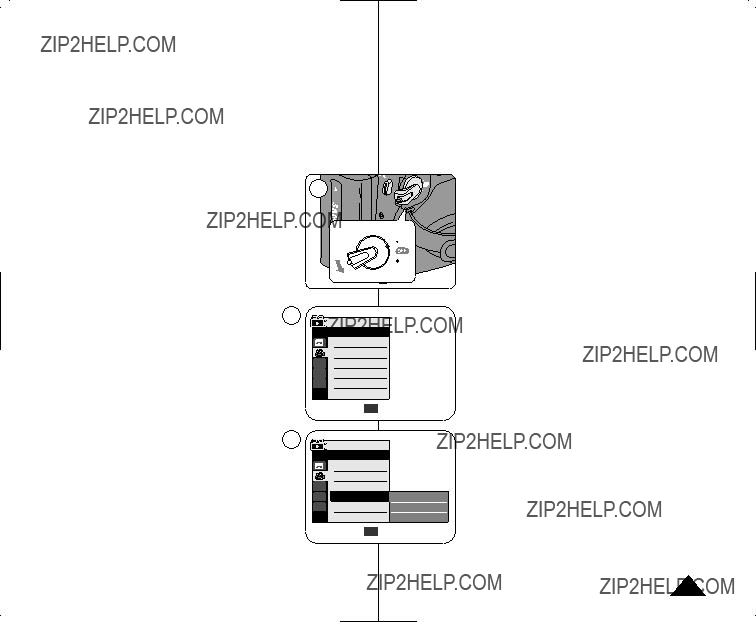
 Camera Mode
 ).
).


 MENU
MENU


 ???
???


 ).
).
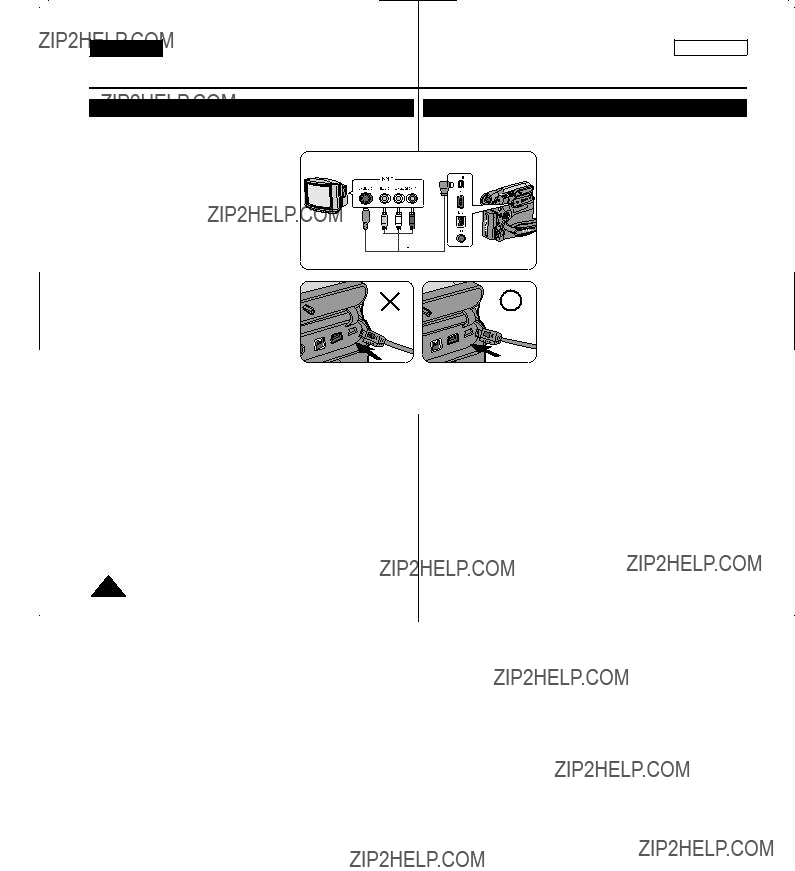
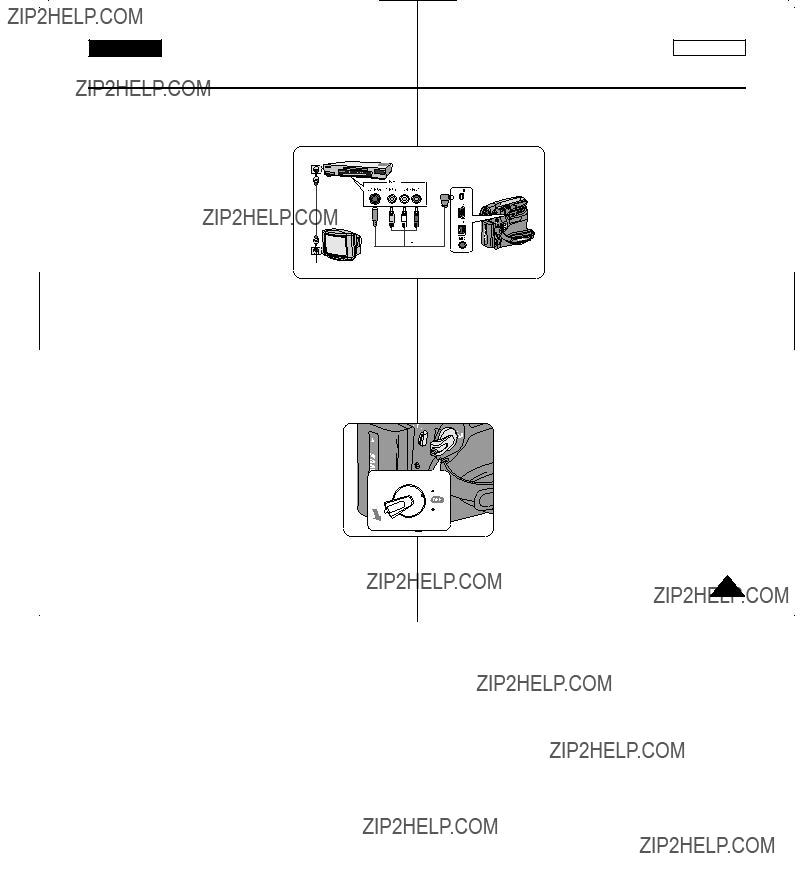

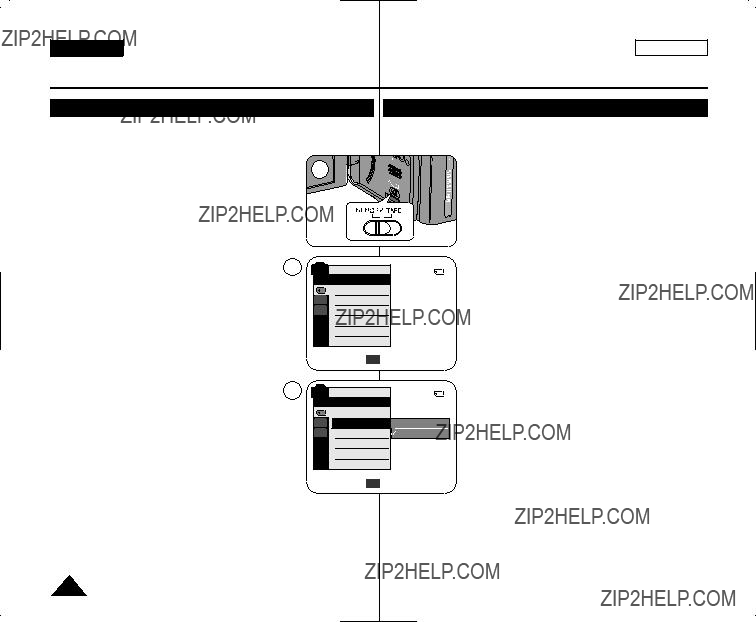
 AV In
AV In


 Protection


 A
A 1min
1min


 is displayed. 4. Press the