TROUBLESHOOTING
Troubles sometimes are caused by simple ???faults??? that you can correct without the help of a service technician. If you experience any difficulty with your TV, check a few basic remedies before calling your service technician.
TV will not turn on
???Check to make sure it is plugged in.
???Check the wall receptacle (or extension cord) to make sure it is ???live??? by plugging in something else.
???Maybe batteries in remote control are ???dead.???
???Maybe remote control is not aimed at remote sensor.
???The front panel controls may be locked (disabled). Use the remote control to unlock the front panel controls by selecting the Front Panel Block in the Parental Controls menu and choosing Unblock.
Controls don???t work
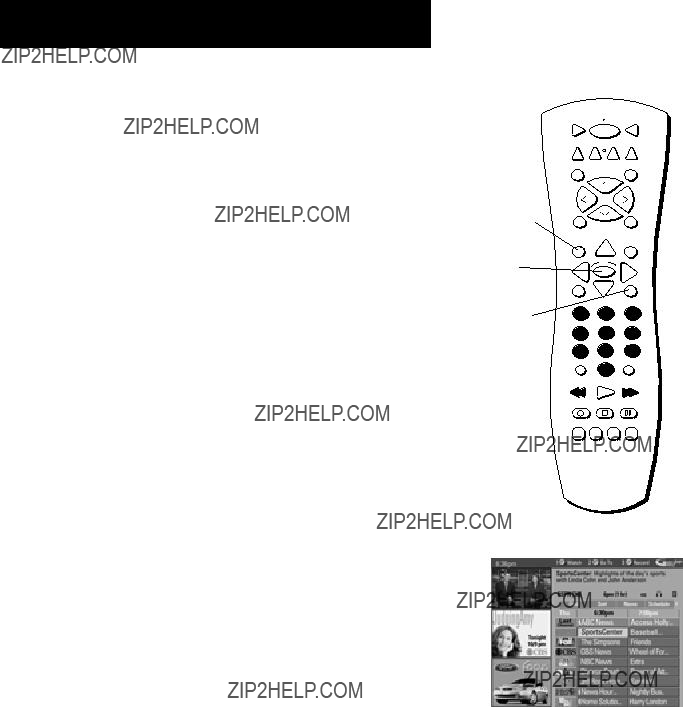
???If using remote control, make sure remote is in TV mode by first pressing TV button.
???The front panel MENU button may be disabled. Use the remote control to turn off blocking. Select Front Panel Block in the Parental Controls menu and choose Unblock.
???Try unplugging set for two minutes and then plug it back in and turn it on again.
Problems with remote
???Maybe something is between the remote and the remote sensor.
???Maybe the remote is not aimed directly at the component (TV or VCR) you are trying to control.
???Maybe remote is not in TV Mode. Press the TV button so remote will control TV.
???Maybe batteries in remote are weak, dead or installed incorrectly. Try replacing batteries. (Note, if you remove the batteries, you may have to reprogram the remote to control other components.)
???Remove batteries and hold number 1 for at least 60 seconds to drain the microprocessor inside the remote. Release number 1, replace the batteries, and (if necessary) reprogram the remote.
Guide comes on when I turn on TV
???The Guide automatically comes up when you use the TV button on the remote to turn on the TV. You can turn off this feature by pressing GUIDE on your remote control and then press MENU to select the Menu bar. Press the right arrow to select Setup. Choose Review Options and then select OFF.
Turns off while playing
???Schedule off function may have been activated.
???Electronic protection circuit may have been activated because of a power surge. Wait 30 seconds and then turn on again. If this happens frequently, the voltage in your house may be abnormally high or low.
???Unplug. Wait five minutes. Plug in again.
TV turns on unexpectedly
???Scheduled On or Watch from the Guide may have been activated.
Blank screen
???Maybe the component connected to the input jacks is not turned on.
???Try another channel.
???Press RESET, in case the picture controls are set too low.
No sound, picture okay
???Maybe sound is muted. Try pressing volume up button to restore sound.
???Maybe speakers are turned off. Check the Audio Output and Speakers control panel in the Audio menu.
???If using an S-VHS component, remember to also connect the component???s L and R AUDIO OUT jacks to the TV???s L and R INPUT jacks.
Can???t select certain channel
???Channel may be blocked or not approved in the Parental Controls menu.
???If using a VCR, check to make sure the TV/VCR switch on the VCR is in the correct position.


 OFF TV


 OFF TV


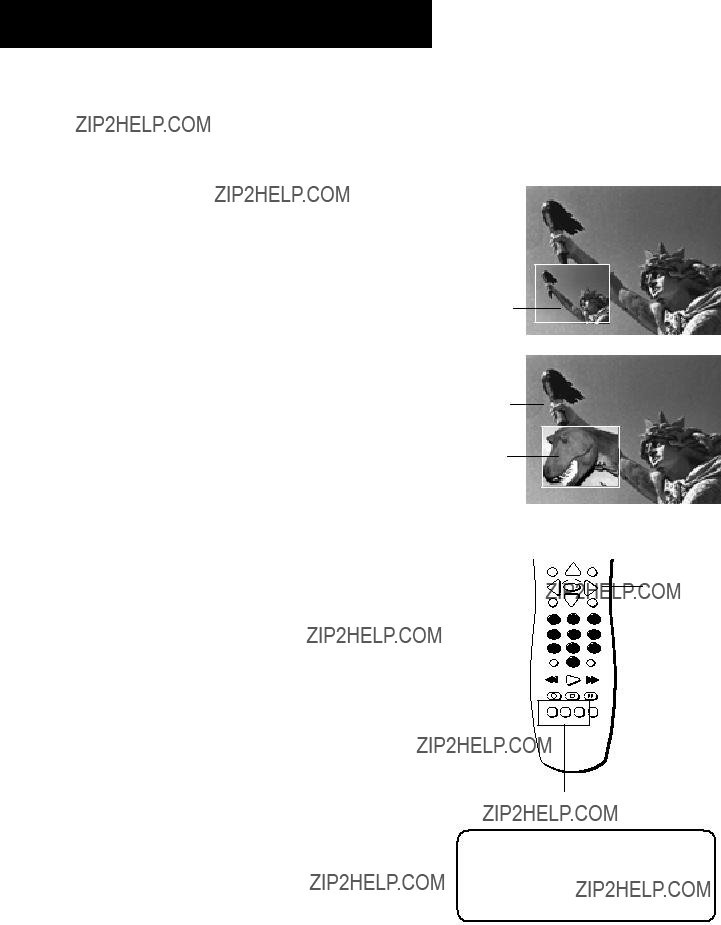
 Tint
Tint  Black Level
  Sharpness
  Press MENU to exit.


 Categories


 Menu
Menu