ROil
Wireless
Hea dp h 0 n es
with 900 MHz Transmitter
\
\
Freedom From Wires
listen anY"f'herein your
WHP150
ROil
Wireless
Hea dp h 0 n es
with 900 MHz Transmitter
\
\
Freedom From Wires
listen anY"f'herein your
WHP150

INTRODUCTION
The 900 MHz stereo wireless headphone system uses latest wireless technology that enables you to enjoy music and TV sound anywhere inside or outside your home. You can simply connect the system to any sound source such as CD, TV, VCR,
???900 MHz Radio Frequency (RF) technology
???RF technology lets you roam freely throughout your home
???Operating distance up to 125 ft.
???No
???
???Virtually interference free stereo quality
???Automatic Level Control and auto ON/OFF control.
HEADSET SAFETY
???Do not play your headset at a high volume. Hearing experts advise against continuous extended play.
???.If you experience a ringing in your ears, reduce the volume or discontinue use.
???Make sure the volume level of the headphone is set at a comfortable listening level hefore placing it in position over your ears.
2

SYSTEM COMPONENTS
RADIO TRANSMITIER
HEADPHONE RECEIVER
Stereo Indicator
Tune
3
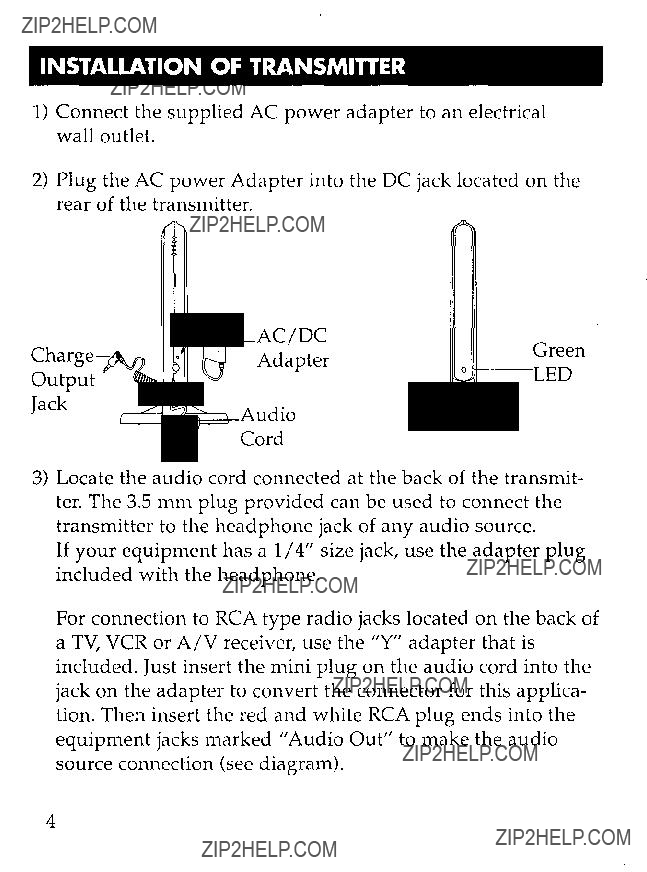
INSTALLATION OF TRANSMlnER
1)Connect the supplied AC power adapter to an electrical wall outlet.
2)Plug the AC power Adapter into the DC jack located on the rear of the transmitter.
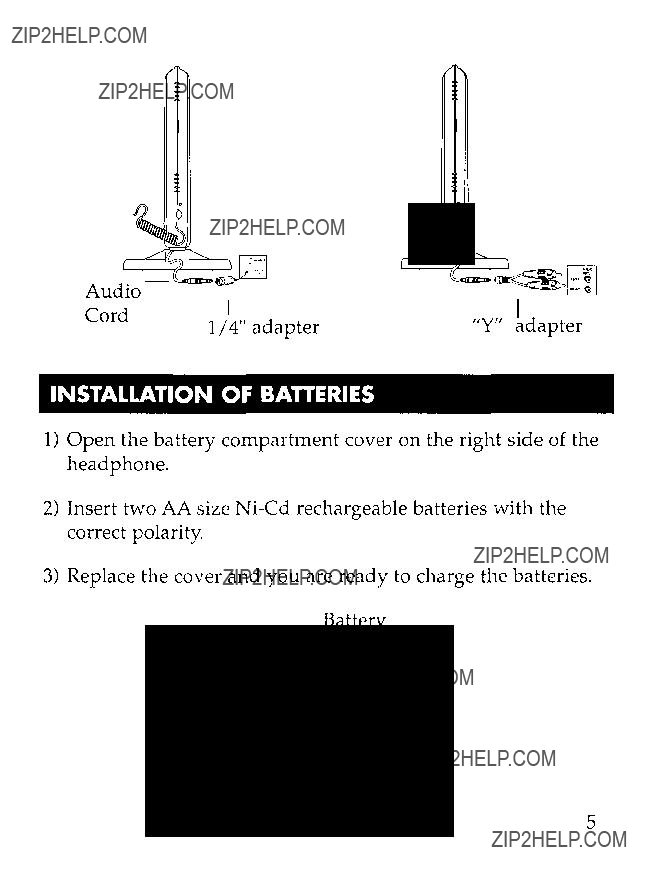
3)Locate the audio cord connected at the back of the transmit- ter. The 3.5 mm plug provided can be used to connect the transmitter to the headphone jack of any audio source.
If your equipment has a 1/4" size jack, use the adapter plug included with the headphone.
For connection to RCA type radio jacks located on the back of a TV, VCR or A/V receiver, use the "Y" adapter that is included. Just insert the mini plug on the audio cord into the jack on the adapter to convert the connector for this applica- tion. Then insert the red and white RCA plug ends into the equipment jacks marked "Audio Out" to make the audio source connection (see diagram).
4
INSTALLATION OF BATTERIES
1)Open the battery compartment cover on the right side of the headphone.
2)Insert two AA size
3)Replace the cover and you are ready to charge the batteries.
Battery
Door
5

CHARGING THE BAnERIES
I
1) Switch the ON /OFF switch on the headphone receiver to OFF.
2)Plug the charge output plug, located on the back of the transmitter, into the charge input jack of the headphone receiver to charge the batteries.
3)The charging process starts automatically and the RED LED lights up indicating the unit is charging.
4)After the quick charge is completed, the quick charge indicator will be OFF; however, the trickle charge will continue.
Caution: Do not use other kinds of batteries to replace the
HeadphoneBase
aRed LED
The
6
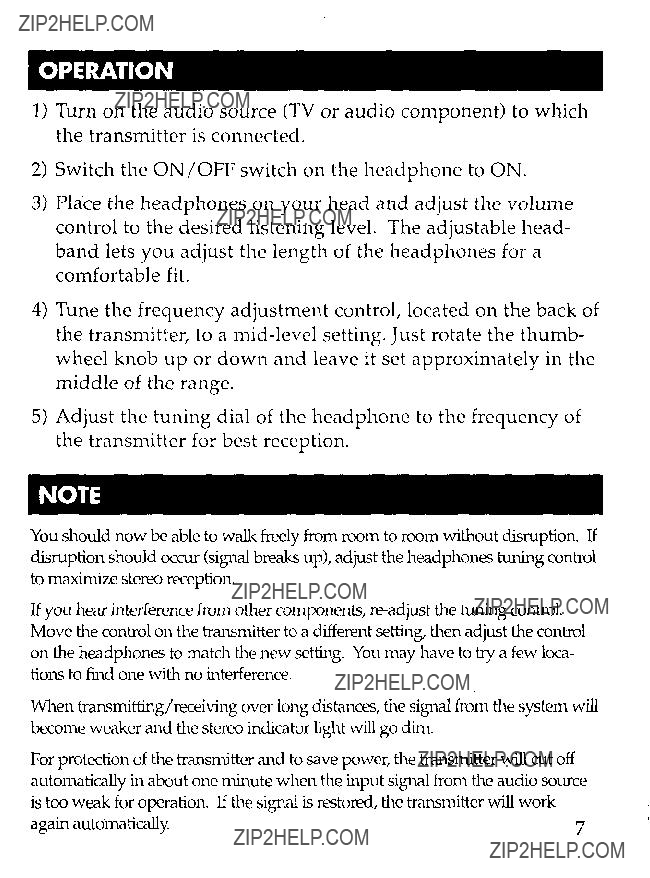
OPERATION
1)Turn on the audio source (TV or audio component) to which the transmitter is connected.??
2)Switch the ON /OFF switch on the headphone to ON.
3)Place the headphones on your head and adjust the volume control to the desired listening level. The adjustable head- band lets you adjust the length of the headphones for a comfortable fit.
4)Tune the frequency adjustment control, located on the back of the transmitter, to a
5)Adjust the tuning dial of the headphone to the frequency of the transmitter for best reception.
NOTE
You should now be able to walk freely from room to room without disruption. If disruption should occur (signal breaks up), adjust the headphones tuning control to maximize stereo reception.
If you hear interference from other components,
When transn1itting/receiving over long distances, the signal from the system will become weaker and the stereo indicator light will go dinl.
For protection of the transnutter and to save power, the transnutter will cut off automatically in about one minute when the input signal from the audio source is too weak for operation. If the signal is restored, the transnutter will work
TROUBLE SHOOTING,
No Sound
Distortion
Ensure the AC adapter is fully inserted into the AC outlet and into the power connection input on the transmitter.
Ensure the headphones ON /OFF switch is in the ON position.
Headphone batteries may be too low. Charge batteries.
Ensure the TV or audio component is on and tuned to a channel with audio.
Adjust the volume control on the headphone to turn up the volume.
The connected audio/video equipment is not playing (CD, Tape, etc. .. ). Check the audio source.
The volume of headphone is turned down, adjust the volume to an appropriate level.
Ensure the stereo indicator light is on. If not, adjust the tuning control on the headphones until the indicator light is on.
Change the position of the FREQ. ADJUST control to change operating frequency. You must then adjust the tuning control on the headphone until the stereo indicator light is on.
Headphone batteries may be too low. Charge the batteries or replace with new ones if they do not charge.
Ensure the level control wheel is adjusted properly.
The headphone is too far from transmitter, move closer.
The input level of the audio Signal is too low. Turn up the volume of the audio source equipment.
8

SPECIFICATIONS
NOTE: Changes or modifications not expressly approved by the party responsible for compliance to the FCC Rules could void the users authority to operate this equipment
9
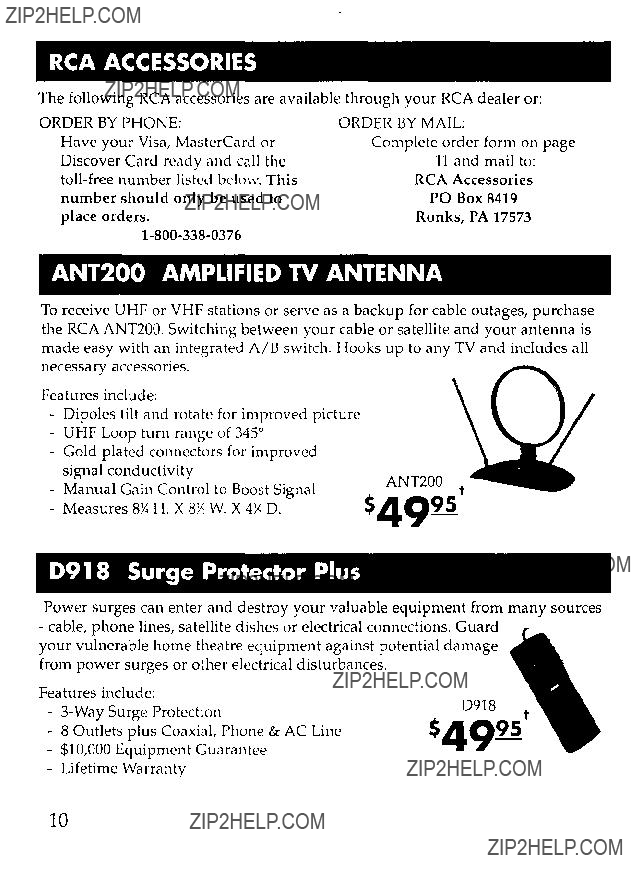
RCA ACCESSORIES
The following RCA accessories are available through your RCA dealer or:
ANT200 AMPLIFIED TV ANTENNA
To receive UHF or VHF stations or serve as a backup for cable outages, purchase the RCA ANT200. Switching between your cable or satellite and your antenna is made easy with an integrated AlB switch. Hooks up to any TV and includes all necessary accessories.
Features include:
-Dipoles tilt and rotate for improved picture
-UHF Loop turn range of 3450
-Gold plated connectors for improved signal conductivity
Manual Gain Control to Boost Signal
-Measures 8Y, H. X 8)' W. X 4:,( D.
ANT200 t
$4995
D918 Surge Protector Plus
Power surges can enter and destroy your valuable equipment from many sources - cable, phone lines, satellite dishes or electrical connections. Guard
your vulnerable home theatre equipment against potential damage from power surges or other electrical disturbances.
Features include:
8 Outlets plus Coaxial, Phone & AC Line
-$10,000 Equipment Guarantee
-Lifetime Warranty
0918 t
$4995
10
RCUSATl UNIVERSAL REMOTE
Universal Remote
Controls 4 Devices, TV, VCR, Satellite or Cable Box, and Audio System
Features include:
-Universal DSS and D13S Compatibility Menu and Guide Controls
-
Code Search For Easy Programming
RCUSATl t
$2995
Nnlllt'
Address
Card Number
Expires: _ 1 _ 1 _
Siglllltlire
ONE YEAR LIMITED WARRANTY
Thomson Consumer Electronics, Inc. warrants that for one year from the date of purchase this product is free from defects in material and workmanship. If the item is defective within that period, return it at your expense to the dealer from whom it was purchased together with proof of purchase for replacement. The exchange unit is under warranty for the remainder of the original product's warranty period. This warranty excludes defects or damage due to misuse, abuse, neglect or acts of God, including but not limited to lightning damage. The foregoing represents Thomson's sole obligation under this warranty.
This warranty gives you specific legal rights, and you may have other rights which vary from state to state. For purchases outside the United States, contact your dealer for warranty information.