Get it fixed, at your home or ours!
Your Home
For repair???in your home???of all major brand appliances, lawn and garden equipment, or heating and cooling systems, no matter who made it, no matter who sold it!
For the replacement parts, accessories, and user???s manuals that you need to do-it-yourself.
For Sears professional installation of home appliances and items like garage door openers and water heaters.
1-800-4-MY-HOME?? (1-800-469-4663)
Call anytime, day or night (U.S.A. and Canada)
www.sears.com www.sears.ca
Our Home
For repair of carry-in items like vacuums, lawn equipment, and electronics, call or go on-line for the location of your nearest
Sears Parts & Repair Center.
1-800-488-1222 Call anytime, day or night (U.S.A. only)
www.sears.com
To purchase a protection agreement (U.S.A.)
or maintenance agreement (Canada) on a product serviced by Sears:
Para pedir servicio de reparaci??n a domicilio, y para ordenar piezas:
1-888-SU-HOGAR?? (1-888-784-6427)
??Registered Trademark / TM Trademark / SM Service Mark of Sears Brands, LLC
??Marca Registrada / TM Marca de F??brica / SM Marca de Servicio de Sears Brands, LLC
90-DAY FULL WARRANTY
If this Sears Treadmill Exerciser fails due to a defect in material or workmanship within 90 days of the date of purchase, call 1-800-4-MY-HOME?? (1-800-469-4663) to arrange for free repair (or replacement if repair proves impossible). The frame and drive motor are warranted for five (5) years from the date of purchase.
This warranty does not apply when the Treadmill Exerciser is used commercially or for rental purposes.
This warranty gives you specific legal rights, and you may also have other rights which vary from state to state.
Sears, Roebuck and Co., Hoffman Estates, IL 60179
 CAUTION
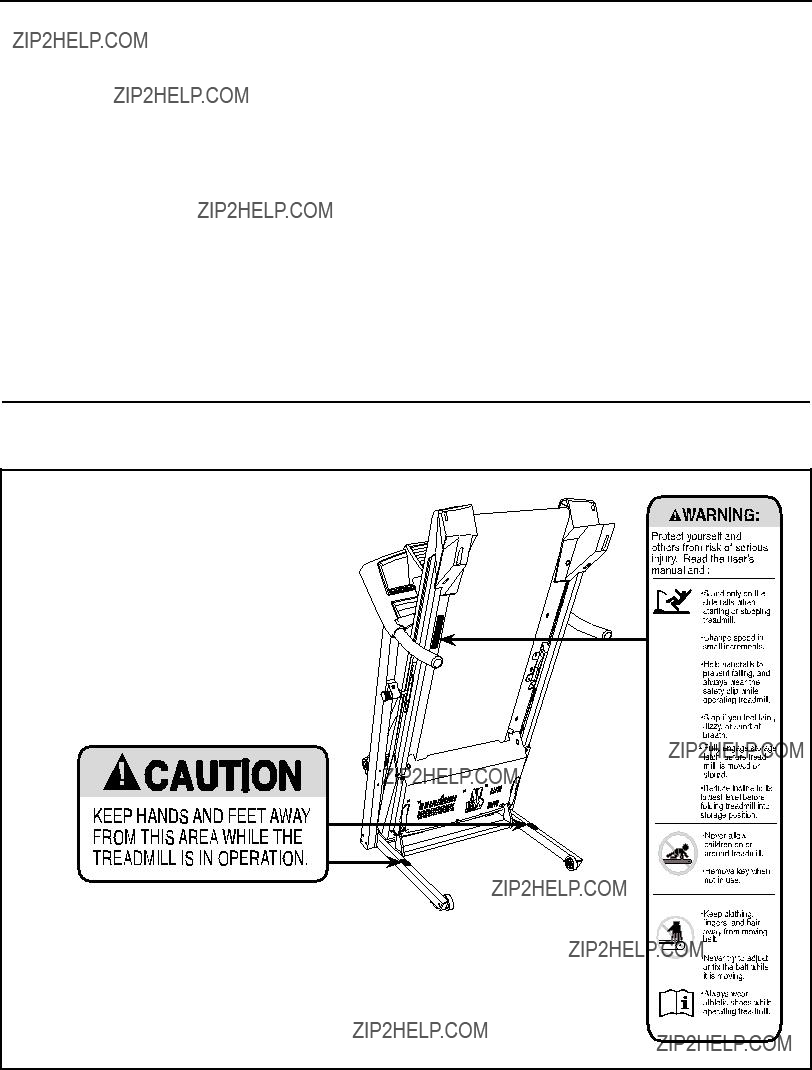


 20
20 


 14
14

 13
13
 13
13