Search by entry on the address book
Destination* ??? Address Book ??? <Registered location name> ??? Location Screen (A)
<Registered location name> ??? Location Screen (A)
Destination* ??? Go To <Registered location name> ??? If the route already set, touch VOICE icon to start route cal- culation. If there is no route, the system starts the route calculation.
Destination* ??? Waypoint <Registered location name> ??? Touch VOICE icon to start route calculation.
Making phone call to entry on the address book
Destination* ??? Call <Registered location name> ??? Touch VOICE icon to call that facility (Only when the phone number is registered in the entry.)
Displaying the map of the entry on the address book
Destination* ??? Display <Registered location name> ??? Display the map of surroundings on that facility.
Search the facilities in vicinity
Destination* ??? Vicinity Search ??? [Category Name]/[Sub Category Name] ??? Location Screen (B)
Displaying the destination history
Destination* ??? Destination History ??? Display the Destination History screen.
Setting the route to your home
Destination* ??? Return Home ??? If the route already set, touch VOICE icon to start route calculation. (If there is no route, the system starts the route calculation.)
Making phone call to your home
Destination* ??? Call Home ??? Touch VOICE icon to call your home (Only when the phone number is registered in your home.)
Setting your home to waypoint
Destination* ??? Waypoint Home ??? Touch VOICE icon to start route calculation. (This function is only available if you have set the destination.)
Display the map of surroundings on your home
Destination* ??? Display Home ??? Display the map of surroundings on your home.
Display the map of surroundings on your destination
Destination* ??? Display Destination ??? Display the map of surroundings on your destination.
Set the map location as your destination
Scroll the navigation map or switch the scroll mode from search result screen. ??? Basic Operation* ??? Set As Desti- nation ??? If the route already set, touch VOICE icon to start route calculation. If there is no route, the system starts the route calculation.
Set the map location as your waypoint
Scroll the navigation map or switch the scroll mode from search result screen. ??? Basic Operation* ??? Set As Way- point ??? Touch VOICE icon to start route calculation.
Registering the map location to the address book
Scroll the navigation map or switch the scroll mode from search result screen. ??? Basic Operation* ??? Registration ??? The system register that point and Information edit screen appears.
Operating the navigation map scale
Map Operation* ??? Change Scale* ??? XXXX <kilo> meter(s) Scale <25m, 50m, 100m, 200m, 500m, 1km, 2km, 5km, 10km, 20km, 50km, 100km, 200km, 500km, 1000km, 2000km> ??? Map screen will be changed to selected scale. (This function is not available in vehicle dynamics mode.)
Map Operation* ??? Change Scale* ??? XXXX mile/yards Scale <0.02miles, 0.05miles, 0.1miles, 0.25miles, 0.5miles, 0.75miles, 1mile, 2.5miles, 5miles, 10miles, 25miles, 50miles, 100miles, 250miles, 500miles, 1000miles, 25yards, 50yards, 100yards> ??? Map screen will be changed to selected scale. (This function is not available in vehicle dynamics mode.)
Map Operation* ??? Change Scale* ??? Zoom Out/Zoom In ??? Map screen will zoom out or zoom in.
Operating the view mode
Map Operation* ??? Change View Mode* ??? Map View, Driver???s View, Twin Map View, Route View, Guide View, Rear View, Vehicle Dynamics ??? Map screen will be changed to selected view mode.
Operating the map orientation
Map Operation* ??? Heading Up, North Up ??? Map orientation will be changed.
Recalculating the route
Route Options* ??? Change Route* ??? Rerouting, Use Main Road, Avoid Main Road, Use Freeway, Avoid Freeway, Use Ferry, Avoid Ferry, Use Toll Road, Avoid Toll Road ??? If the route already set, touch VOICE icon to recalculate.


 How to calculate your destina-
 :
:

 :
:
 (2)
(2) :
:

 :
: or
or  on the scroll bar scrolls you through the list and allows you to view the remaining items.
 :
: to the right of the item allows you to see remained characters.
 :
: to the right of the list. Touching [OK] set the location pointed by the scroll cursor as your destina- tion.


 shows that the route use freeway against the setting [Avoid Freeway] is [On].
 shows that the route use toll road against the setting [Avoid Toll Road] is [On].
 shows that the route use ferry against the setting [Avoid Ferry] is [On].
 may be displayed with the calculated route even if [Avoid Freeway] is [On]. That means the reference route if you use the free- way.
 to
to  switch to another route. Touching [OK] returns to the previous dis- play.
 or
or  allows you to turn the voice guidance on or off.
 allows you to hear the information again.
 [Fast]*:
 [Short]:
 [Main Road]:
 [On]:
[On]: [Off]*:
 [On]:
[On]: [Off]*:
 [On]:
[On]: [Off]*:
 [On]*:
 [Off]*:
 or
or  to scroll the list.


 Current location
 Destination*
 Guidance point*

 returns you to the map of your cur- rent location.
 .
. .
.
 .
. : Route Options*
 : Destination*
 : Registration
 : Vicinity Search
 : Overlay POI
 : Volume

 : Registration*
 : Vicinity Search*
 : Overlay POI*
 : Volume*
 : Phone Book*
 : Whole Route Overview
 : Stock Info
 : Browse
 : My Favorites
 : Traffic On Route
 or
or  to switch to the next page or previous page.
 will be displayed, indicating that the guidance is not available with this type of road. The icon
  will be indicated for the road with which the guidance is available.
 displays a map of the sur- roundings of the selected POI.
 :
:
 ) before selecting category on the list,
 , the POIs around the specified location are shown on a map.
 in the Shortcut menu (

 on the map. The registering steps are the same as described above.
 in the shortcut menu.
 : Home location:
 : Favorite location:
 : (default): Address Book entry: Register here other points you often visit.

 .
. is shown on the left side of the location
 .
. is shown on the left side of the location name displayed in the Address Book menu. This mark indicates that this name can be used as a voice command during voice operation.
 (2)
(2) (3)
(3)
 or
or  to view the incident list.
 :
: :
:
 :
: :
:
 allows you to check the location on a map. (Traffic information without posi- tional information cannot be checked on a map.)
 or
or  to view the remaining information.
 (mph):
 with yellow line:
 with red line:
 with black line:
 etc.:
etc.: and touch
  . This allows you to view place names and other detail information.
 and touch
  . This allows you to view place names and other detail information.


 Displaying browsable informa-

 .
. terminates the call.

 is dis- played on the map.
 Setting up for

 at the top right of the screen.
 to make a call.
 .
. .
. is displayed at the
  .
. at the top right of the screen.
 at the top right of the screen.
 at the top right of the screen.
 at the top right of the screen.
 .
. at the top right of the screen.
 of the entry you want to call.
 to make a call.
 .
. at the top right of the screen.
 .
. at the top right of the screen.

 .
.
 , a guidance is out-
 , no guidance is output.


 (2)
(2)


 (4)
(4) turn the repeat play on or off. [Track Repeat] is displayed on the playback method indicator during the track repeat.


 (3)
(3)


 (4)
(4) 


 (10)
(10)
 to move the upper folder and playback the first track on that folder. If the folder contain no MP3 files, the contents of that folder is shown.
 can not be used.
 changes the settings as fol- lows:
 switches between on and off the tracks are randomly played within selected repeat range.
 turns the scan play on or off. Scan play will be performed for the selected repeat range.

 or
or  . When this happens, fast rewind/ fast forward continues even if you release ???or ???. To resume playback at a desired point, touch ???.
 is displayed. Turn angle icon display on or off using


 (Red) indicates that recording is in progress.
  (Blue) indicates preparing recording.
 : Recorded track
 (Red): Track being recorded
  (Blue): Track is not recorded yet


 or
or  switches to the next or previ- ous page in the list.
 displays the contents of the upper playlist or group.
 on the group selec- tion screen.

 to display the list of playl- ists.

 .
. to return to the previous level.
 .
.

 ,
,  ,
,  , or
, or  to determine the position you want to put.
 :
:
 :
:
 ,
,  ,
,  , or
, or  to determine the destination.


 or
or  you can skip broadcasting channels.
 or
or  to switch to the next page or previous page.
 is displayed on the information plate.

 (7)
(7) (8)
(8)  (10)
(10) (12)
(12) (13)
(13) or
or  you can skip broadcasting channels.


 to turn scan play off.
 repeatedly until the desired repeat range appears in the display.
 changes the settings as fol- lows:
 .
. .
. .
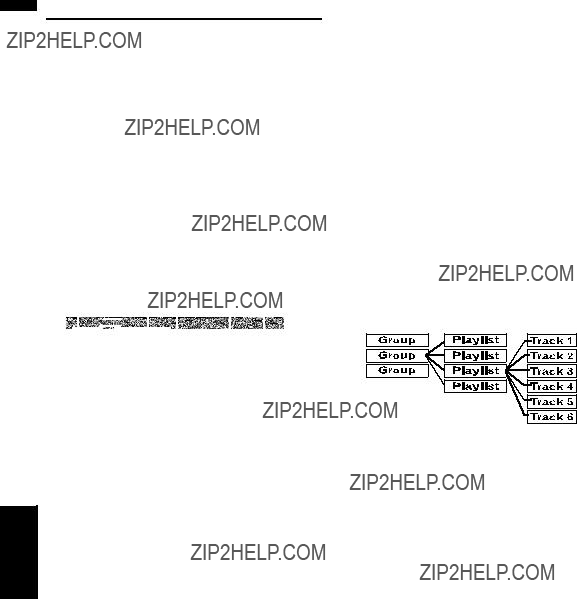
. icon on the left indicates that the item is a [Playlist], and the
  icon indicates that the item is a [Song].
 (2)
(2)
 or
or  . When the touch panel keys are not displayed, you can display them by touching the screen.


 on scenes where the angle can be switched.


 or
or on the screen.
 When voice command is possible
  When voice command is not accepted


 Messages and How to React to Them


 Shortcut menu
 : Destination*
 : Route Options*
 : Registration
 : Vicinity Search
 : Overlay POI
 : Volume
 : Phone book
 : Dial Favorite 1 to 5
 : Whole Route Overview
 : Stock Info
 : Browse
 : My Favorites
 : Traffic On Route
 : Traffic Events
 : Day/Night Display
 P.
P. 
 P.
P. 
 P.
P. 
 P.
P. 
 P.
P. 
 P.
P. 
 P.
P. 
 P.
P. 
 P.
P. 
 P.
P. 
 P.
P. 
 P.
P. 
 P.
P. 
 P.
P. 

