9 Troubleshooting
Television and remote control
The TV does not switch on
???Verify the mains cord connection.
???Verify if the batteries of the remote control are not empty or weak.Verify their + / - orientation.
You can use the keys on the TV to switch the TV on.
???Unplug the mains cord, wait a minute and plug it back in.Try again to switch on.
The TV does not react on the remote control
???Verify if the batteries of the remote control are not empty or weak.Verify their + / - orientation.
???Clean the remote control and TV sensor lens.
The TV switches off and the red light blinks
???Unplug the mains cord, wait a minute and plug it back in.Verify if there is enough space for ventilation. Wait until the TV has cooled down. When the TV does not restart to standby and the blinking occurs again, call our Customer Care.
You forgot your code to unlock Child lock
??? See section 5.9.3 Set code / Change code.
Wrong language in the TV menu ?
Follow these steps to change the language.
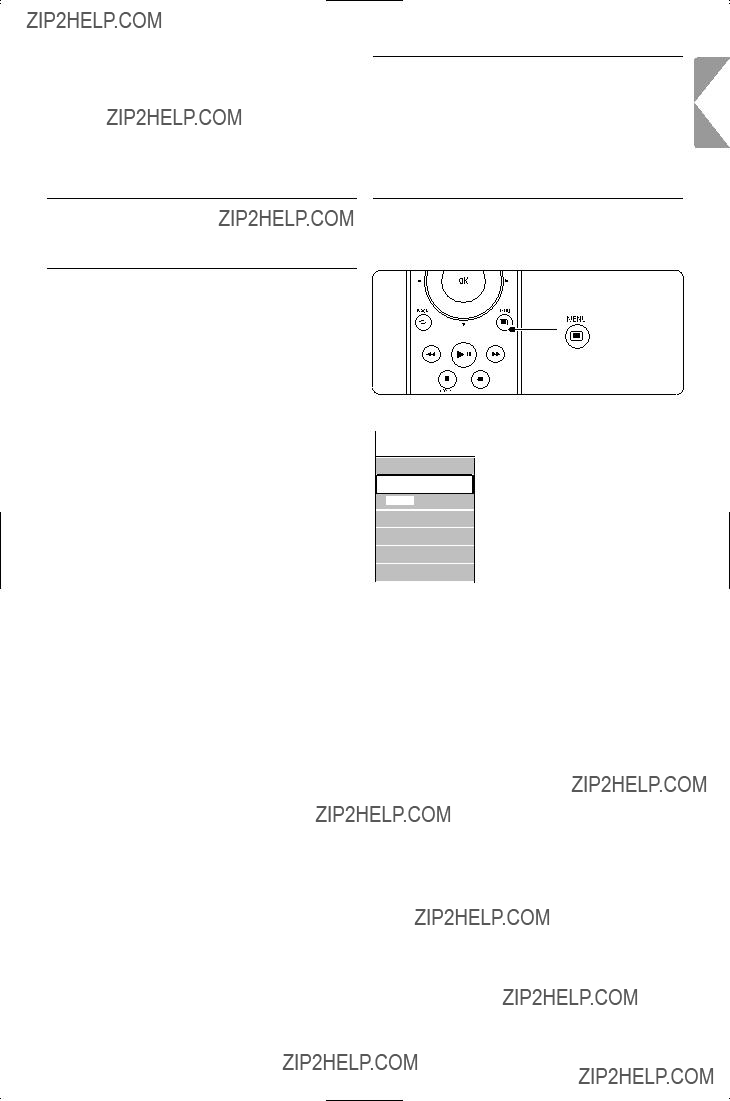
??? Press Menu ?? on the remote control. ?? Use ?? to select the last menu line.
??Press ??three times.
???Press o or ?? to select your language. ?? Press OK.
???Press Menu ?? to quit the menus.
TV channels
Some TV channels are gone
???Verify if the correct channel list is chosen.
???A channel could be uninstalled in the Rearrange menu.
No digital channels found during installation
???Verify if the TV supports DVB-T or DVB-C in your country. See the label ???Digital TV Country Compatibility??? on the back of the TV.
Picture
LightGuide is on but there is no picture
???Verify if the antenna is connected properly.
???Verify if the correct device is selected.
The sound is on, but there is no picture
??? Verify the contrast or brightness setting in the menu.
The TV picture is poor
???Verify if the antenna is connected properly.
???Non-earthed audio devices, neon lights, high buildings or mountains can influence the picture quality.Try to improve the picture by changing the antenna direction or place devices away from the TV.
???Verify if the correct TV system is chosen in the Manual installation menu.
???If only a certain channel is poor, try to fine tune this channel in the Fine tune menu. See section 6.2.3.
The picture has poor colour
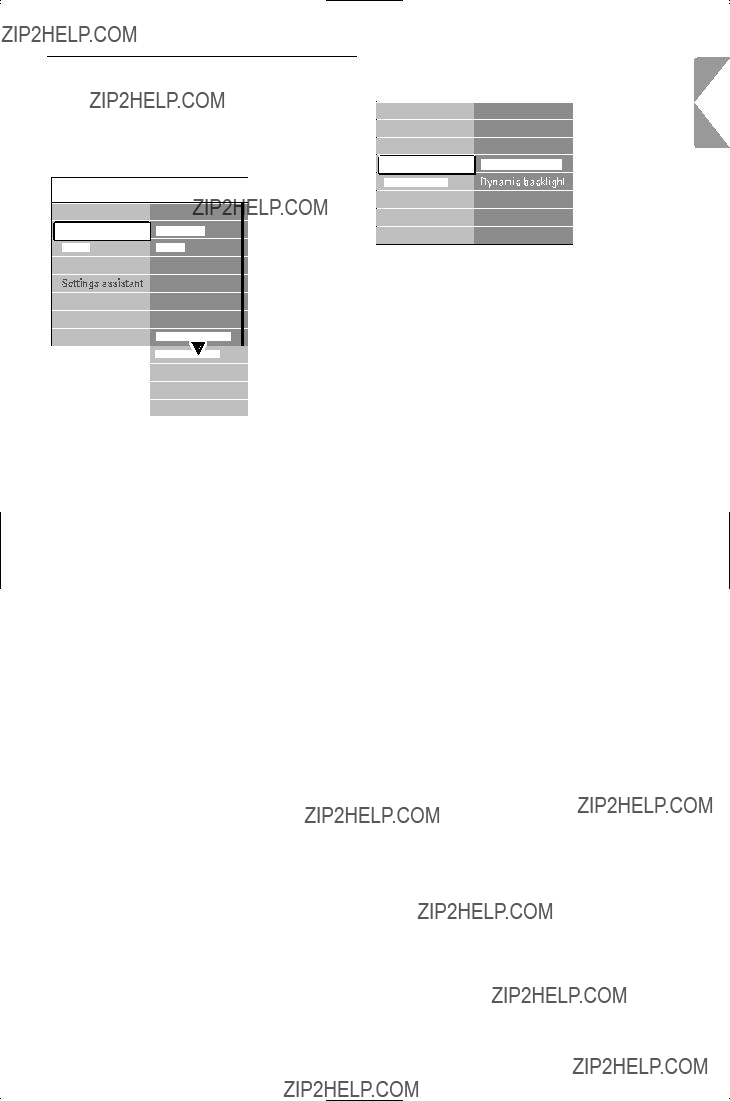
???Verify the colour settings in the Picture menu. Select any of the Reset to standard settings in the
Smart settings menu. See section 5.4.1.
???Verify the connections and cables of the connected devices.
The TV does not remember my settings when I switch back on
???Verify if the TV is set to Home in the TV menu > Setup > Installation > Preferences > Location menu.
The picture does not fit the screen, it is too big or too small
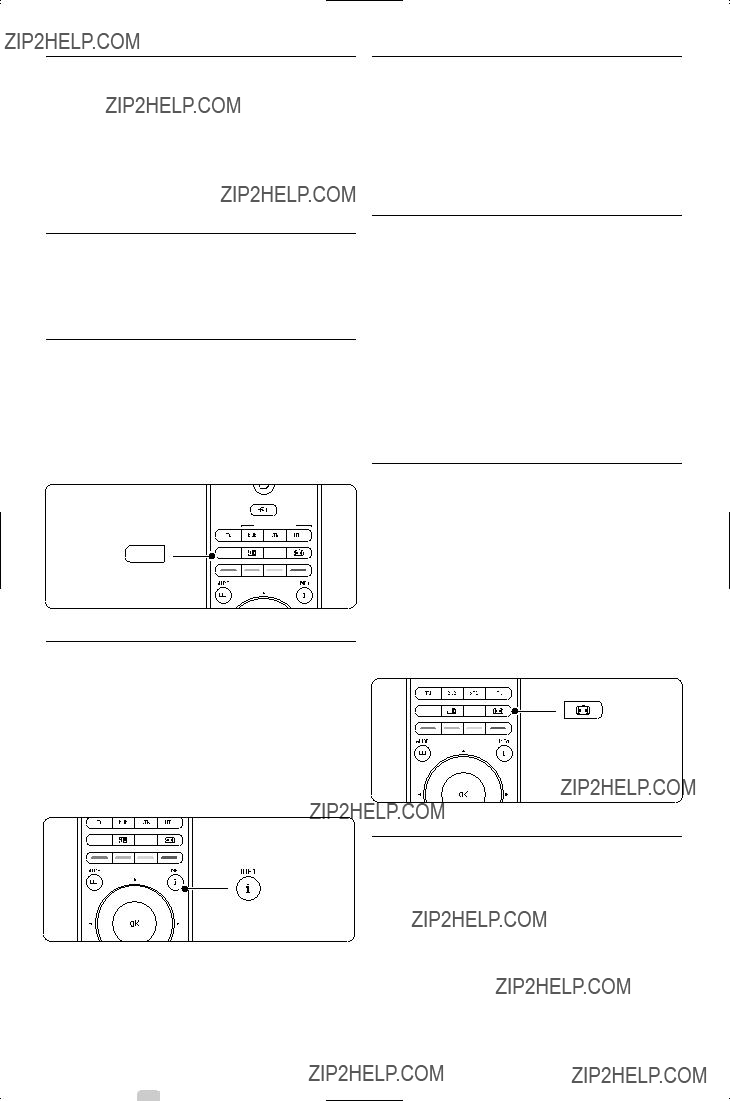
???Select a more fitting picture format in the Picture format menu.
See section 5.4.4 Widescreen picture format.
???Name your connected device in the Connections menu to obtain the best signal handling.
See section 7.4.1 Naming your devices.
The picture position on screen is not correct
???Some picture signals from some devices do not fit the screen correctly.You can shift the picture with the navigation key on the remote control.Verify the signal output of the device.
Sound
There is a picture but no sound
??? Verify the volume is not set to 0.


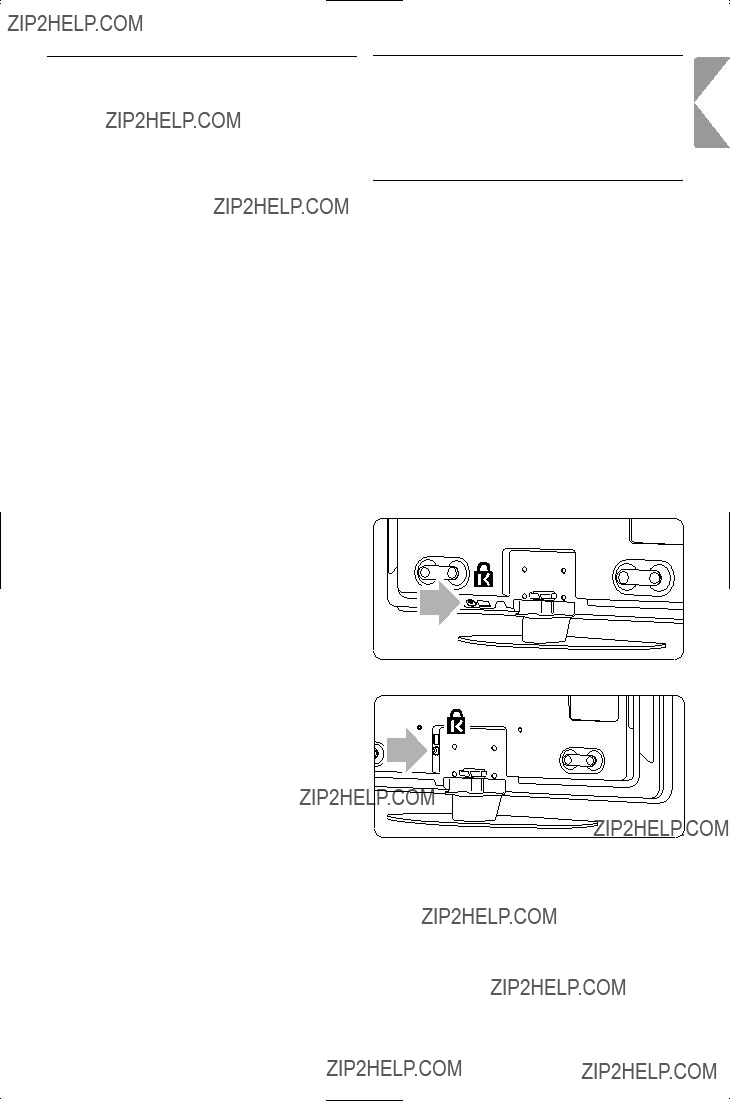
 VESA, FDMI and the VESA Mounting Compliant logo are trademarks of the Video Electronics Standards Association.
 Manufactured under license from Dolby Laboratories. ???Dolby???, ???Pro Logic??? and the double D symbol
  Manufactured under license from BBE Sound, Inc. Licensed by BBE, Inc under one or more of the following US patents: 5510752, 5736897. BBE and BBE symbol are registered trademarks of BBE Sound Inc.


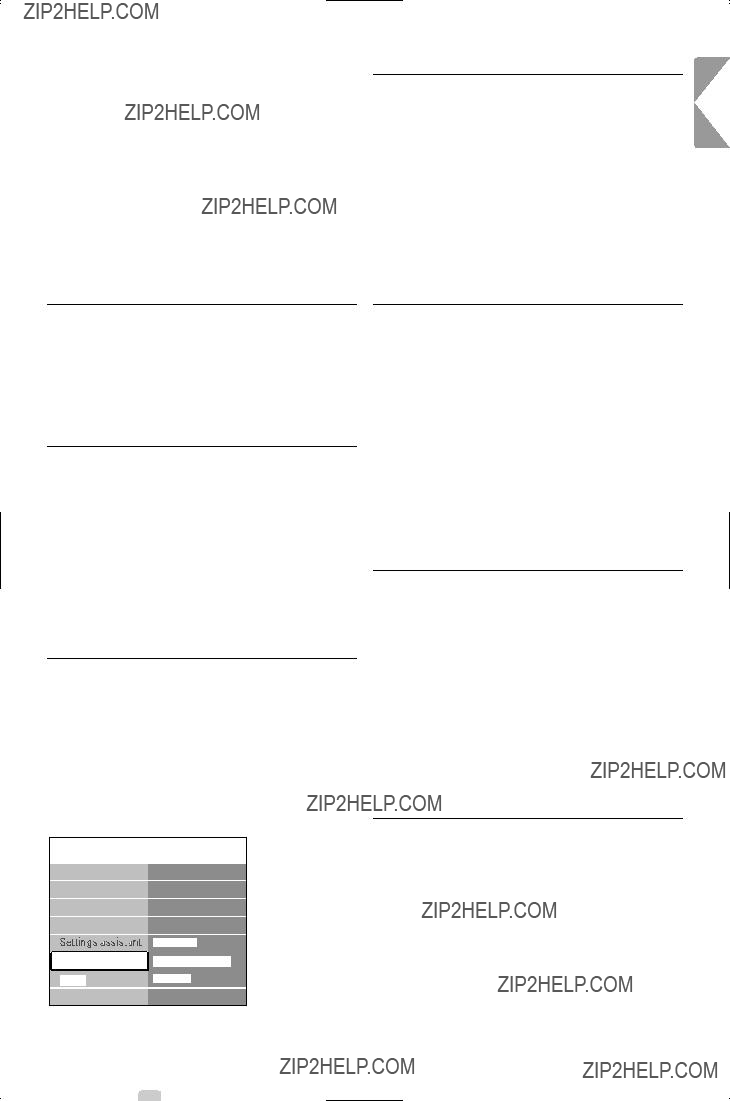
 UNIVERSAL MODE
 DEF
DEF


 UNIVERSAL MODE


 UNIVERSAL MODE
 UNIVERSAL MODE
 UNIVERSAL MODE
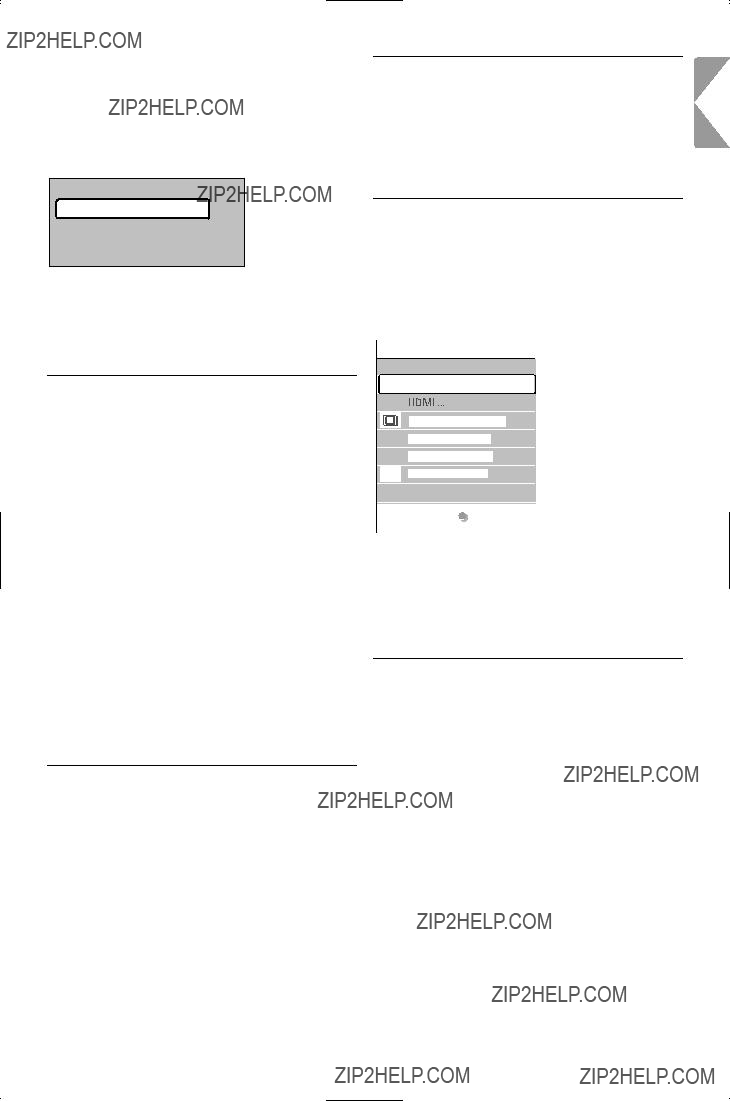
 4 Radio channel 1
 Select list
 UNIVERSAL MODE
 Exit
Exit  Next
Next


 UNIVERSAL MODE


 IN
IN
 IN
IN 
 OUT
OUT 
 IN
IN


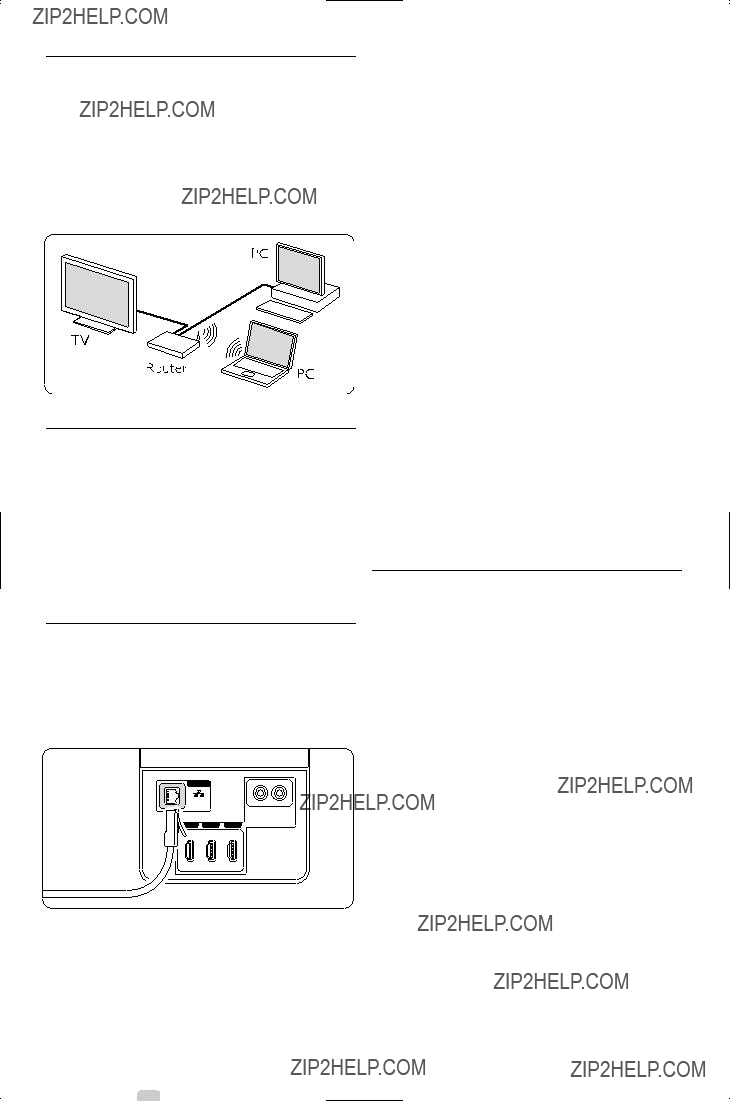
 connector at the back of the TV.
 HDMI
HDMI