Problem
No picture.
The picture is distorted or black and white during playback.
Recordings are not occurring as scheduled. New recordings cannot be made.
No TV signal received from the DVD recorder.
A DVD+R/+RW recorded on this DVD recorder does not play on a DVD player.
Picture is fuzzy and brightness varies when copying DVD Video discs or prerecorded video cassettes.
Solution
???Switch on your TV and set to the correct Video In channel.
Change the TV channel until you see the DVD screen. Read chapter ???Getting Started - Setting the TV??? for details.
???Check the video connection between the DVD recorder and the
TV.
???PAL input signal received from external device is not supported.
???The disc does not match with the TV color system standard (PAL/
NTSC).
???The disc is dirty, clean the disc.
???Sometimes a small amount of picture distortion may appear. This is not a malfunction.
???If you set the Record Mode to a low-quality speed, change to a higher-quality speed after you finish recording. Leaving the DVD recorder set to a low-quality speed may affect the picture quality when playing DVDs later. Read chapter ???Recording - Recording settings??? for details.
???The recording can be made in color only when the TV channels or the connected additional device sends a color signal. In some situations, programs that are broadcast in black and white cannot be recorded.
???The TV channel you want to record is not stored or you selected the wrong program number. Check TV channels stored.
???If you adjust the clock after you set a timer recording, reset the timer recording.
???If the DVD recorder cannot read the disc, you cannot record.
???You cannot use the DVD recorder to duplicate copyrighted materials (DVDs or videotapes) onto a DVD+R/+RW.
???A finalized DVD+R has been inserted. Change disc.
???Install the TV channel. Read chapter ???Step3 :TV channel programming??? for details.
???If a recording is too short, it is possible that a DVD player cannot detect it. Please observe the following 'minimum recording times'. Recording mode : {1 hour} ??? 5 minutes, {2 hours} ??? 10 minutes, {4 hours} ??? 20 minutes, {6 hours} ??? 30 minutes.
???You have to finalize the DVD+R. Refer to chapter ???Playing your recordings (DVD+R) on other DVD players??? for details.
???This happens if you try to copy DVDs or video cassettes that have been copy-protected. Even though the picture on the TV is fine, but the recording on a DVD+R/+RW is faulty. This interference is unavoidable with copy-protected DVDs or video cassettes.
???The DVD+R/+RW has recording lifetime, please change a new disc for recording.


 Chapter
  Chapter
  Chapter
  Chapter


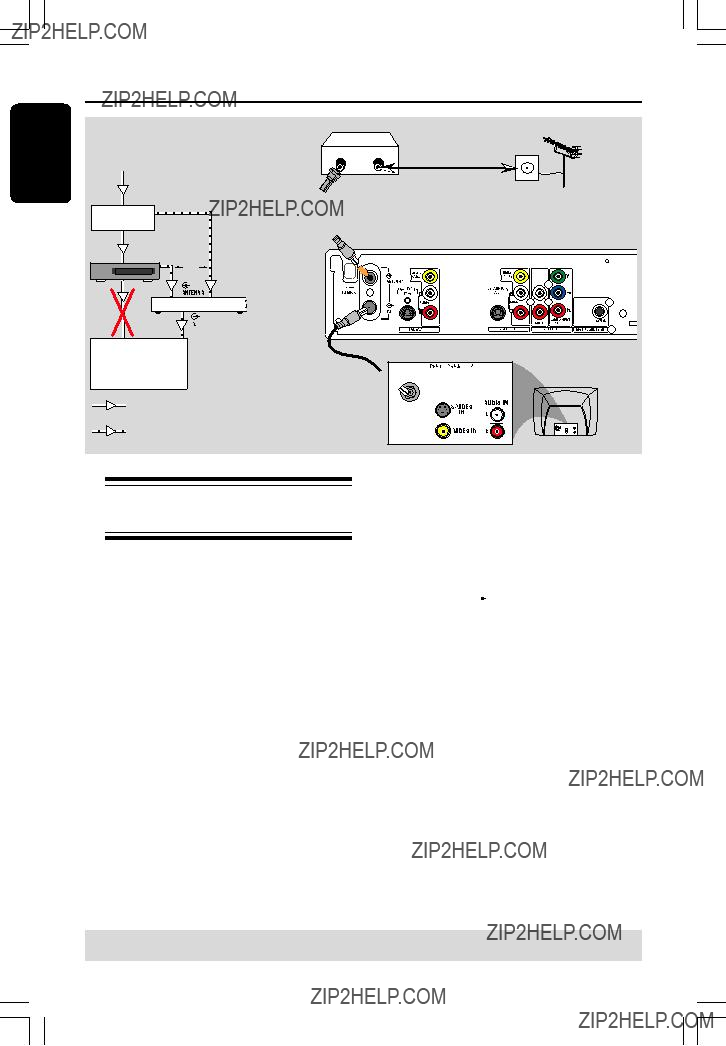


 jack on the DVD recorder.
 socket on the DVD recorder to the antenna input jack (or labeled as VHF/UHF RF IN) on your TV.


 jack on the DVD recorder.
 jack on the DVD recorder to the antenna input jack on RF modulator.
 jack to connect your DVD recorder to TV, set your TV to channel 3 or 4. If you used AUDIO/VIDEO OUT2 connection, set the TV to the appropriate video input channel.

 jack on the DVD recorder.
 jack on the DVD recorder.


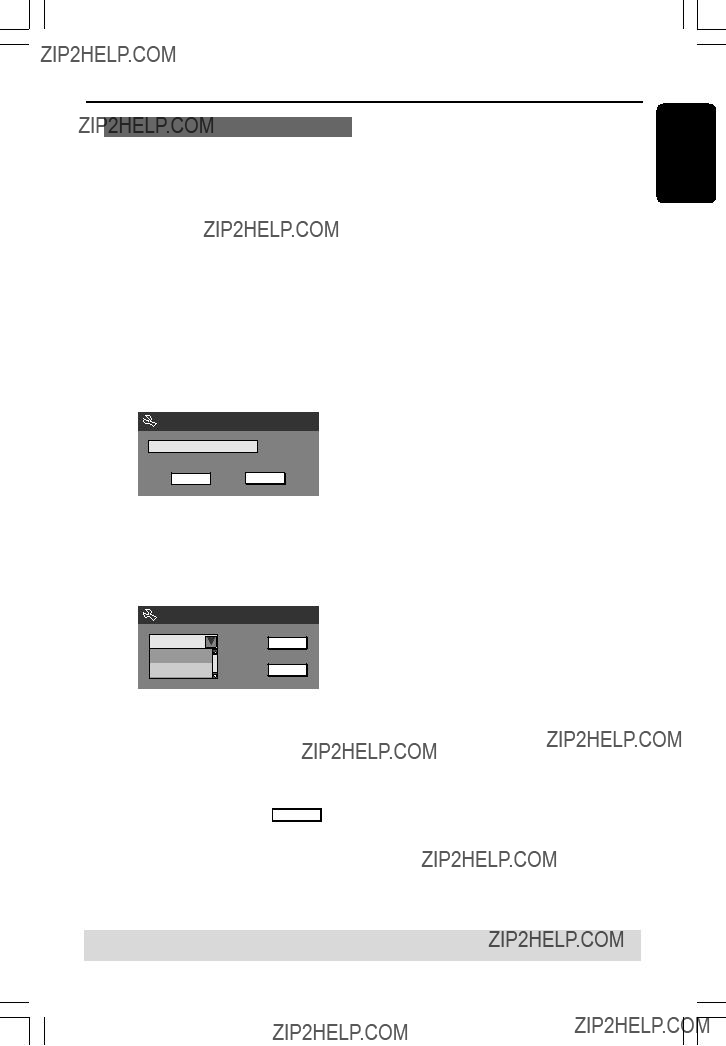
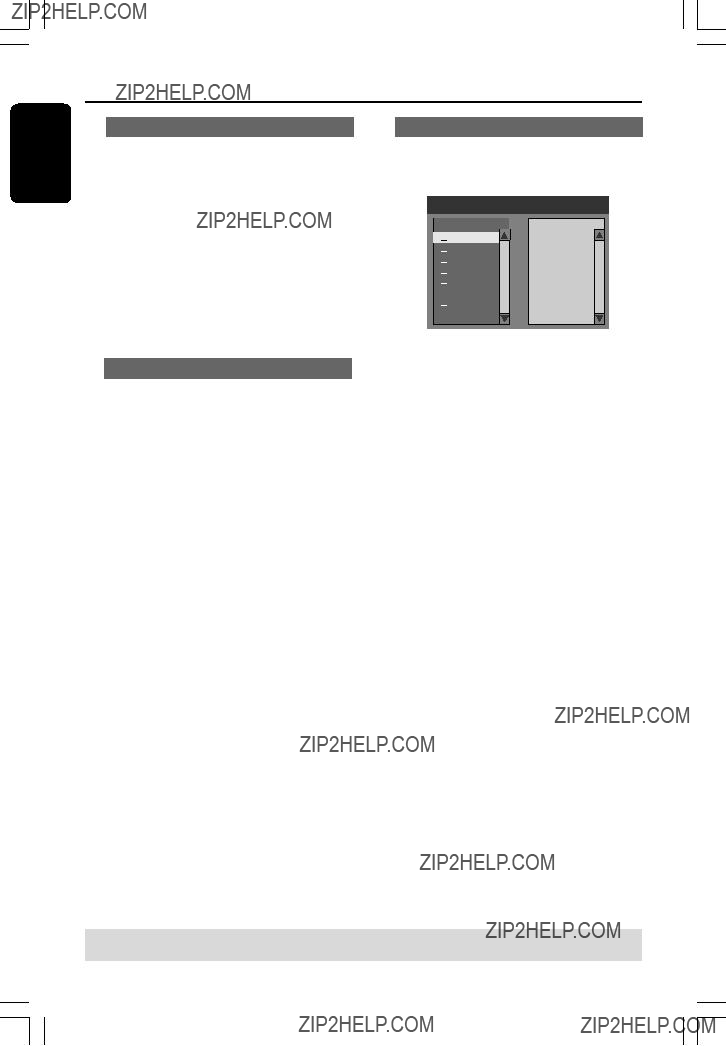
 System Menu - Channel Setup

 Channel

 {
{ 
 {
{  System Menu - Record


 REC
REC


 TIMER
TIMER


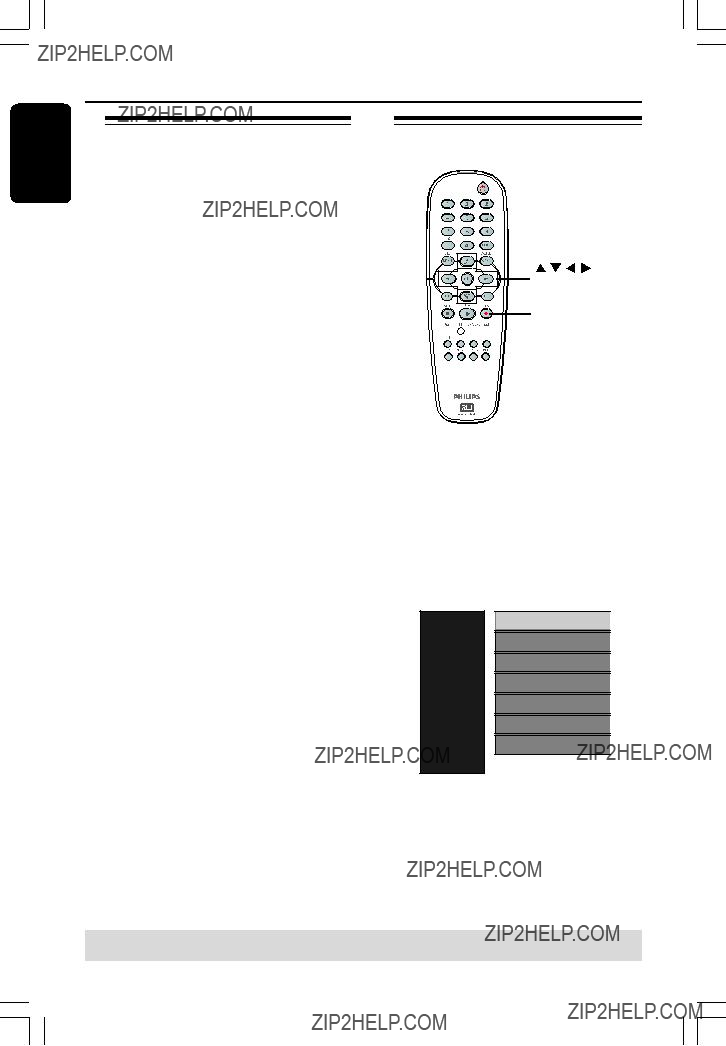


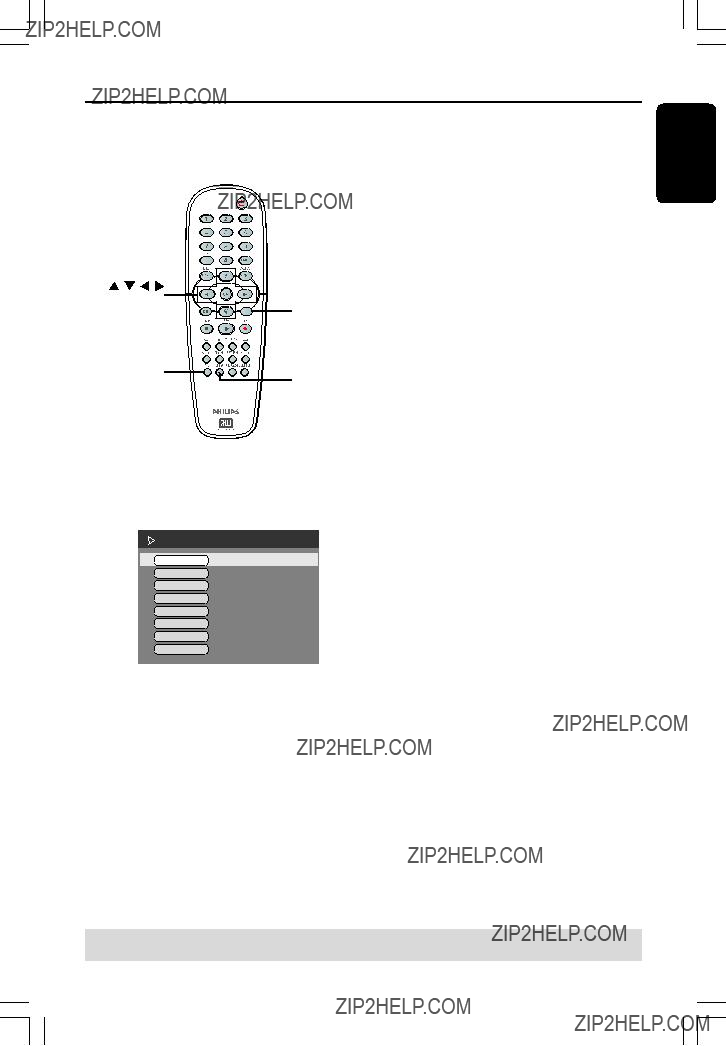
 TOP MENU
 Play
Play

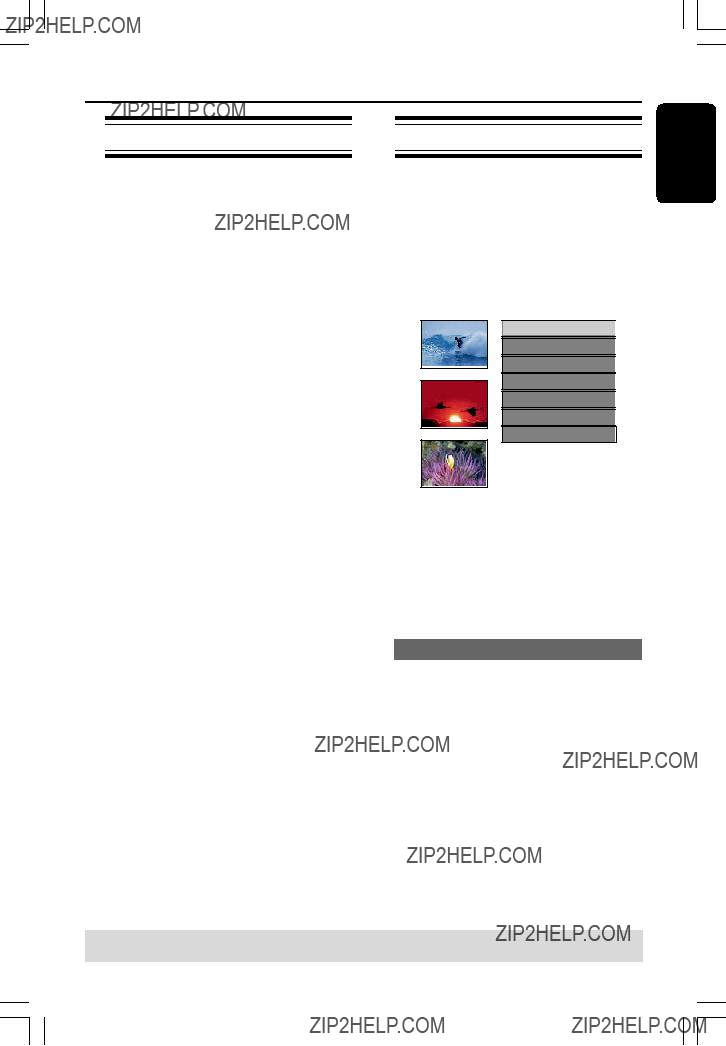
 Play Title


 {
{  Chapter
  Chapter
  Chapter
  Chapter
 {
{ 

 {
{  {
{ 


 Bee Gees
 Phil Collins
 Bryan Adams
 Collin Raye
 Nat King Cole
 UB40
UB40 Jordan Hill
 Faith Hill


 {
{