or failures which result from accidents, misuse, abuse, neglect, mishandling, misapplication, alteration, faulty installation, set-up adjustments, misadjustment of consumer controls, improper maintenance, power line surge, lightning damage, modi???cation, or commercial use (such as in a hotel, of???ce, restaurant, or other business), rental use of the product, service by anyone other than a Factory Servicenter or other Authorized Servicer, or damage that is attributable to acts of God.
THERE ARE NO EXPRESS WARRANTIES EXCEPT AS LISTED UNDER ???LIMITED WARRANTY COVERAGE???.
THE WARRANTOR IS NOT LIABLE FOR INCIDENTAL OR CONSEQUENTIAL DAMAGES RESULTING FROM THE USE OF THIS PRODUCT, OR ARISING OUT OF ANY BREACH OF THIS WARRANTY. (As examples, this excludes damages for lost time, cost of having someone remove or re-install an installed unit if applicable, or travel to and from the servicer, loss of media or images, data or other memory or recorded content. The items listed are not exclusive, but are for illustration only.)
ALL EXPRESS AND IMPLIED WARRANTIES, INCLUDING THE WARRANTY OF MERCHANTABILITY, ARE LIMITED
TO THE PERIOD OF THE LIMITED WARRANTY.
Some states do not allow the exclusion or limitation of incidental or consequential damages, or limitations on how long an implied warranty lasts, so the exclusions may not apply to you.
This warranty gives you speci???c legal rights and you may also have other rights which vary from state to state. If a problem with this product develops during or after the warranty period, you may contact your dealer or Servicenter. If the problem is not handled to your satisfaction, then write to the warrantor???s Consumer Affairs Department at the addresses listed for the warrantor.
PARTS AND SERVICE (INCLUDING COST OF AN IN-HOME SERVICE CALL, WHERE APPLICABLE) WHICH ARE
NOT COVERED BY THIS LIMITED WARRANTY ARE YOUR RESPONSIBILITY.
Customer Services Directory
Obtain Product Information and Operating Assistance; locate your nearest Dealer or Servicenter; purchase Parts and Accessories; or make Customer Service and Literature requests by visiting our Web Site at:
http://www.panasonic.com/support
or, contact us via the web at:
http://www.panasonic.com/contactinfo
You may also contact us directly at: 1-800-211-PANA (7262),
Monday-Friday 9 am-9 pm; Saturday-Sunday 10 am-7 pm, EST.
For hearing or speech impaired TTY users, TTY : 1-877-833-8855
Accessory Purchases
Purchase Parts, Accessories and Instruction Books online for all Panasonic Products by visiting our Web Site at:
http://www.pasc.panasonic.com
or, send your request by E-mail to: npcparts@panasonic.com
You may also contact us directly at:
1-800-332-5368 (Phone) 1-800-237-9080 (Fax Only) (Monday ??? Friday 9 am to 8 pm, EST.) Panasonic Services Company
20421 84th Avenue South, Kent, WA 98032
(We Accept Visa, MasterCard, Discover Card, American Express, and Personal Checks)
For hearing or speech impaired TTY users, TTY : 1-866-605-1277
Service in Puerto Rico
Matsushita Electric of Puerto Rico, Inc. Panasonic Sales Company
Factory Servicenter:
Ave. 65 de Infanter??a, Km. 9.5, San Gabriel Industrial Park, Carolina, Puerto Rico 00985 Phone (787)750-4300 Fax (787)768-2910


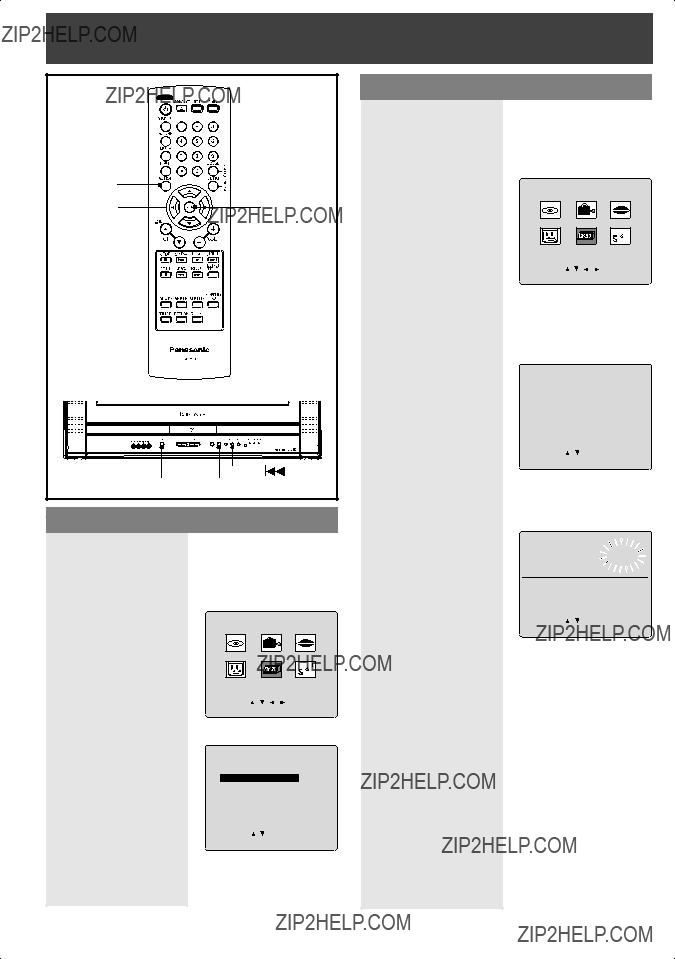
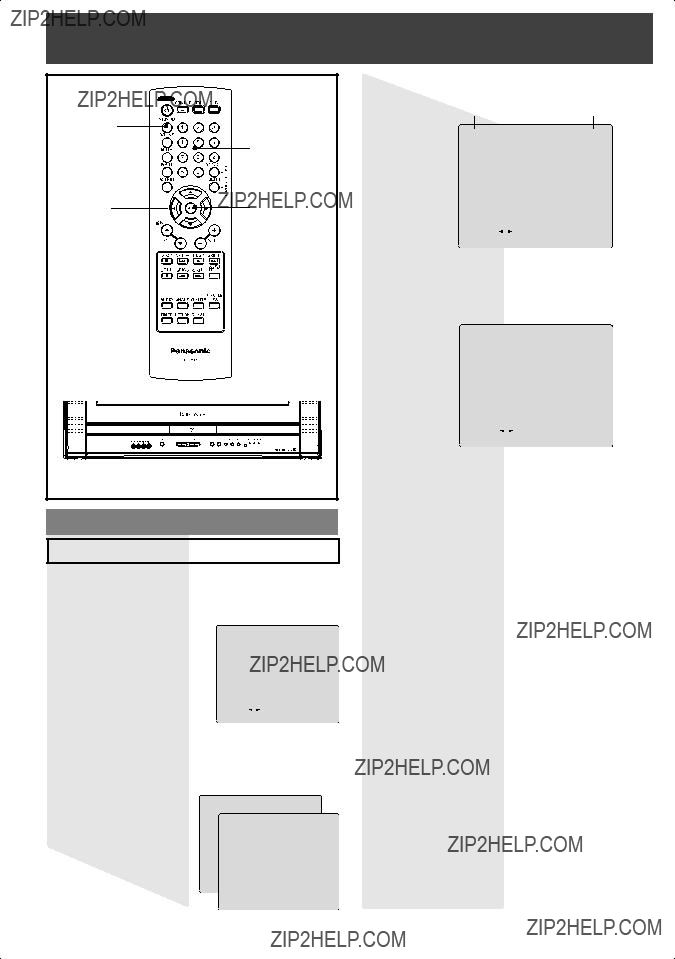
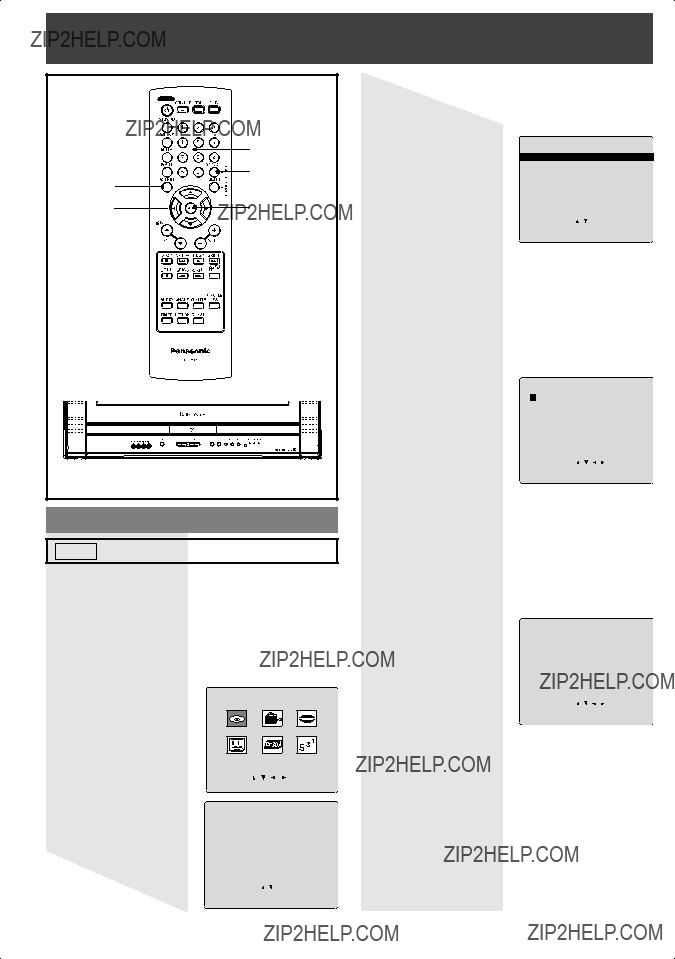
 1 Remote Control (EUR7724010)
 2 Batteries ???AA???
 WARNING


 WARNING
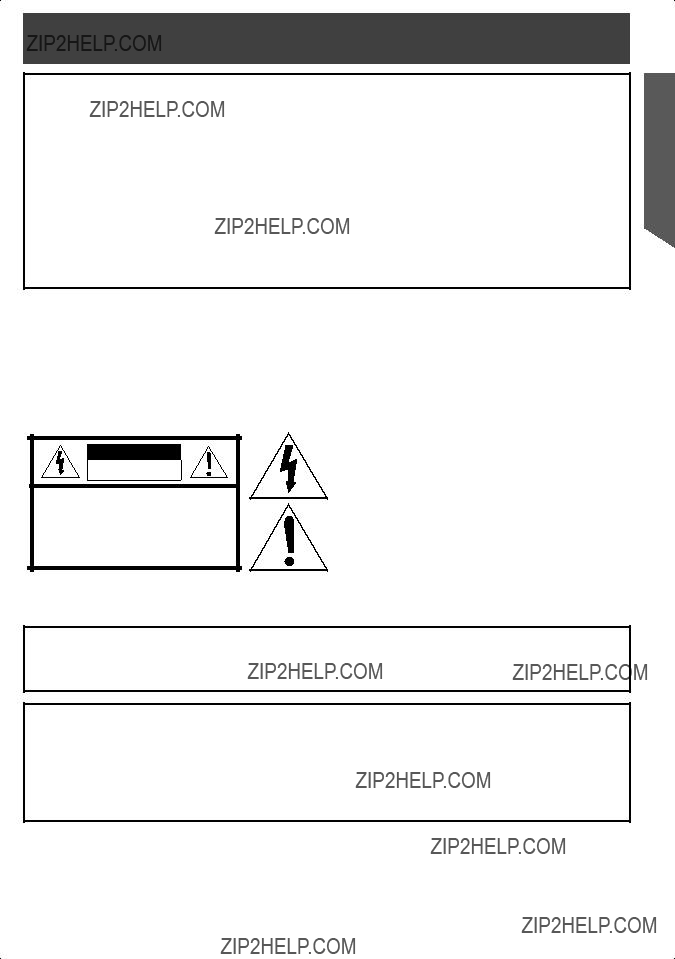


 WARNING

 22
22


 Check List

 SET:SET
 SET:SET


 FIJAR:SET


 REGLER:SET
 on the unit for more than 5 seconds.
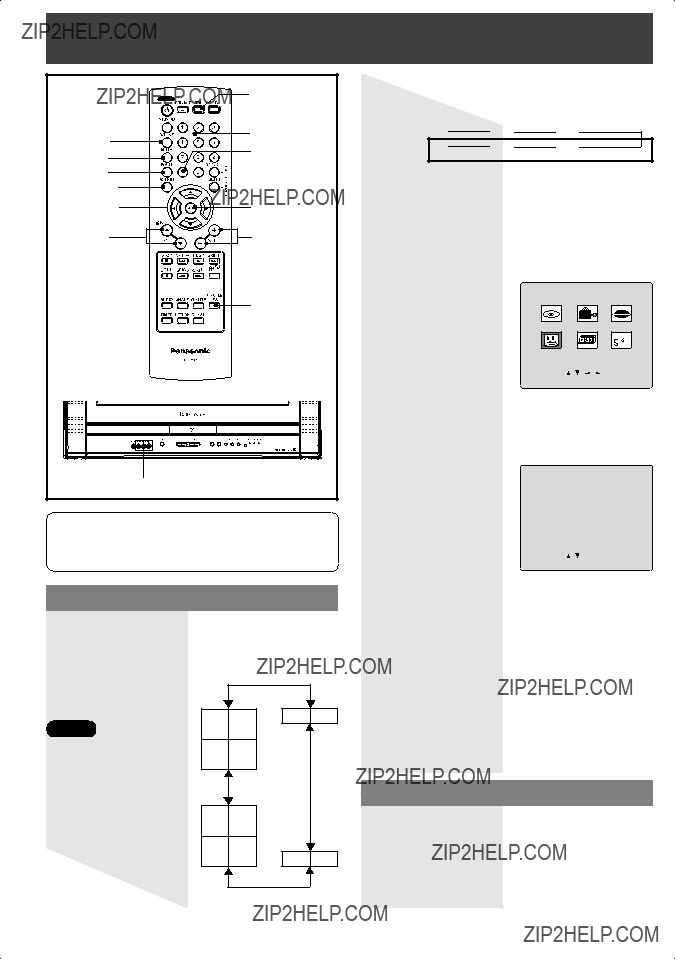

 LINE1
LINE1 
 LINE2
LINE2 
 TUNER
TUNER


 -TV
-TV

 -TV
-TV

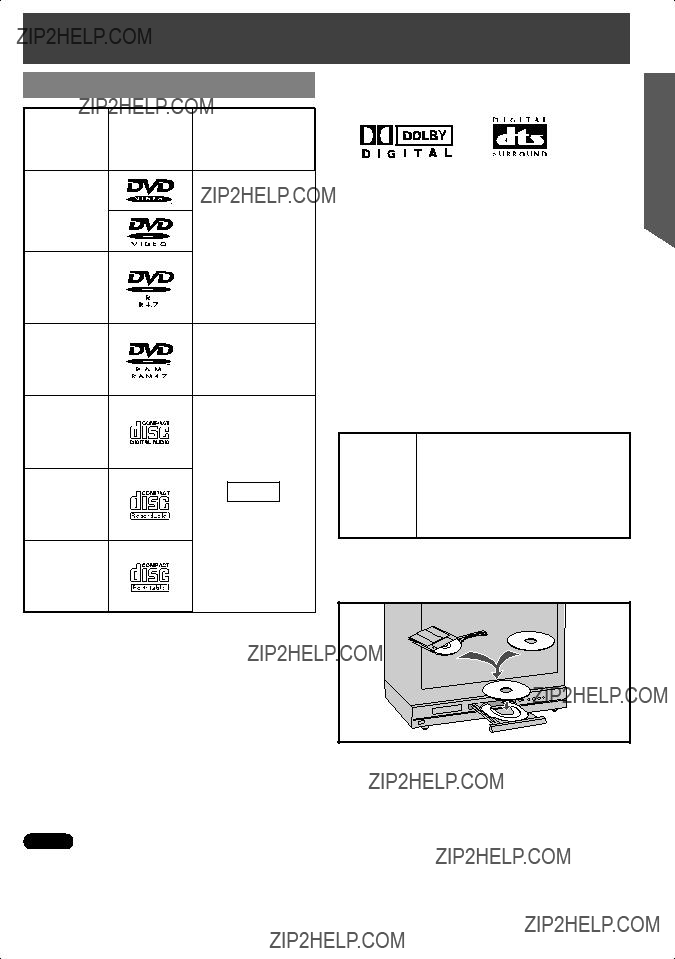
 is a registered trademark, and is licensed by

 Technology Licensing.
 ??? mark while the selected audio mode is indicated with an arrow. To change the audio mode for these broadcasts, see the ???Audio Mode for TV Viewing??? section.
 STEREO
 SAP
SAP

 SET:SET
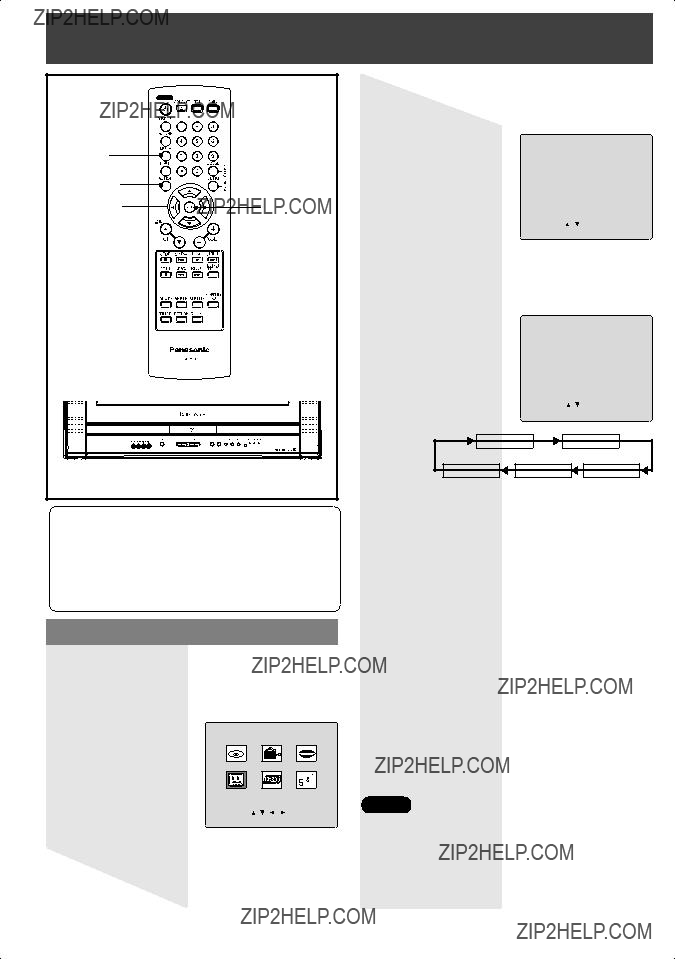


 SKIP+
SKIP+

 RETURN

 LOVE STORY


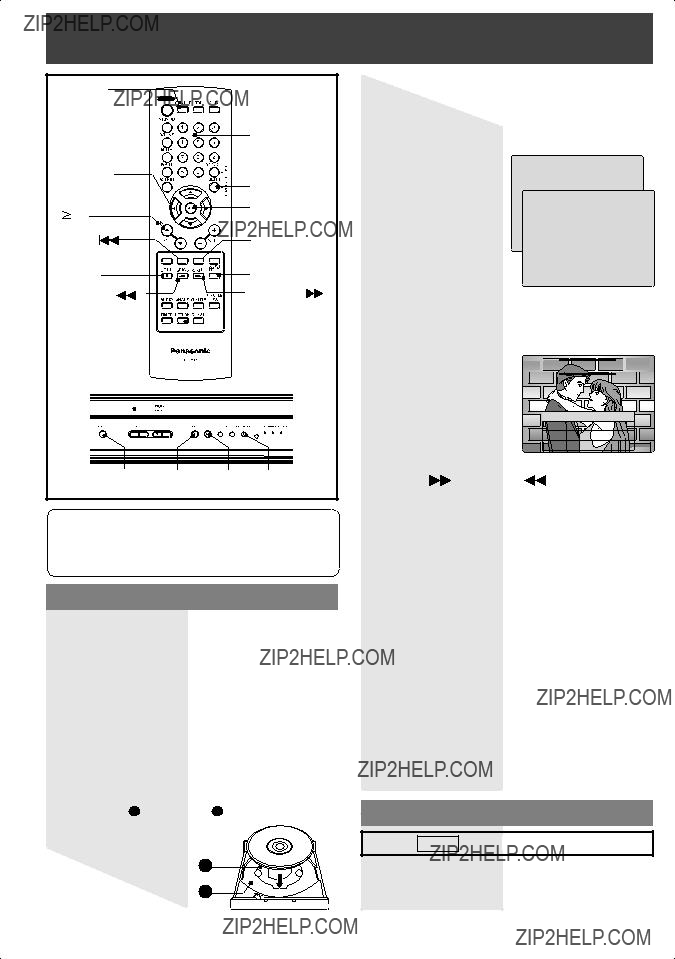
 10 key, then 1, then 2.
 /SLOW- in Still mode.


 LOVE STORY


 VOCAL ON
 VOCAL OFF
 VOCAL V1
 VOCAL V2
 VOCAL V1 + V2

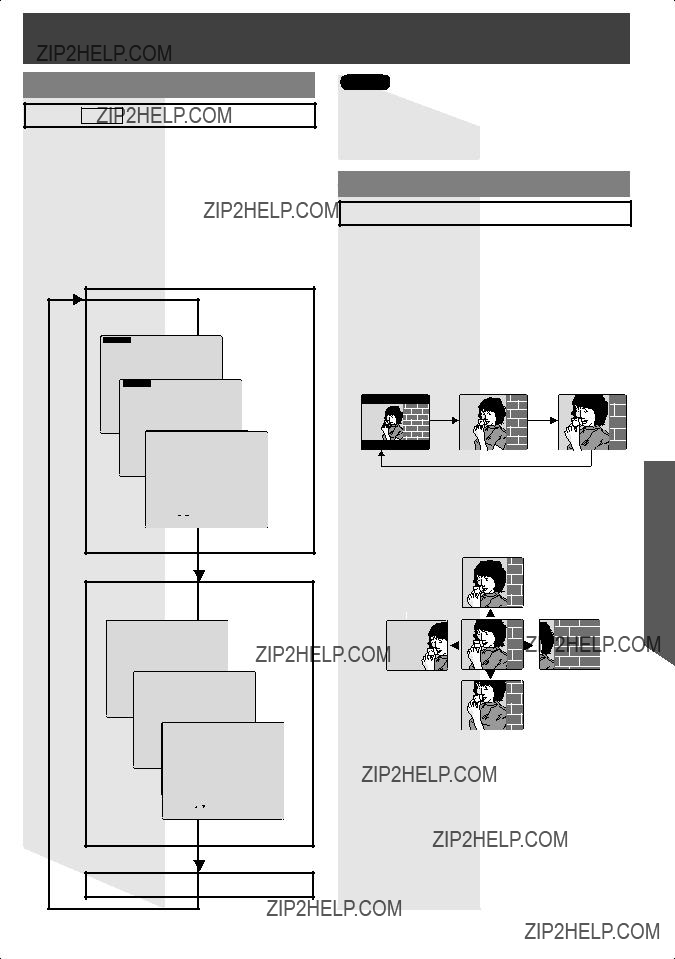
 ZOOM 2
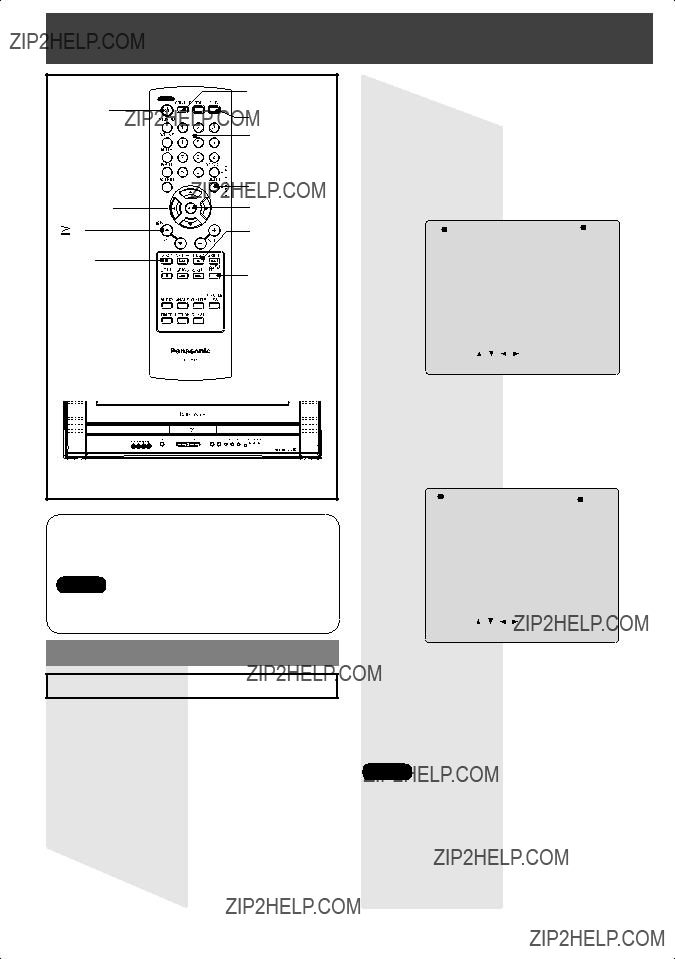
 10 key, then 1, then 2.


 :
:


 :
:
 code number, Press NUMBER keys


 PRECAUCI??N

 SET:SET
 SET:SET


 FIJAR:SET
 FIJAR:SET
 10, luego 1, luego 2.
 /SLOW- durante la reproducci??n.

 HISTORIA DE AMOR

 /SLOW- en el modo de imagen ???ja.
 10, luego 1, luego dos.
 10, luego 1, luego dos.