Operating Instructions
Network Operation Manual
LCD Projector
Model No.
Operating Instructions
Network Operation Manual
LCD Projector
Model No.

Contents
The illustrations and screenshots in this manual may be different from those on your computer.
2

Request Regarding Security
When using this product, security breaches of the type described below are conceivable.
?????? Leakage of your private information via this product
?????? Illegal operation of this product by a malicious
?????? Harm to or cessation of operation of this product by a malicious
Be sure to implement sufficient security measures.
?????? Set passwords, and limit the users that are permitted login access.
?????? Make sure the password is as hard to guess as possible.
?????? Change the password periodically.
?????? Panasonic Corporation and its affiliated companies never directly ask customers for their password.
Do not give out your password even if directly asked by a
?????? Always use on a network that has safety protection such as a firewall implemented.
What you can do
<WEB control> (See page 9)
The following operations are possible when using WebBrowser.
?????? Setting and adjusting the projector
?????? Displaying the projector status
?????? Setting for message transmission
<PJLink> (See page 17)
Compatible with PJLink Class 1. The following operations can be performed from a computer when PJLink protocol is used.
?????? Setting the projector
?????? Querying the projector status
<Command control> (Refer to ???SERIAL TERMINAL??? in ???Technical Information??? of the Basic Manual.)
You can control the projector from a computer, using the control commands of the serial terminals.
If you use ???WEB control???, ???PJLink??? or ???Command control???, turn [ON] the [NETWORK CONTROL] in the NETWORK menu for the projector. (See page 7)
3
Check your computer
Necessary environment for computers to be connected
?????? First, check your computer to see whether or not it has a wired LAN function.
 LAN : ???Glossary??? (See page 18)
?????? Before connecting the computer to the projector, be sure to check the following settings.
Check 1 ???For LAN cable
?????? Is the cable properly connected?
?????? Use LAN cable that is compatible with category 5 or above.
Check 2 ???Wired LAN settings
<Computer with a
?????? Is your wired LAN switched on?
<Computer without a
?????? Is your wired LAN adapter properly recognized?
?????? Is your wired LAN adapter switched on?
?????? Install the wired LAN adapter driver beforehand.
For details on how to install the driver, refer to the instructions accompanying the wired LAN adapter.
Check 3 ???For WebBrowser
?????? WebBrowser is necessary to use WEB control.
?????? Compatible WebBrowser : Internet Explorer 6.0/7.0/8.0
Do not touch the LAN terminal or the metal part of the LAN cable, the static electricity may discharge from our hand (body) causing a malfunction.
Connecting with Wired LAN
Connection can be made with wired LAN. However, confirm to your system administrator on network settings before changing any settings.
11 Turn on the computer.
22
4

Network setting of the projector
When making a connection between a computer and a projector with settings other than the default settings, perform the procedure below to display the menu required when changing the initial settings.
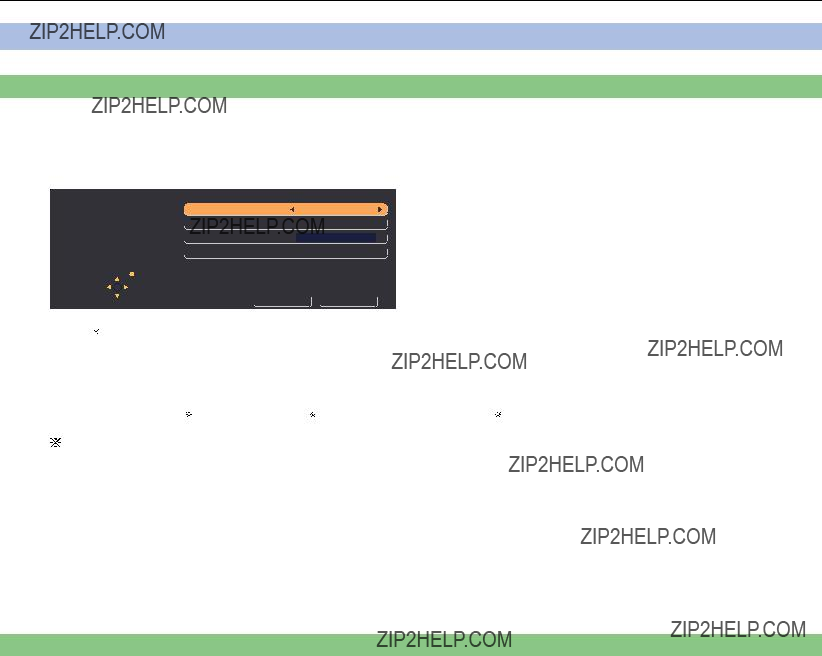
Displaying the NETWORK menu
ENTER
 FUNCTION
SECURITY
 NETWORK
SELECT
 RETURN
 ENTER
ENTER
 FUNCTION
33 Press the [ENTER] button
You can select the
Depending on the signals which are input to the projector, it may not be possible to adjust some of the items and use some of the functions. In the case of an item that cannot be adjusted or a function that cannot be used, the corresponding
5
Network setting of the projector (cont.)
NETWORK
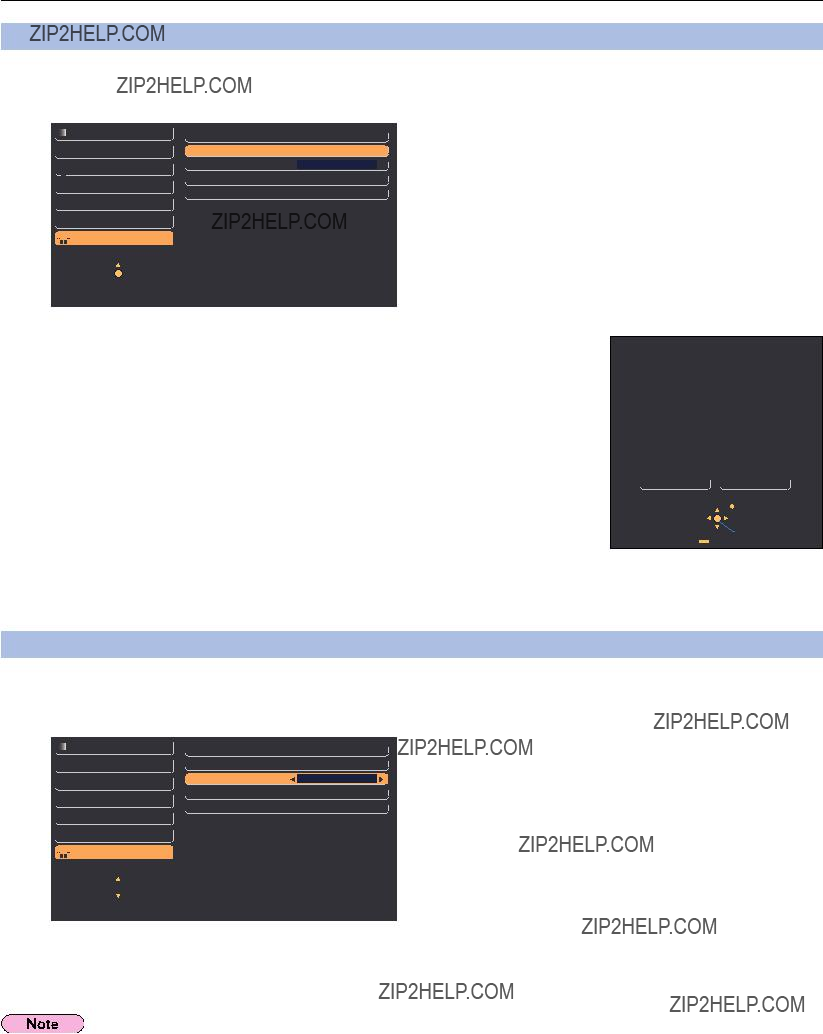
Wired LAN settings
You can make detailed wired LAN settings.
11 Select [WIRED LAN] in the NETWORK menu and press the [ENTER] button.
33 Select [OK] with the [??????] buttons and press the [ENTER] button.
Default network settings
The following settings are set before the projector leaves the factory.
6
Network setting of the projector (cont.)
NAME CHANGE
You can change the projector name on the network.
11 Select [NAME CHANGE] in the NETWORK menu and press the [ENTER] button.
SECURITY
 NETWORK
SELECT
 RETURN
 ENTER
ENTER
 FUNCTION
22 Select characters with the [????????????] buttons and press the [ENTER] button to enter the projector name.
Select [ALL DELETE] to remove all the entered characters. Press the [DEFAULT] button on the
33 Select [OK] with the [????????????] buttons and press the
[ENTER] button.
Select [CANCEL] to undo the changes.
NETWORK CONTROL
Set it to ???ON???, if you want to control the projector from a computer that is
11 Select [NETWORK CONTROL] in the NETWORK menu.
SECURITY
 NETWORK
 RETURN
SELECT 


 FUNCTION
22 Select [ON] or [OFF] with the [??????] buttons.
If you turn [ON] the [NETWORK CONTROL], ???WEB control???, ???PJLink??? and ???Command control??? are available.
7

Network setting of the projector (cont.)
STATUS
Your current settings appear.
Select [STATUS] in the NETWORK menu and press the [ENTER] button.
 MAC ADDRESS : ???Glossary??? (See page 18)
INITIALIZE
You can reset the network settings to the factory default settings of the projector.
11 Select [INITIALIZE] in the NETWORK menu and press the [ENTER] button.
The entry of the password is prompted if [PASSWORD] is turned [ON] in the ??? ???SECURITY??? menu.
22 Select [OK] with the [??????] buttons and press the [ENTER] button.
INITIALIZE
INITIALIZE
OK CANCEL
SELECT
 RETURN
 ENTER
ENTER
8
Using WebBrowser
Control a projector through the WebBrowser of a computer. It is called ???WEB Control???. (The example is when using Microsoft Internet Explorer.)
Before using the WEB control
Connect the projector and a computer with a LAN cable. (See page 4)
???Projector settings
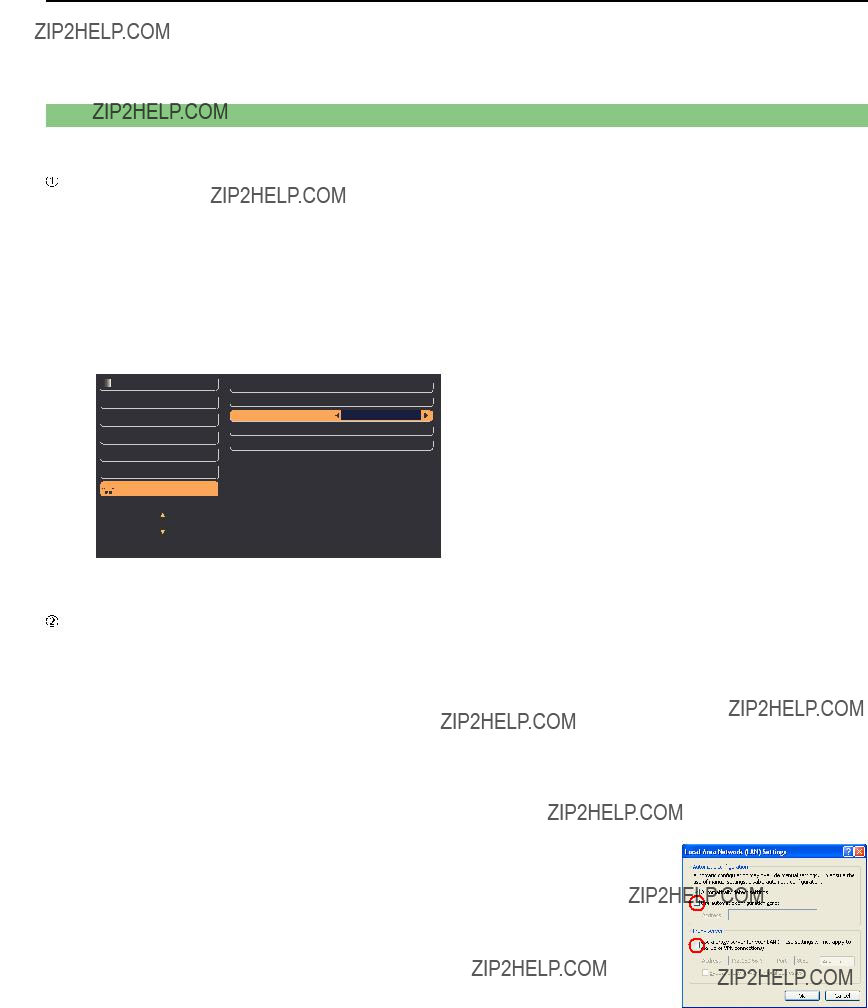
Turn [ON] the [NETWORK CONTROL] in the NETWORK menu.
11
22
Select [NETWORK CONTROL] in the NETWORK menu.
Select [ON] with the [??????] buttons.
ON : This enables control on the WebBrowser.
OFF : This disables control on the WebBrowser.
SECURITY
 NETWORK
 RETURN
SELECT 


 FUNCTION
???Computer settings
????Proxy server settings
Release the proxy settings of the WebBrowser used.
11
22 Click [Connections] tab ??? [LAN Settings].
33 If [Use a proxy server for your LAN] has been checked, remove the check.
If [Use automatic configuration script] has been checked, remove the check.
44 Click [OK].
9

Using WebBrowser (cont.)
????Enabling JavaScript
If JavaScript has been set to disable, enable it.
http://10.69.104.56
<Top window>
22
33
Enter the User name and the Password.
Click [OK].
<Monitor information> window appears. (11 page)
?????? The default user name and password settings are as follows:
User name: user1 (with user authority) / admin1 (administrator authority)
Password: panasonic (lower case)
?????? Administrator authority has full access to the all features. User authority has access to ???Status???, ???Projector control??? and ???Change password???. (User authority has no access to ???Detailed set up???.)
?????? Password used in this page is for accessing the web control window. (See page 16)
?????? The system locks for several minutes if an incorrect password is entered three times in succession.
?????? If you initialize the network settings, the password is reset to ???panasonic???. Change the password to an appropriate one.
?????? Make sure the password is as hard to guess as possible.
?????? Change the password periodically.
?????? If you have forgotten the password, perform [INITIALIZE] in the projector???s NETWORK menu (See page 8), and set a new one in the ???Change password??? window of your WebBrowser. (See page 16)
?????? Panasonic Corporation and its affiliated companies never directly ask customers for their password.
Do not give out your password even if directly asked by a
?????? The Top window may not appear depending on the WebBrowser. In this case start up WebBrowser again, or press the [Ctrl] + [R] keys for example to update the screen.
?????? Connection cannot be made while the WebBrowser is set to
?????? It may take some moments for WebBrowser to start up.
10
Using WebBrowser (cont.)
Monitor information window
This page indicates the projector status.
To access this page from other pages, click [Status] in the main menu (at the left of the window).
The monitor information is refreshed at fixed intervals, but the current exact information can be checked by clicking [View] ???
[Refresh].
If [SELF TEST Error (Detail)] appears on the Monitor information window, click it to view the error details.
11
Using WebBrowser (cont.)
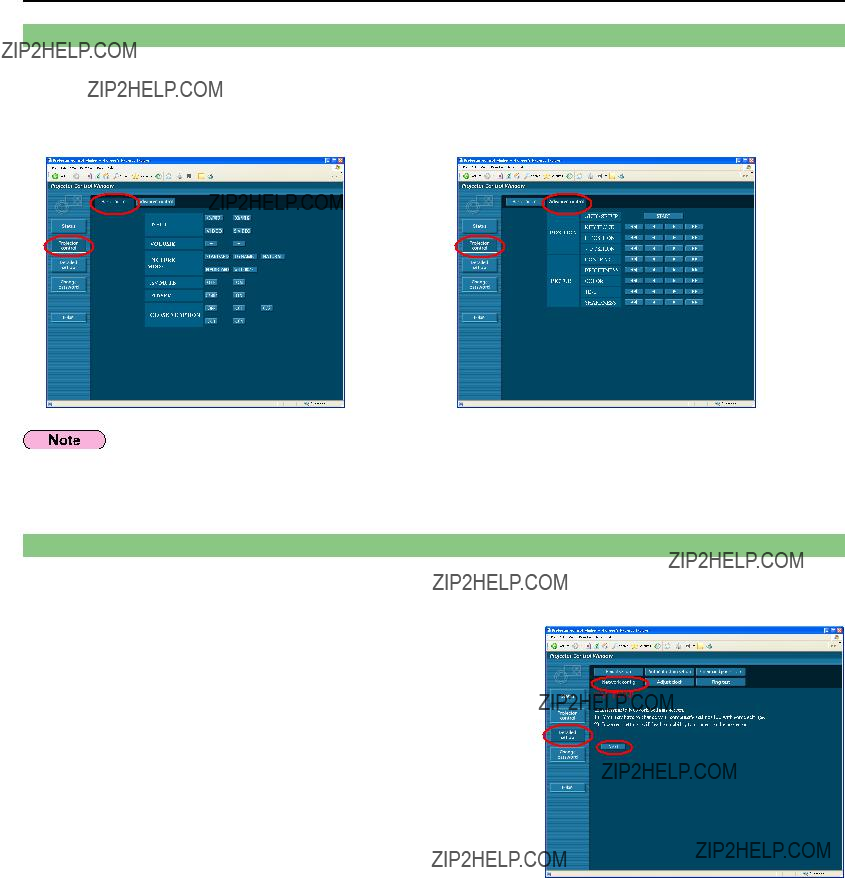
Projector control window
You can make various projector settings.
If you migrate from other page, click [Projector control] in the main menu (at the left of the window).
Connection with the projector may not be possible immediately after the power is turned on. In this case wait a bit and then make the connection again.
Detailed set up window
????Network config
You can make detailed wired LAN settings.
The settings window appears, showing the current settings.
?????? To change the LAN settings, click [Change].
?????? To return to the previous window, click [Back].
12
Using WebBrowser (cont.)
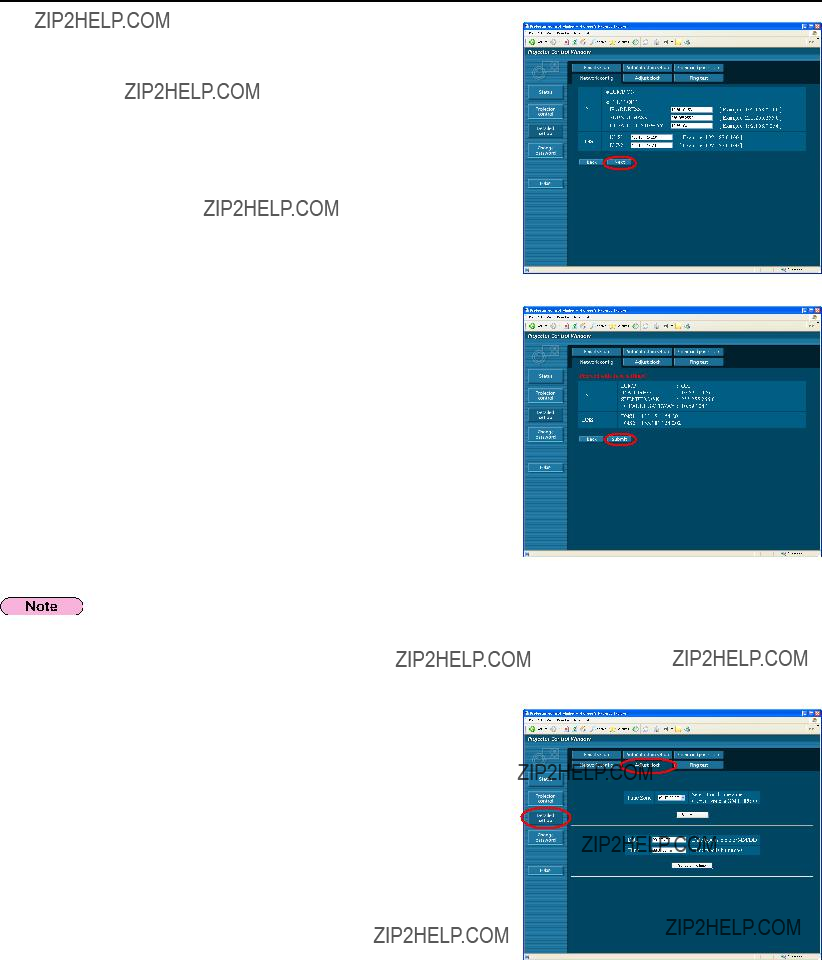
33
44
Complete the detailed settings and click [Next].
When [Next] is clicked, the next page appears, enabling you to complete the detailed settings as desired.
After all required items have been entered, a confirmation window appears.
Click [Submit].
The settings will be registered.
If you have changed the LAN settings that are currently in use, the connection may break off.
????Adjust clock
Click [Detailed set up] ??? [Adjust clock] in the menu.
Time zone : Select the time zone and click [Set time zone].
Time : Enter the current date and time in [Date] and [Time], and then click [Set date and time].
13

Using WebBrowser (cont.)
You can specify two email recipients.
Click [Detailed set up] ???
?????? [MAIL SERVER]
ENABLE :Enable or disable email transmission.
SMTP SERVER NAME : Enter the SMTP server name.
?????? [TEMPERATURE WARNING SET UP]
MINIMUM TIME : Enter the interval for sending email.
INPUT AIR TEMPERATURE :Select the temperature of the intake sensor at which to send a warning message.
??????
MAIL CONTENTS : Change the type of message as desired.
When sending messages to mobile phones, select ???SIMPLE???. ERROR :Select ON to send email when errors occur.
LAMP RUNTIME : Select ON to send email when ???at REMAIN??? is reached.
INPUT AIR TEMPERATURE :Select ON to send email when the temperature set in [TEMPERATURE WARNING SET UP] is exceeded.
PERIODIC REPORT : Send a message with the projector status at the selected date and time. When [submit] is clicked, the settings are applied.
Consult your system administrator on MAIL SERVER and
????Ping test
You can confirm if a network connection is established with Mail server,
POP server, DNS server or the like.
Click [Detailed set up] ??? [Ping test] in the menu.
Input IP address : Enter the IP address of the server you want to test, and then click [Submit].
If succeeded in connection, the following display appears.
If failed in connection, the following display appears.
14

Using WebBrowser (cont.)
 ???Example of email message sent
????If [NORMAL] is selected under [MAIL CONTENTS]
 ???If you have completed the email settings
 ??? If an error occurs
=== Panasonic projector report(ERROR) ===
Wed Mar 31 01:28:46 2010
lb2
????If [SIMPLE] is selected under [MAIL CONTENTS]
 If you have completed the email settings
Projector Type: [LB2]
Serial No: []
MINIMUM TIME :
at [ 60] minutes interval
INPUT AIR TEMP. : Over [ 38C / 100F ]
00:00[ON ] 01:00[ON ] 02:00[ON ] 03:00[ON ] 04:00[ON ] 05:00[ON ] 06:00[ON ] 07:00[ON ] 08:00[ON ] 09:00[ON ] 10:00[ON ] 11:00[ON ] 12:00[ON ] 13:00[ON ] 14:00[ON ] 15:00[ON ] 16:00[ON ] 17:00[ON ] 18:00[ON ] 19:00[ON ] 20:00[ON ] 21:00[ON ] 22:00[ON ] 23:00[ON ]
---Tempurature Input air:
24 C / 75 F Output air:
26 C / 78 F
---Lamp remain
lb2
 If an error occurs
Projector Type: [LB2]
Serial No: []
---Tempurature Input air:
24 C / 75 F Output air:
26 C / 78 F
---Lamp remain
lb2
15

Using WebBrowser (cont.)
????Authentication set up
Click [Detailed set up] ??? [Authentication set up] in the menu.
Auth :Change the authentication method as desired.
SMTP Auth : For SMTP authentication, change the authentication method to use, as desired.
Pop Server name : Enter the POP server name.
User name : Enter the user name for the SMTP or POP server.
Password : Enter the password for the SMTP or POP server.
SMTP server port : Enter the SMTP server port number.
POP server port : Enter the POP server port number.
When [submit] is clicked, the settings are applied.
????Command port set up
Click [Detailed set up] ??? [Command port set up] in the menu.
COMMAND PORT : Specify a port number to be used for command control and click [Set port].
Change password window
????Password settings
Click [Change password] in the main menu.
Set a password for accessing the web control window.
Enter the previous password and the new password.
Enter the new password in [Retype] and click [OK].
?????? You can enter a password up to 16 characters (upper case/lower case) and symbols.
?????? When log in as administrator, you can reset the User name and the Password (forced change) that logged in with administrator/user authority.
Switching Languages
Switch the language of the web control window.
Click [English] / [ ] in the main menu.
16
Using PJLink protocol
The projector???s network functions conform to PJLink Class 1 standards, enabling the following operations from a computer using the PJLink protocol.
?????? Setting the projector
?????? Querying the projector status
To use PJLink protocol, turn [ON] the [NETWORK CONTROL] in the NETWORK menu for the projector. (See page 7)
Applicable commands
The following commands are used to control the projector with the PJLink protocol.
????PJLink security authentication
The password used for PJLink is same as the one you set in the WEB control.
Configure this without specifying the password for the WEB control, if you use it without authentication.
For details on PJLink specifications, refer to the Japan Business Machine and Information System Industries Association website.
The URL is http://pjlink.jbmia.or.jp/english/
17

Glossary
Trademarks
?????? Microsoft ?? and its logo are either registered trademarks or trademarks of Microsoft Corporation in the United States and/or other countries.
?????? PJLink is a pending trademark in Japan, the United States and other countries and regions.
?????? Other company names, product names or other names noted in this manual are trademarks or registered trademarks of the respective companies. Note that ?? and TM marks are not indicated in the text of this manual.
Notes:
?????? Unauthorized use or reproduction of part or all of this manual is strictly prohibited.
?????? Panasonic cannot be held liable for any effects resulting from the use of this manual.
?????? Panasonic reserves the right to revise this manual contents without notice.
18

???????????????????????????????????????????????????????????????
Web Site : http://panasonic.net/avc/projector/ ?? Panasonic Corporation 2010