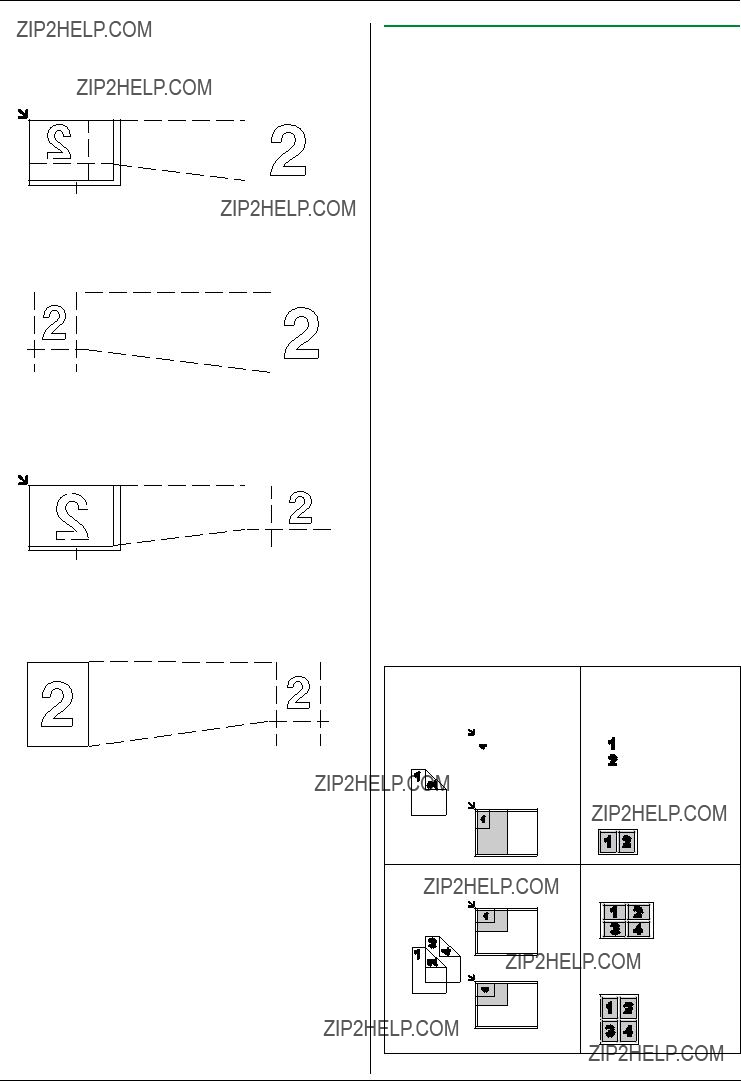
Toner life
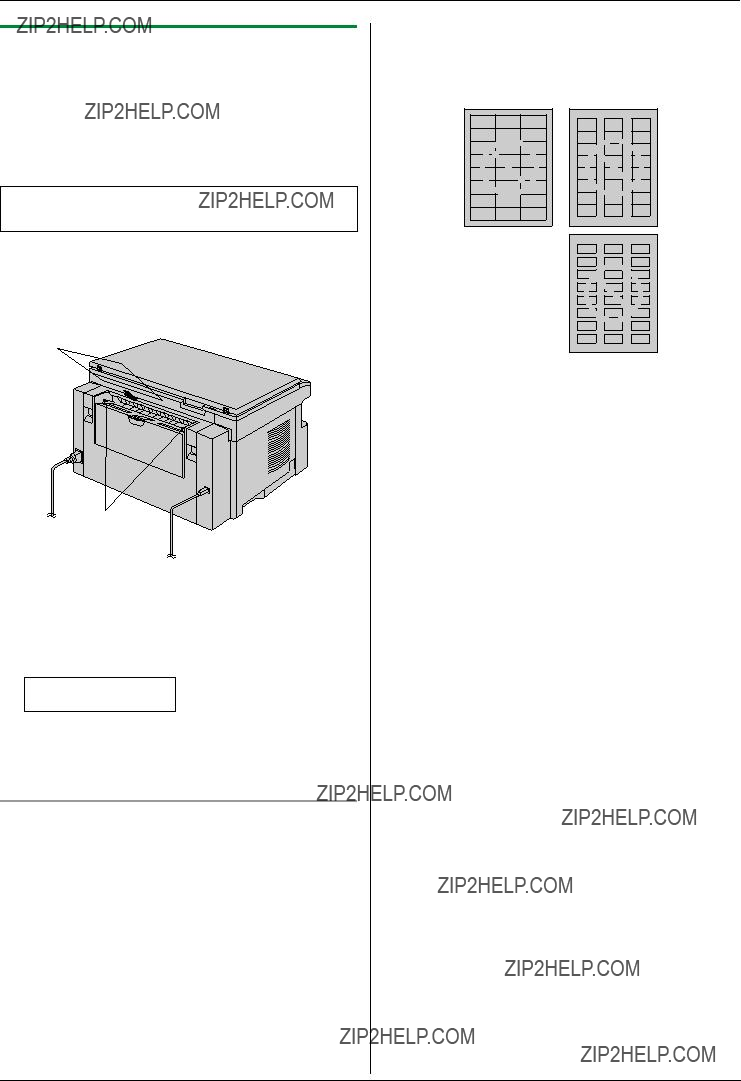
Toner life depends on the amount of content in a received, copied or printed document. The following is the approximate relationship between image area and toner life for replacement toner cartridge (Model No. KX- FAT92A/KX-FAT92E). Toner life varies in actual usage.
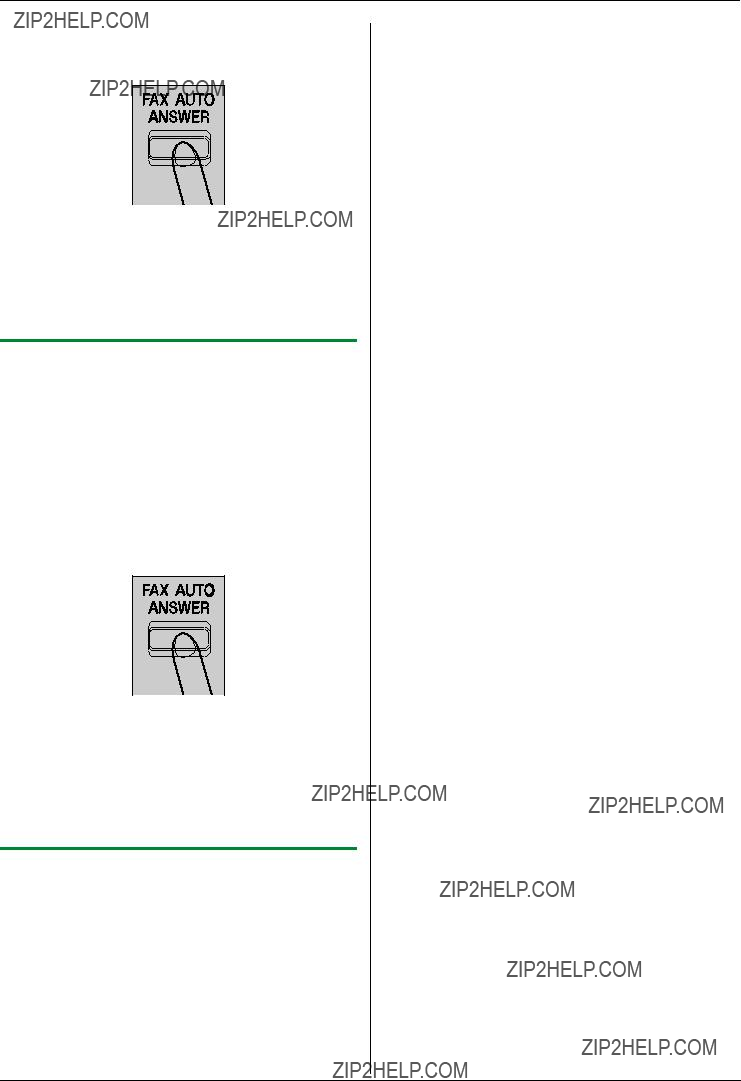
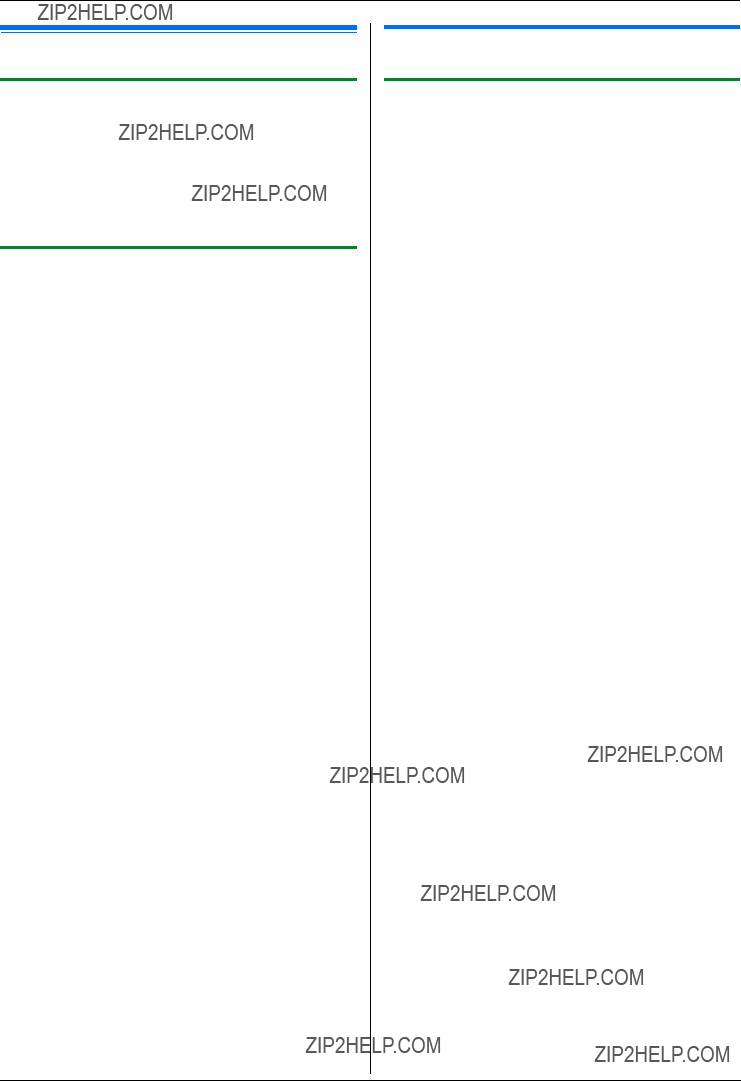
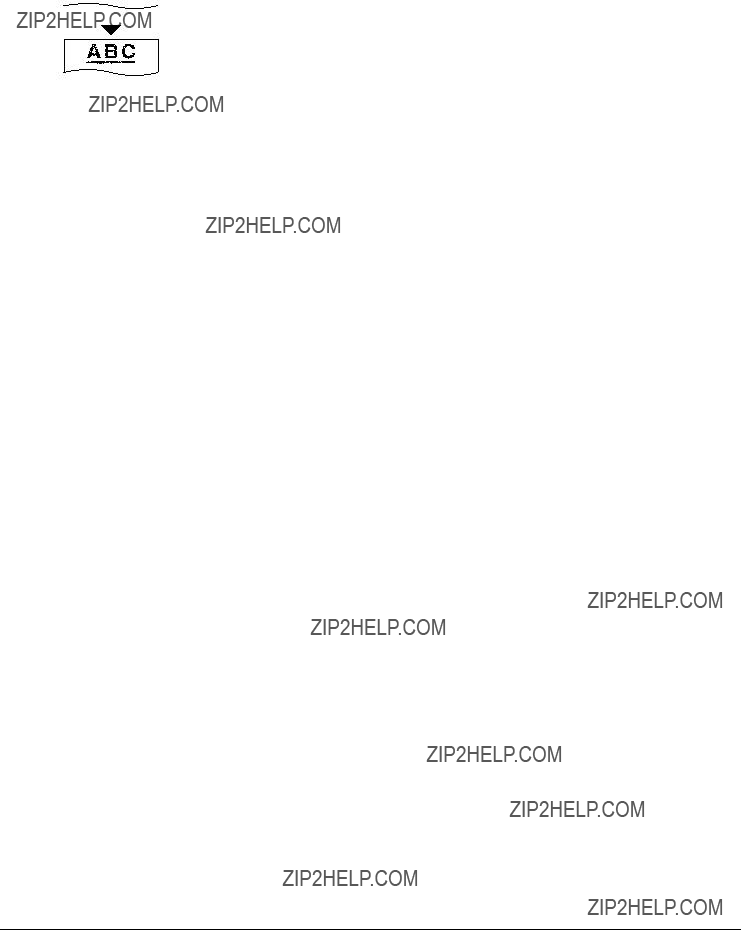
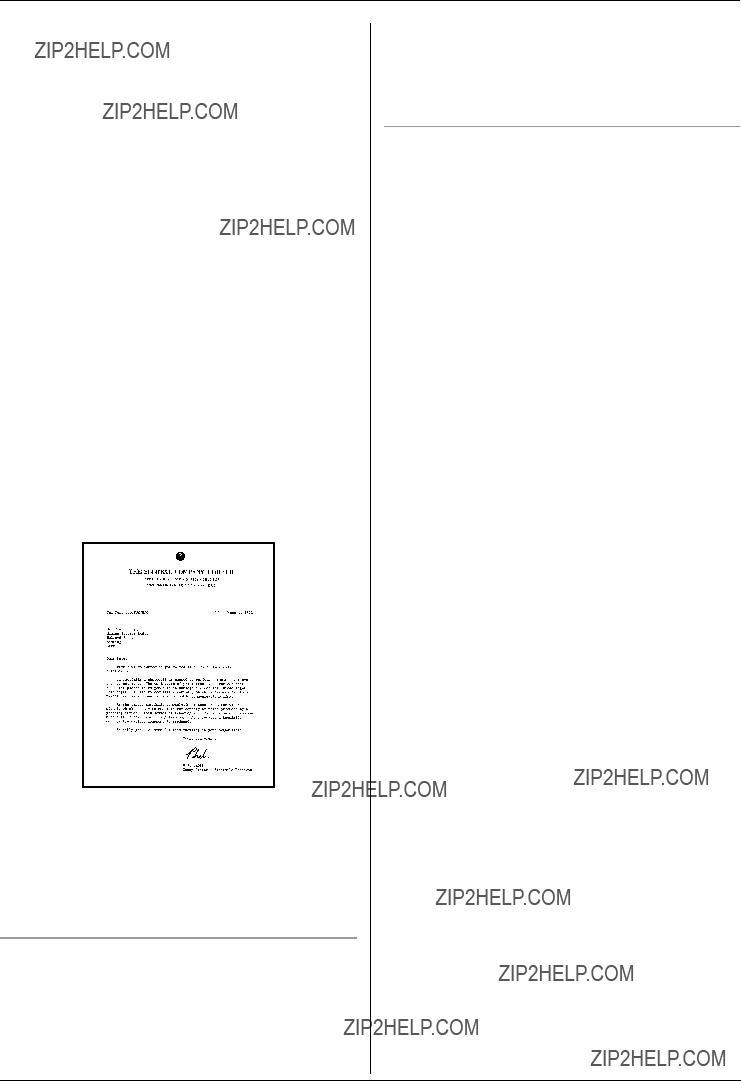
5 % image area
Approx. 2,000 sheets of A4 size paper can be printed.
Table of Contents1.
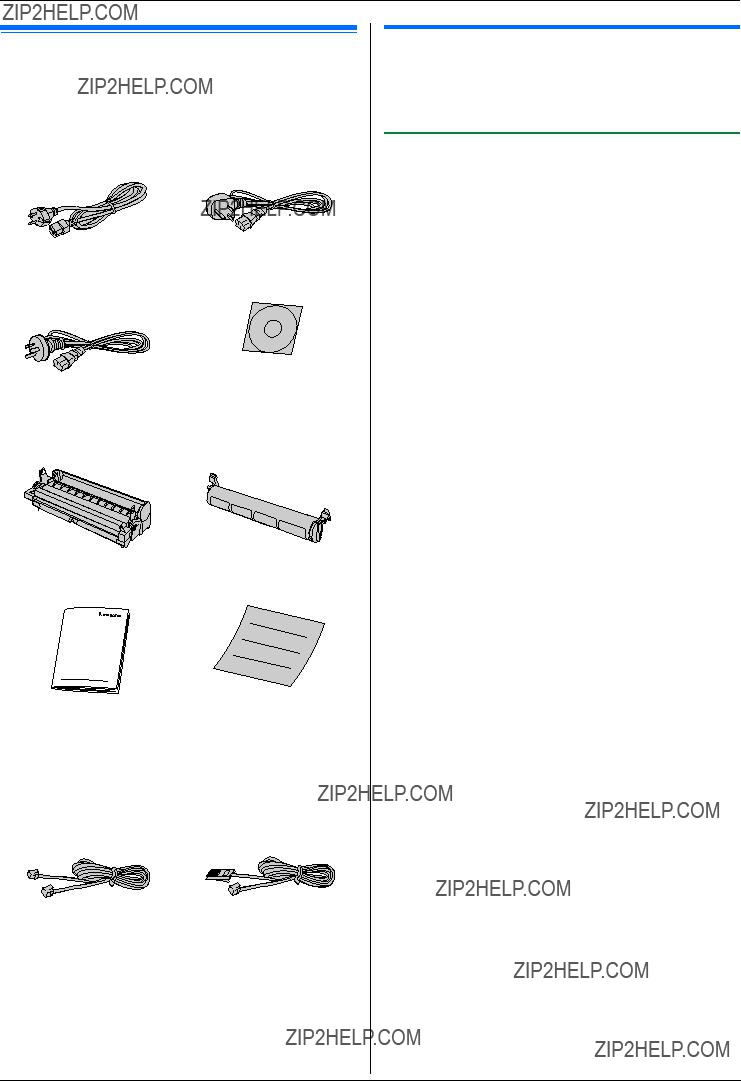
1. Table of Contents 1. Introduction and Installation Accessories
1.1 Included accessories.1.2 Accessory information.Finding the Controls
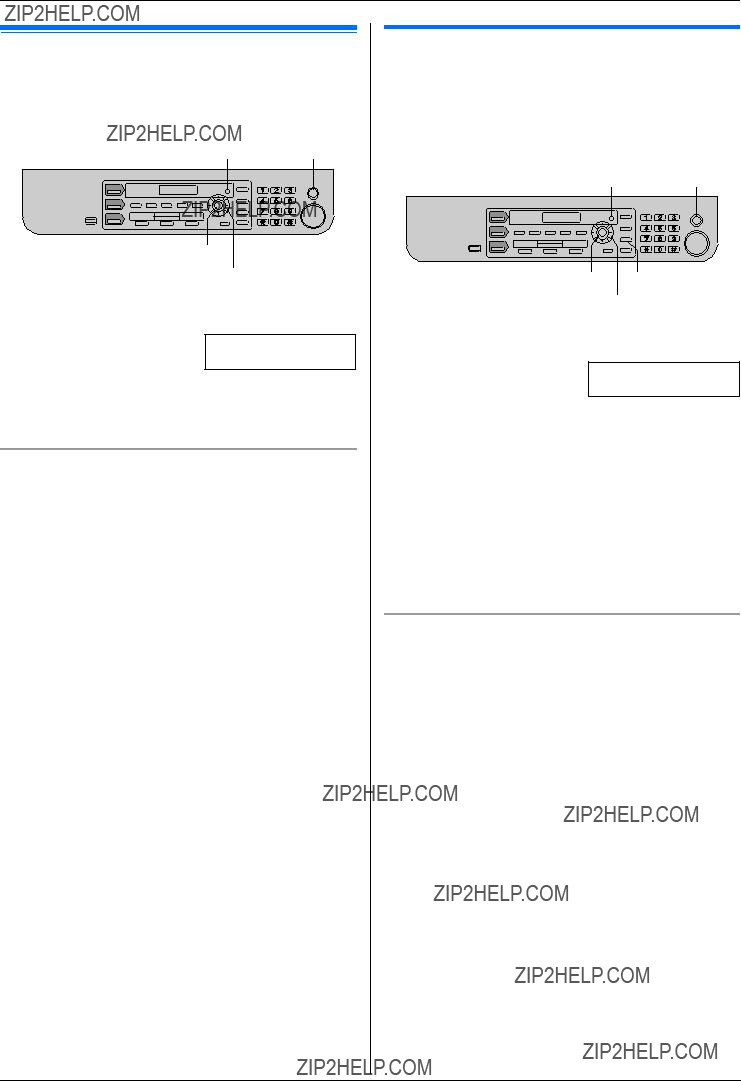
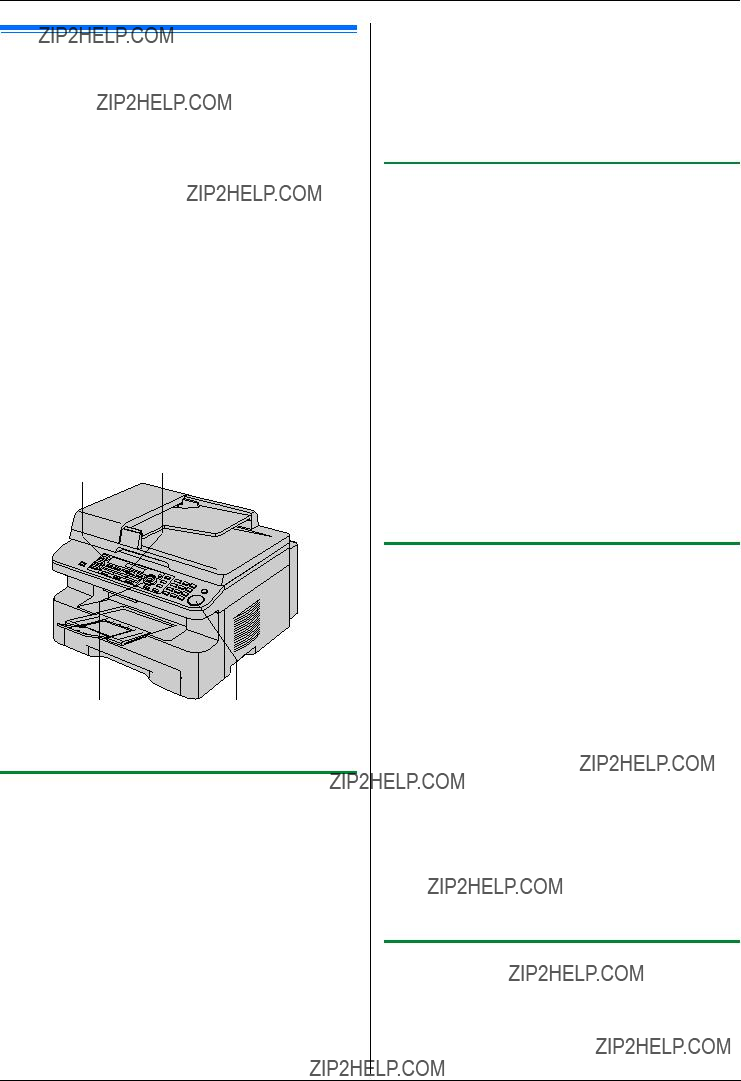
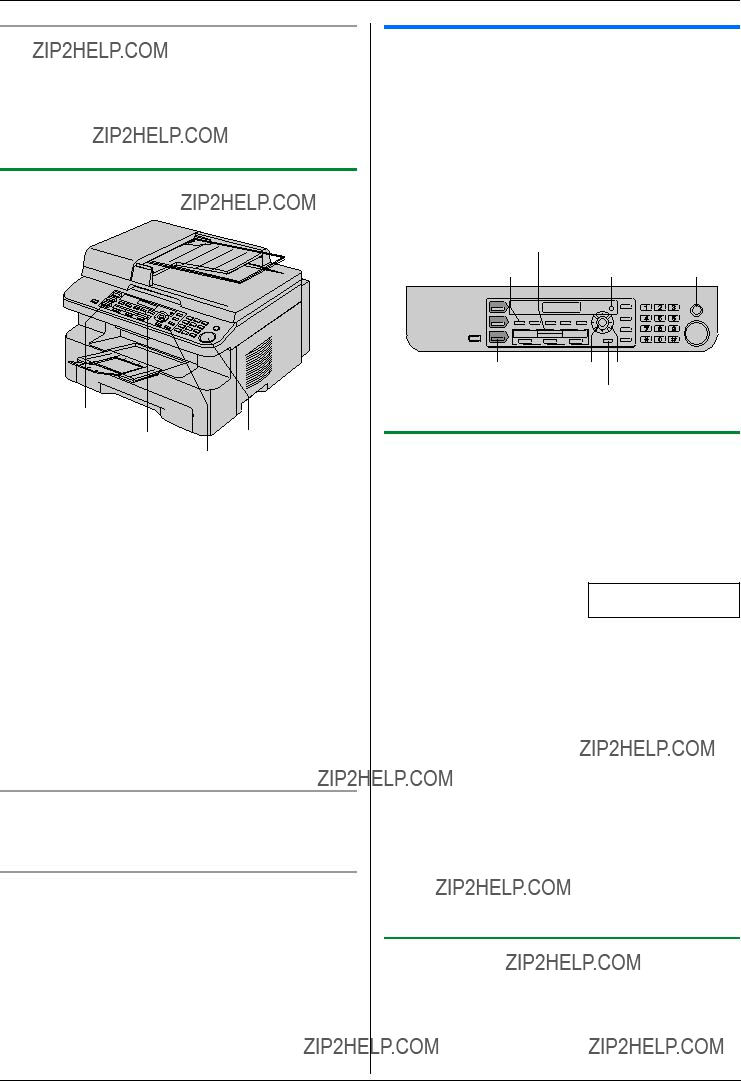
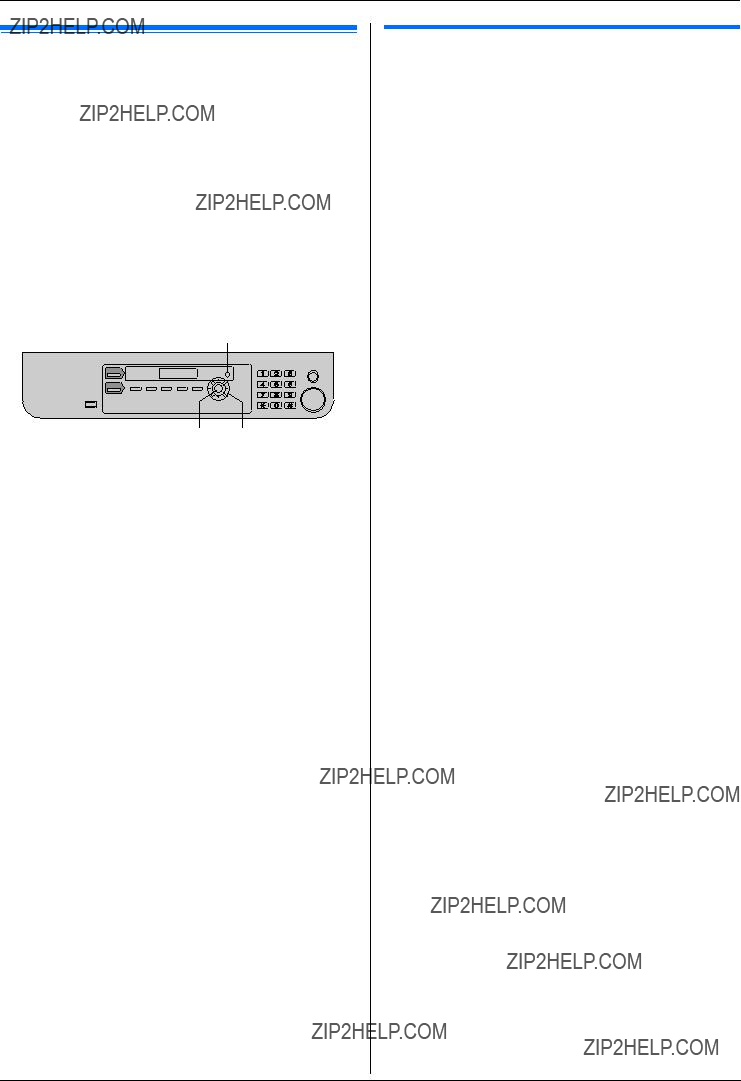
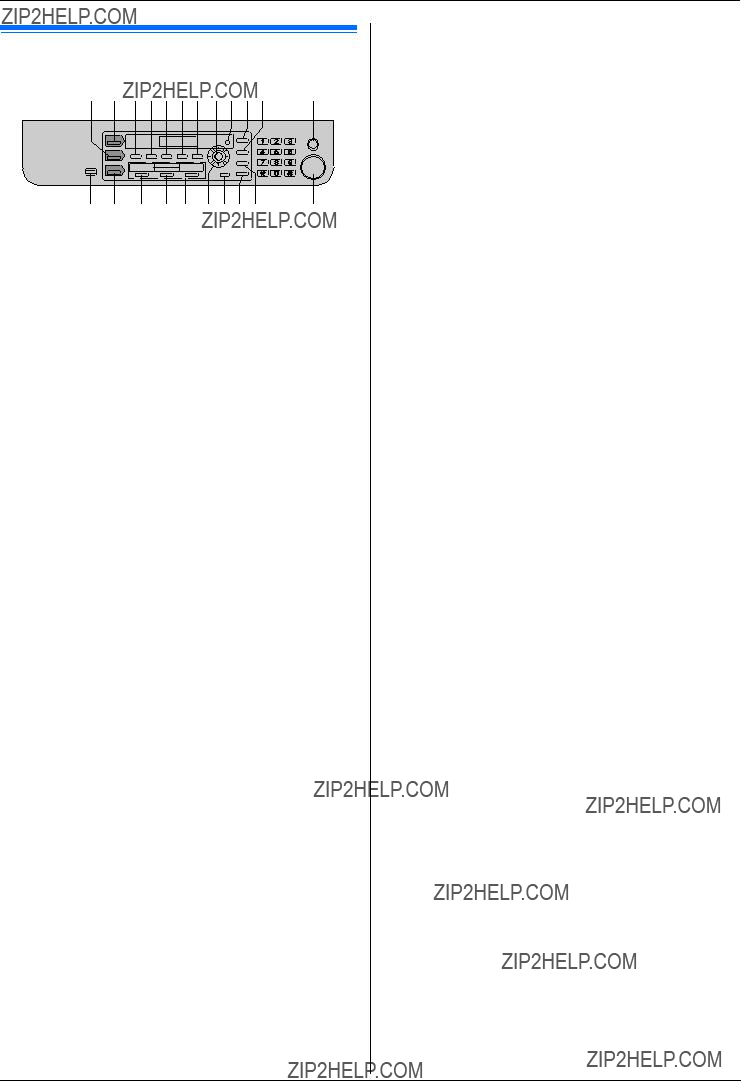
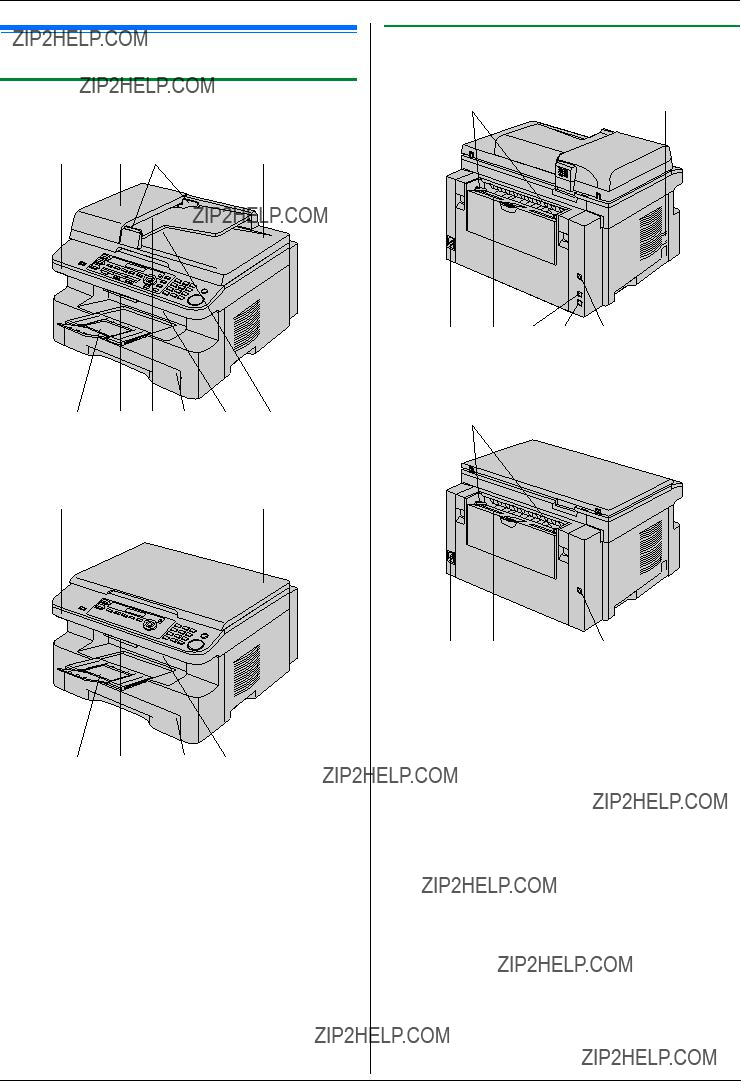
1.3 Description of buttons.1.4 Overview Installation
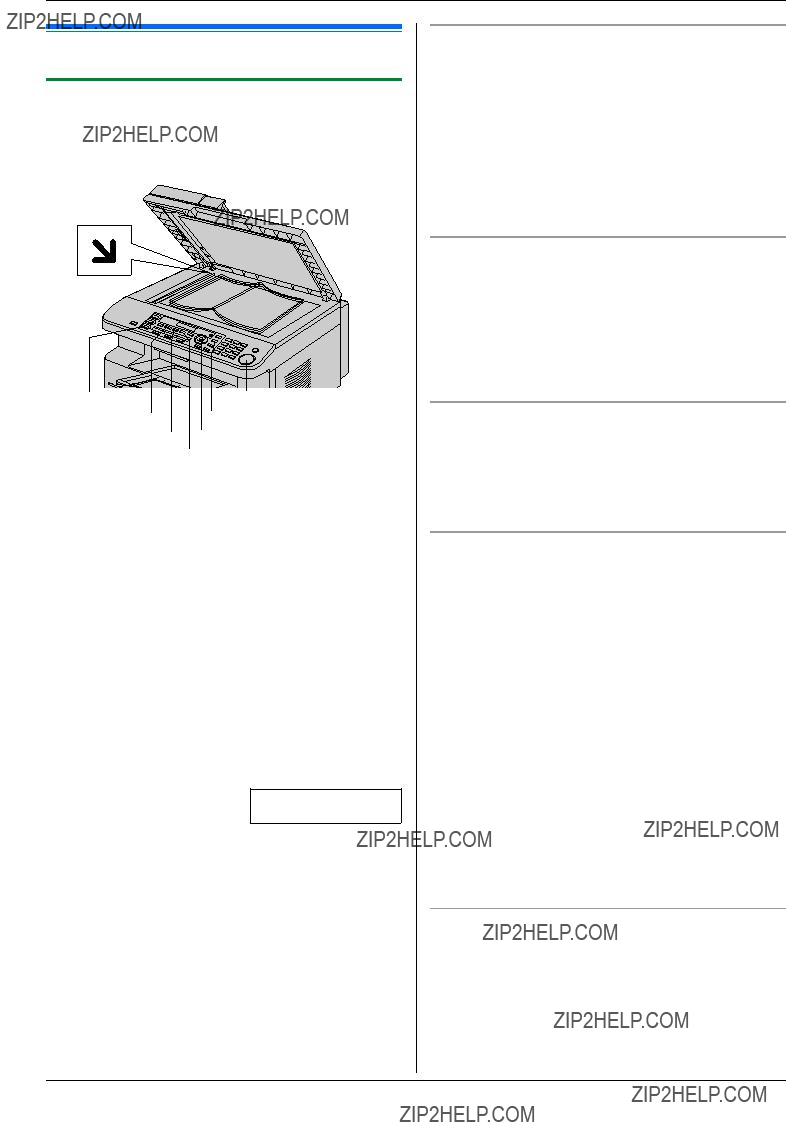
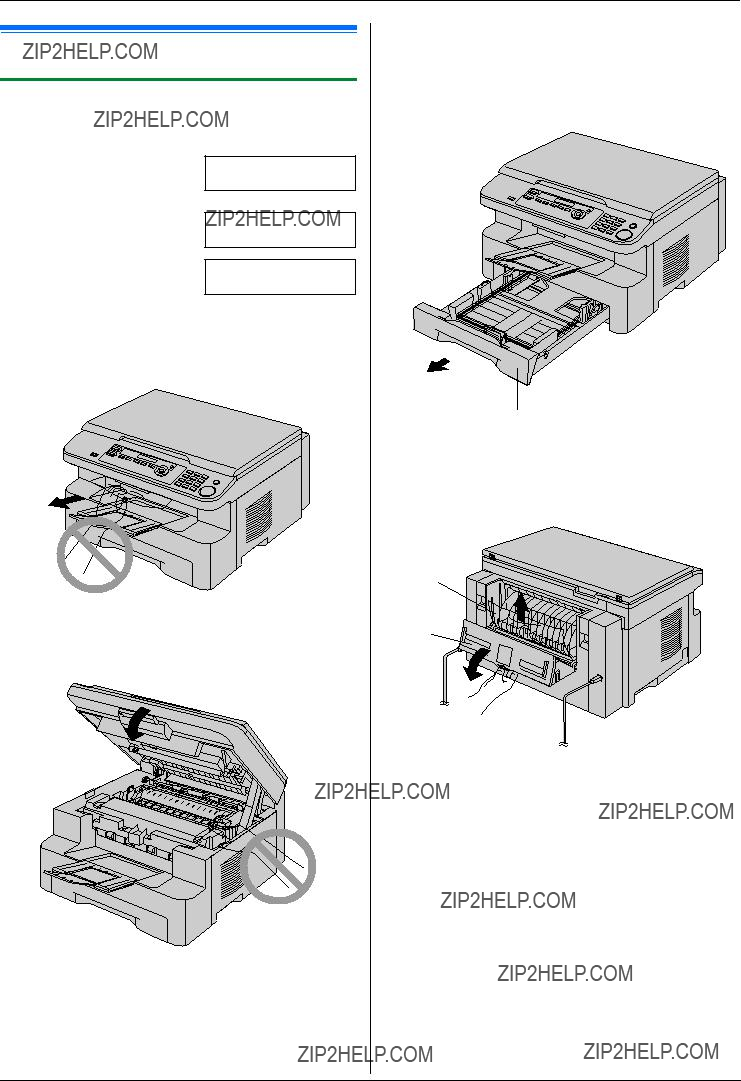
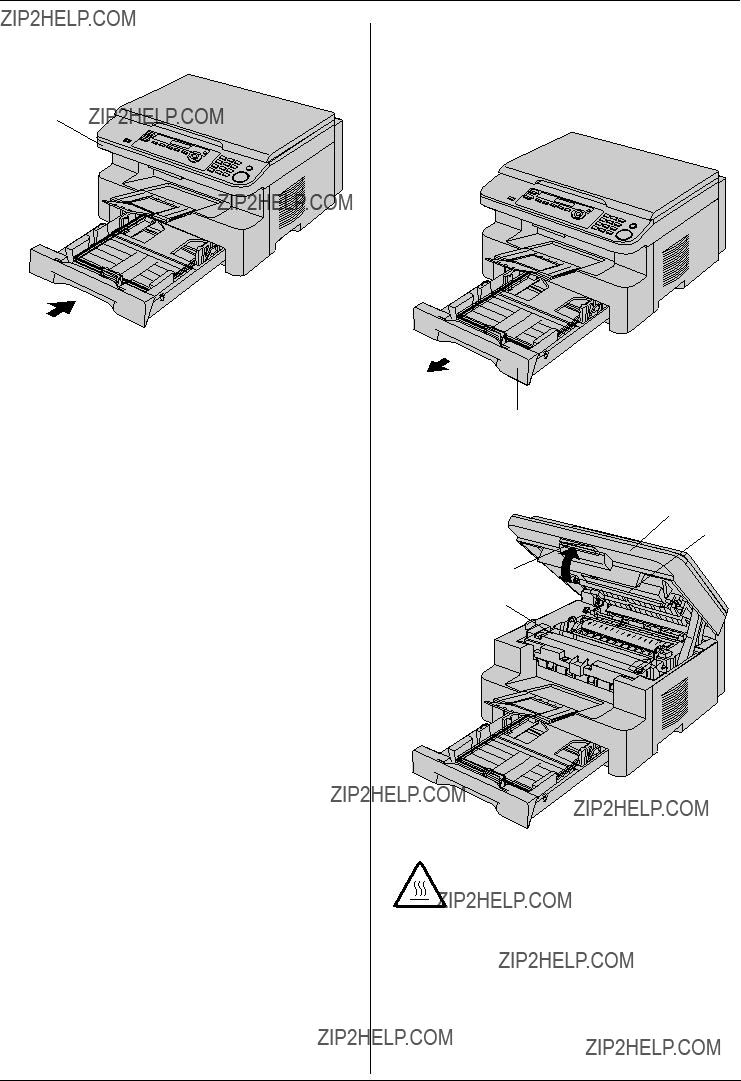
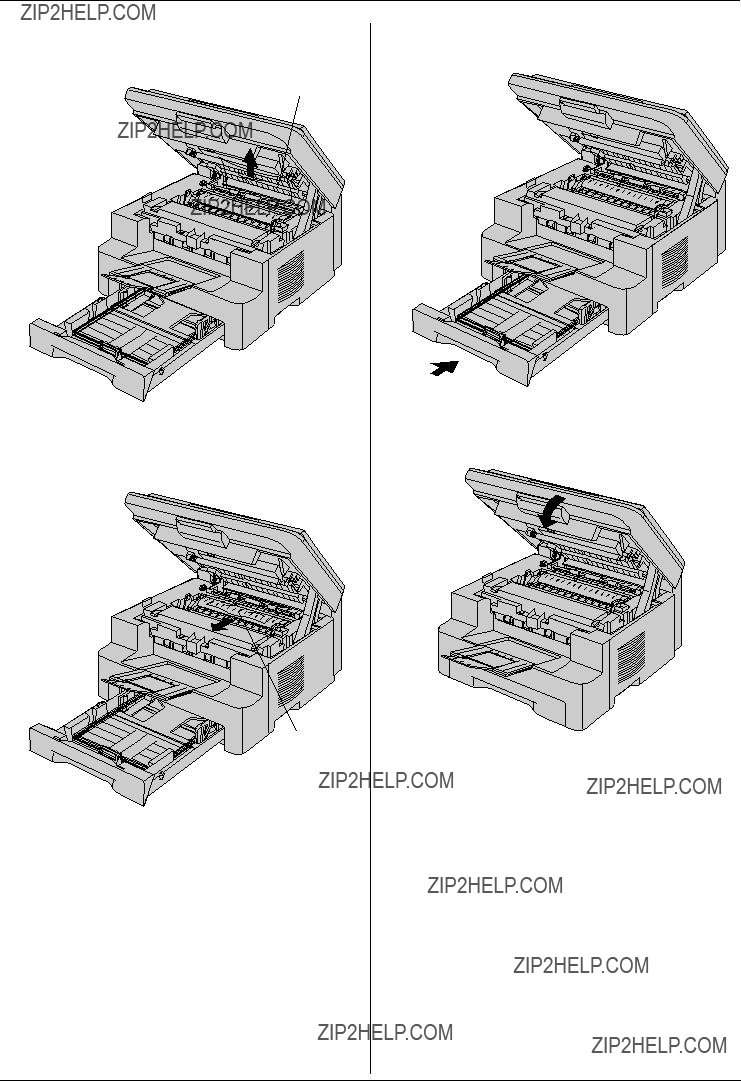
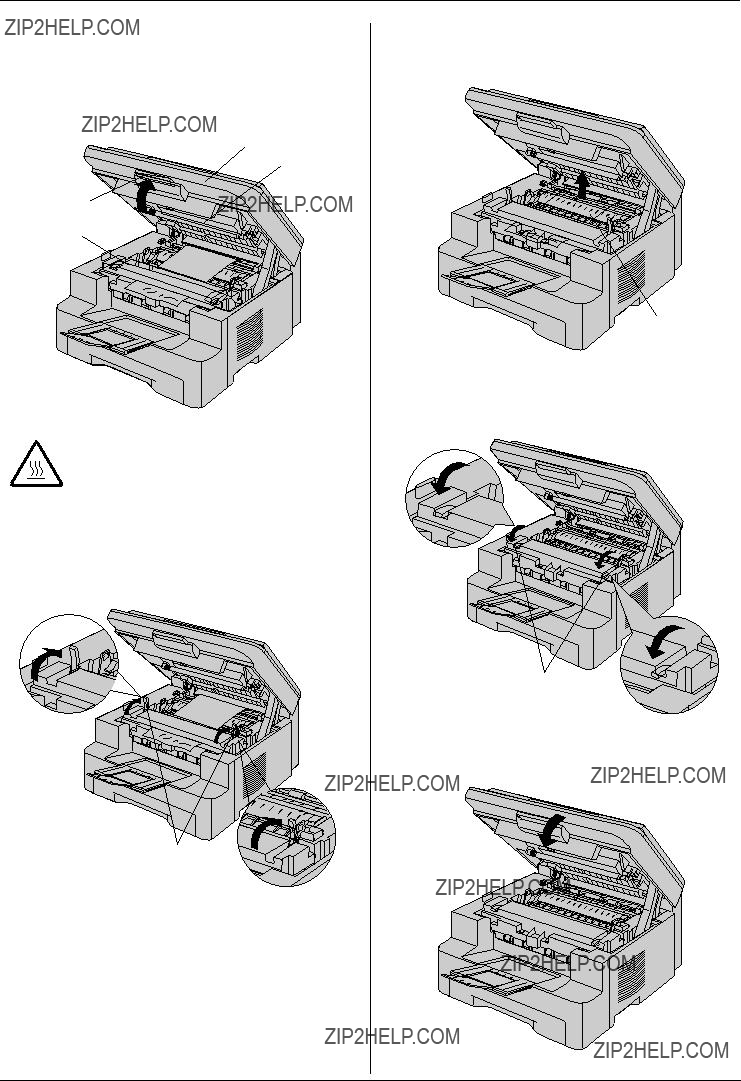
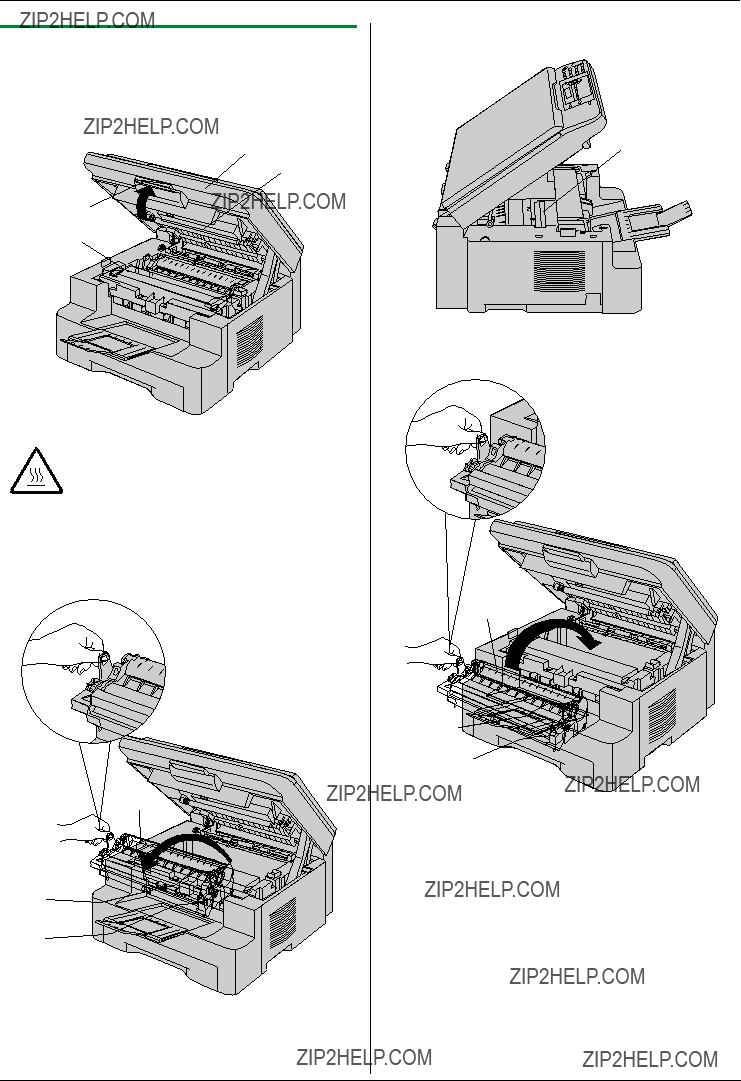
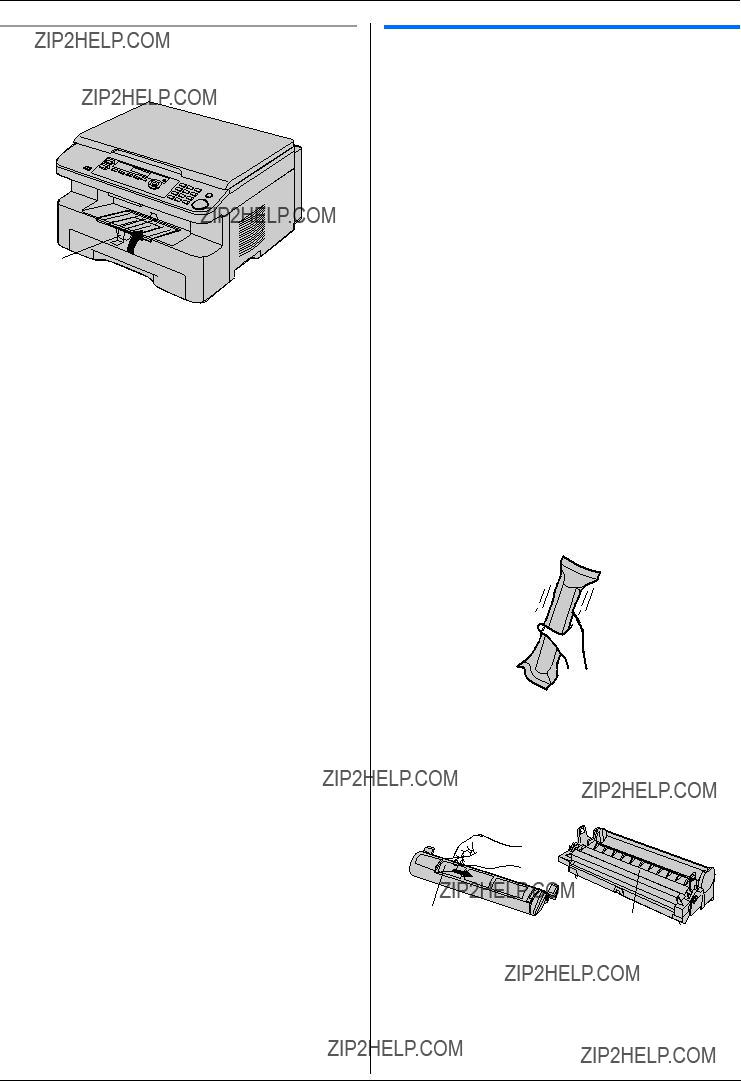
1.5 Toner cartridge and drum unit
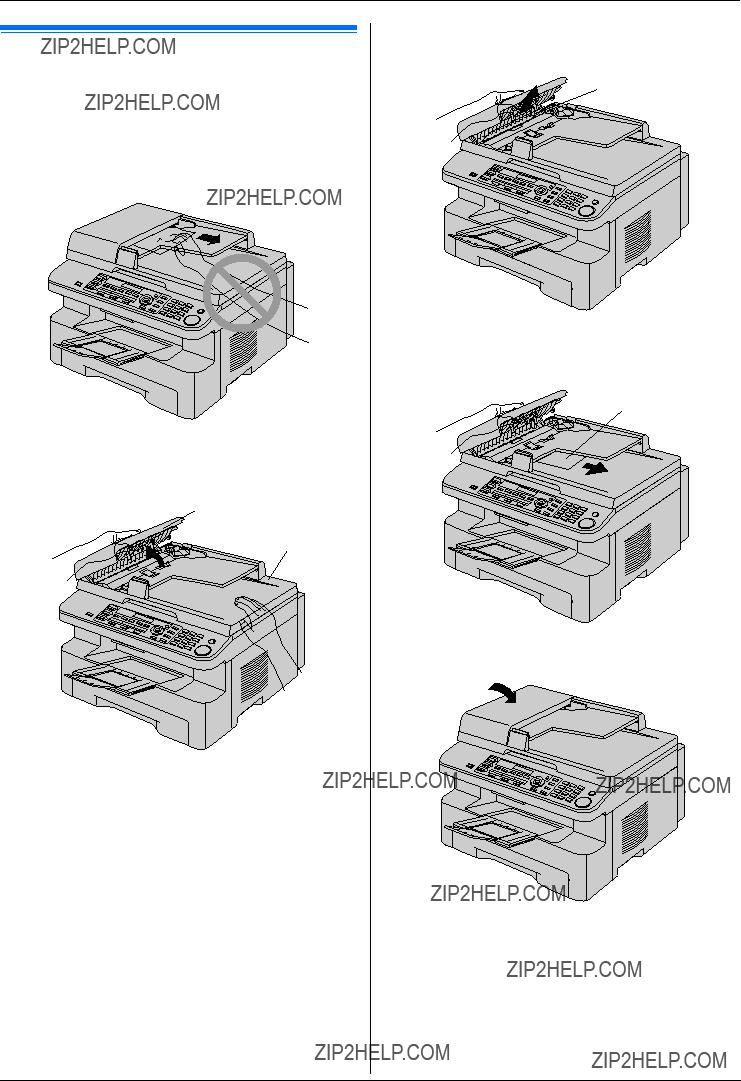
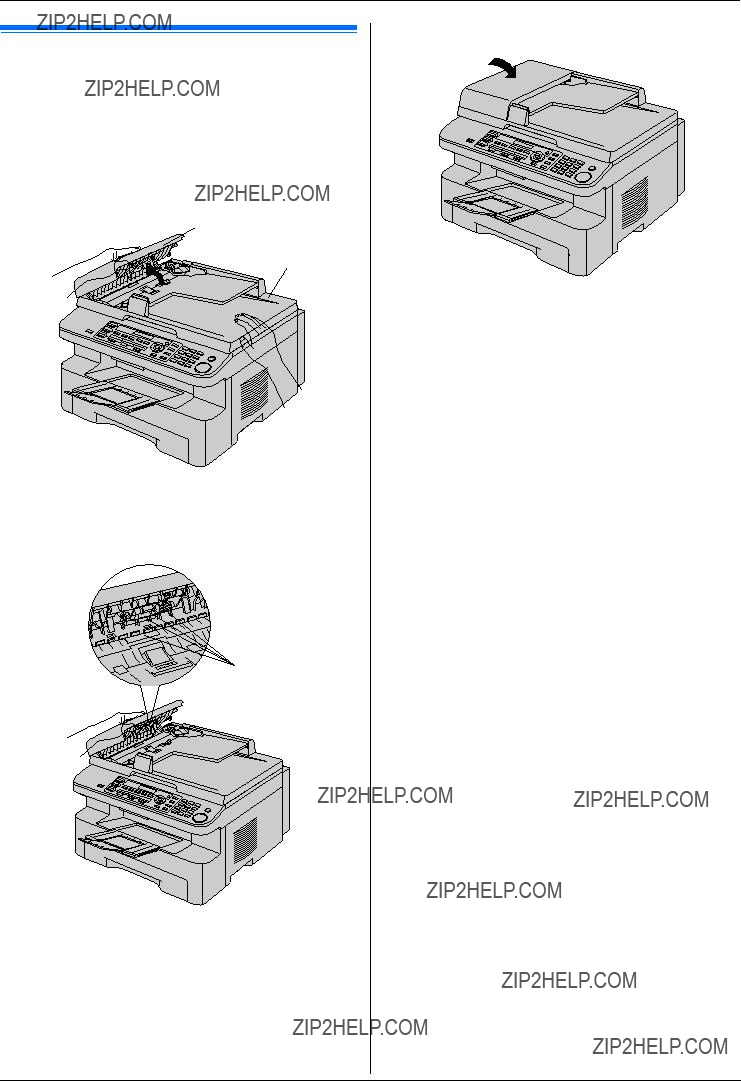
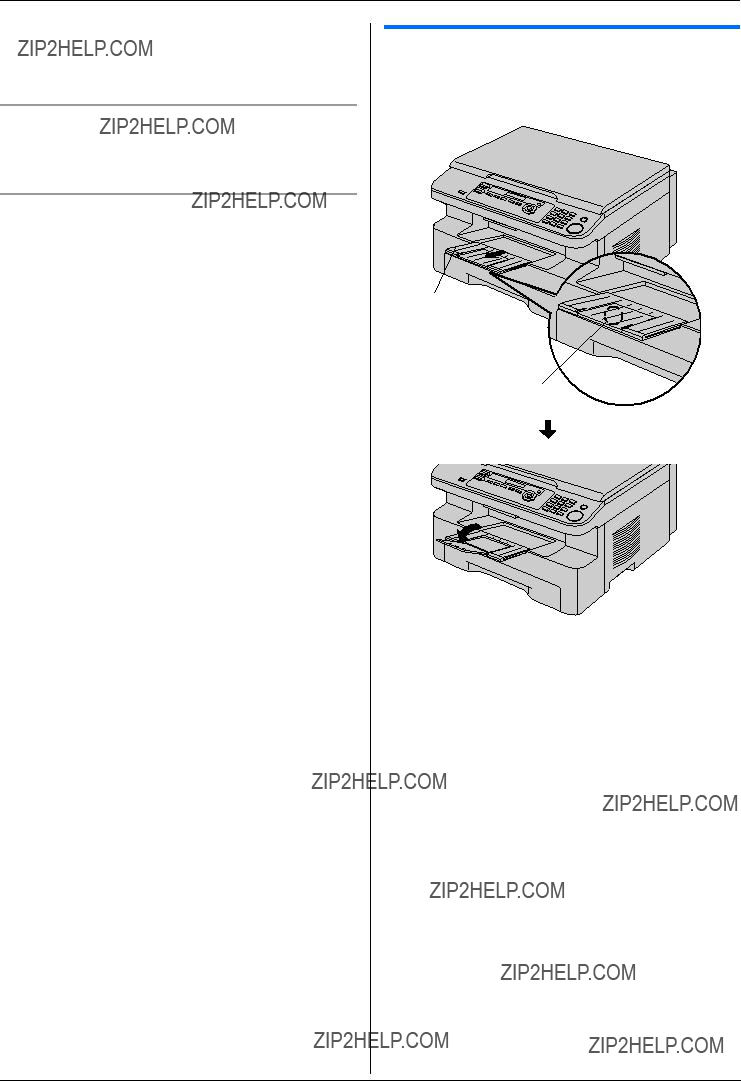
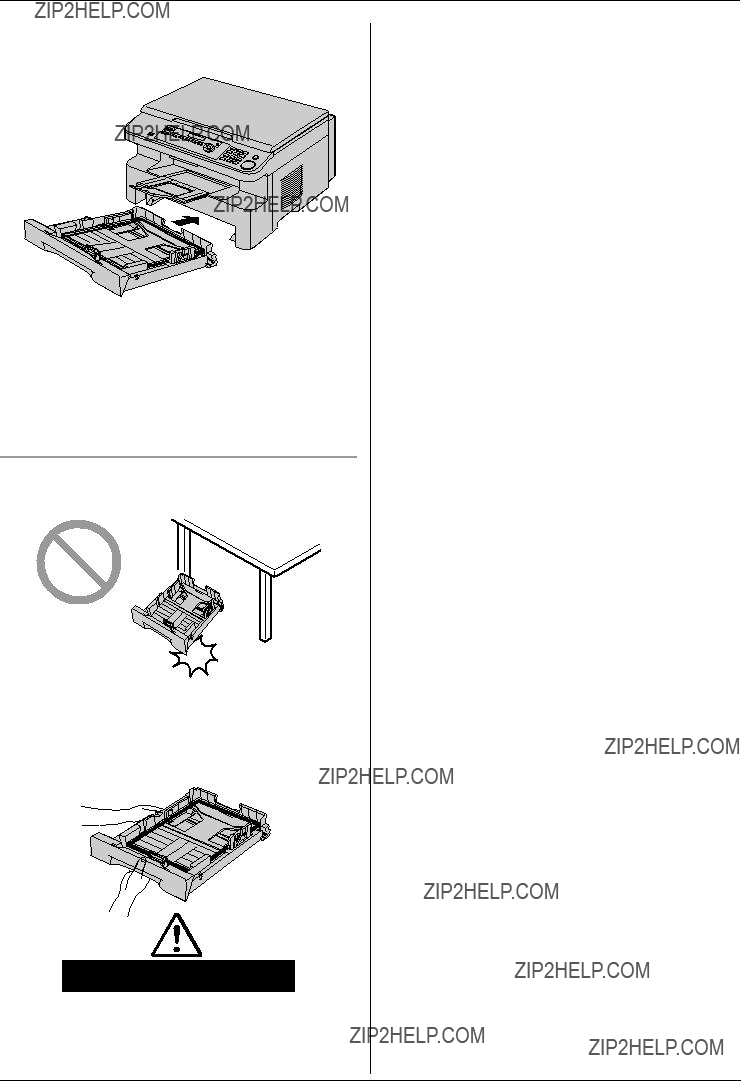
1.6 Document tray 1.7 Output tray1.8 Recording paper2. Preparation
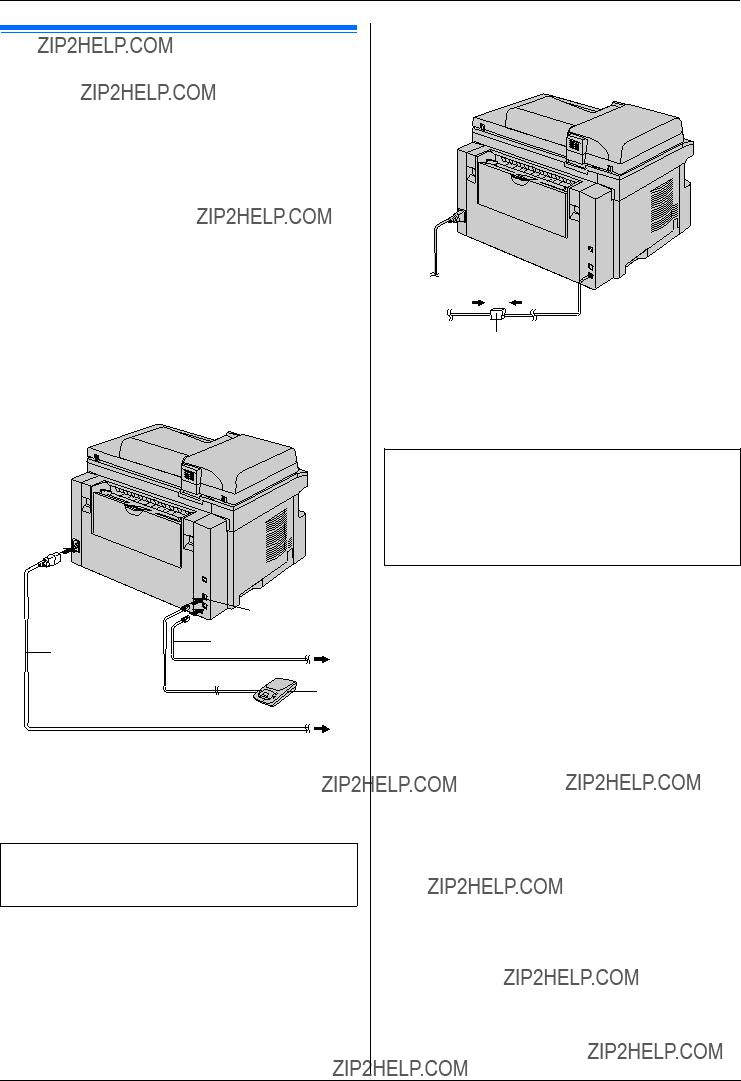
2.1 Connections 2.2 Turning the power switch ON Help Button2.3 Help function Volume 2.4 Adjusting volume Initial Programming 2.5 Dialing mode 2.6 Date and time.
2.7 Your logo.2.8 Your fax number 3. Copy / Copying3.1 Using the unit as a copy machine. 3.2 Making a copy 3.3 More copying features
4. PC Operations/ Setup 4.1 Connecting to a computer
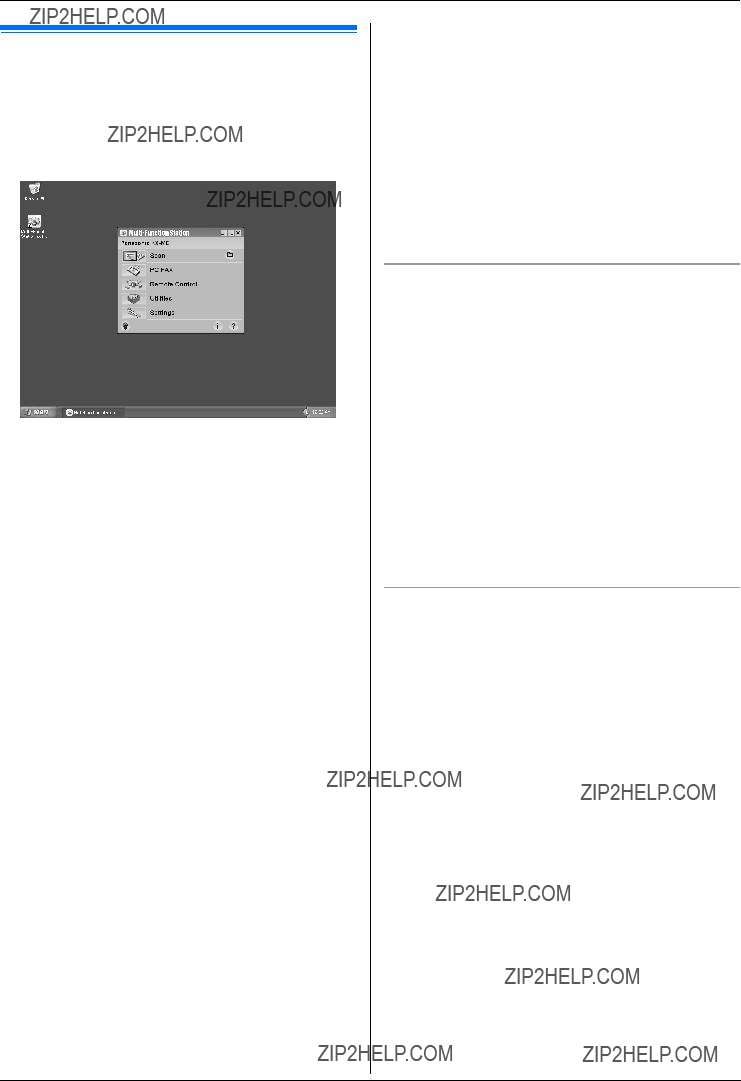
4.2 Installing Multi-Function Station 4.3 Starting Multi-Function Station Printing
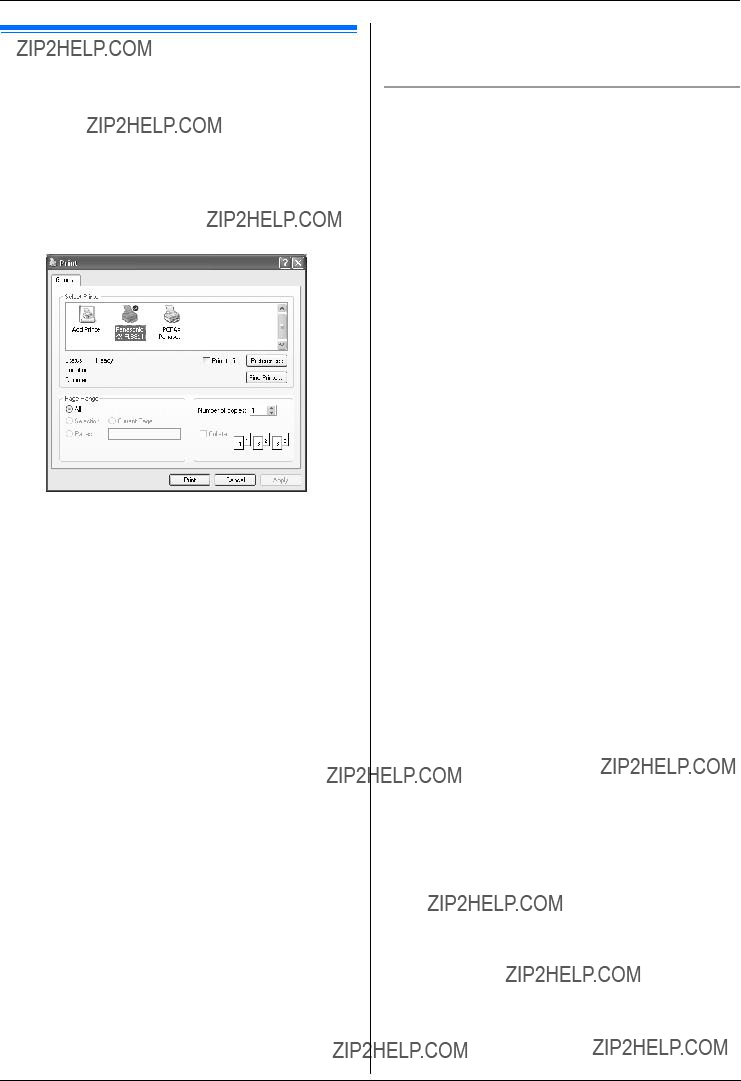
4.4 Using the unit as a printer Scanning 4.5 Using the unit as a scannerRemote Control
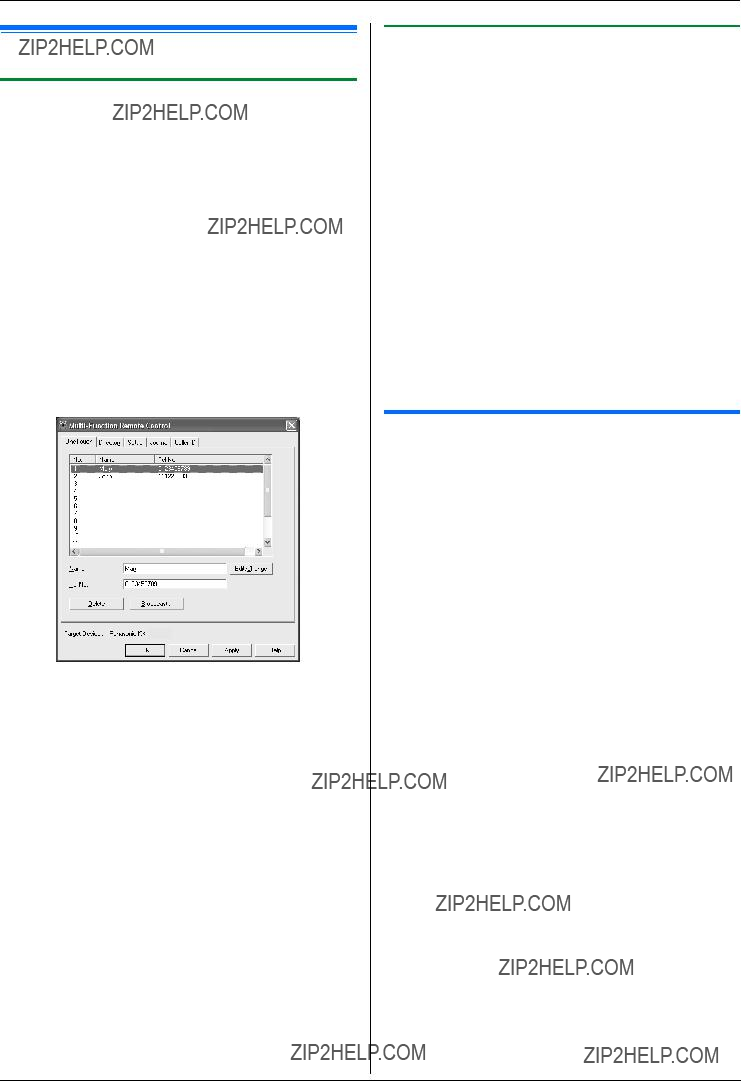
4.6 Operating the unit from your computer.
4.7 Fax sending/receiving using Multi-Function Station
4.8 Registering the computer in the LANnetwork with the optional LAN board 4.9 Confirming the status of the unit 5. Case / Setup
5.1 Selecting the way to use your unit 5.2 Case 1: FAX ONLY
5.3 Case 2a: Distinctive Ring (1 phone line with 2 or more phone numbers)
5.4 Case 2b: Distinctive Ring (using withvoice mail service)
5.5 Case 3: EXT. TAM (External Telephone Answering Machine)
Table of Contents2.
1. Table of Contents
1.1 Included accessories.1.2 Accessory information.Finding the Controls
1.3 Description of buttons.1.4 Overview Installation1.5 Toner cartridge and drum unit 1.6 Document tray 1.7 Output tray1.8 Recording paper2. Preparation
2.1 Connections 2.2 Turning the power switch ON Help Button2.3 Help function Volume 2.4 Adjusting volume Initial Programming 2.5 Dialing mode 2.6 Date and time.
2.7 Your logo.2.8 Your fax number 3. Copy / Copying 3.1 Using the unit as a copy machine.
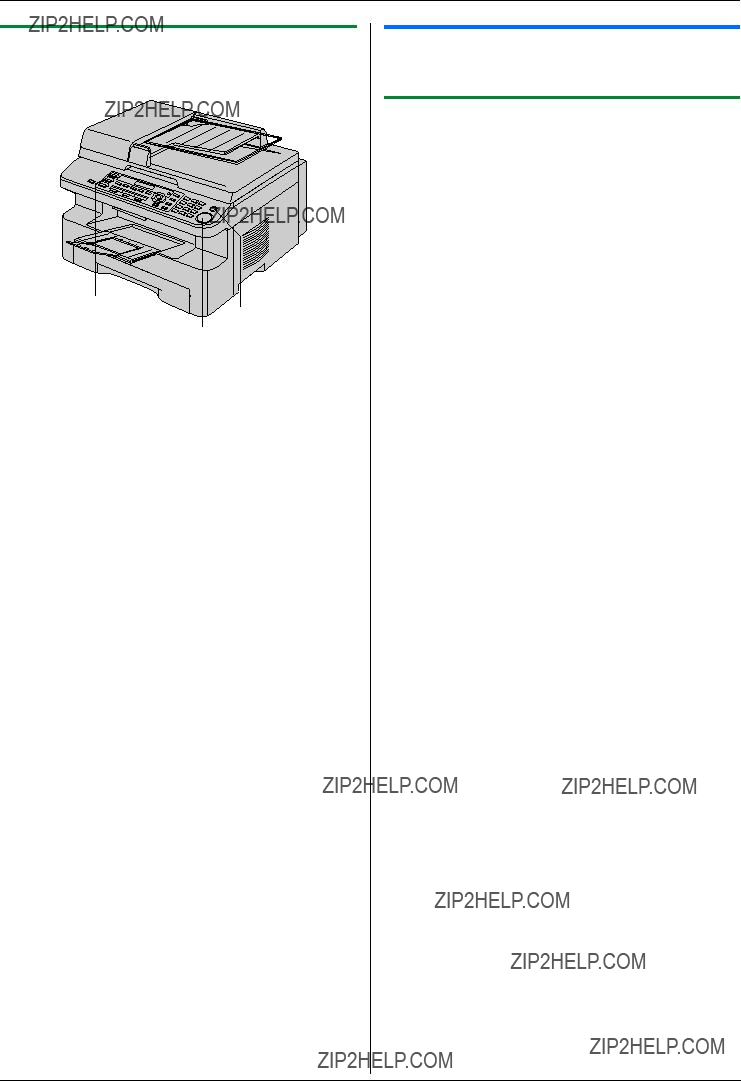
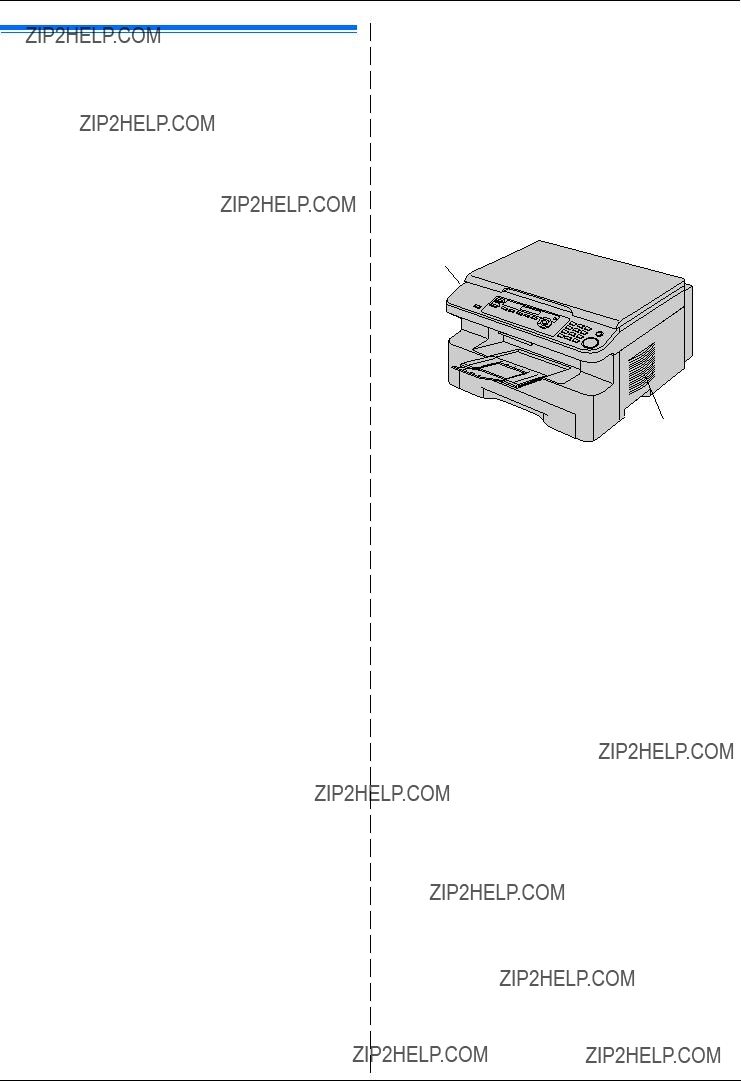
Thank you for purchasing a Panasonic fax machine.
Things you should keep a record of
Attach your sales receipt here.
For your future reference
Date of purchase
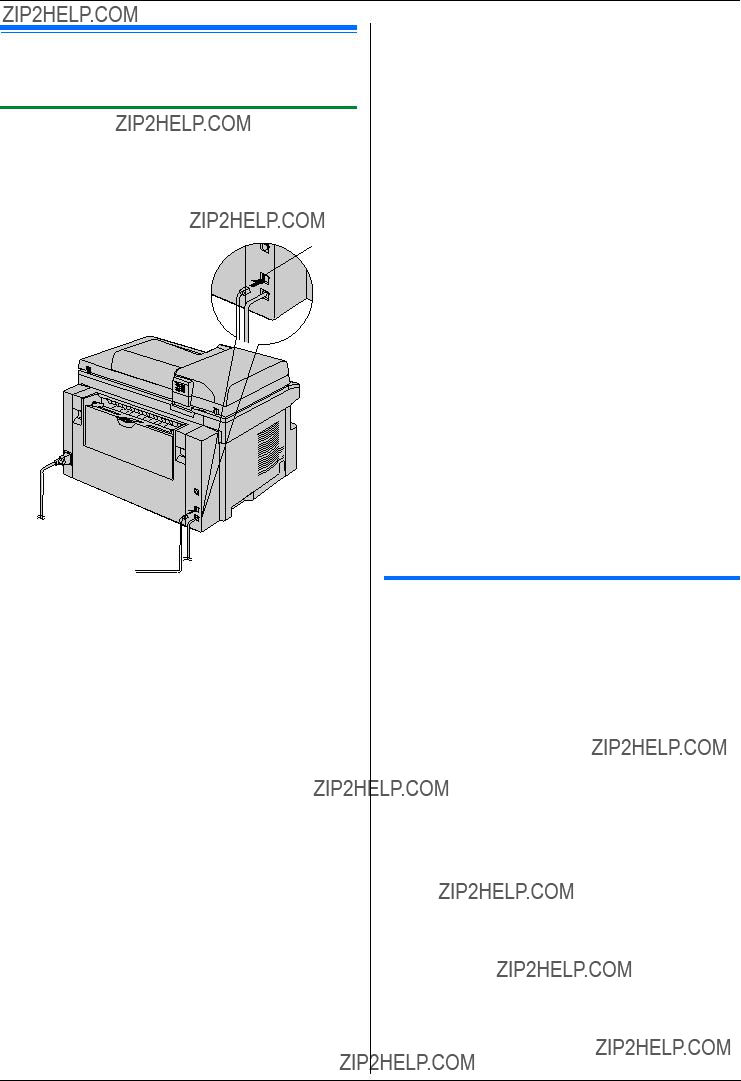
Serial number (found on the rear of the unit)
Dealer's name and address
Dealer's telephone number
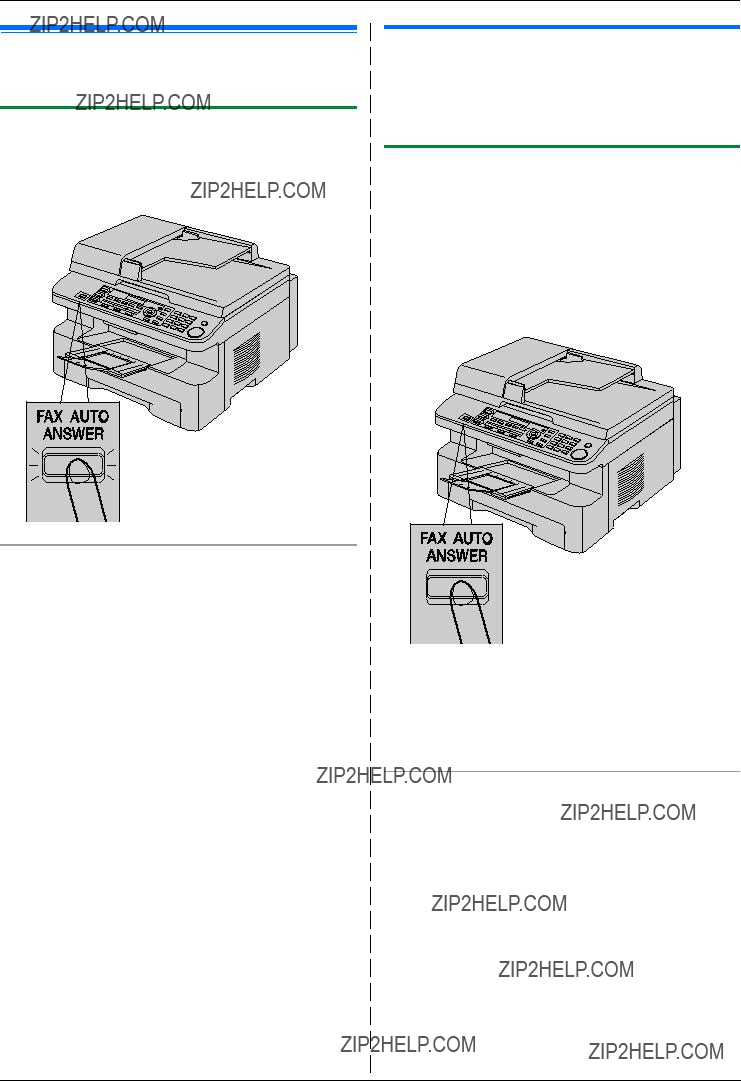
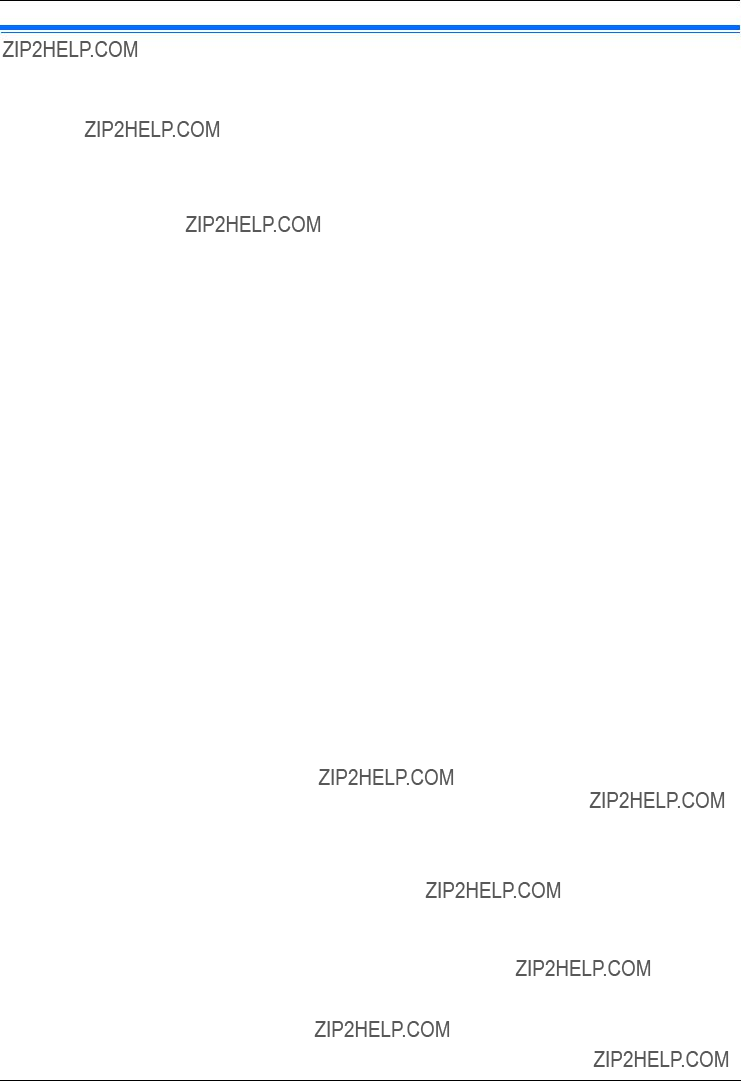
10 % image area
Approx. 1,000 sheets of A4 size paper can be printed.
Table of Contents1.
1. Table of Contents / Introduction and Installation Accessories
1.1 Included accessories.
1.2 Accessory information.Finding the Controls
1.3 Description of buttons.
1.4 Overview Installation
2.1 Connections
2.2 Turning the power switch ON Help Button
2.3 Help function Volume
2.4 Adjusting volume Initial Programming
4.6 Operating the unit from your computer.
4.7 Fax sending/receiving using Multi-Function Station
Thank you for purchasing a Panasonic fax machine.
Things you should keep a record of
Attach your sales receipt here.
For your future reference
Date of purchase
Serial number (found on the rear of the unit)
Dealer's name and address
Dealer's telephone number
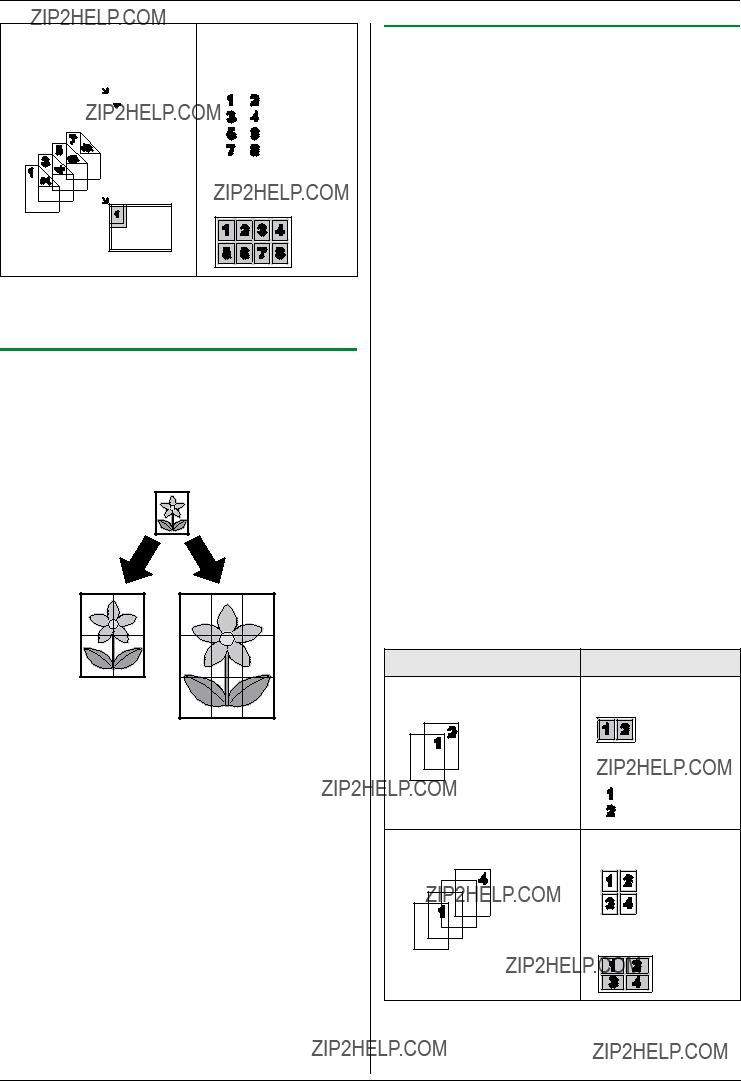
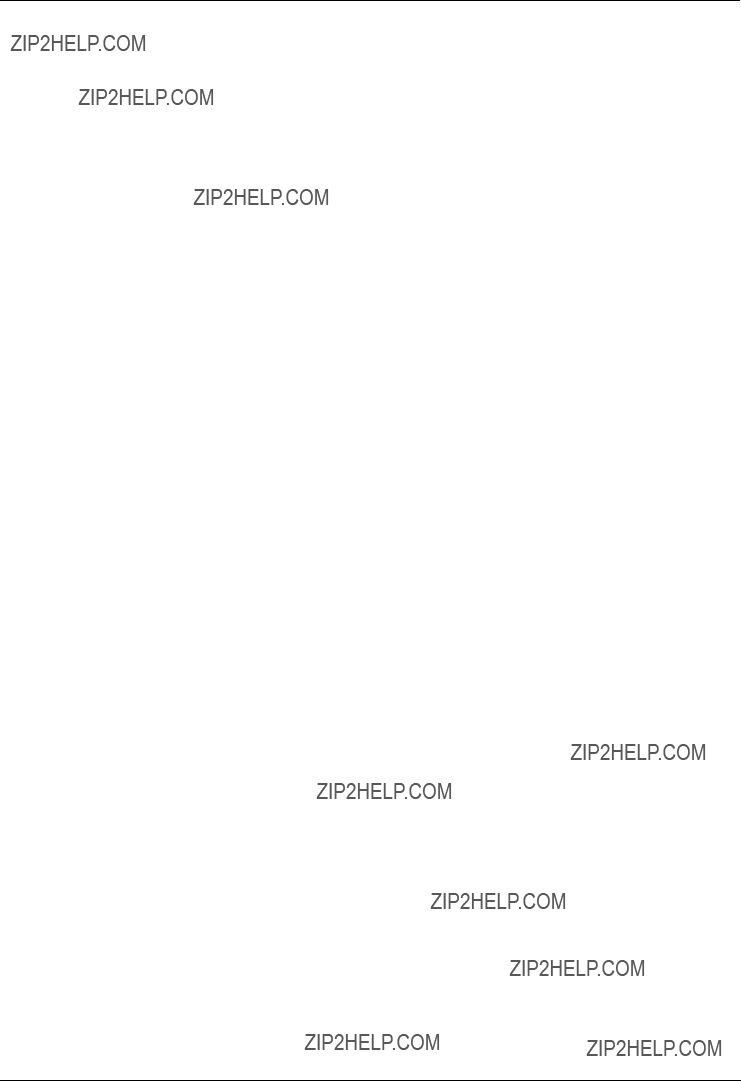
15 % image area
Approx. 650 sheets of A4 size paper can be printed.
Table of Contents1.
1. Table of Contents / Introduction and Installation Accessories
1.1 Included accessories.
1.2 Accessory information.Finding the Controls
1.3 Description of buttons.
1.4 Overview Installation
2.1 Connections
2.2 Turning the power switch ON Help Button
2.3 Help function Volume
2.4 Adjusting volume Initial Programming
Thank you for purchasing a Panasonic fax machine.
Things you should keep a record of
Attach your sales receipt here.
For your future reference
Date of purchase
Serial number (found on the rear of the unit)
Dealer's name and address
Dealer's telephone number
Note:
LThe image area changes with the depth, thickness and size of the characters.
LIf you turn on the toner save feature, the toner cartridge will last approx. 40 % longer.


 3
3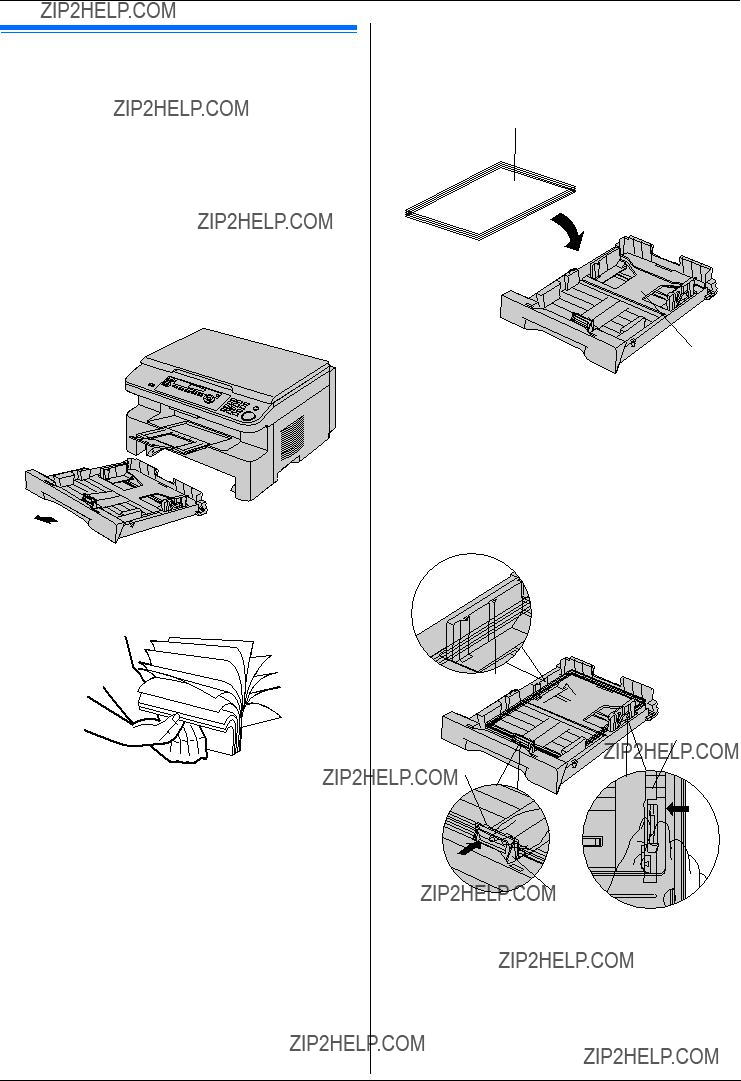
 1
1


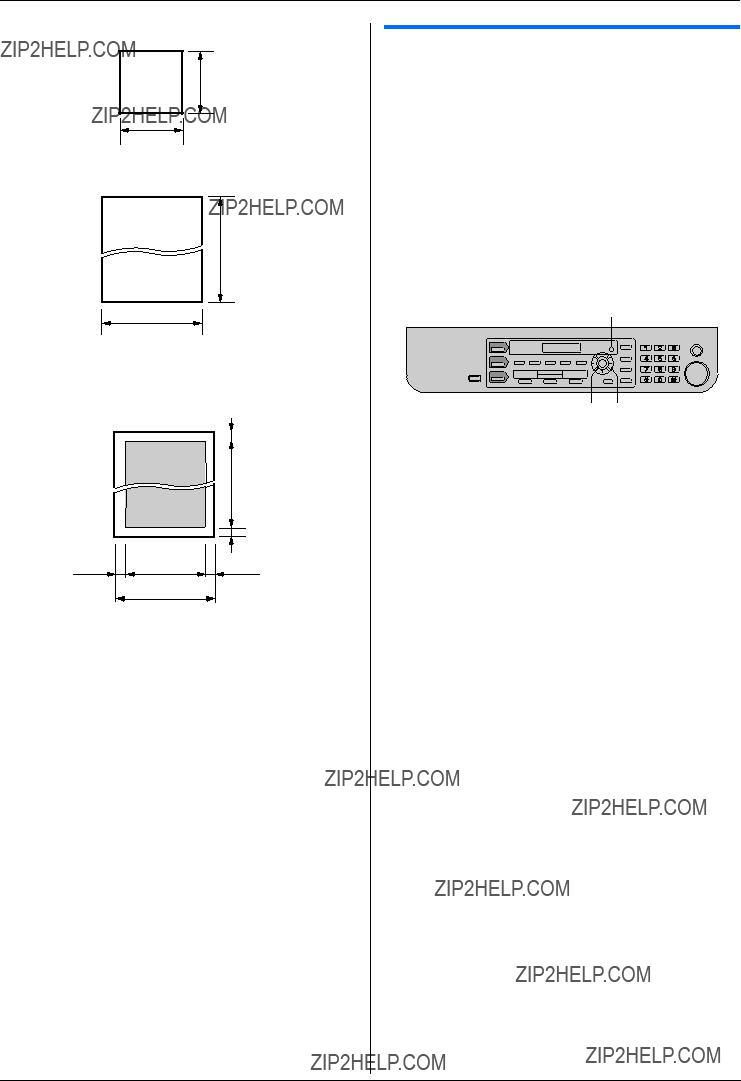
 5 mm
5 mm