Important Information
Your machine uses the same communication protocols as email: the Simple Mail Transfer Protocol (SMTP). The differences from a standard G3 fax communication using the Public Telephone Network (PSTN) are as follows.
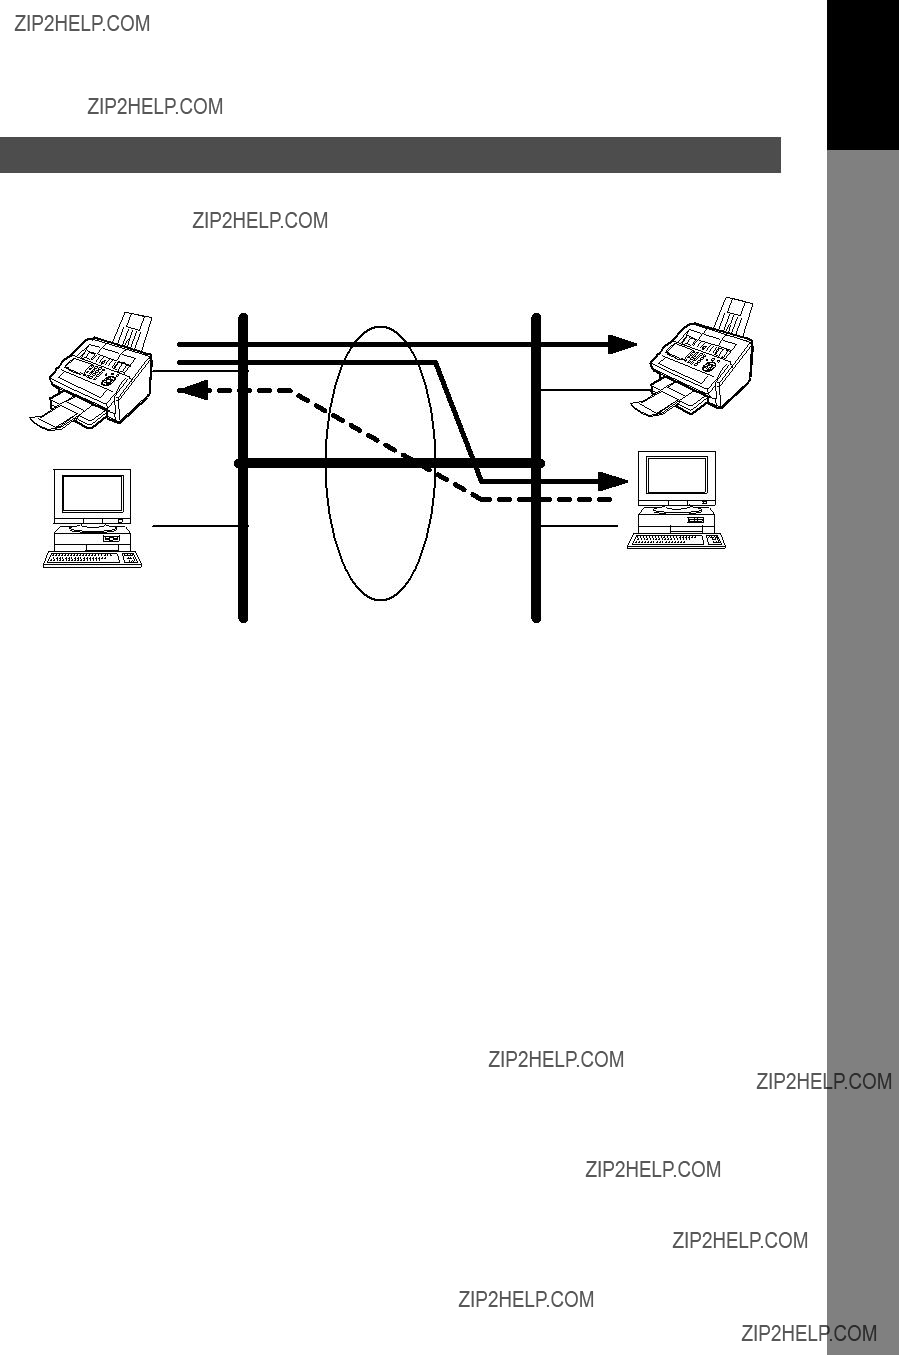
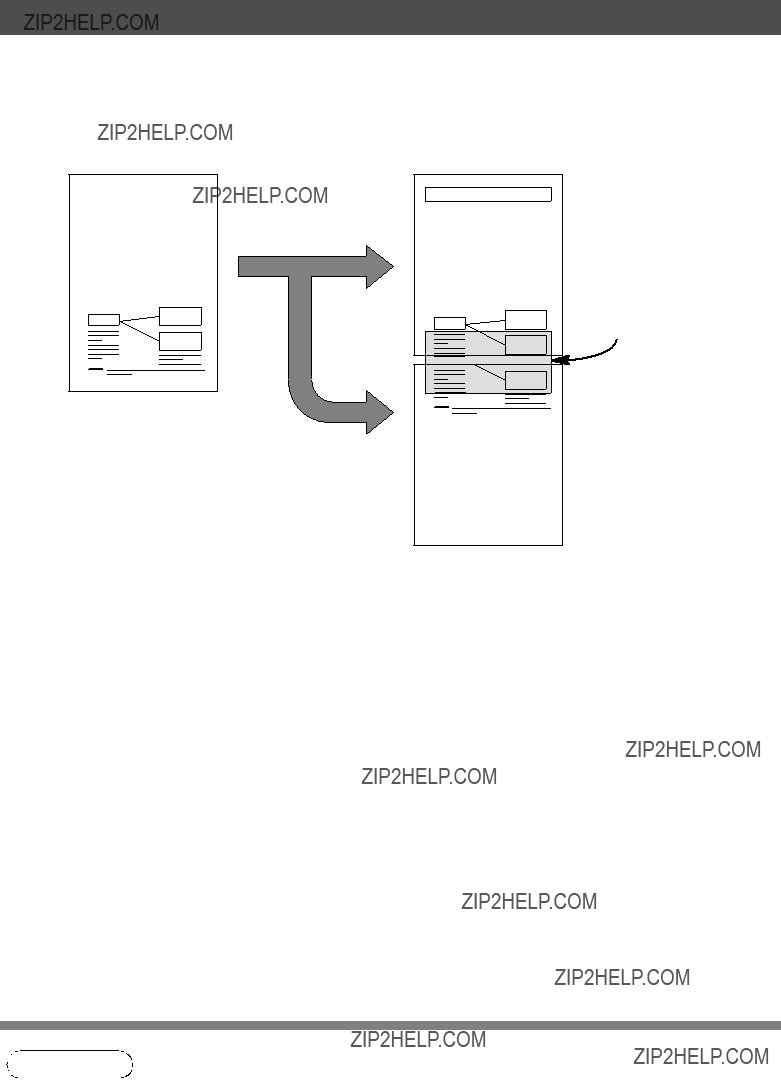
Differences between Internet Fax and Regular Fax
A regular Fax machine goes off-hook, dials, and the phone network completes a circuit over phone lines to the receiving fax. You pay for the circuit. The two faxes negotiate a connection, synchronize and exchange image data.
The Internet Fax works like an email, the image data is broken down into packets and transmitted through your Local Area Network (LAN) to the Internet or Intranet instead of using a telephone company???s network, thus saving you long distance costs.
Transmitted Document Confirmation
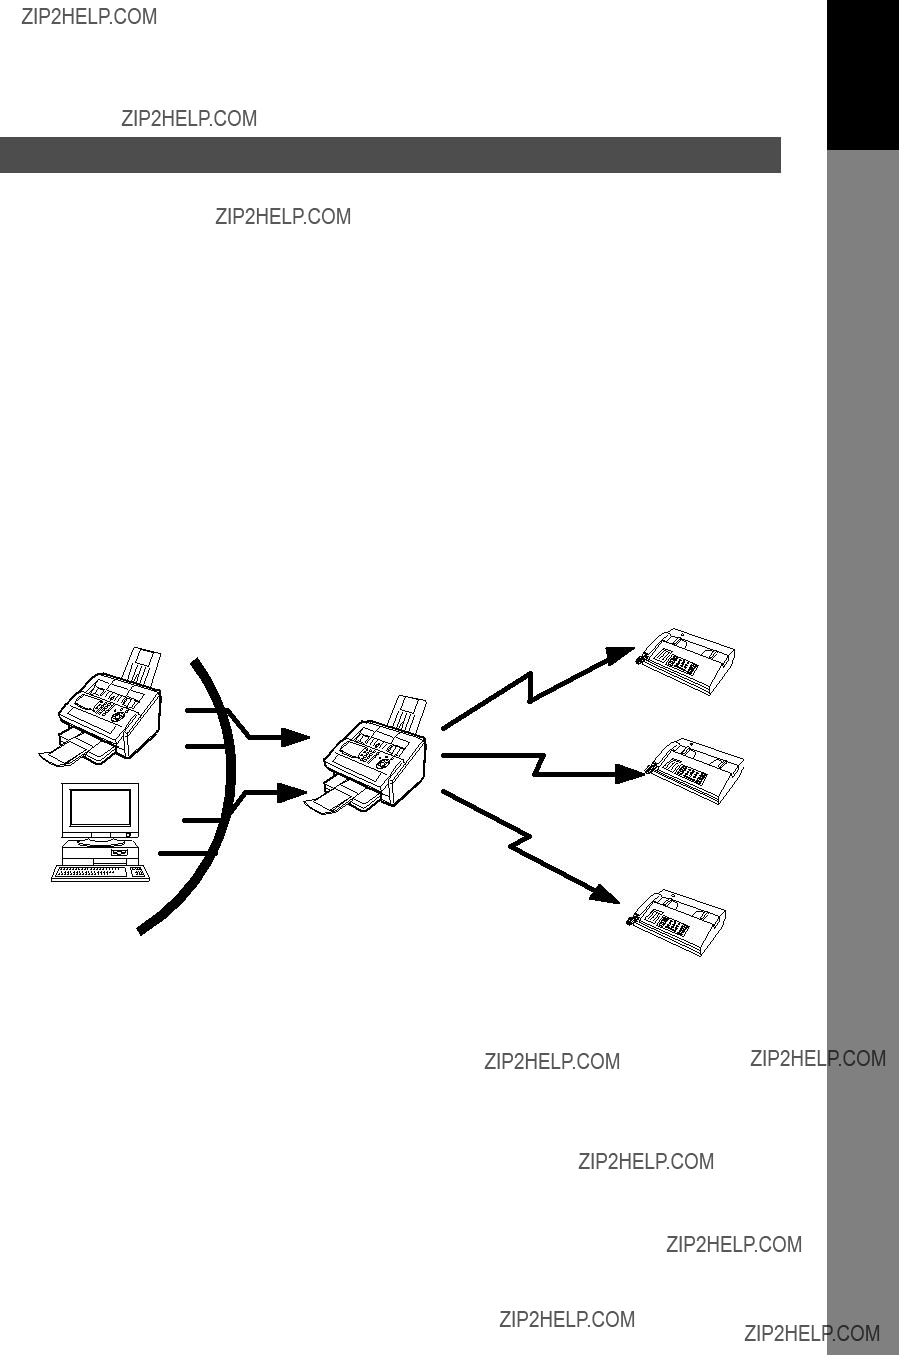
1.Your machine does not directly connect to the final destination (see Note below), but rather connects to a Mail Server via LAN. Therefore, if a document cannot be correctly transmitted due to an error, the erroneous mail may be returned from the Mail Server to your machine.
2.The erroneous mail may take a long time to return (20 to 30 minutes) depending on the destination location, traffic on the network or LAN system configuration.
3.Depending on the Mail Server, it is also possible that erroneous mail is not returned at all. Therefore, when transmitting important or time sensitive documents, it is recommended that you follow up with a telephone call to confirm reception.
4.Documents cannot be transmitted correctly if the destination Mail Server does not conform to the MIME protocol. Erroneous mail may not be returned depending on the Mail Server.
Note:
1)Fax Parameter 172 (DIRECT IFAX XMT), if set to "Valid," allows you to configure One-Touch/ABBR so that you can directly send to the destination without going through the Mail (SMTP) Server.
2)Your machine supports the Delivery Notice feature (see page 102).
Your machine Cannot Make a Phone Call via LAN
Your machine can only make a phone call using a regular telephone line (PSTN).
Dual Port Communication
Your machine's dual port capability, allows simultaneous G3 Fax Communication over regular telephone line (PSTN) and LAN Communication.
Transmission Resolution
In view of PC transmission, the factory default setting for the resolution is set to FINE mode. If required, this setting can be changed to Normal.
Internet Mail Reception
1.Your machine can receive text email from a PC and print ANSI characters. It will print a "???" symbol if an unrecognized character is received.
2.Received email font and character size are fixed and cannot be changed.
3.Text email will be printed at about 72 lines per page. It is recommended that you use A4/Letter size recording paper.
4.If the received text email includes a file attachment in a format other than TIFF-F, such as PDF, Word, Excel, Power Point, your machine prints an error message instead.
5.If the received email includes attached TIFF-F formatted image files, the text and TIFF-F formatted image file will be printed on separate pages.
 Appendix Problem Solving Printout Journals Network Features Advanced Basic Operations Programming Installing Your Getting to Know and ListsFeaturesYour Machine Machine Your Machine


 CFR Subchapter J in effect at date


 or
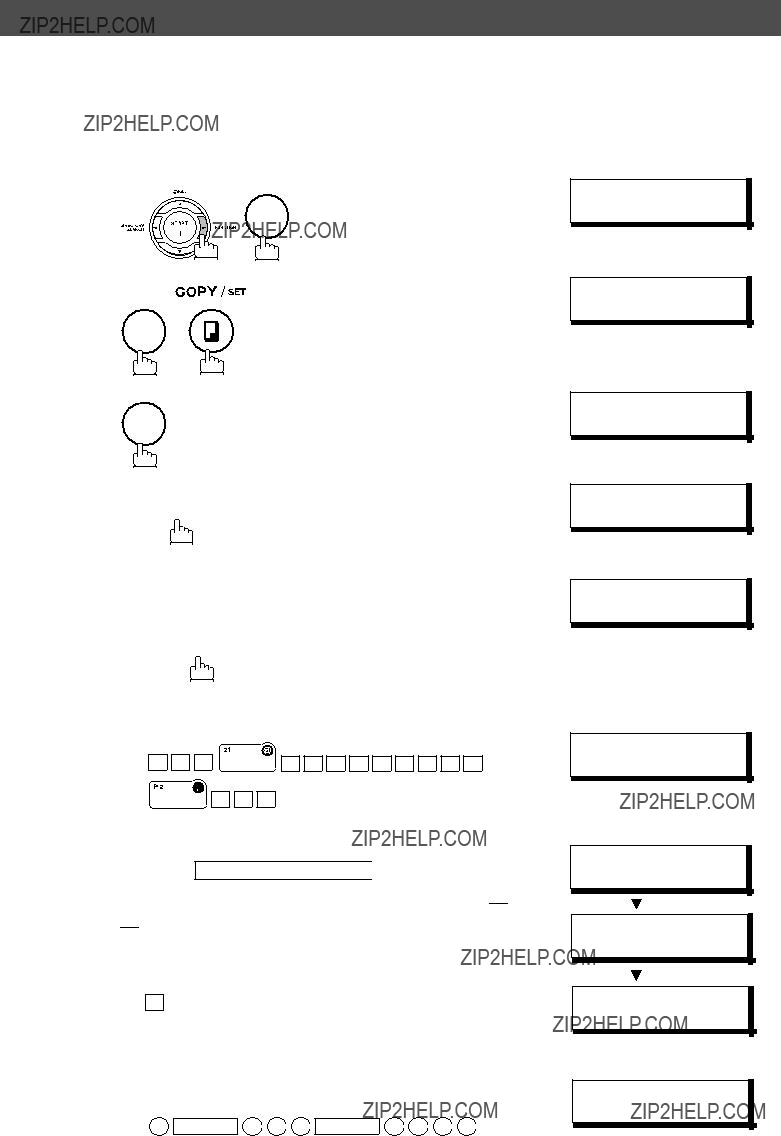
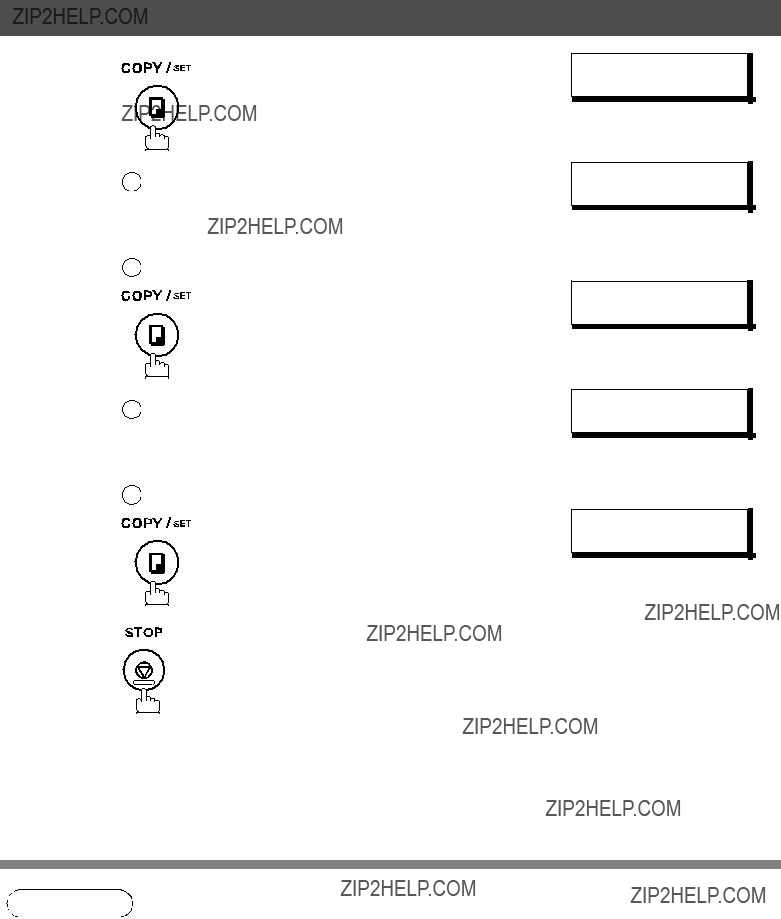
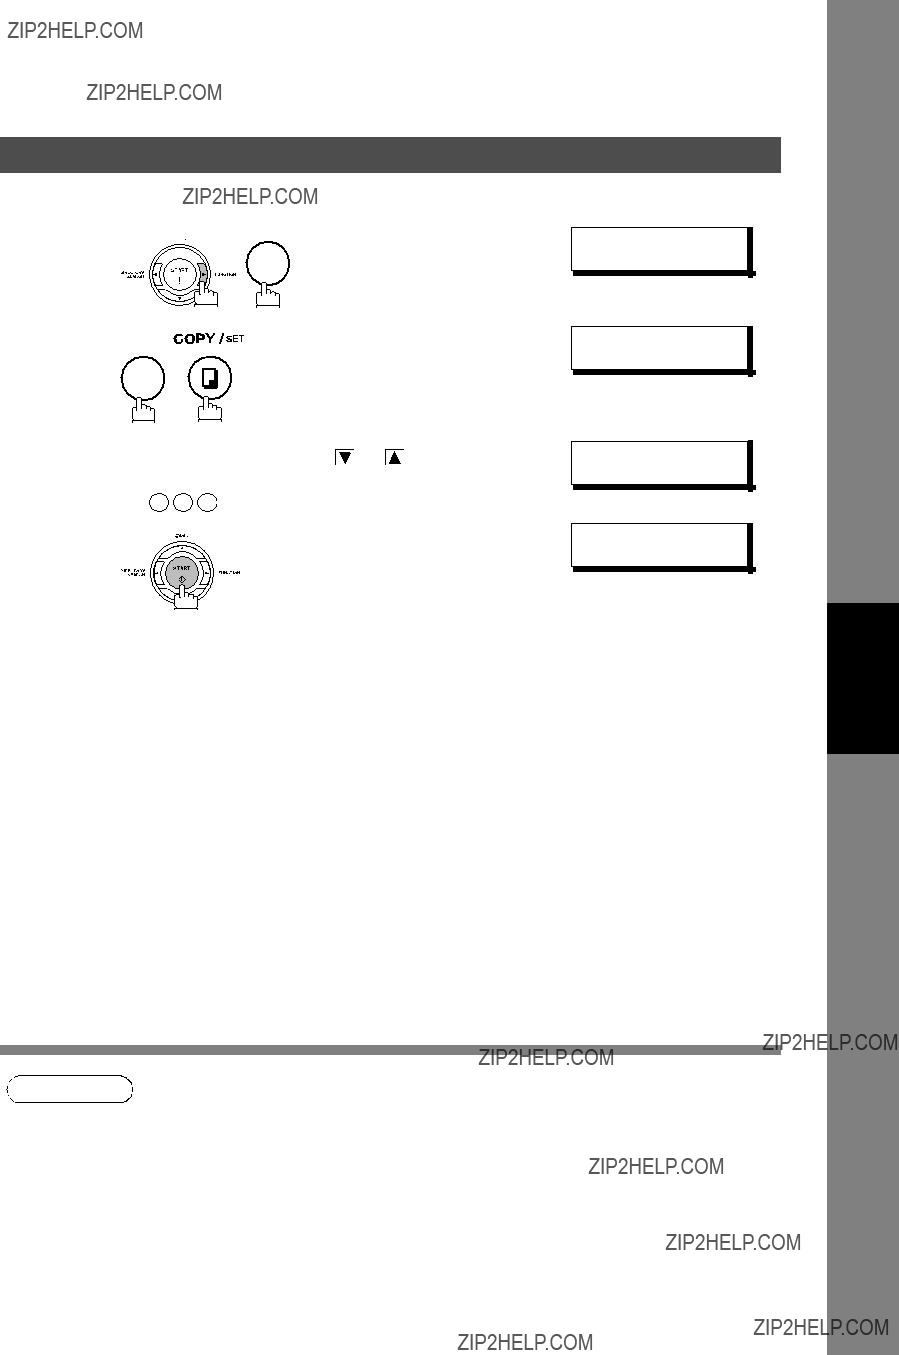
or  scroll key repeatedly until the desired function appears on the display.


 or
or 

 to select the desired symbol(s).

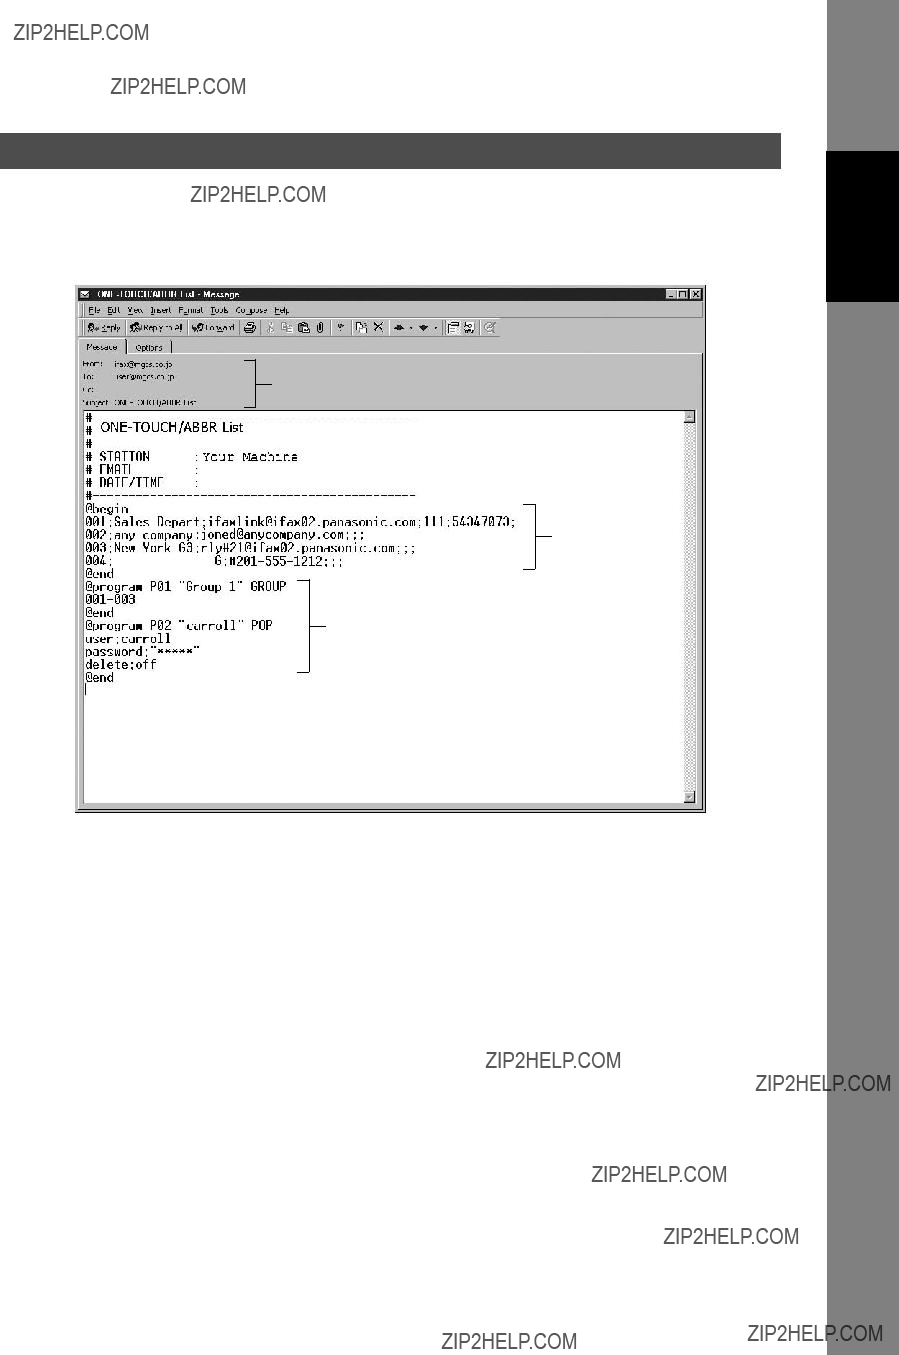
 popuser001@panasonic.com ifaxuser@fax02.panasonic.com


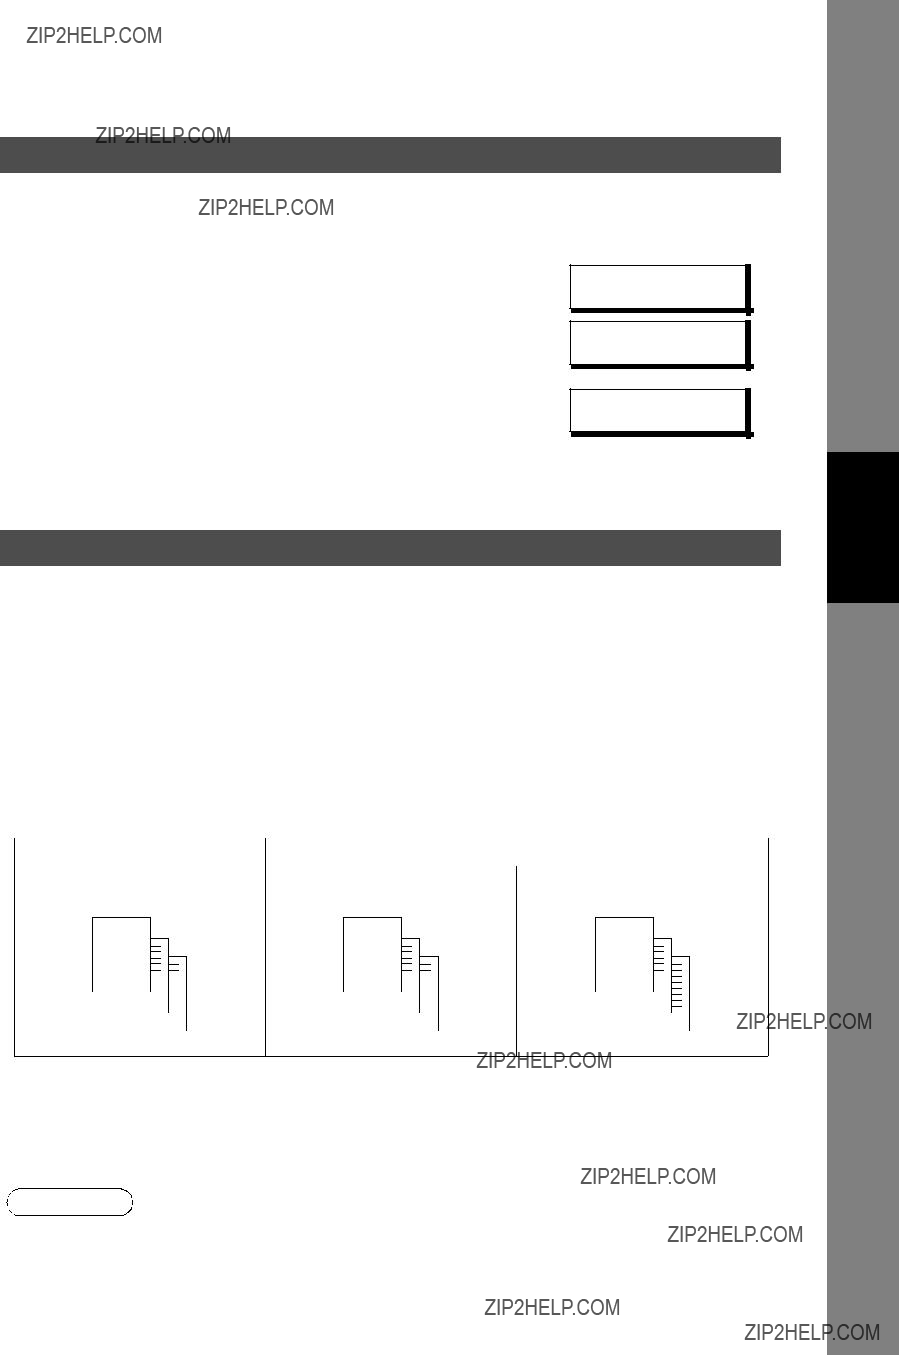
 : MDN Request from the Originator
 : MDN Response with Capability Notification from the Recepient
  : MDN Response from the Recipient


 External Telephone (Optional)


 or
or  to move the cursor over the incorrect number, then overwrite it with a correct one.

 A
A 
 N
N 
 A
A 
 S
S 
 O
O
 N
N 
 I
I 
 C
C

 or
or 

 to move the cursor one space beyond the incorrect character, press

 E
E 
 A
A 
 D
D 
 SPACE
SPACE 
 O
O
 F
F 
 F
F 
 I
I 
 C
C 
 E
E

 or
or 

 to move the cursor
 or
or  to move the cursor
 or
or  .
. to enter a period "." while programming IP Addresses only. Otherwise
  is used to enter an asterisk under other conditions.


 (1)
(1)


 .
.

 or
or keys if you wish to use the LDAP Server to acquire and program the email address and the station names.

 b
b 
 c
c 

 p
p 
 a
a 
 n
n 
 a
a 
 s
s 
 o
o 
 n
n 
 i
i 
 c
c 
 c
c 
 o
o 
 m
m

 or
or keys if you wish to use the LDAP Server to acquire and program the email address and the station names.


 c
c 
 o
o 
 m
m


 or
or  .
.


 mark.
mark.


 b
b 
 c
c 

 p
p 
 a
a 
 n
n 
 a
a 
 s
s 
 o
o 
 n
n 
 i
i 
 c
c 
 c
c 
 o
o 
 m
m


 key to display domain names in the Selectable Domains List. Choose the desired domain and press


 to change the retrieved station's display format from Station Name & Email Address to Station Name only or to Email Address only.


 a
a 
 l
l 
 e
e 
 s
s or
or  key repeatedly until the desired Selectable Domain Name is displayed on the LCD.


 (represented by a "/").


 or
or  . Press
 (represented by a "/").


 and
and  to set the zoom ratio in 1% steps. (100% to 70%)


 or
or 

 keys to review the entered station(s) before going to next step. If you find an error,


 b
b 
 c
c 

 p
p 
 a
a 
 n
n 
 a
a 
 s
s 
 o
o 
 n
n 
 i
i 
 c
c 
 c
c 
 o
o 
 m
m


 a
a 
 t
t 
 e
e 


 b
b 
 c
c 

 p
p 
 a
a 
 n
n 
 a
a 
 s
s 
 o
o 
 n
n 
 i
i 
 c
c 
 c
c 
 o
o 
 m
m

 or
or  to select the User Name


 A
A 
 L
L 
 E
E 
 S
S 
 SPACE
SPACE 
 D
D 
 E
E 
 P
P 
 T
T


 or
or  to select the file that you want to change.

 or
or  key until the


 or
or  to select the file that you want to add.
 or
or  to select the file that you want to retry.


 " on the display when dialing the number.


 O
O 
 M
M 
 E
E


 for ???OFF??? (password is not checked) or


 or
or  . Press
  : Only 1 transaction