Limited Warranty Limits And Exclusions
This warranty ONLY COVERS failures due to defects in materials or workmanship, and DOES NOT COVER normal wear and tear or cosmetic damage, nor does it cover markings or retained images on the picture tube resulting from viewing ???xed images (including, among other things, letterbox pictures on standard 4:3 screen TV???s, or non-expanded standard 4:3 pictures on wide screen TV???s, or onscreen data in a stationary and ???xed location). The warranty ALSO DOES NOT COVER damages which occurred in shipment, or failures which are caused by products not supplied by the warrantor, or failures which result from accidents, misuse, abuse, neglect, mishandling, misapplication, alteration, faulty installation, set-up adjustments, misadjustment of consumer controls, improper maintenance, power line surge, lightning damage, modi???cation, or commercial use (such as in a hotel, of???ce, restaurant, or other business), rental use of the product, service by anyone other than a Factory Servicenter or other Authorized Servicer, or damage that is attributable to acts of God.
THERE ARE NO EXPRESS WARRANTIES EXCEPT AS LISTED UNDER ???LIMITED WARRANTY
COVERAGE???. THE WARRANTOR IS NOT LIABLE FOR INCIDENTAL OR CONSEQUENTIAL
DAMAGES RESULTING FROM THE USE OF THIS PRODUCT, OR ARISING OUT OF ANY BREACH OF THIS WARRANTY. (As examples, this excludes damages for lost time, cost of having someone remove or re-install an installed unit if applicable, or travel to and from the servicer, loss of media or images, data or other memory or recorded content. The items listed are not exclusive, but are for illustration only.)
ALL EXPRESS AND IMPLIED WARRANTIES, INCLUDING THE WARRANTY OF
MERCHANTABILITY, ARE LIMITED TO THE PERIOD OF THE LIMITED WARRANTY.
Some states do not allow the exclusion or limitation of incidental or consequential damages, or limitations on how long an implied warranty lasts, so the exclusions may not apply to you.
This warranty gives you speci???c legal rights and you may also have other rights which vary from state to state. If a problem with this product develops during or after the warranty period, you may contact your dealer or Servicenter. If the problem is not handled to your satisfaction, then write to the warrantor??? s Consumer Affairs Department at the addresses listed for the warrantor.
PARTS AND SERVICE (INCLUDING COST OF AN IN-HOME SERVICE CALL, WHERE
APPLICABLE) WHICH ARE NOT COVERED BY THIS LIMITED WARRANTY ARE YOUR
RESPONSIBILITY.
Customer Services Directory
For Product Information, Operating Assistance, Literature Request, Dealer Locations, and all Customer Service inquiries please contact:
1-800-211-PANA (7262), Monday-Friday 9 am-9 pm; Saturday-Sunday 10 am-7 pm, EST. or send e-mail : consumerproducts@panasonic.com
For hearing or speech impaired TTY users, TTY : 1-877-833-8855
Web Site: http://www.panasonic.com
You can purchase parts, accessories or locate your nearest servicenter by visiting our Web Site.
Accessory Purchases:
1-800-332-5368 (Customer Orders Only)
For hearing or speech impaired TTY users, TTY : 1-866-605-1277 Panasonic Services Company 20421 84th Avenue South, Kent, WA 98032 (Monday-Friday 6 am-5 pm; Saturday 6 am-10:30 am, PST)
(Visa, MasterCard, Discover Card, American Express, Check)
Service in Puerto Rico
Matsushita Electric of Puerto Rico, Inc. Panasonic Sales Company/ Factory Servicenter:
Ave. 65 de Infanter??a, Km. 9.5, San Gabriel Industrial Park, Carolina, Puerto Rico 00985
Phone (787)750-4300 Fax (787)768-2910
As of August 2002


 mark. It is recommended that only cassette tapes that have been tested and inspected for use in 2, 4, 6, and 8 hour VCR machines be used. This television receiver provides display of television closed captioning in accordance with ??15.119 of the FCC rules.
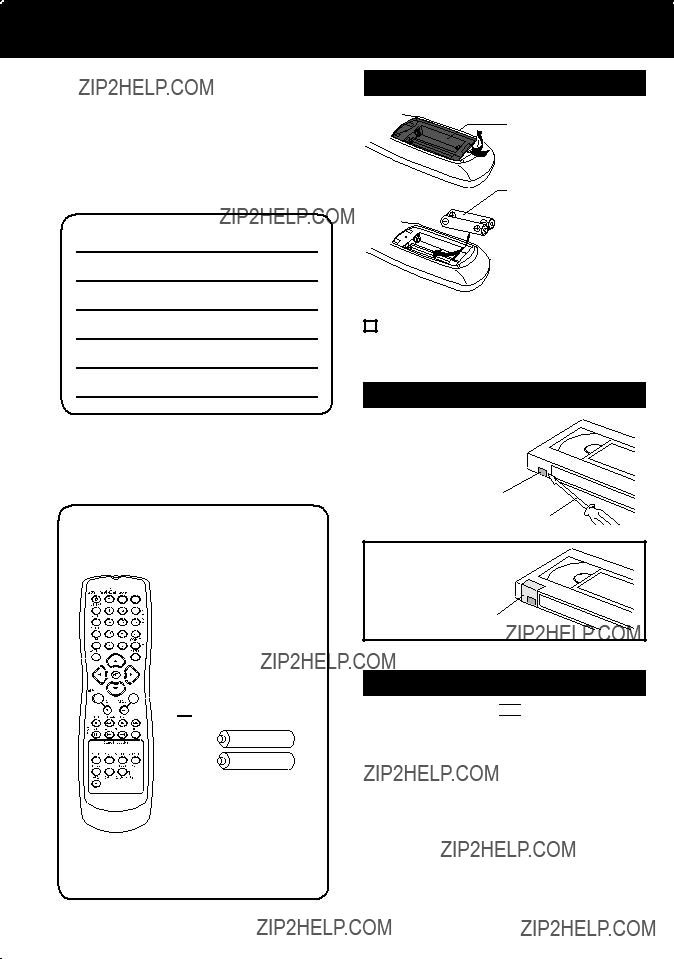

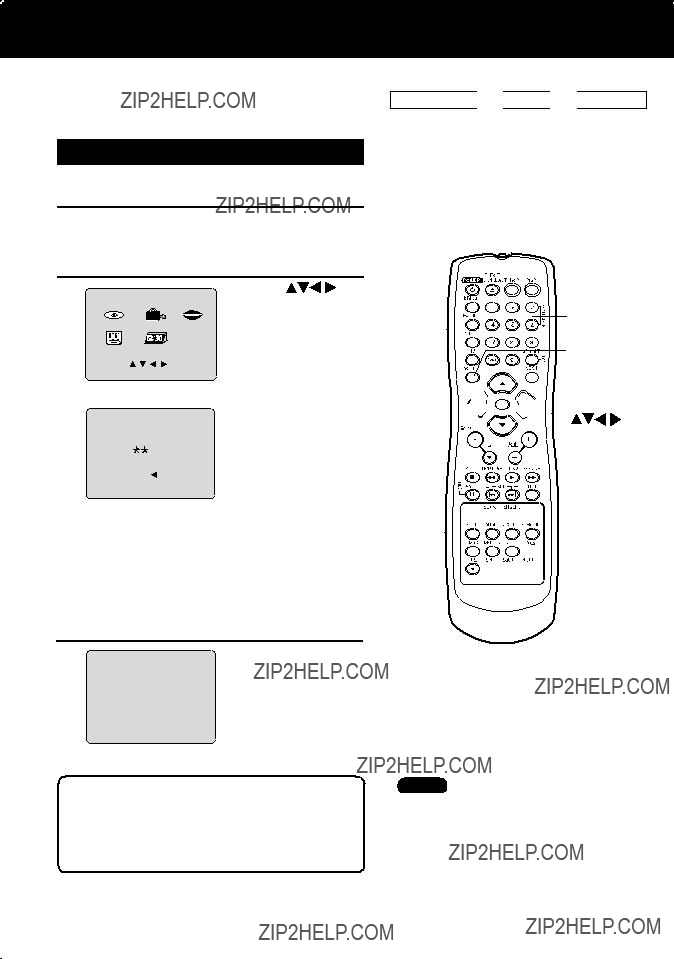
 Remote Control
 Batteries 2 ???AA???
 mark in this unit.
 on the unit until the picture clears up. To return to Auto Tracking, press POWER off, then on again a few seconds later.
 on the unit operate as a
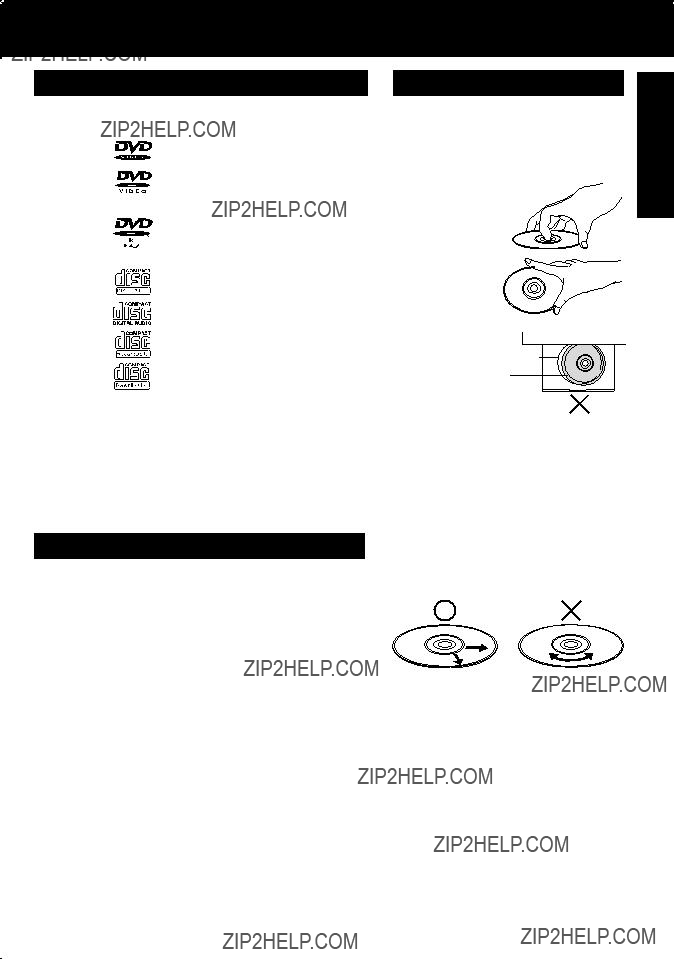

 /SEARCH

 Check List


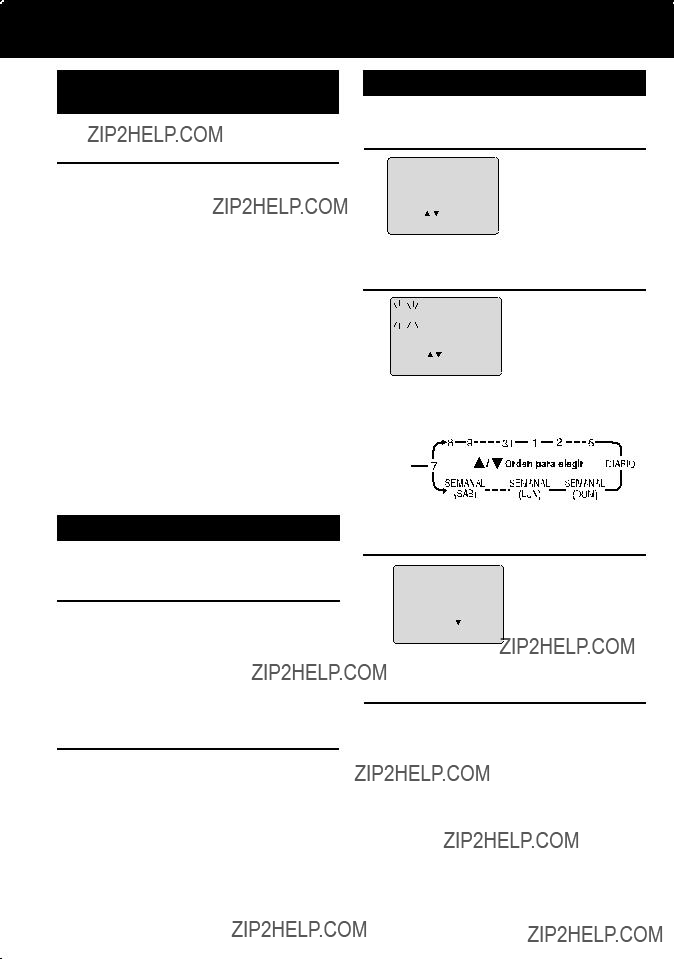
 to select the month and


 to select ???ANTENNA,??? then


 to select


 Check List


 length (30 min - 4 hours.)
 0:30
0:30  1:00
1:00 1:30
1:30


 to select ???TV,??? then
  to select ???INPUT SELECT,??? and then
 Check List
 10
10


 once midway through a chapter/track returns to start of that chapter/track. Each additional press skips back one chapter/track.
 Forward Skip
 appears on the screen while a button is being pressed, it means that the corresponding operation is prohibited by the unit or the disc.
 display on the screen).


 -TV
-TV
 -TV
-TV
 is a registered trademark, and is licensed by
 Technology Licensing.
 ??? mark while the selected audio mode is indicated with an arrow. To change the audio mode for these broadcasts, see the ???Audio Mode for TV Viewing??? section below.


 NO
NO  CAP C1
 to select
 Check List
 CH02 CH03 CH125
 DVD FM9
  to select desired settings.
 and
and to move back and correct.


 or
or  while in search mode.


 Check List
 , and
, and  to select and
  to set the recording DATE.
 to select and
 NUMBER keys
 indicates start points of each recording.

 1 min skip
 2 min skip
 3 min skip
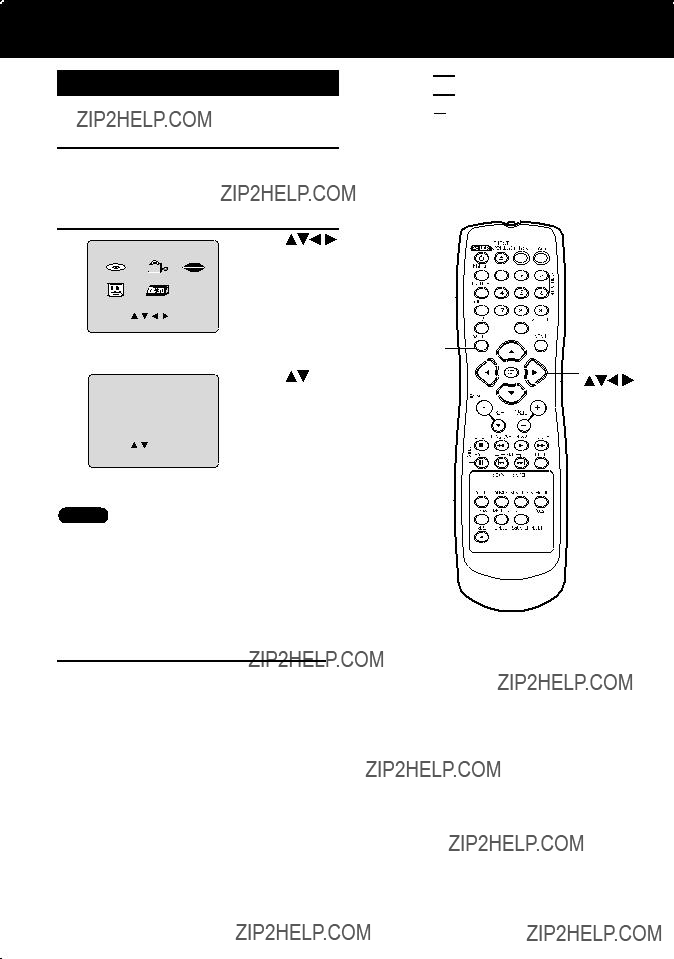
 Check List
 It is necessary to enter TV mode by pressing TV/VCR before selecting ???CH??? on the
 ADD/DLT


 Setup
Setup

 Blocking
 repeatedly to move the cursor.
  CLEAR
CLEAR SELECT
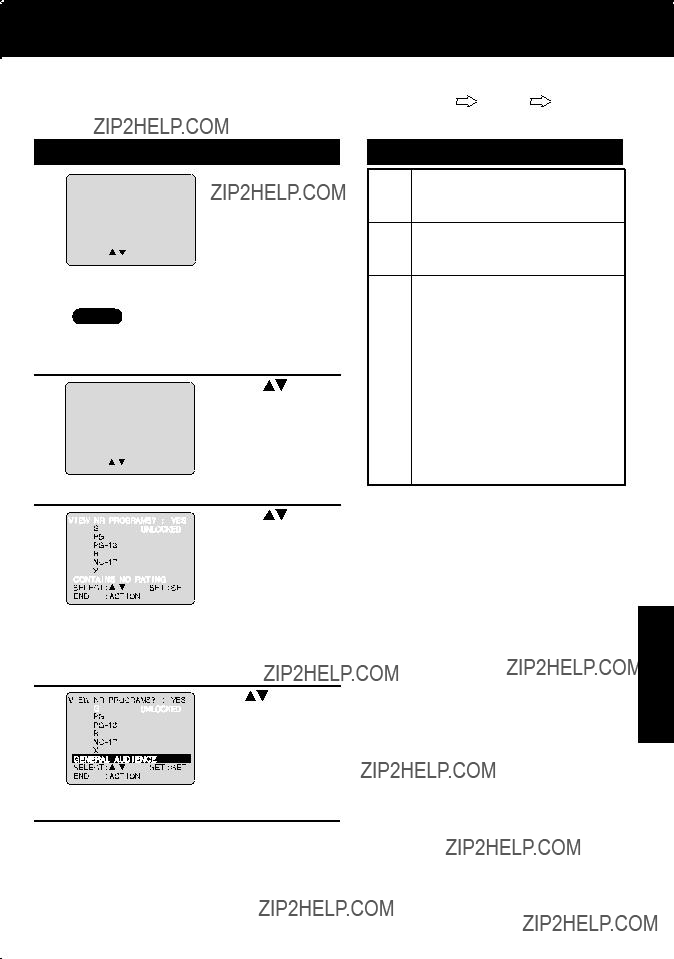
 to select

 to select and


 Setup
Setup

 and
and 


 ACTION
 and
and  and
and 

 appears on the screen while a button is being pressed, it means that the corresponding operation is prohibited by the unit or the disc.
 ,
,  ,
,  and
and  buttons to move the position up, down, left and right.

 Castles
 Birds
Birds

 SELECT

 ??? or ???
  ??? (depending on disc) indicates additional PROGRAM PLAY screen.
 for next or previous screen.
 to move to ???CLEAR LAST??? and
 to move to ???CLEAR ALL??? and
  Check List
 to select ???DISC.???


 CLEAR
CLEAR


 STOP
STOP to select ???RANDOM PLAY.???
 Check List
 to select the setting.

 CLEAR
CLEAR SELECT
 or
or  appears on the screen while a button is being pressed, it means that the corresponding operation is prohibited by the unit or the disc.
 , and
, and 

 /
/ ).
). ).
). ).
). ).
). to select the desired
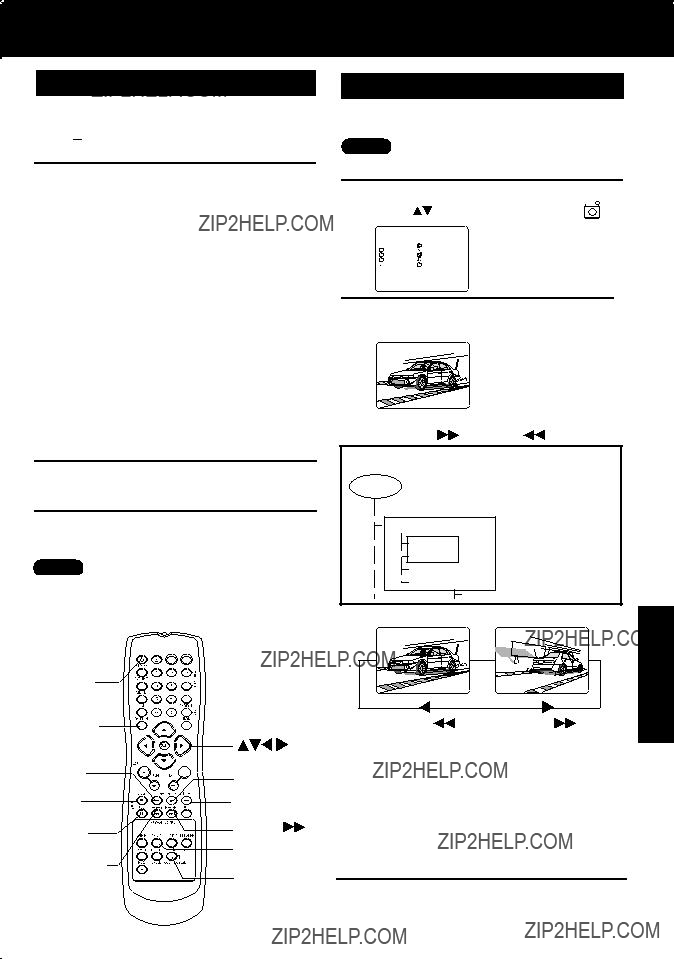
 to select an MP3/WMA ???le (
 /
/ ) in STOP mode.

 only.)


 and
and  buttons to move the position up, down, left and right.


 ACTION
 Check List
 repeatedly to delete language code number, and correct.


 ACTION


 ACTION


 en el modo de reproducci??n.


 Informaci??n seleccionada del disco
 para seleccionar un archivo


 durante la ejecuci??n.
 . Inicie la
 para mover el cursor a MODO DE REPRODUCCION, y
  para seleccionar el