Do not, under any circumstances, install the product in a place where the driver???s ability to drive the car or the driver???s ???eld of vision will be impaired.
Installing the product in a place where it will interfere with the driver???s ???eld of vision either in front
or behind or in a place where it will Forbidden interfere with the driver???s ability
to drive the car may lead to traf???c accidents and/or injury.
Have a professional technician wire and install the product.
Professional skill and experience is required to wire and install the product. Improper installation could result in failure of safety equipment resulting in accident and injury.
For safety???s sake, always ask the store from which you purchased the product to install and wire it for you.
Use in DC 12 V - grounded vehicles.
This product is only for DC 12 V - grounded vehicles. It cannot be used in DC 24 V vehicles (such as large trucks, diesel vehicles designed for cold climates, etc.).
Using this product in such vehicles could cause ???re or other malfunction.
Be sure to disconnect the battery???s - terminal while wiring and installing the product.
Doing the wiring and installation with the battery???s - terminal still connected could cause electrical shock and injury due to a short circuit accidents.
Install the product securely so that it will not shift out of place or drop down.
Loose screws or insecure installation may cause the product to shift out of position or drop down, etc. while the car is moving, resulting in an accident and/or injury.
Do not disassemble, repair or modify the product.
Do not disassemble, repair or
modify the product, or cut the cord to connect it to the power supply
for another device. This could Disassembly cause ???re, electrical shock or other Forbidden malfunction.
Never use the car???s safety equipment for installing or grounding the product.
Using the bolts, nuts and screws of the car???s safety equipment (steering and brake systems, fuel tank, etc.)
could cause accidents. Follow Forbidden the instructions and only use the
accessories provided with the product and the speci???ed parts.
Do not install the product in a position where it will interfere with the operation of the air bag.
The air bag may fail to operate properly or the main unit or its parts could become dislodged and end up ???ying through the air by an air
Forbidden bag which has opened, causing an accident and/or injury.
Be sure to use fuses with the prescribed capacity. Have a professional technician replace the fuses.
Using fuses that exceed the prescribed capacity could cause the product to start smoking, ignite or otherwise malfunction. For replacement and repair of fuses, contact the store from which you purchased your product or a nearby Panasonic servicenter.
Contact your car dealer or manufacturer to determine the required procedure and strictly follow their instructions before attempting installation of this product if your car is equipped with air bag and/or anti-theft systems.
Speci???c procedures may be required for connection and disconnection
of the battery to install this product. Failure to follow the procedure may result in the unintended deployment of air bags or activation of the anti-theft system resulting in damage to the car and personal injury.
Install the product after checking the position of the car???s pipes, tank and electrical wiring.
When opening holes in the car body to install the product, be careful not to touch or interfere with the pipes, tank or electrical wiring. Doing so could cause ???re or accidents.
Always use the accessories provided with the product and the speci???ed parts.
Using parts other than those speci???ed could damage the inside of the product or cause the product to not be securely fastened and thus come loose, which could cause accidents, malfunction or ???re.
Do not install the product in a location where it will be subject to heavy vibration or in an unstable location.
Installing the product in a sloping location or on a noticeably curved surface, etc. may cause the product
to shift out of position or drop down, Forbidden etc. while the car is moving, resulting
in an accident and/or injury.
Follow the instructions to install and wire the product.
Not following the instructions to properly install and wire the product could cause accidents or ???re.
Run the cords so that they do not interfere with driving or with entering or exiting the car.
Run the cords so that they do not wrap around the steering wheel, gearshift, brake pedal, etc. or around your legs, and secure all the cords together. Not doing so could cause accidents or injury.


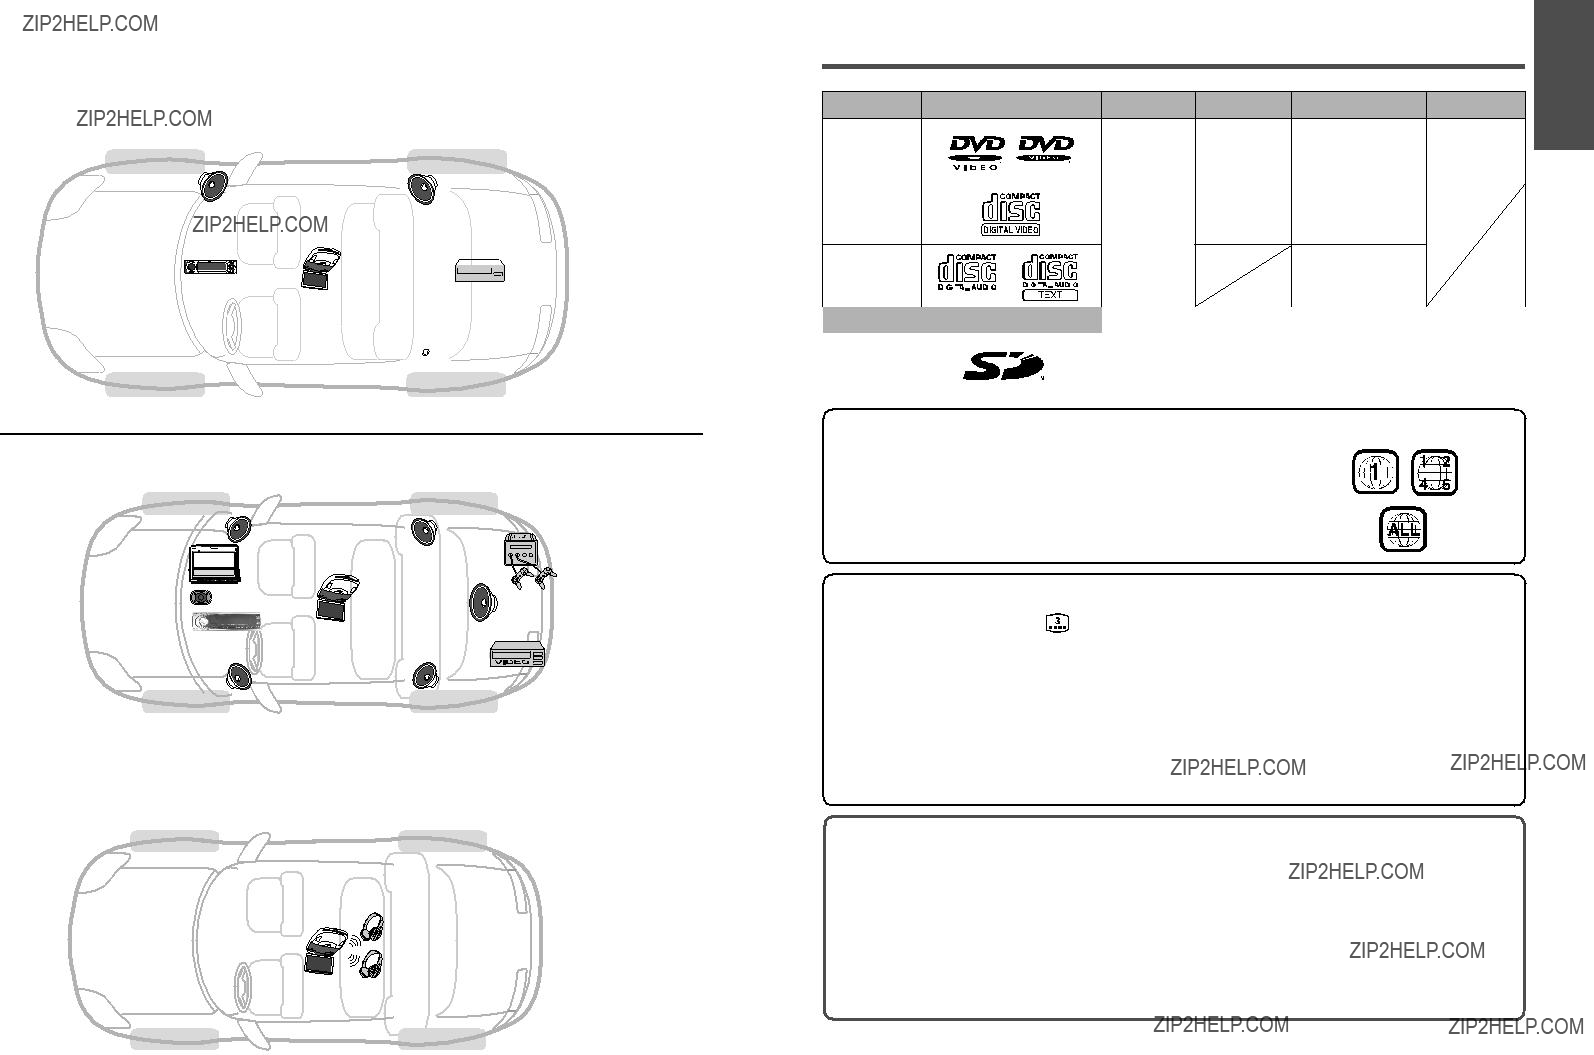

 Front speaker (option)
 Another external device
 (e.g. VCR, option)
 Rear speaker (option)


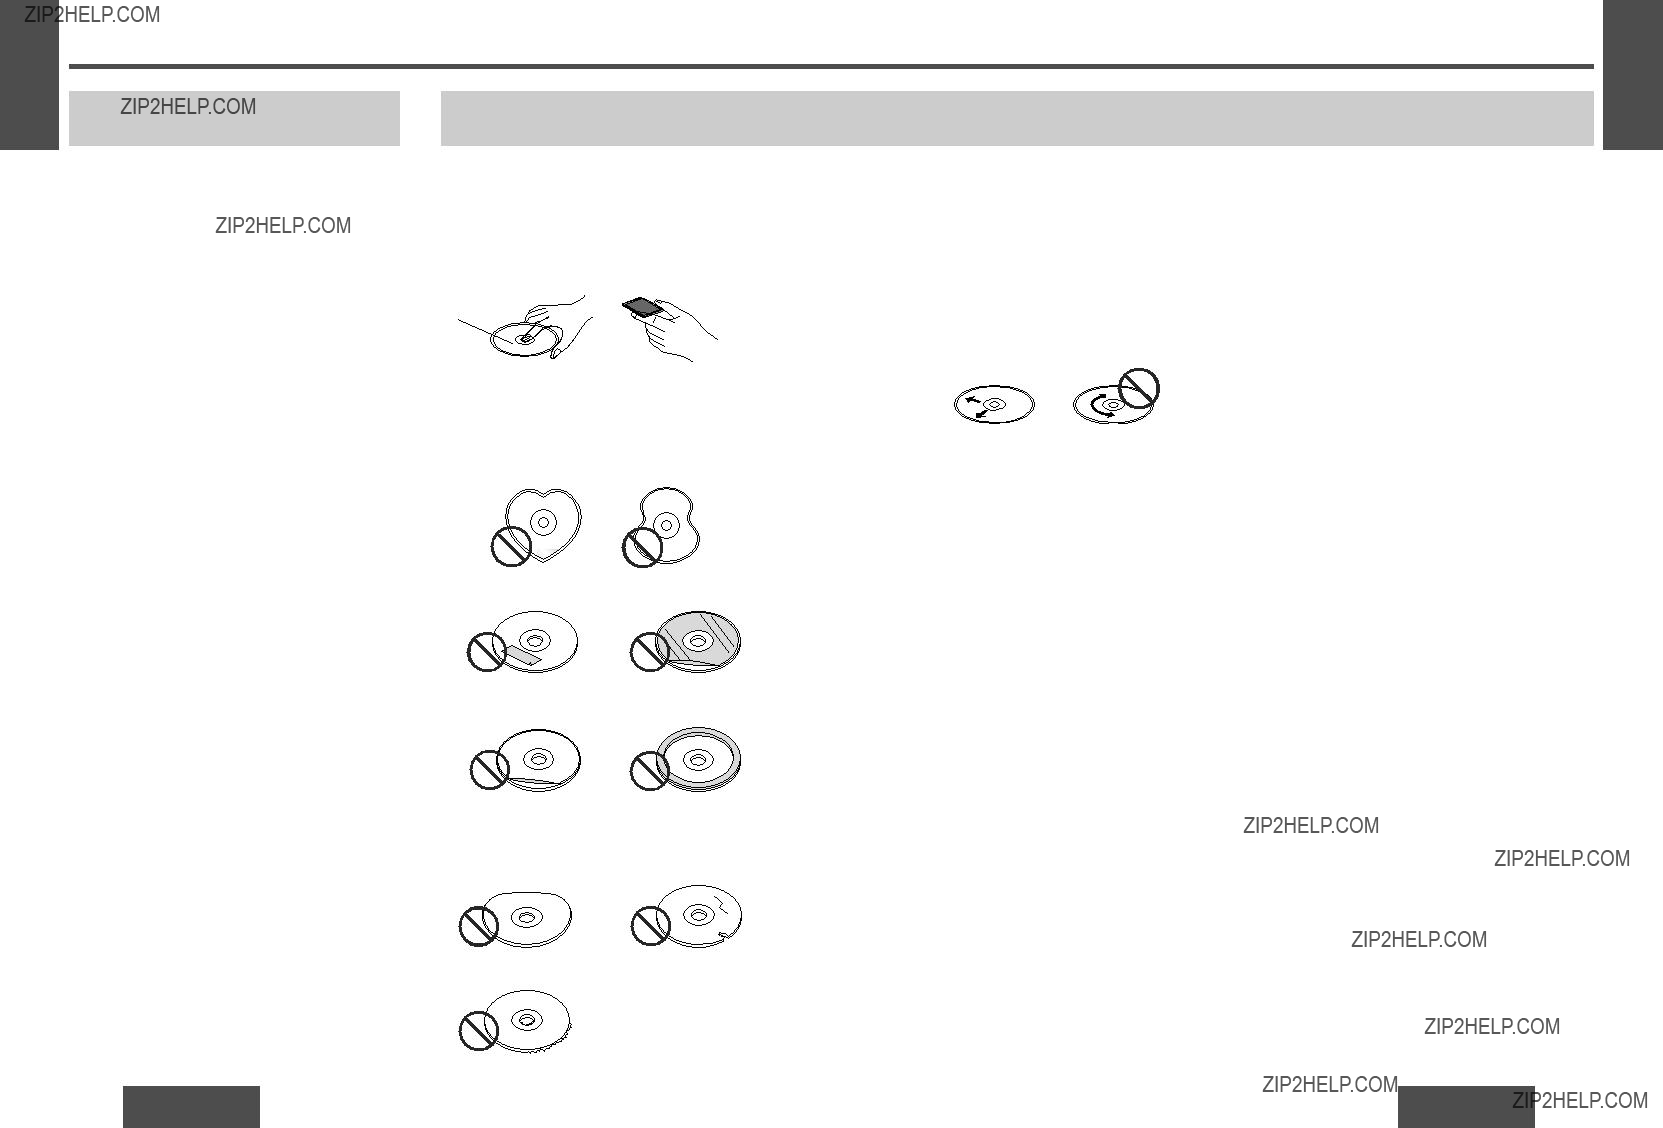
 (page 97)
 : Play back in letter box format on a standard screen (4:3).
 : Play back in ???Pan & Scan??? (page 97) format on a standard screen (4:3).


 SRC
SRC  RET (RETURN)

 TITLE (TRACK/TITLE/CHAPTER)


 Approximately
 Approximately
 ??? is displayed:


 [
[


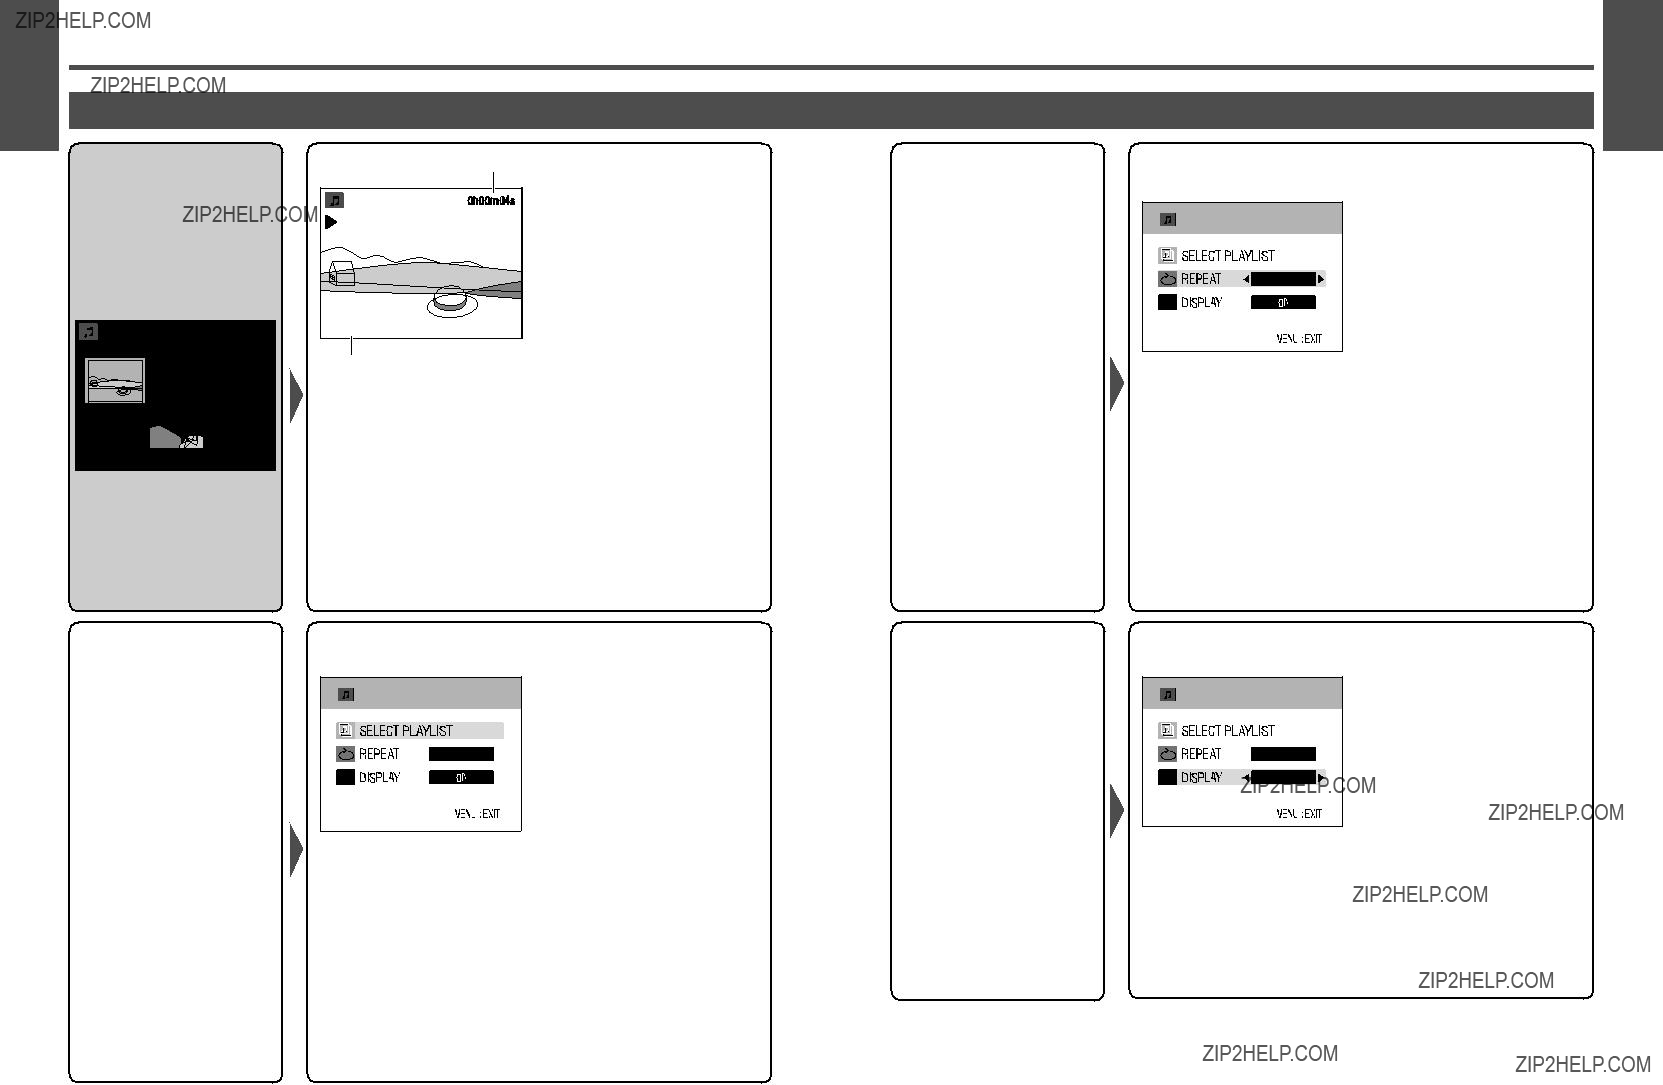
 [6] (REPEAT)
 Press
Press  (Press
  2 times
  10 times
  20 times
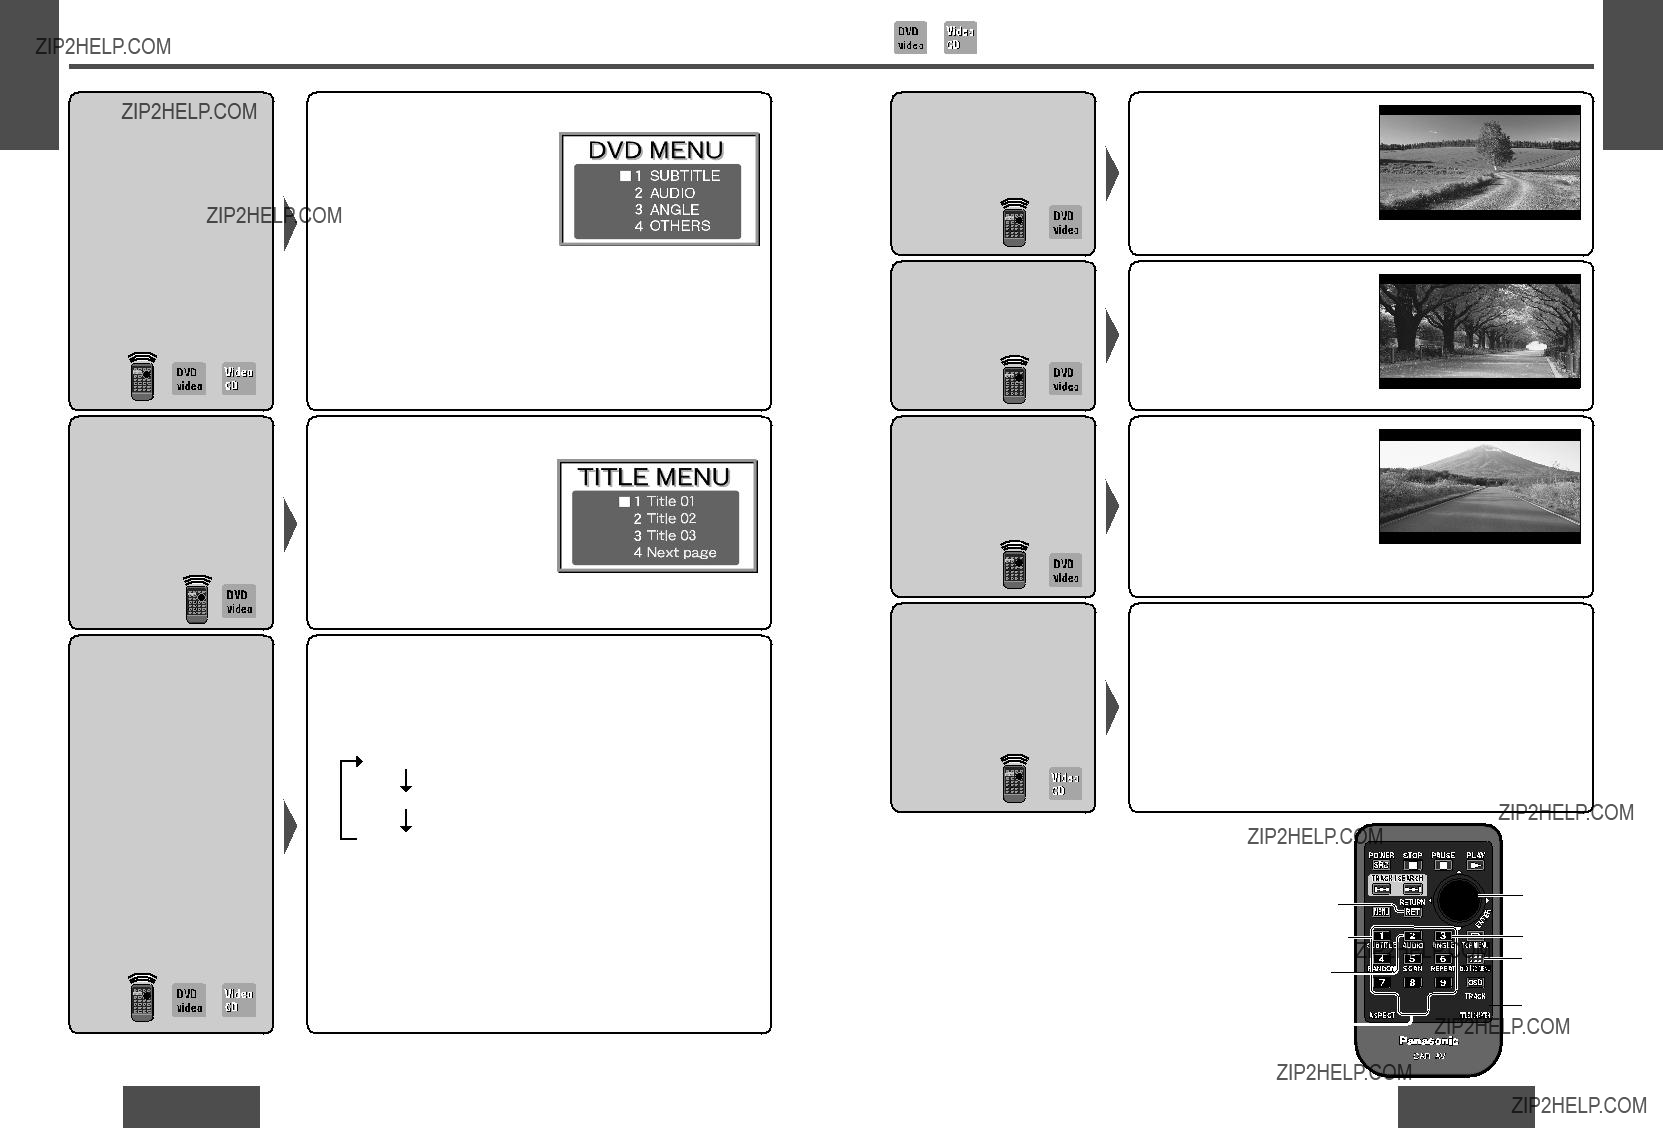

 [TITLE] [0]
  (TITLE/

 Folder
 (REPEAT) [5] (SCAN)
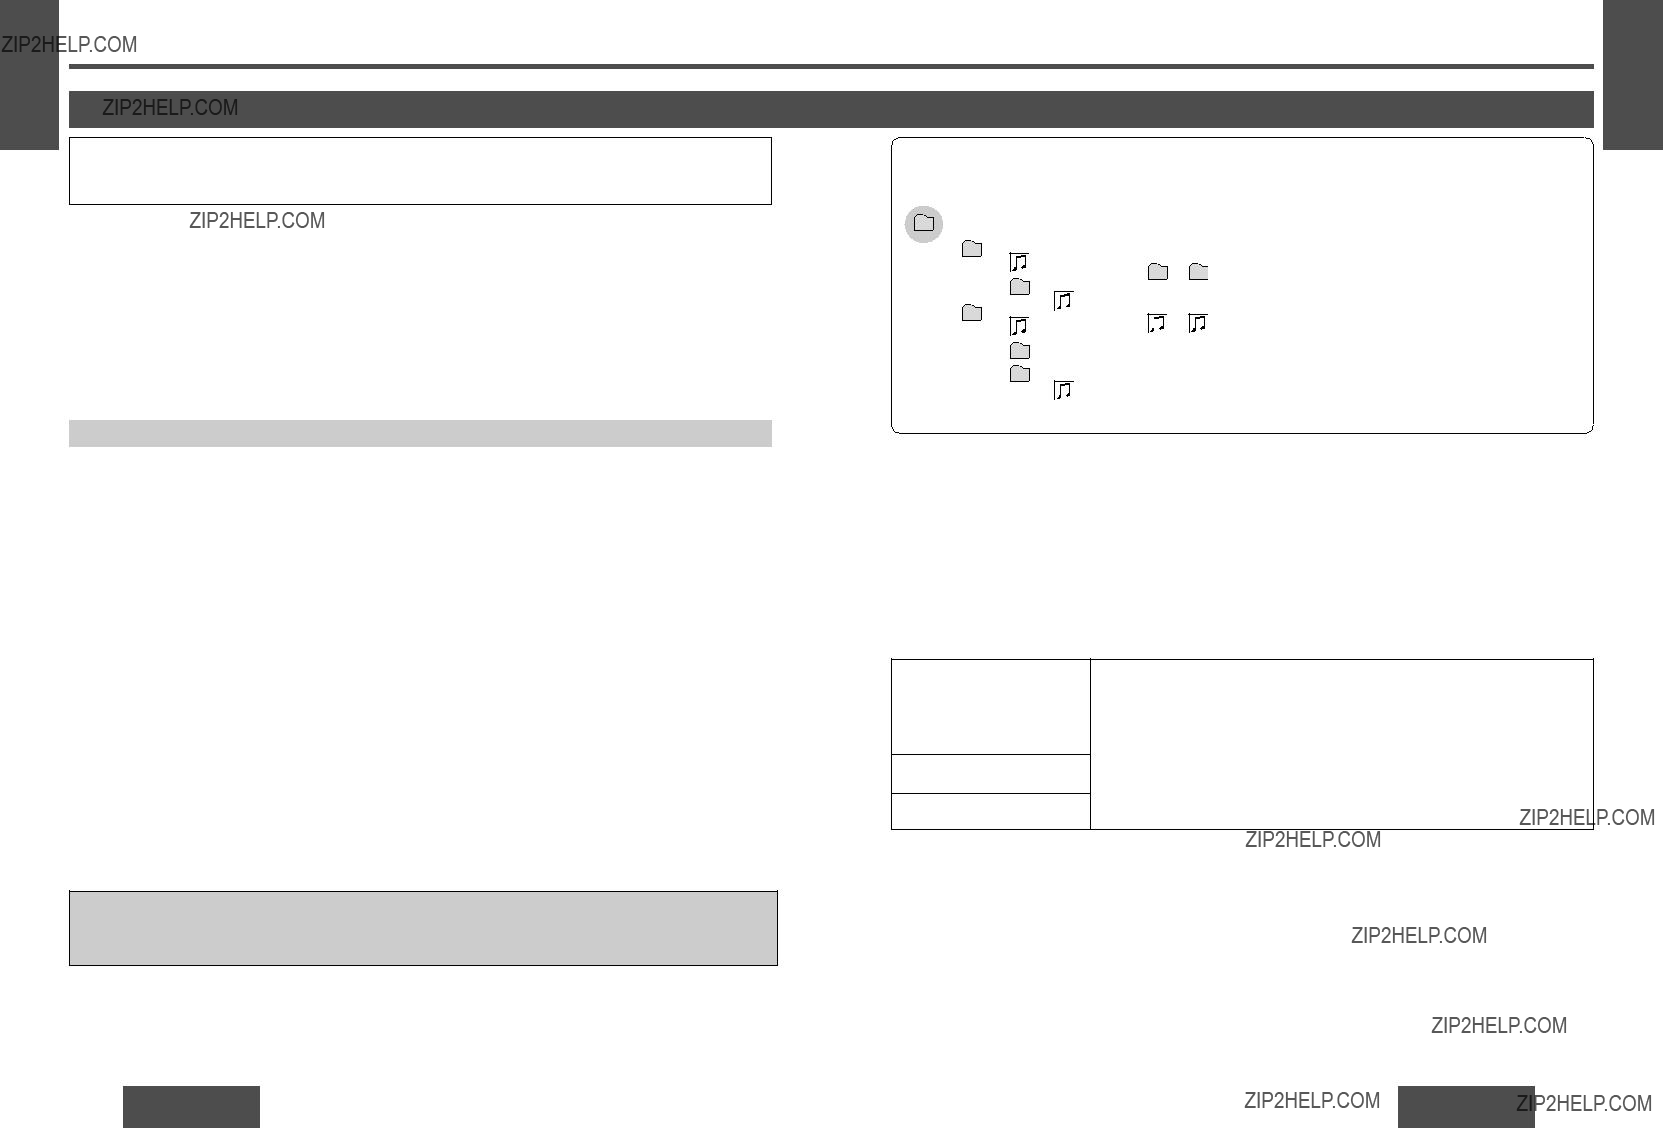


 VTR2 (GAME)
 DCIM
DCIM
 100CDPFP
 SD_VIDEO
 PRL001
 SD_VOICE
 SD_VC100
 SD_AUDIO
 [TOP MENU]
  [DVD/SD MENU]
 1 Press


 2
2 
 3
3 
 4
4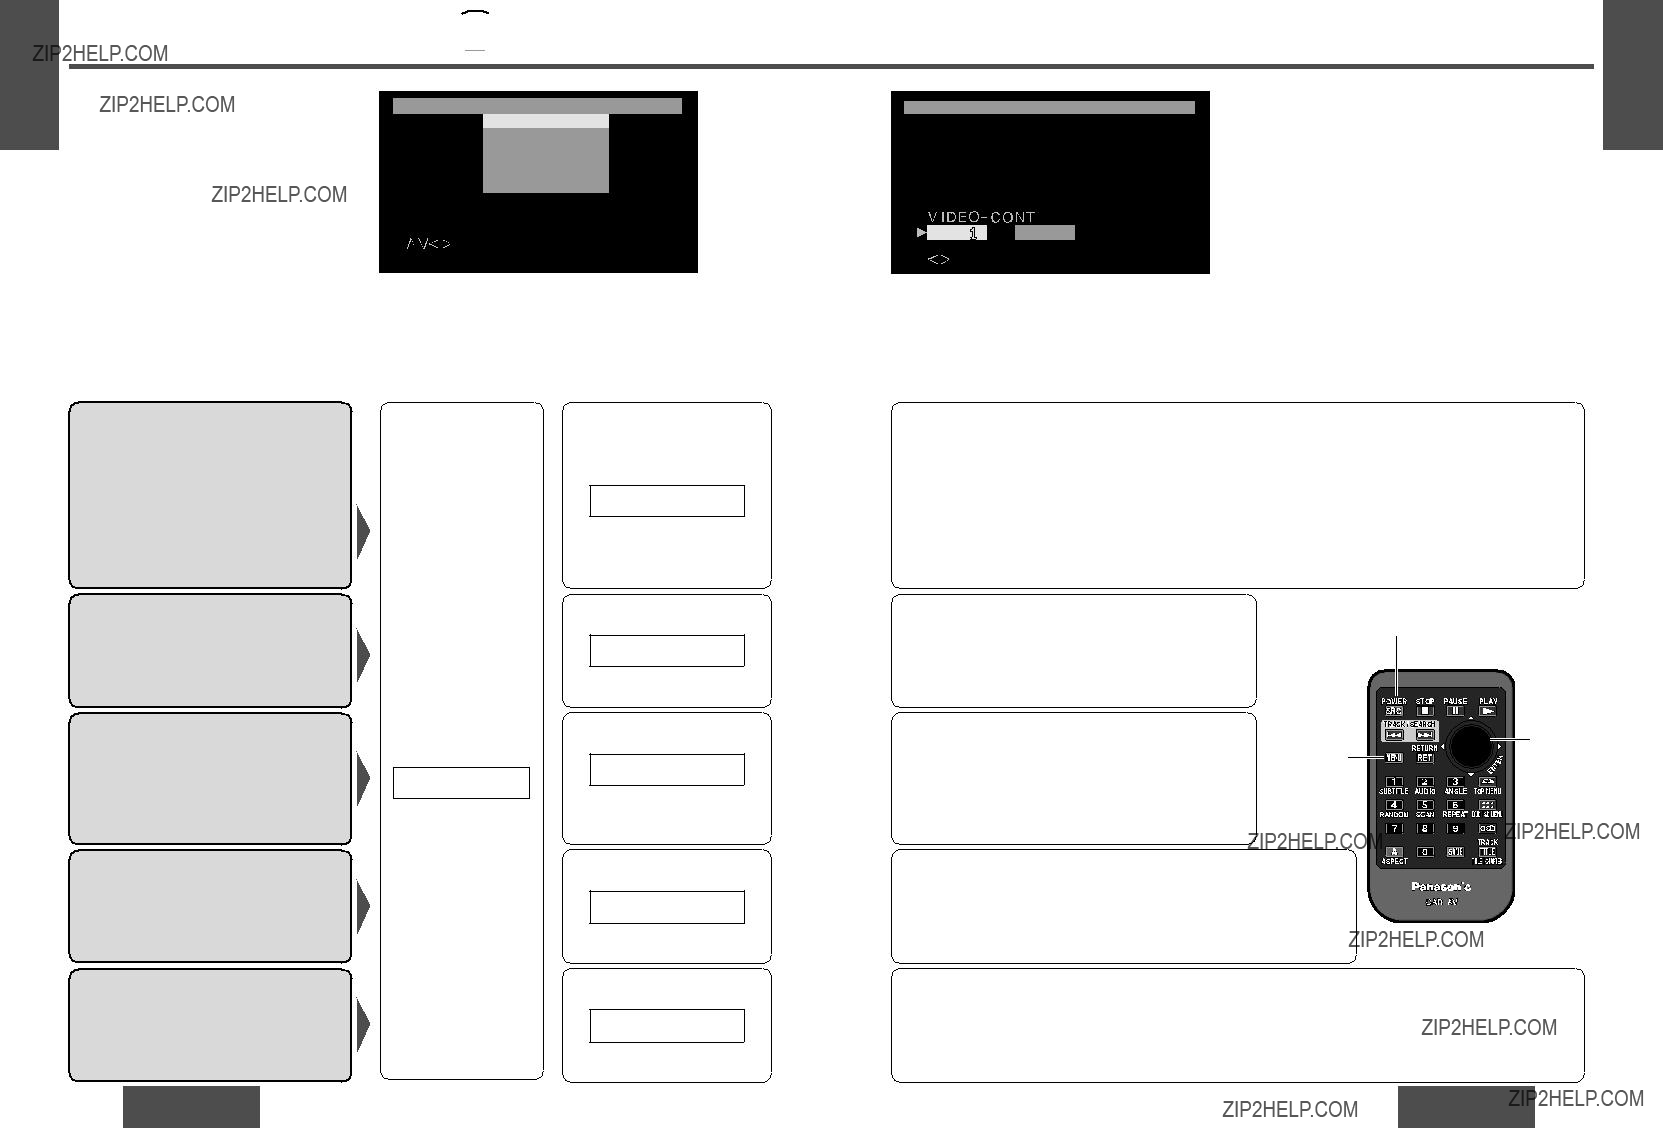


 [DVD/SD MENU]


 [DVD/SD MENU]