CD Player/Receiver with Full Dot Matrix Display and CD Changer Control
Operating Instructions
Bedienungsanleitung Manuel d???instructions Gebruiksaanwijzing Bruksanvisning Manuale di istruzioni Manual de Instrucciones
??Please read these instructions carefully before using this product and keep this manual for future reference.
??Bitte lesen Sie diese Bedienungsanleitung vor der Verwendung dieses Produktes aufmerksam durch und bewahren Sie sie danach f??r sp??tere Nachschlagzwecke sorgf??ltig auf.
??Pri??re de lire ces instructions attentivement avant d???utiliser le produit et garder ce manuel pour l???utilisation ult??rieure.
??Leest u deze instructie alstublieft zorgvuldig door voor u dit product in gebruik neemt en bewaar deze handleiding voor later gebruik. ??L??s igenom denna bruksanvisning noga innan produkten tas i bruk. Spara bruksanvisningen f??r framtida behov.
??Si prega di leggere attentamente queste istruzioni prima di usare questo prodotto e di conservare questo manuale per usi futuri. ??Lea con atenci??n estas instrucciones antes de utilizar el producto y guarde este manual para poderlo consultar en el futuro.

 Contents
 Inhaltsverzeichnis
 Table des mati??res
 Inhoudsopgave
 Contenuto
 Indice


 indicator lights because a disc is already loaded.


 [6]
[6]


 [6]
[6]

 Current Source

 Current Source
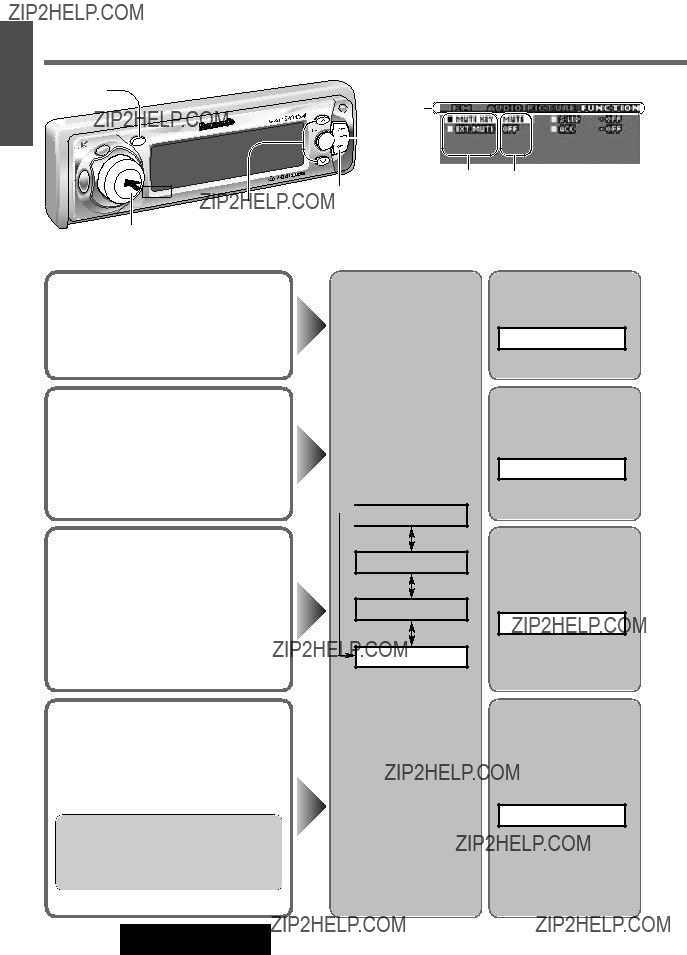
 SET/APM
 Current Source
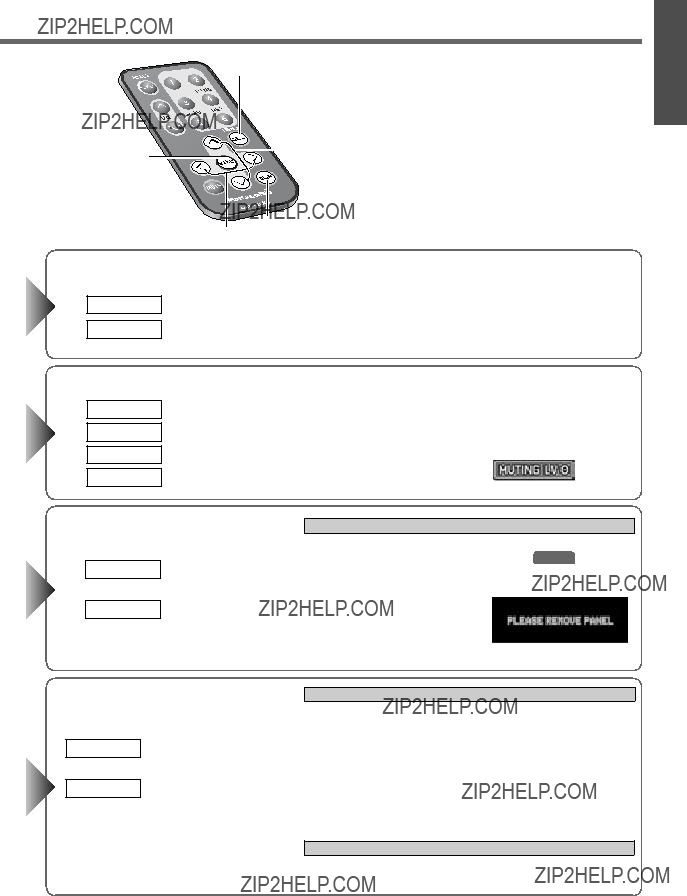


 (Red)
(Red) 

 BATTERY 15A


 C4 : External Amplifier Control Power Lead