Limited Warranty (Only for CANADA)
Panasonic Canada Inc.
5770 Ambler Drive, Mississauga, Ontario L4W 2T3
PANASONIC PRODUCT - LIMITED WARRANTY
Panasonic Canada Inc. warrants this product to be free from defects in material and workmanship under normal use and for a period as stated below from the date of original purchase agrees to, at its option either (a) repair your product with new or refurbished parts, (b) replace it with a new or a refurbished equivalent value product, or (c) refund your purchase price. The decision to repair, replace or refund will be made by Panasonic Canada Inc.
Technics Audio Product - One (1) year, parts and labour
Panasonic BD/DVD Product - One (1) year, parts and labour
Panasonic Audio Receivers - One (1) year, parts and labour
Home Theater Systems Product - One (1) year, parts and labour
This warranty is given only to the original purchaser, or the person for whom it was purchased as a gift, of a Panasonic brand product mentioned above sold by an authorized Panasonic dealer in Canada and purchased and used in Canada, which product was not sold ???as is???, and which product was delivered to you in new condition in the original packaging.
IN ORDER TO BE ELIGIBLE TO RECEIVE WARRANTY SERVICE HEREUNDER, A PURCHASE RECEIPT OR
OTHER PROOF OF DATE OF ORIGINAL PURCHASE, SHOWING AMOUNT PAID AND PLACE OF PURCHASE IS
REQUIRED
LIMITATIONS AND EXCLUSIONS
This warranty ONLY COVERS failures due to defects in materials or workmanship, and DOES NOT COVER normal wear and tear or cosmetic damage. The warranty ALSO DOES NOT COVER damages which occurred in shipment, or failures which are caused by products not supplied by Panasonic Canada Inc., or failures which result from accidents, misuse, abuse, neglect, mishandling, misapplication, alteration, faulty installation, set-up adjustments, misadjustment of consumer controls, improper maintenance, power line surge, lightning damage, modification, introduction of sand, humidity or liquids, commercial use such as hotel, office, restaurant, or other business or rental use of the product, or service by anyone other than an Authorized Servicer, or damage that is attributable to acts of God.
Dry cell batteries are also excluded from coverage under this warranty.
THIS EXPRESS, LIMITED WARRANTY IS IN LIEU OF ALL OTHER WARRANTIES, EXPRESS OR IMPLIED,
INCLUDING ANY IMPLIED WARRANTIES OF MERCHANTABILITY AND FITNESS FOR A PARTICULAR
PURPOSE. IN NO EVENT WILL PANASONIC CANADA INC. BE LIABLE FOR ANY SPECIAL, INDIRECT OR
CONSEQUENTIAL DAMAGES RESULTING FROM THE USE OF THIS PRODUCT OR ARISING OUT OF ANY BREACH OF ANY EXPRESS OR IMPLIED WARRANTY. (As examples, this warranty excludes damages for lost time, travel to and from the Authorized Servicer, loss of or damage to media or images, data or other memory or recorded content. This list of items is not exhaustive, but for illustration only.)
In certain instances, some jurisdictions do not allow the exclusion or limitation of incidental or consequential damages, or the exclusion of implied warranties, so the above limitations and exclusions may not be applicable. This warranty gives you specific legal rights and you may have other rights which vary depending on your province or territory.
WARRANTY SERVICE
For product operation and information assistance, please contact:
PRODUCT OPERATION ASSISTANCE
PRODUCT REPAIRS
Please locate your nearest Authorized Servicentre.
Link: ???Support # Panasonic Servicentre?? locator??? on www.panasonic.ca
IF YOU SHIP THE PRODUCT TO A SERVICENTRE
Carefully pack and send prepaid, adequately insured and preferably in the original carton. Include details of the defect claimed, and proof of date of original purchase.


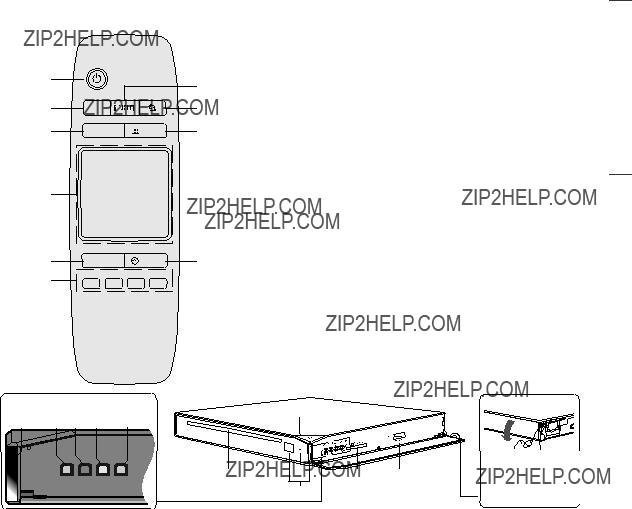


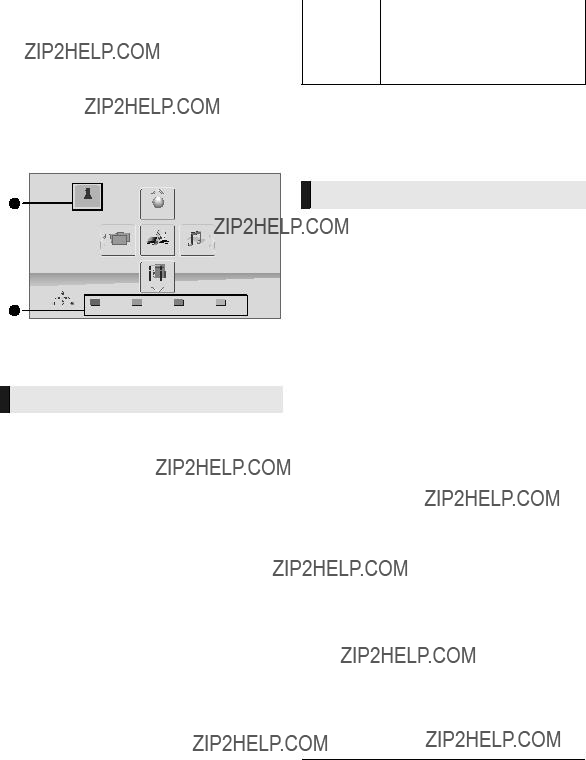
 Video
Video Audio
Audio 3D
3D Language
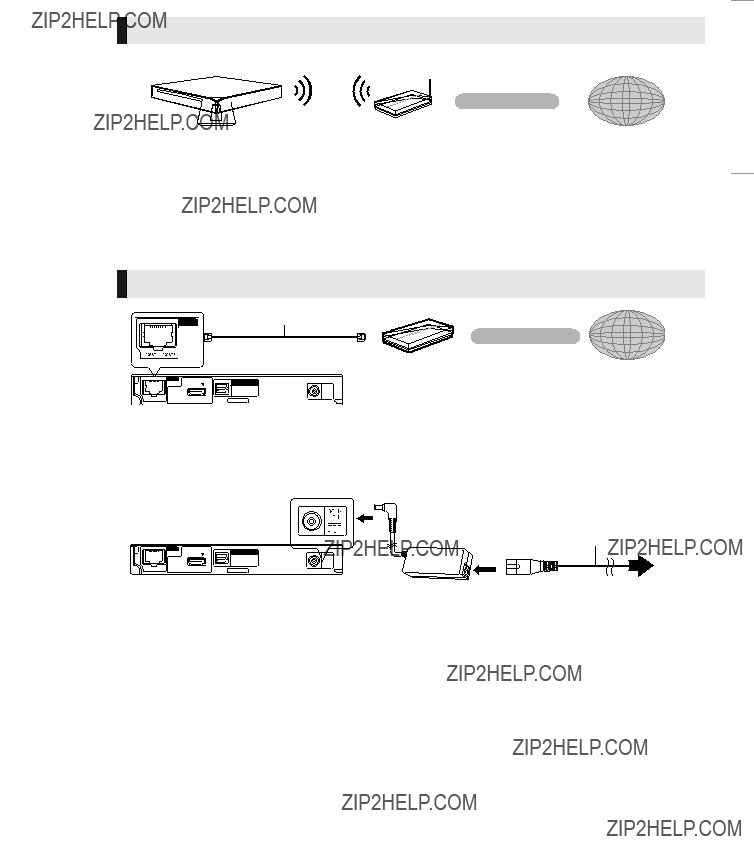
 Network


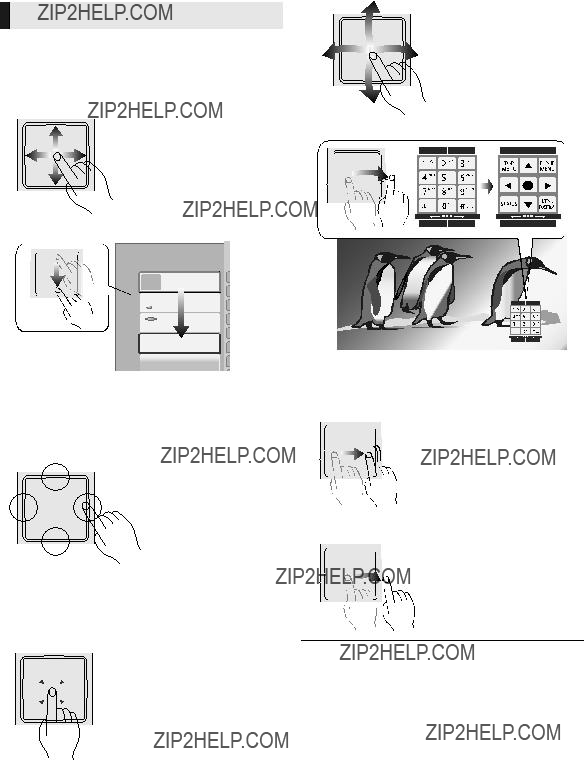
 OK
OK RETURN


 RETURN
 OK
OK RETURN


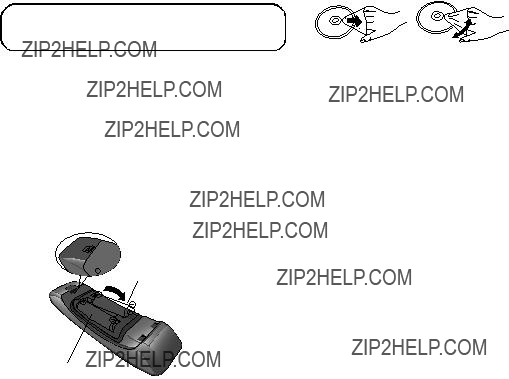
 Play
Play
 ] button, and NETFLIX can be accessed directly by pressing [NETFLIX] button.


 : Settings of the items with this indication are saved by the respective users registered in the Home menu.
 Operation Menu


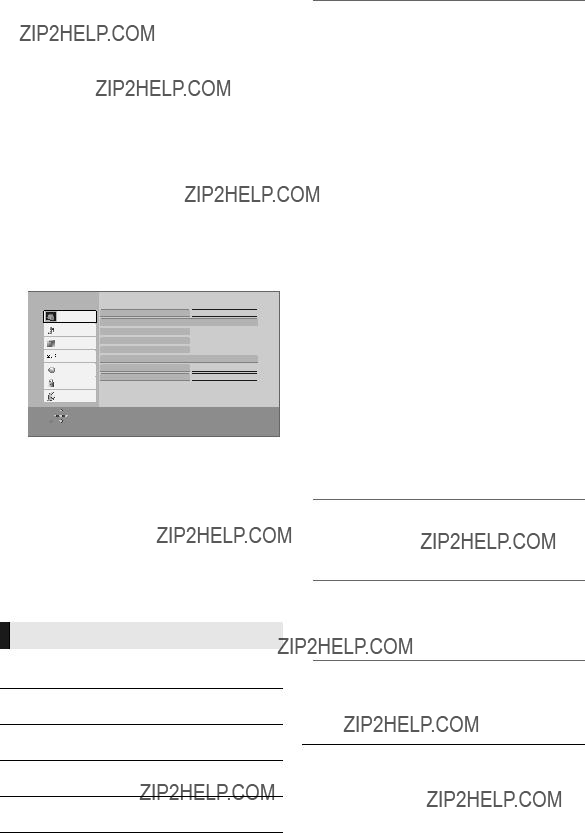
 : Settings of the items with this indication are saved by the respective users registered in the Home menu.
 OK
OK RETURN
 (
( (
( (
( (
( (
(
 (
( (
(
 (
( (
(


 (
(


 ??? logo are trade marks of Skype Limited.


 For Canada only: The word ???Participant??? is used in place of the word ???Partner???.