Limited Warranty Coverage (For U.S.A. and Puerto Rico Only)
If your product does not work properly because of a defect in materials or workmanship, Panasonic Consumer Electronics Company (referred to as ???the warrantor???) will, for the length of the period indicated on the chart below, which starts with the date of original purchase (???Limited Warranty period???), at its option either (a) repair your product with new or refurbished parts, or (b) replace it with a new or a refurbished product. The decision to repair or replace will be made by the warrantor.
During the ???Labor??? Limited Warranty period there will be no charge for labor. During the ???Parts??? warranty period, there will be no charge for parts. You must mail-in your product during the warranty period. If non-rechargeable batteries are included, they are not warranted. This Limited Warranty only applies to products purchased and serviced in the United States or Puerto Rico. This Limited Warranty is extended only to the original purchaser and only covers product purchased as new. A purchase receipt or other proof of original purchase date is required for Limited Warranty service.
Mail-In Service
For assistance in the U.S.A. and Puerto Rico in obtaining repairs please ship the product prepaid to:
Centralized Factory Service Center
Panasonic Service and Technology Company
410B Airport Road
Elgin, IL 60123-9333
Attention: BD/DVD Repair
Please carefully pack and ship, prepaid and insured, to Elgin Centralized factory Service Center.
When shipping the unit carefully pack, include all accessories, and send it prepaid, adequately insured and preferably in the original carton. Include a letter detailing the complaint, a return address and provide a day time phone number where you can be reached. A valid registered receipt is required under the Limited Warranty.
IF REPAIR IS NEEDED DURING THE LIMITED WARRANTY PERIOD
THE PURCHASER WILL BE REQUIRED TO FURNISH A SALES
RECEIPT/PROOF OF PURCHASE INDICATING DATE OF
PURCHASE, AMOUNT PAID AND PLACE OF PURCHASE.
CUSTOMER WILL BE CHARGED FOR THE REPAIR OF ANY UNIT
RECEIVED WITHOUT SUCH PROOF OF PURCHASE.
Limited Warranty Limits And Exclusions
This Limited Warranty ONLY COVERS failures due to defects in materials or workmanship, and DOES NOT COVER normal wear and tear or cosmetic damage. The Limited Warranty ALSO DOES NOT COVER damages which occurred in shipment, or failures which are caused by products not supplied by the warrantor, or failures which result from accidents, misuse, abuse, neglect, mishandling, misapplication, alteration, faulty installation, set-up adjustments, misadjustment of consumer controls, improper maintenance, power line surge, lightning damage, modification, or commercial use (such as hotel, office, restaurant, or other business), rental use of the product, or service by anyone other than a Factory Service Center or other Authorized Servicer, or damage that is attributable to acts of God.
User memo:
DATE OF PURCHASE _________________________
DEALER NAME_______________________________
DEALER ADDRESS ___________________________
____________________________________________
TELEPHONE NUMBER ________________________
THERE ARE NO EXPRESS WARRANTIES EXCEPT AS LISTED
UNDER ???LIMITED WARRANTY COVERAGE???. THE WARRANTOR IS
NOT LIABLE FOR INCIDENTAL OR CONSEQUENTIAL DAMAGES
RESULTING FROM THE USE OF THIS PRODUCT, OR ARISING OUT OF ANY BREACH OF THIS WARRANTY. (As examples, this excludes damages for lost time, cost of having someone remove or re-install an installed unit if applicable, travel to and from the servicer, loss of or damage to media or images, data or other recorded content. The items listed are not exclusive, but are for illustration only.)
ALL EXPRESS AND IMPLIED WARRANTIES, INCLUDING THE
WARRANTY OF MERCHANTABILITY, ARE LIMITED TO THE
PERIOD OF THE LIMITED WARRANTY.
Some states do not allow the exclusion or limitation of incidental or consequential damages, or limitations on how long an implied Limited Warranty lasts, so the exclusions may not apply to you.
This Limited Warranty gives you specific legal rights and you may also have other rights which vary from state to state. If a problem with this product develops during or after the Limited Warranty period, you may contact your dealer or Service Center. If the problem is not handled to your satisfaction, then write to the warrantor???s Consumer Affairs Department at the addresses listed for the warrantor.
PARTS AND SERVICE, WHICH ARE NOT COVERED BY THIS
LIMITED WARRANTY, ARE YOUR RESPONSIBILITY.
Customer Services Directory
(United States and Puerto Rico)
Obtain Product Information and Operating Assistance; locate your nearest Dealer or Service Center; purchase Parts and Accessories; or make Customer Service and Literature requests by visiting our Web Site at:
http://www.panasonic.com/help
or, contact us via the web at:
http://www.panasonic.com/contactinfo
You may also contact us directly at: 1-800-211-PANA (7262),
Monday-Friday 9 am-9 pm; Saturday-Sunday 10 am-7 pm, EST.
For hearing or speech impaired TTY users, TTY: 1-877-833-8855
Accessory Purchases
(United States and Puerto Rico)
Purchase Parts, Accessories and Instruction Books online for all Panasonic Products by visiting our Web Site at:
http://www.pstc.panasonic.com
or, send your request by E-mail to:
npcparts@us.panasonic.com
You may also contact us directly at: 1-800-332-5368 (Phone) 1-800-237-9080 (Fax Only) (Monday ??? Friday 9 am to 9 pm, EST.)
Panasonic Service and Technology Company 20421 84th Avenue South, Kent, WA 98032
(We Accept Visa, MasterCard, Discover Card, American Express, and Personal Checks)
For hearing or speech impaired TTY users, TTY : 1-866-605-1277
As of October 2008
The model number and serial number of this product can be found on the rear of the unit.
Please note them in the space provided below and keep for future reference.
SERIAL NUMBER _____________________________________


 at
at a high volume. Hearing experts advise against continuous extended play.


 SD
SD 

 NETWORK

 AUX
AUX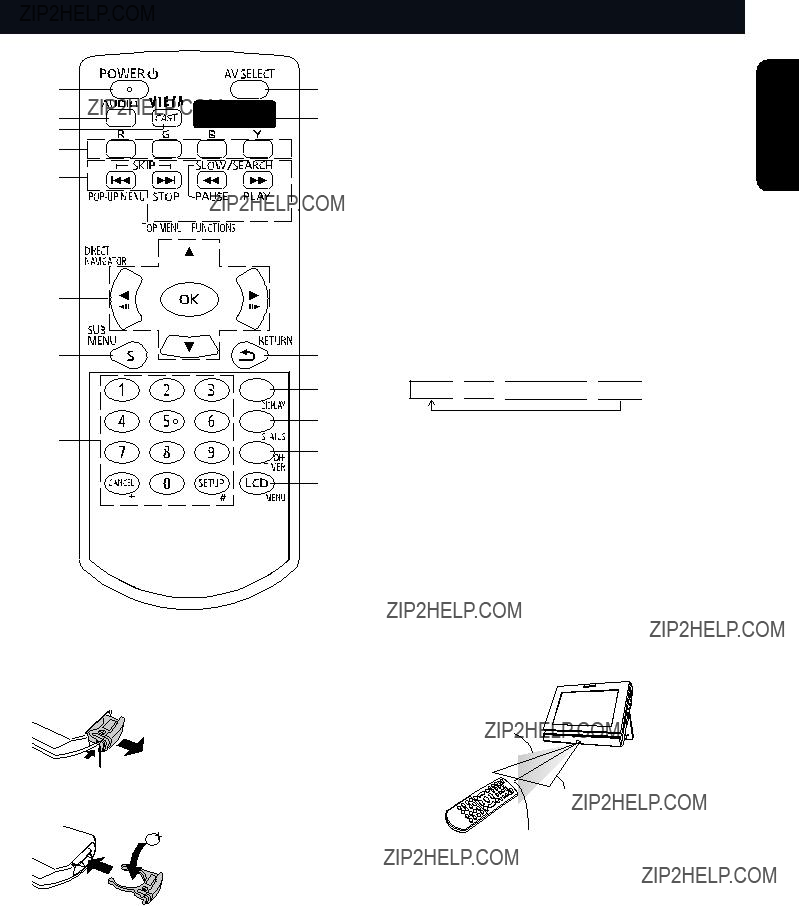


 7
7 


 13
13 _ facing up

 SD
SD 

 NETWORK

 AUX
AUX Remote control signal sensor

 ATTACH
 2 Slide.


 0:30
0:30 

 1:00
1:00 

 2:00
2:00 

 3:00
3:00 

 6:00
6:00 

 12:00
12:00 OK
OK RETURN
 Label side


 RETURN
 Play
Play RETURN


 RETURN


 Play
Play RETURN

 OK
OK RETURN


 RETURN
 CD (DivX)


 RETURN
 ??? indicates the track currently playing.


 OK
OK
 OK
OK RETURN
 OK
OK RETURN

 1
1 
 2
2 
 3
3 
 4
4
 A
A 
 B
B 
 C
C 


 D
D 
 E
E 
 F
F 


 G
G 
 H
H 
 I
I 

 RETURN
 OK
OK RETURN

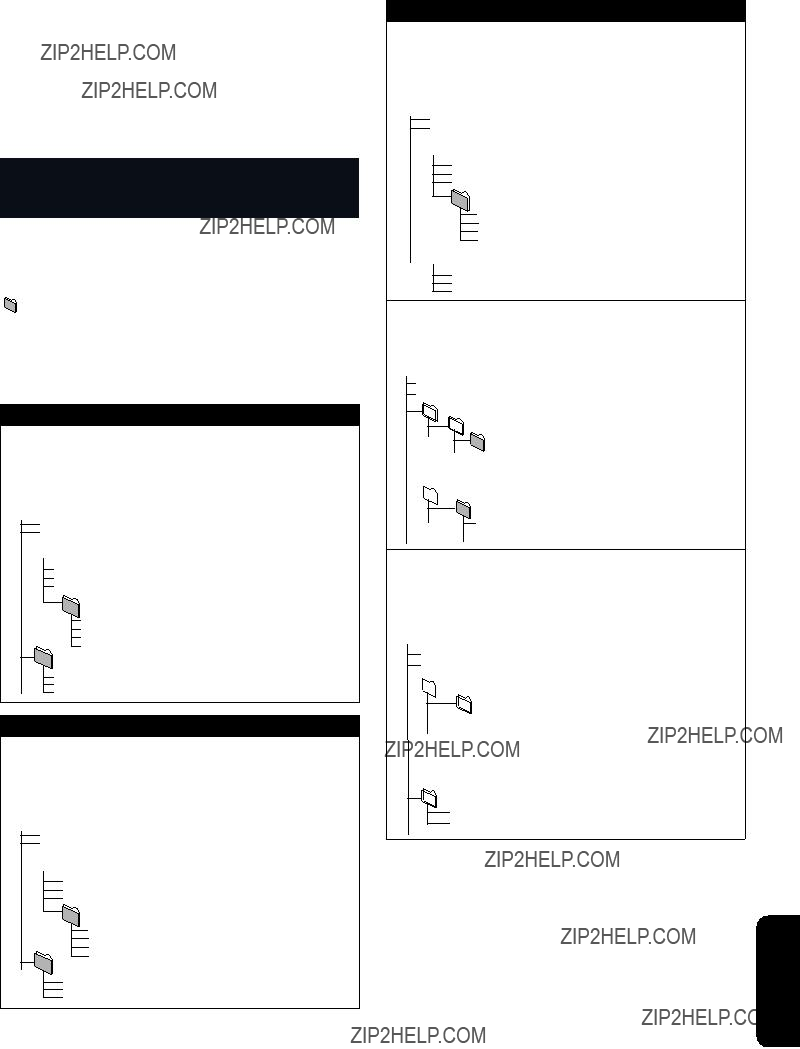

 Folder A
 Folder C
 XXXX
XXXX
 Folder A
 DCIM
DCIM DCIM
DCIM
 Folder A
 XXXX
XXXX


 ERROR U580


 ERROR U581


 ERROR U582
 ] on the unit at the same time for more than 5 seconds until ???PLEASE WAIT??? is displayed on the LCD.

 ] on the unit at the same time for more than 5 seconds. Turn the unit off.