Notes
???Never format the recorder from a PC.
???When the recorder is formatted, all the saved data, including locked files and read-only files, is erased.
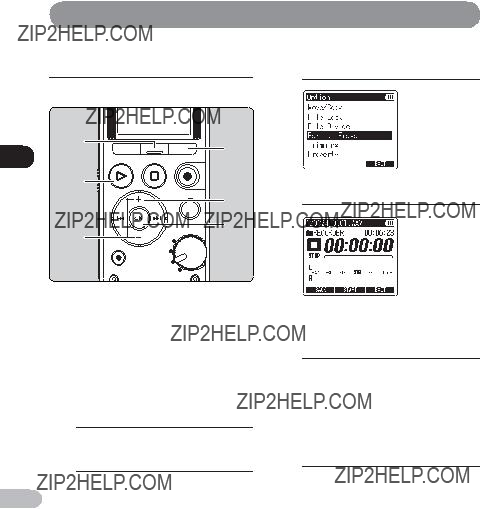
???To restore the function???s settings to their initial values, use [Reset Settings] (??? P.73).
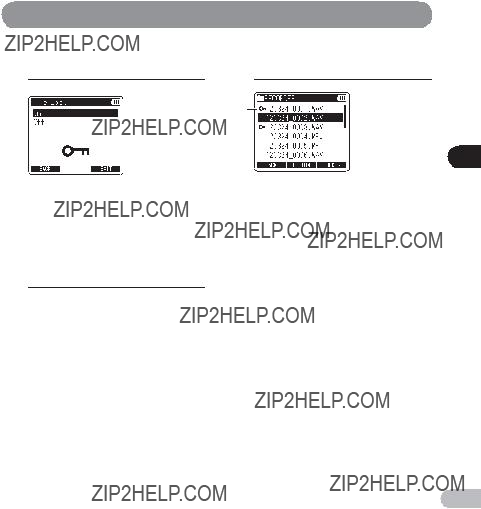
???If the SD card is write-protected, [SD Card Locked] will be displayed. If you want to format the card, release the card???s write protection (??? P.21).
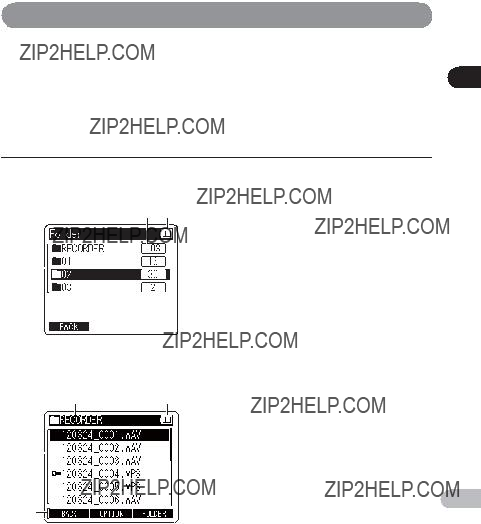
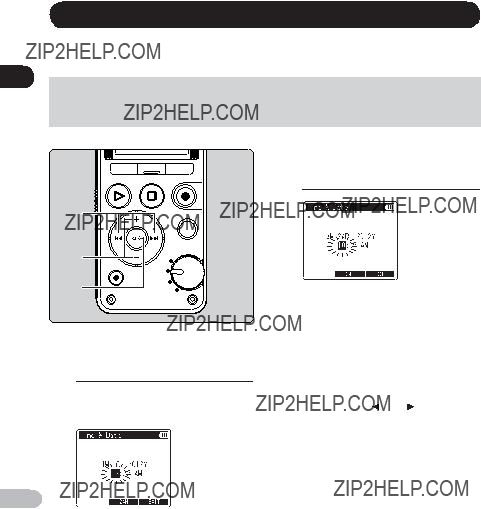
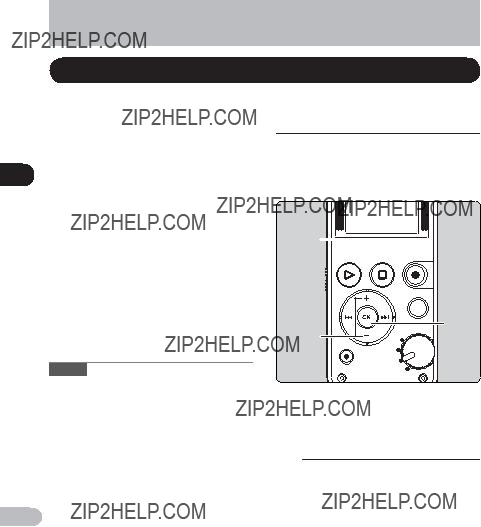
???When an SD card is inserted into the recorder, be sure to confirm the recording media as either
[Internal memory] or [SD card] so that there is no mistake (??? P.23, P.72).
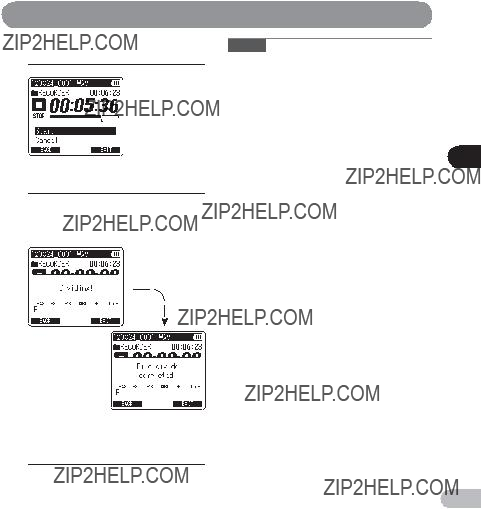
???Replace the battery with a new one in order to ensure that the battery does not go flat during formatting. In addition, it may take over 10 seconds to complete formatting. Never perform operations such as the following during formatting, as such operations may damage the data.
1 Disconnect the AC Adapter during formatting.
2 Remove the battery during formatting.
3 Remove the SD card during formatting when [SD card] is selected as the recording media.
???Formatting on the recorder is Quick Format. If you format the SD card, file management information is refreshed and the data inside the SD card is not deleted completely. When giving someone or disposing of the SD card, be careful of data leakage from the SD card. We recommend that the SD card be destroyed when you dispose of it.


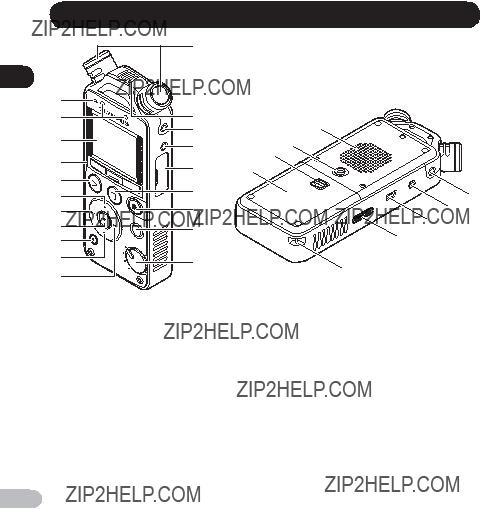


 5
5


 1
1


 4
4 6
6
 7
7


 1
1


 3
3
 4
4


 ] on the task bar located at the