OWNER???S INFORMATION
c.Do not turn sharply. Use care when backing.
d.Use counterweights or wheel weights when suggested in the Instruction Book.
18.Do not operate this machine if you are taking drugs or other medication which can cause drowsiness or affect your ability to operate this machine.
19.Do not use this machine if you are mentally or physically unable to operate this machine safely.
20.Data indicates that operators, age 60 years and above, are involved in a large percentage of riding mower related injuries. These opera- tors should evaluate their ability to operate a riding mower safely enough to protect themselves and others from serious injury.
II. Slope operation
Slopes and rough terrain are major factors related to loss-of-control and tip-over accidents, which can result in severe injury or death. ALL slopes require extra caution. If you cannot back up the slope or if you feel uneasy on the slope, do not mow it. See the ???Slope Guide??? in the back of this book to check for safe operation.
DO
1.Mow up and down slopes, not across.
2.Remove obstacles such as rocks, limbs, etc...
3.Watch for holes, ruts or bumps. Uneven terrain could overturn the machine. Tall grass can hide obstacles.
4.Follow the manufacturer???s recommendations for wheel weights or counterweights to improve stability.
5.Use extra care with grass baggers or other attachments, they can change the stability of the machine.
6.Keep all movement on the slopes slow and gradual. Do not make sudden changes in speed or direction.
7.Avoid starting or stopping on a slope. If tires lose traction, turn off the blades and proceed slowly straight down the slope.
DO NOT
1.Do not turn on slopes unless absolutely necessary, then only turn slowly and gradually downhill, if possible.
2.Do not mow drop-offs, ditches or embankments. A wheel over the edge or an edge caving in could cause a sudden overturn and an injury or death.
3.Do not mow on wet grass. Reduced traction could cause sliding.
4.Do not try to stabilize the machine by putting your foot on the ground.
5.Do not use a grass bagger or other rear mounted accessories on steep slopes (greater than 10 degrees).
III. Children
Tragic accidents can occur if the operator is not alert to the presence of children. Children are often attracted to the machine and the mowing activity. NEVER assume that children will remain where you last saw them.
1.Keep children out of the mowing area and in the watchful care of another responsible adult.
2.Be alert and turn the engine off if children enter the area.
3.Before and when backing, look behind and down for small children.
4.Never carry children or any passengers, even with the blades off. They may fall off and be seriously injured or interfere with the safe operation of the machine.
5.Never allow children to operate the machine. Instruct children in the potential dangers of the machine.
6.Use extra care when approaching blind corners, shrubs, trees or other objects that may obscure vision.
IV. Service
1.Use extra care when handling gasoline and other fuels. Fuels are flammable and the vapors are explosive.
a.Use only an approved container.
b.Never remove the gas cap or add fuel with the engine running. Allow the engine to cool for several minutes before refueling. Do not smoke.
c.Never refuel the machine indoors.
d.Never store the machine with fuel in the tank or fuel container inside where there is an open flame, such as a water heater.
2.Never start or run the engine inside a closed area.
3.Keep all nuts and bolts, especially the blade attachment nuts tight. Frequently check the blade(s) for wear or damage such as cracks and nicks. A blade that is bent or damaged must be immediately replaced with an original equipment blade from an authorized service dealer. For safety, replace the blade every two years. Keep the equipment in good condition.
4.Never tamper with the safety devices. Check their proper operation regularly.
5.To reduce fire hazards, keep the machine free of grass, leaves or other debris build-up. Clean up oil or fuel spills. Allow the machine to cool before storing.
6.Stop and inspect the equipment if you strike an object. Repair, if necessary, before restarting.
7.Never make adjustments or repairs with the engine running. The carburetor can be adjusted with the engine running. Do not change the engine governor settings or over-speed the engine.
8.Grass bagger components are subject to wear, damage and deterioration, which could expose moving parts or allow objects to be thrown. For storage, always make sure the grass bag is empty. Frequently check components and replace with manufacturer???s recom- mended parts when necessary.
9.Mower blade(s) are sharp and can cut. Wrap the blade(s) or wear gloves and use extra caution when servicing them or the blade housing area.
10.Check the brake operation frequently. Adjust and service as required.
11.Wait for all movement to stop before servicing any part of the unit.
Look for this symbol to indicate important safety precautions. This symbol indicates: ???Attention! Become Alert! Your Safety Is At Risk.???


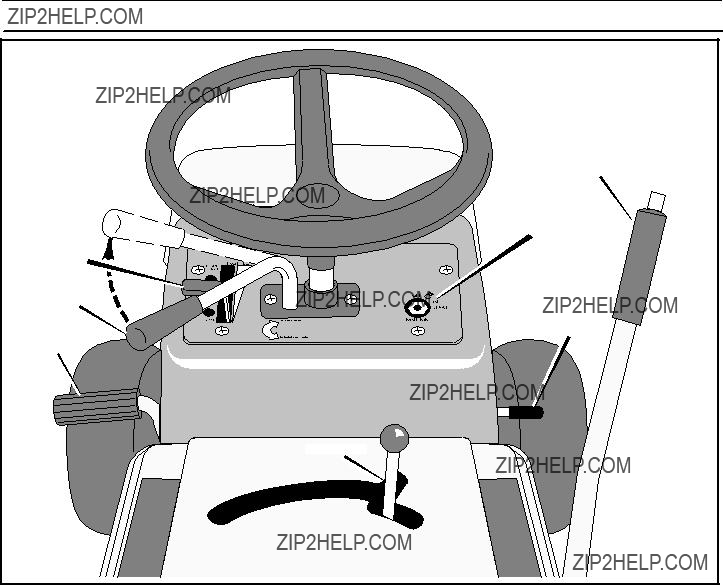

 Throttle


 Throttle

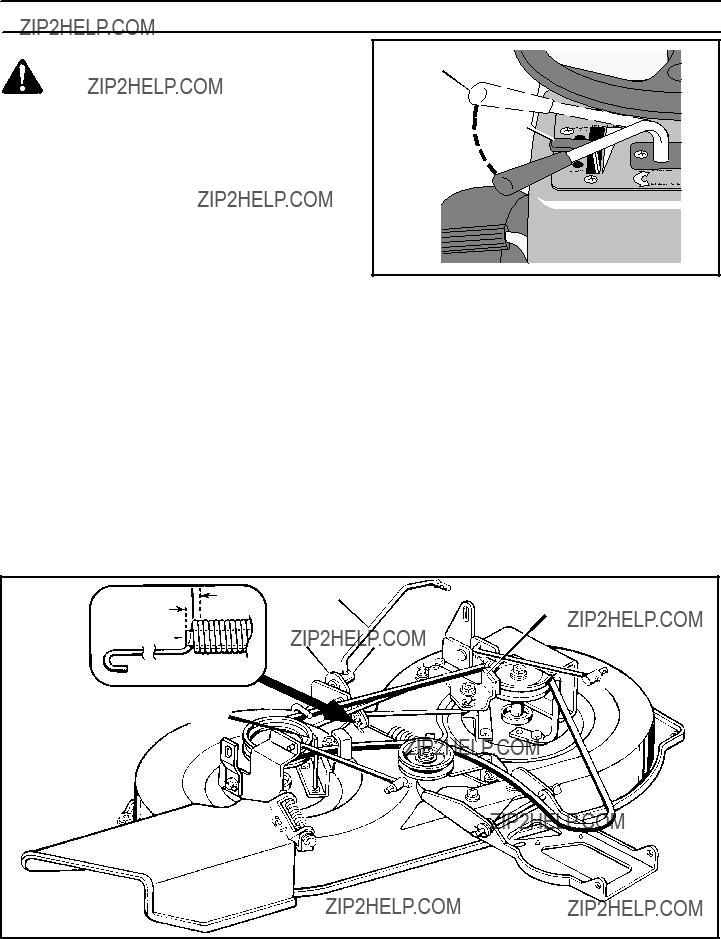
 Mower Drive Belt


 Adjuster Rod Bracket


 38
38 25
25 44
44 30 31
30 31
 9
9
 30
30


 51
51

 20
20 


 24
24
 9
9
 25
25 15
15
 9
9


 1
1 5 6
5 6 
 9f 9e
9f 9e

 12
12 


 24273
24273