???Used consumable parts, accessories and attachments, including, but not limited to, brushes, hangers, scrub pads and mop pads.
???Use of parts and accessories other than those produced or recommended by Steamfast.
???Cosmetic damage, such as scratches, nicks and dents.
???Damage caused by accident, water, flood, fire or other acts of nature or external causes.
Warranty limitations and exclusions
???NO OTHER EXPRESS WARRANTY IS GIVEN BY STEAMFAST TO BUYER AND NO REPRESENTATIVE HAS THE
AUTHORITY TO MAKE REPRESENTATIONS OTHER THAN THOSE PROVIDED HEREIN.
???THERE ARE NO WARRANTIES WHICH EXTEND BEYOND THE DESCRIPTION ON THE FACE HEREOF AND ALL
IMPLIED WARRANTIES, SPECIFICALLY THE IMPLIED WARRANTIES OF MERCHANTABILITY AND FITNESS FOR
A PARTICULAR PURPOSE, ARE HEREBY EXPRESSLY LIMITED TO THE DURATION OF THE WARRANTY PERIOD,
UNLESS A SHORTER PERIOD IS PERMITTED BY LAW.
???STEAMFAST???S REPLACEMENT OF THE PRODUCT IS THE EXCLUSIVE REMEDY. UNDER NO CIRCUMSTANCES
SHALL STEAMFAST BE LIABLE TO BUYER OR ANY OTHER PERSON FOR ANY INCIDENTAL, SPECIAL, CON-
SEQUENTIAL, OR OTHER DAMAGES, EVEN IF STEAMFAST HAS BEEN ADVISED OF OR COULD REASONABLY
FORESEE THE POSSIBILITY OF SUCH DAMAGES, INCLUDING, BUT NOT LIMITED TO, LOSS OF PROFITS OR
DAMAGE, WHETHER RISING OUT OF BREACH OF WARRANTY, BREACH OF CONTRACT OR UNDER ANY OTHER
THEORY OF LAW.
???THIS WARRANTY GIVES BUYER SPECIFIC LEGAL RIGHTS. BUYER MAY ALSO HAVE OTHER RIGHTS WHICH
VARY FROM STATE-TO-STATE. SOME STATES DO NOT ALLOW THE EXCLUSION OR LIMITATION OF INCIDENTAL
OR CONSEQUENTIAL DAMAGES, AND SOME STATES DO NOT ALLOW LIMITATIONS ON HOW LONG AN IMPLIED
WARRANTY LASTS, SO THE ABOVE LIMITATION OR EXCLUSION MAY NOT APPLY TO BUYER.
How do you register the Warranty
Buyer must complete an application to register this Warranty within sixty (60) days following date of purchase. Buyer may either visit Steamfast???s website at www.mccullochsteam.com and complete an online application or mail a completed application to Steamfast. Failure to register this Warranty within sixty (60) days following date of purchase will render this Warranty null and void.
Warranty service
For warranty service, call 1-800-711-6617 or email consumerservice@mccullochsteam.com to obtain a Return Authoriza- tion (???RA???) form. Include the Product model number and serial number, as well as Buyer???s name, address, city, state, zip code and phone number when contacting Steamfast for warranty service. Buyer may be required to provide the original sales receipt for purposes of verifying date of purchase. After receiving the RA form, the Product must be shipped, postage prepaid by Buyer, to:
Steamfast
Attn: Warranty & Repair
415 E. 13th Street
Andover, KS 67002
To assure proper handling, packages must be clearly marked with the RA number. Packages not clearly marked with the RA number may be refused at the receiving dock.
Important: After receiving return authorization, carefully pack the Product to avoid damage in shipping. Damage in shipping is not covered by the Warranty and shall be the sole responsibility of Buyer. Damage or loss not covered by this Warranty or occurring outside the Warranty Period will require a fee to cover the cost of handling and shipping. All such fees and costs shall be the sole responsibility of Buyer.
Please allow at least 1-2 weeks for return of the Product after it is received by Steamfast. For ease of recordkeeping, it is recommended that Buyer staple or attached the original sales receipt to this Owner???s Guide and record the Product serial number (located on the Product specifications decal) here:
________________________________________________
?? 2013 Vornado Air, LLC ??? Andover, KS 67002
Specifications subject to change without notice. Steamfast?? is a trademark owned by Vornado Air, LLC.
Manufactured in China.
Steamfast Consumer Service W: www.mccullochsteam.com ??? P: 1-800-711-6617 ???
E: consumerservice@mccullochsteam.com
20 | ENGLISH


 Product Information


 9
9 


 5
5


 Product Information
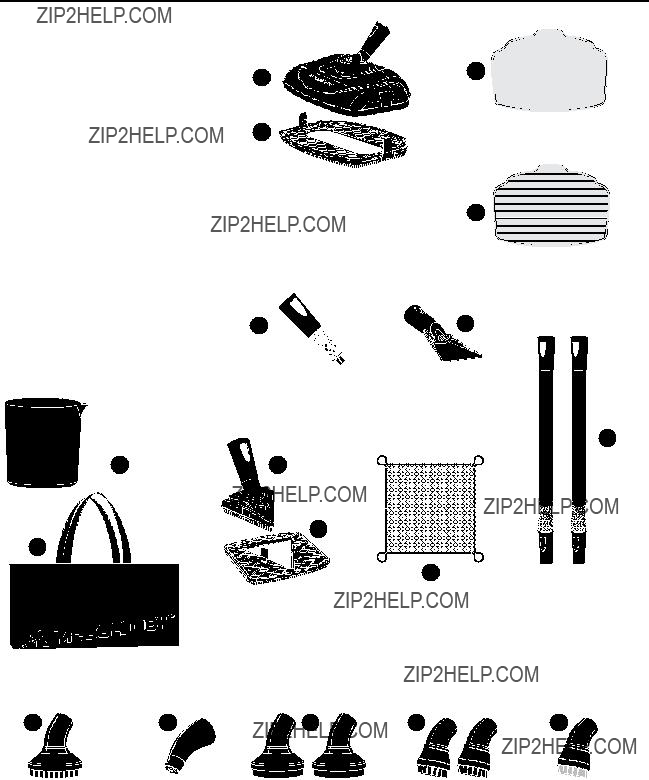


 Product Information


 Product Information


 System
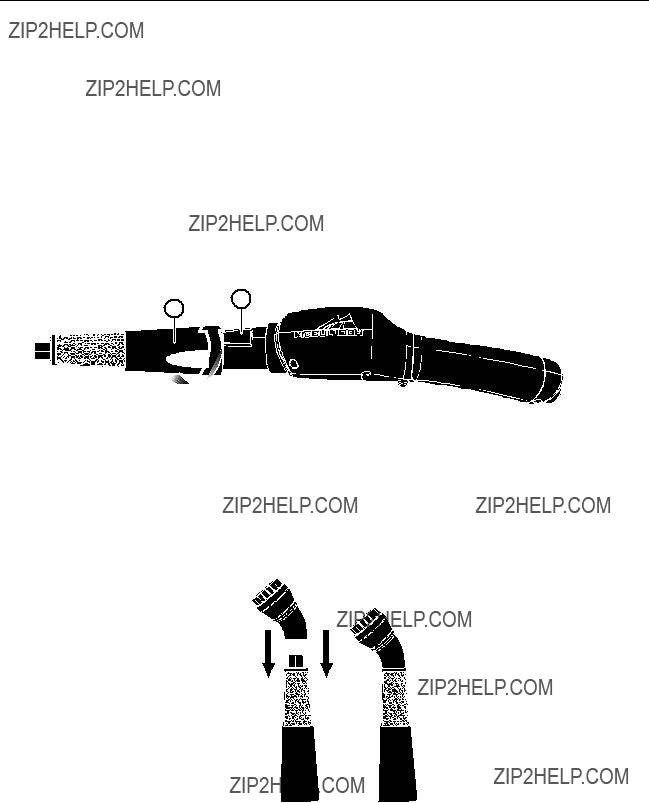


 System

 System


 Accessory Recommendations


 Warranty Information