Introduction
Thank you for purchasing the JVC Compact Component System.
We hope it will be a valued addition to your home, giving you years of enjoyment.
Be sure to read this instruction manual carefully before operating your new stereo system.
In it you will find all the information you need to set up and use the system.
If you have a query that is not answered by the manual, please contact your dealer.
Features
Here are some of the things that make your System both powerful and simple to use.
???The controls and operations have been redesigned to make them very easy to use, freeing you to just enjoy the music.
???With JVC???s COMPU PLAY you can turn on the System and automatically start the Radio, Cassette Deck, or CD Player with a single touch.
???The great SEA (Sound Effect Amplifier) effects Rock, Pop and Classics are provided.
???The Active Bass EX. (Extension) circuitry faithfully reproduces low frequency sounds.
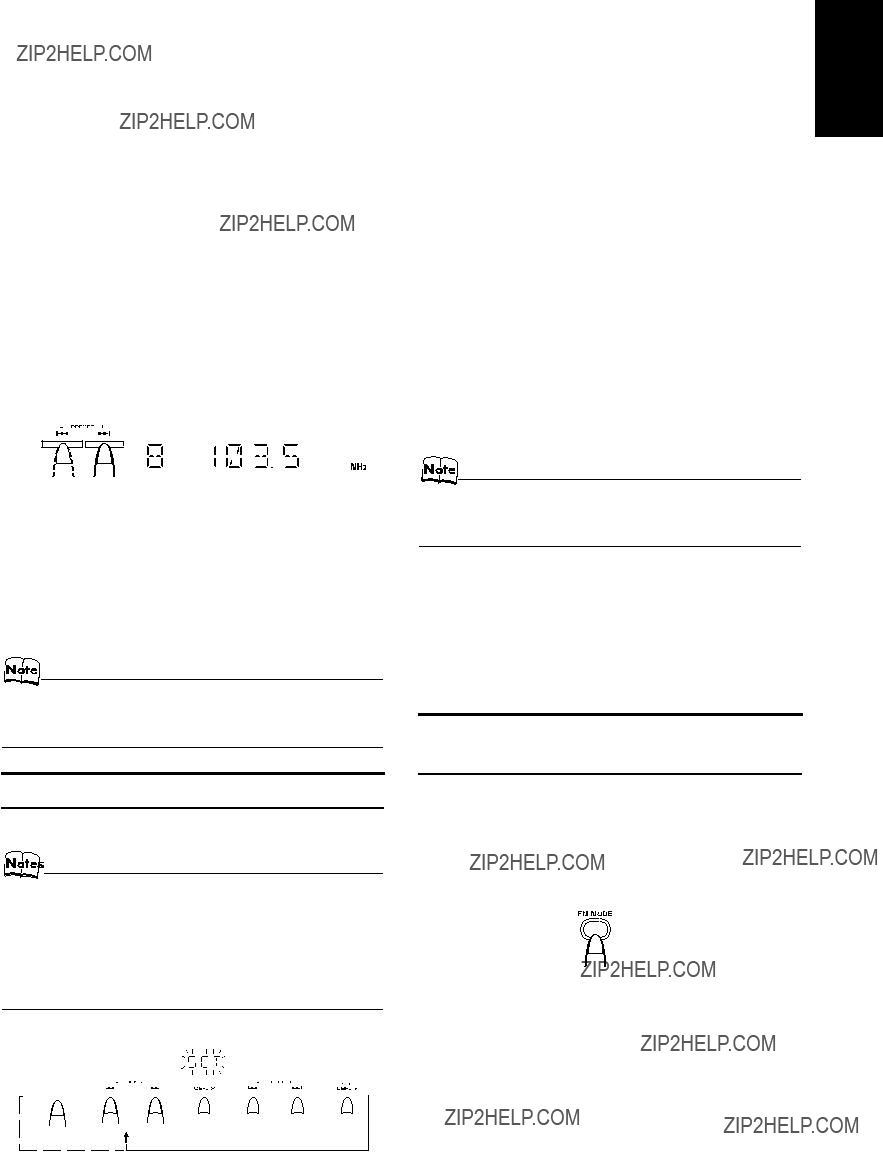
???A 45-station preset capability (30 FM and 15 AM) in addition to auto-seek and manual tuning.
???CD changer function can operate 3 discs.
???Discs can be changed during play using the Carrousel tray (rotational tray).
???Continuous or program play of 3 discs.
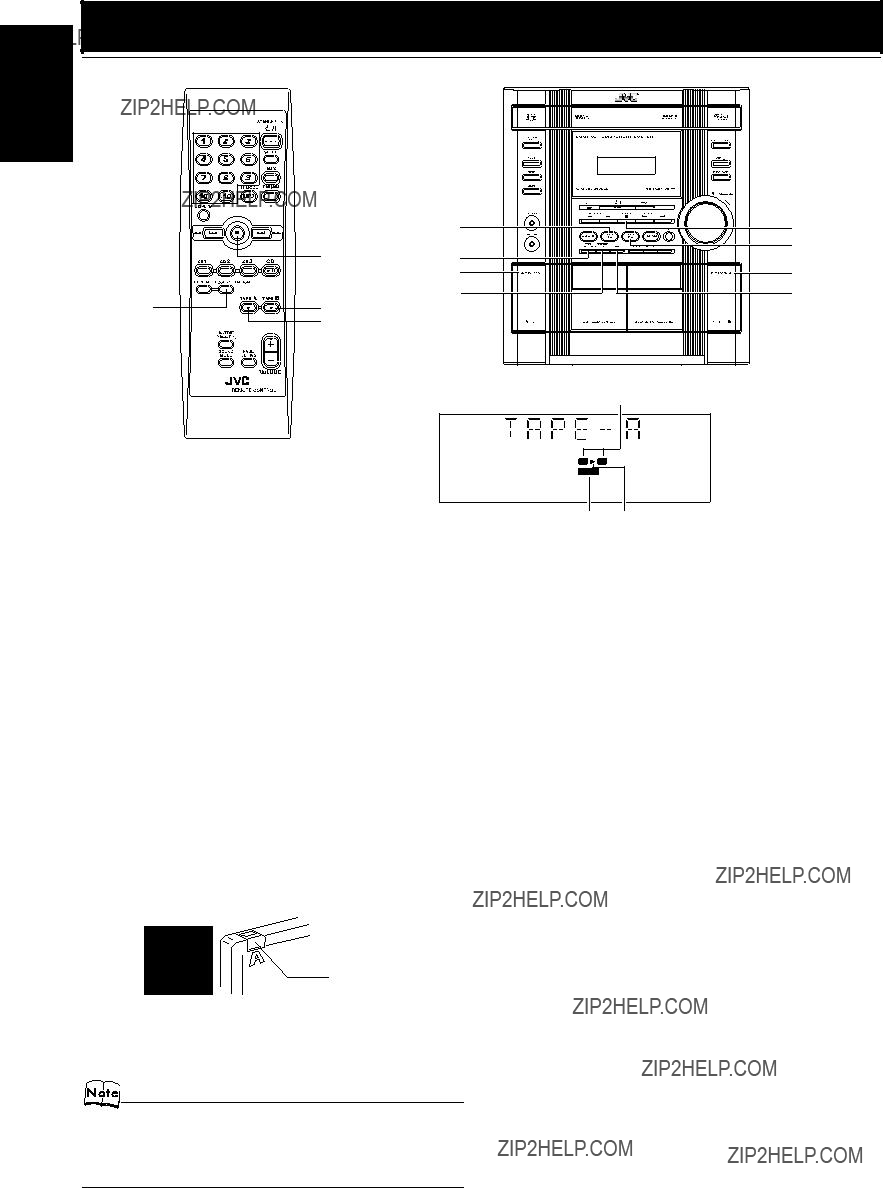
???Two Decks enabling tape dubbing.
???Timer functions; Daily Timer, REC (Recording) Timer, and Sleep Timer.
???You can connect various external units, such as an MD recorder.
???The CD Player can play back a CD-R and CD-RW.
How This Manual Is Organized
???Basic information that is the same for many different functions - e.g. setting the volume - is given in the section ???Basic Operations???, and not repeated under each function.
???The names of buttons/controls and display messages are written in all capital letters: e.g. FM/AM, ???NO DISC???.
???If the button names on the Unit and the Remote Control are the same, the description on where the button is used will be omitted.
???System functions are written with an initial capital letter only: e.g. Normal Play.
Use the table of contents to look up specific information you require.
We have enjoyed making this manual for you, and hope it serves you in enjoying the many features built into your System.
IMPORTANT CAUTIONS
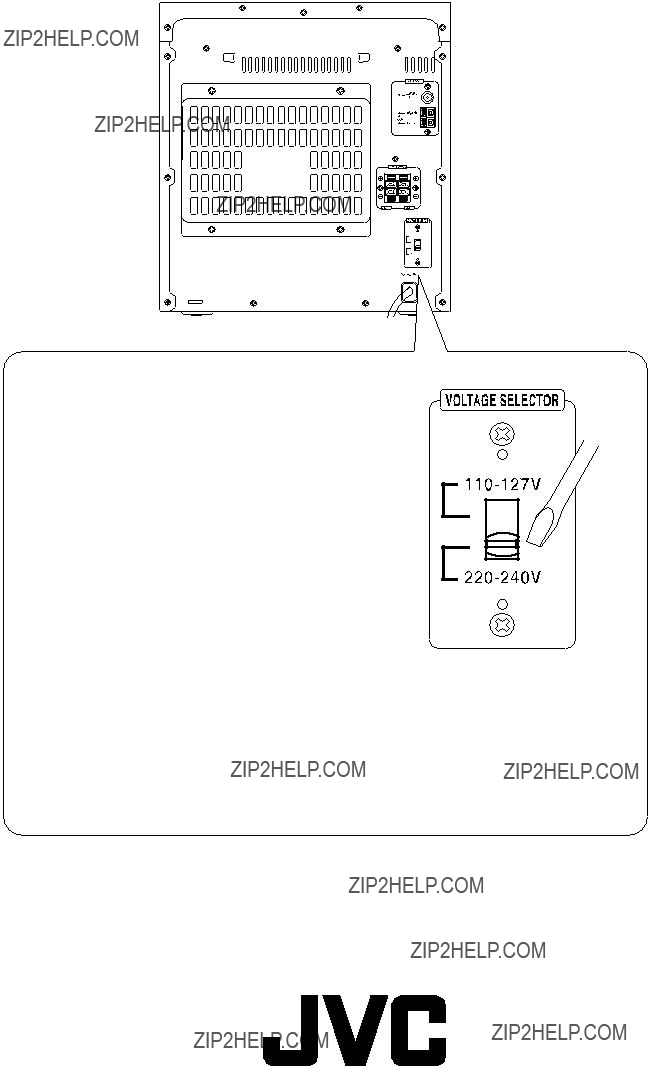
1 Installation of the System
???Select a place which is level, dry and neither too hot nor too cold. (Between 5??C and 35??C.)
???Leave sufficient distance between the System and a TV.
???Do not use the System in a place subject to vibrations.
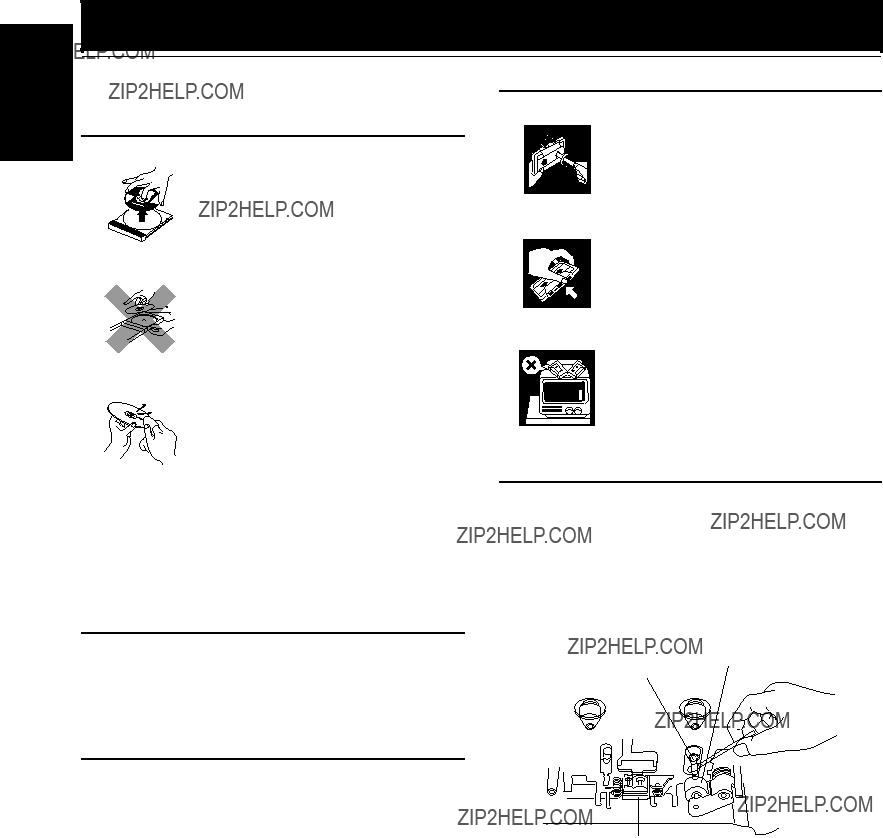
2 Power cord
???Do not handle the power cord with wet hands!
???Some power is always consumed as long as the power cord is connected to the wall outlet.
???When unplugging the System from the wall outlet, always pull the plug, not the power cord.
3 Malfunctions, etc.
???There are no user serviceable parts inside. In case of system failure, unplug the power cord and consult your dealer.
???Do not insert any metallic object into the System.


 CAUTION:
 CAUTION:
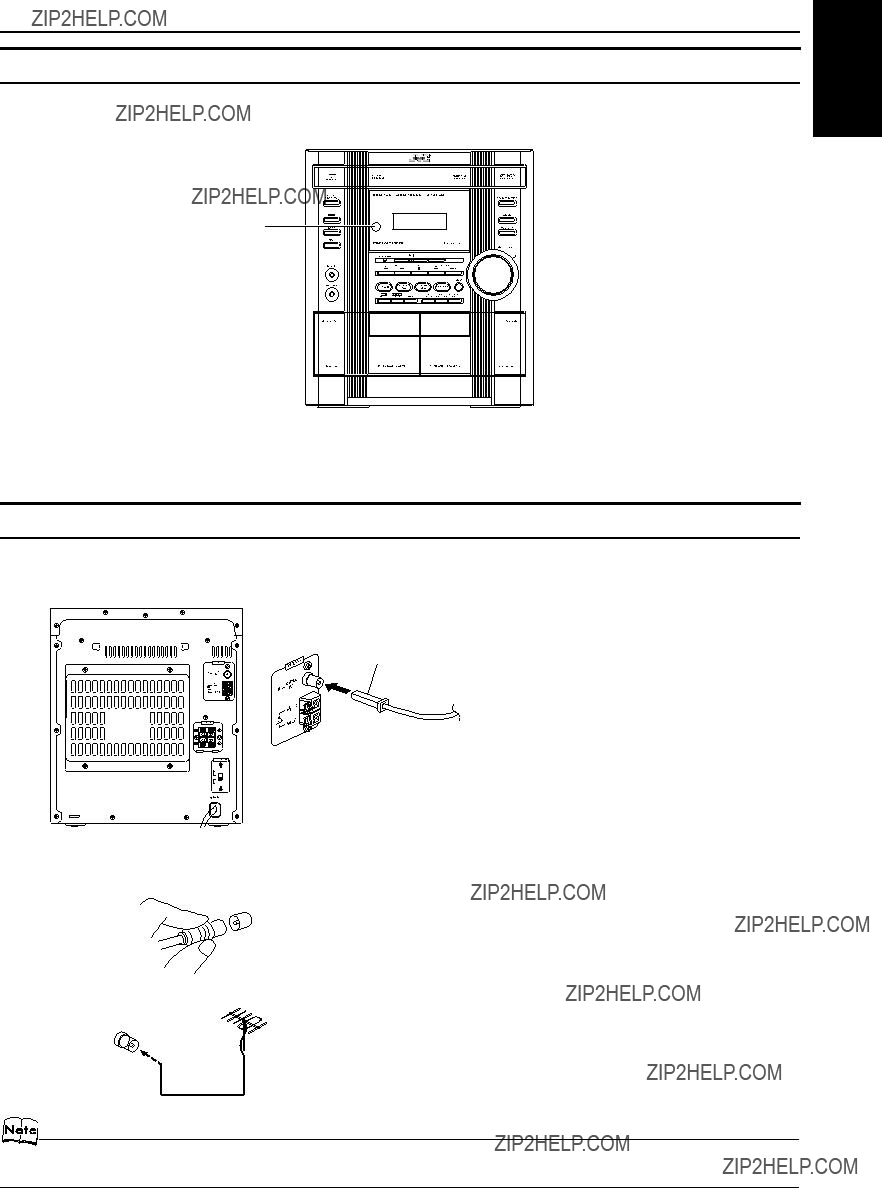
 CAUTION:
 CAUTION:
 CAUTIONS:

 STANDBY/ON button.
 STANDBY/ON button again.
 CAUTION:
 CAUTION:


 MONO
MONO


 or
or 


 or
or


 or
or 


 CAUTION:

 STANDBY/ON button to turn on the System.
 ) and ???DAILY??? indicator on the display shows that the Daily Timer you have set is in effect.
 ) indicator lights up.
 ) and the ???DAILY??? indicator go out.
 ) lights up on the dispaly.
 ) and the ???DAILY??? indicator remain lit, and the display returns to the original display.
 STANDBY/ON button to turn off the System if neccessary.
 ) and ???DAILY??? indicator are lit on the display, showing that the Daily Timer is set to on.
 ) blinks during timer operation.
 ) and ???DAILY??? indica- tor remain lit on the display.
 ) lights up.
 ) and the Tape Indica- tor (
 ) lights up and the ???REC??? indicator blinks on the display.
 ) and the ???REC??? indicator go out.
 ) lights up and the ???REC??? indicator blinks on the display.
 ) and the ???REC??? indicator remain lit, and the display returns to the original display.
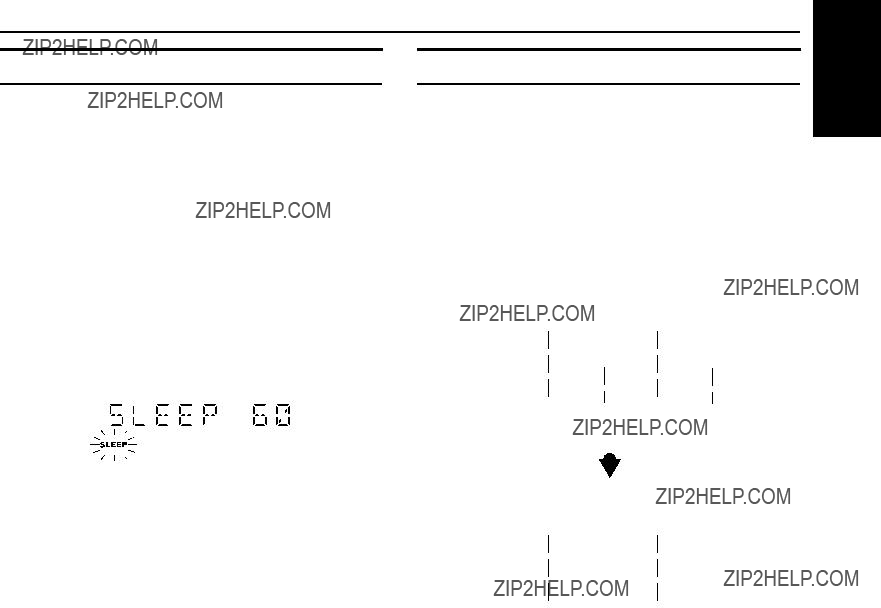
 CAUTION:
 EN, SP, PR