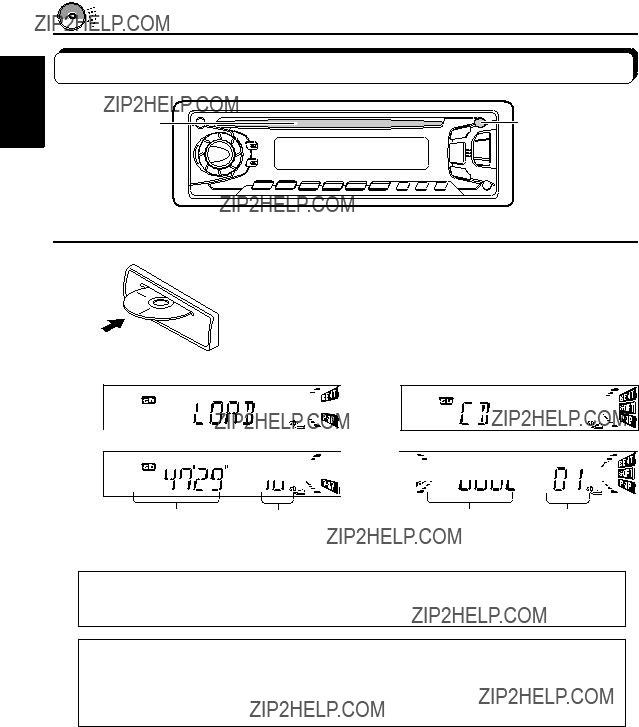
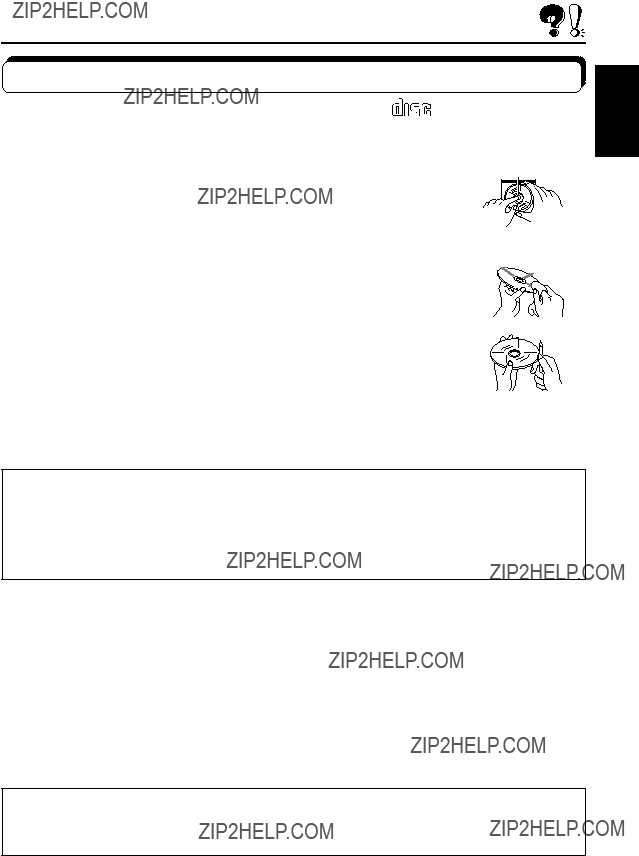
Handling CDs
How to handle CDs
When removing a CD from its case, press down the center holder of the case
When storing a CD into its case, gently insert the CD around the center holder (with the printed surface facing up).
??? Make sure to store CDs into the cases after use.
To keep CDs clean
A dirty CD may not play correctly. If a CD does becomes dirty, wipe it with a soft cloth in a straight line from center to edge.
To play new CDs
New CDs may have some rough spots around the inner and outer edges. If such a CD is used, this unit may reject the CD.
To remove these rough spots, rub the edges with a pencil or ball-point pen, etc.
Moisture condensation
Moisture may condense on the lens inside the CD player in the following cases:
???After starting the heater in the car.
???If it becomes very humid inside the car.
Should this occur, the CD player may malfunction. In this case, eject the CD and leave the unit turned on for a few hours until the moisture evaporates.
CAUTIONS:
???Do not insert 8cm (3 3/16") CDs (single CDs) into the loading slot. (Such CDs cannot be ejected.)
???Do not insert any CD of unusual shape ??? like a heart or flower; otherwise, it will cause a malfunction.
???Do not expose CDs to direct sunlight or any heat source or place them in a place subject to high temperature and humidity. Do not leave them in a car.
???Do not use any solvent (for example, conventional record cleaner, spray, thinner, benzine, etc.) to clean CDs.
When playing a CD-R (Recordable)
You can play back your original CD-Rs on this recevier.
???Before playing back CD-Rs, read their instructions or cautions carefully.
???Some CD-Rs recorded on CD recorders may not be played back on this receiver because of their disc characteristics, and of the following reasons:
???Discs are dirty or scratched.
???Moisture condensation occurs on the lens inside the unit.
???The pickup lens inside the CD player is dirty.
???Use only ???finalized??? CD-Rs.
???CD-RWs (Rewritable) cannot be played back on this recevier.
About mistracking:
Mistracking may result from driving on extremely rough roads. This does not damage the unit and the CD, but will be annoying.
We recommend that you stop CD play while driving on such rough roads.


 (Standby/On/ATT) buttons at the same time for several seconds.
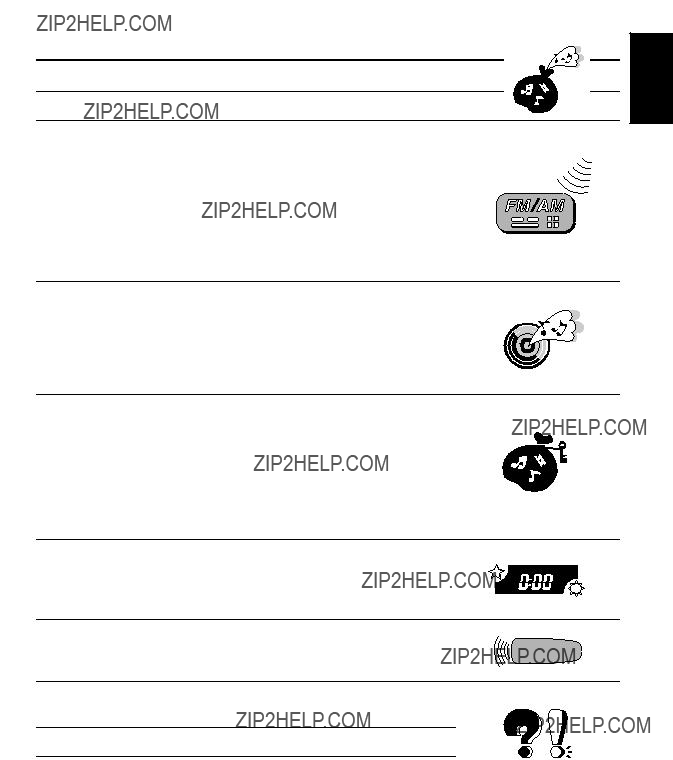
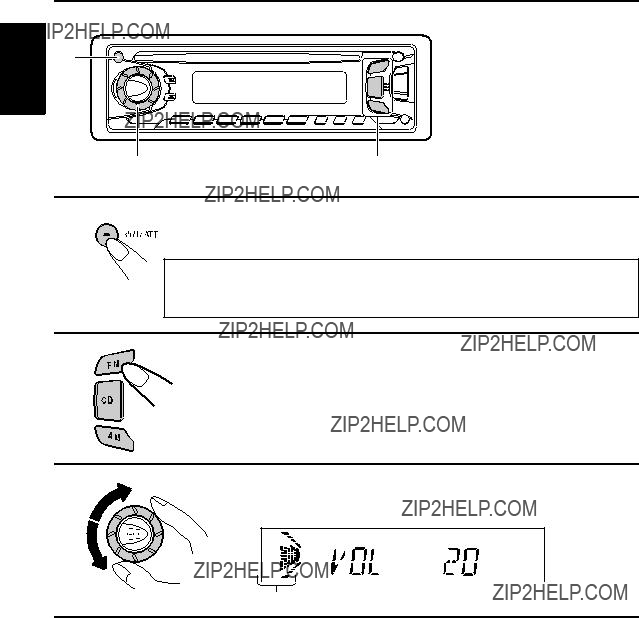

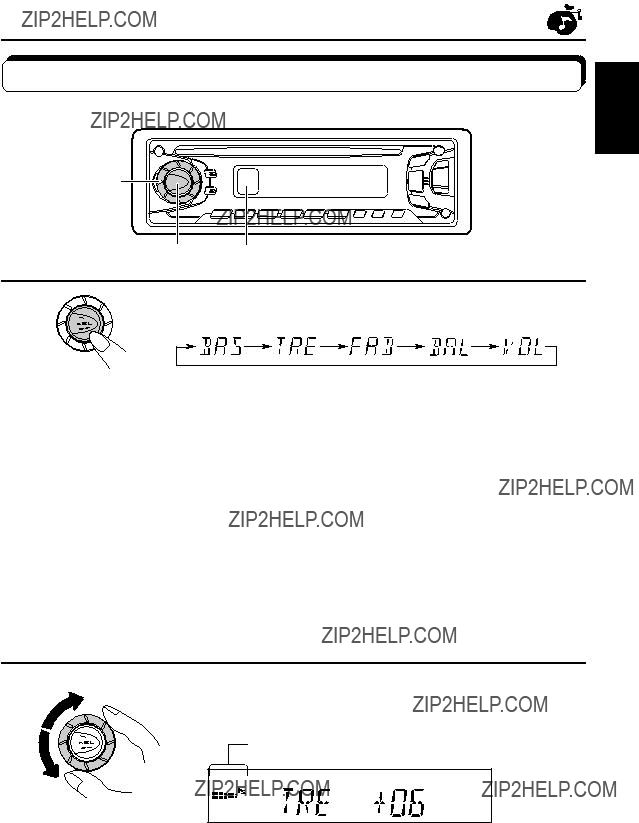
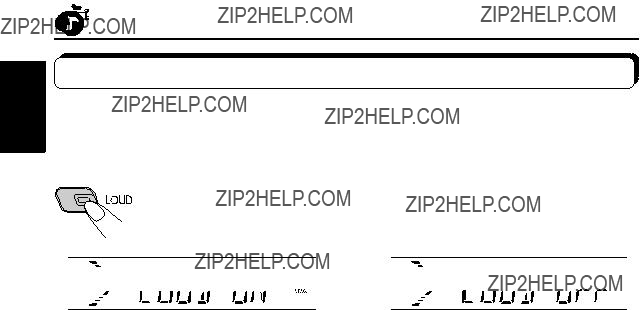
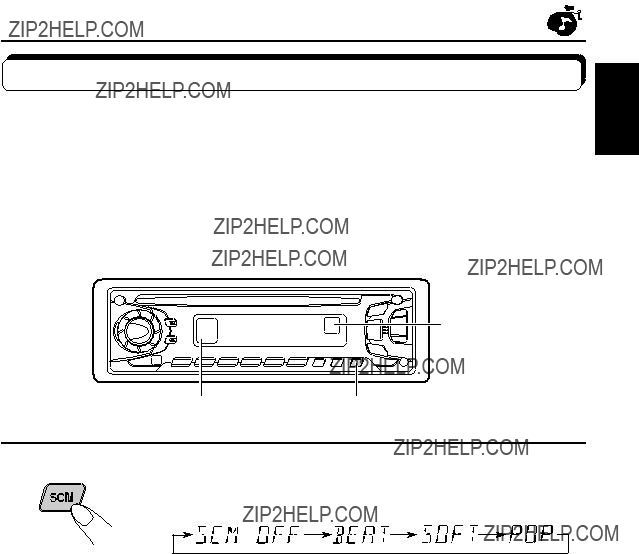
 BASIC OPERATIONS


 briefly while listening to any source. ???ATT??? starts flashing on the display, and the volume level will drop in a moment.


 for more than 1 second.

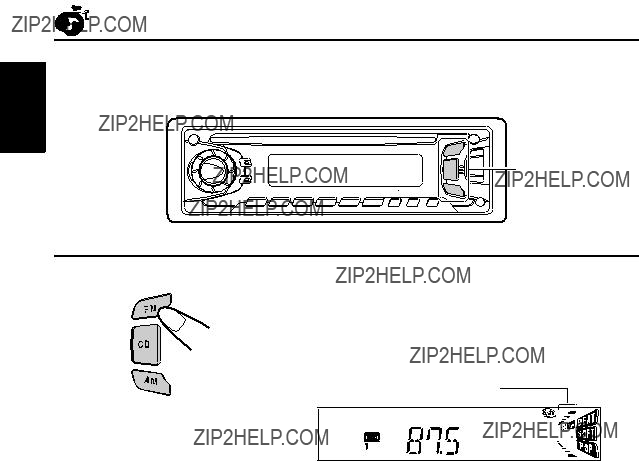
 FM1
FM1 FM2
FM2 FM3
FM3 or
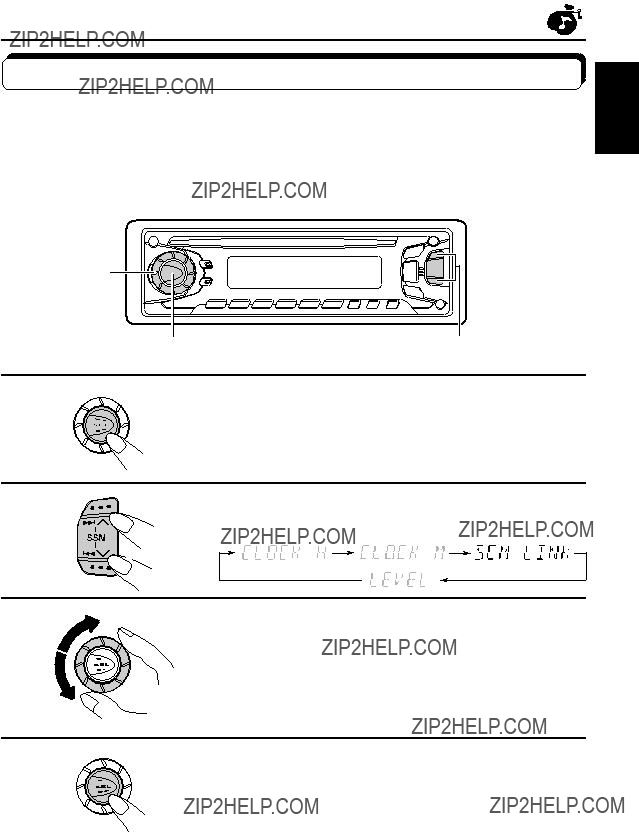
or  until ???M??? starts flashing on the display. Now you can manually change the frequency while ???M??? is flashing.
 or
or  repeatedly until the frequency you want is reached.
 FM1
FM1 FM2
FM2 FM3
FM3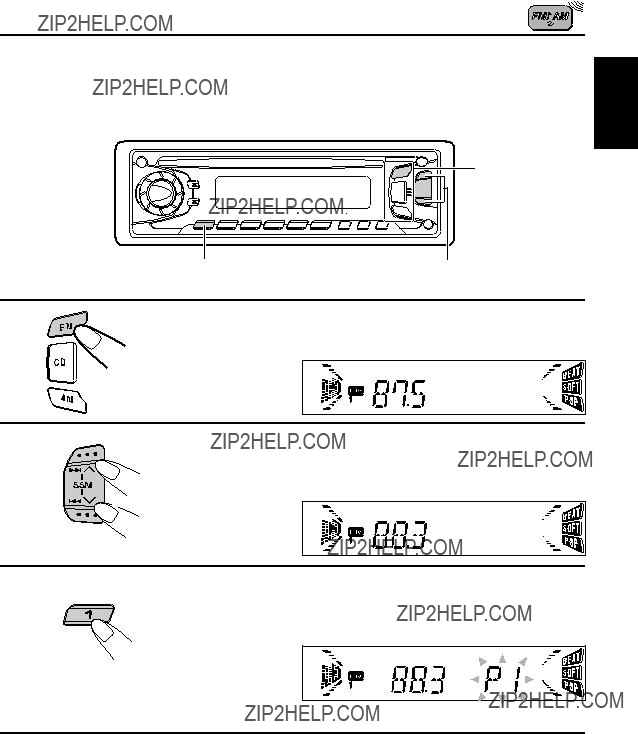

 FM1
FM1 FM2
FM2 FM3
FM3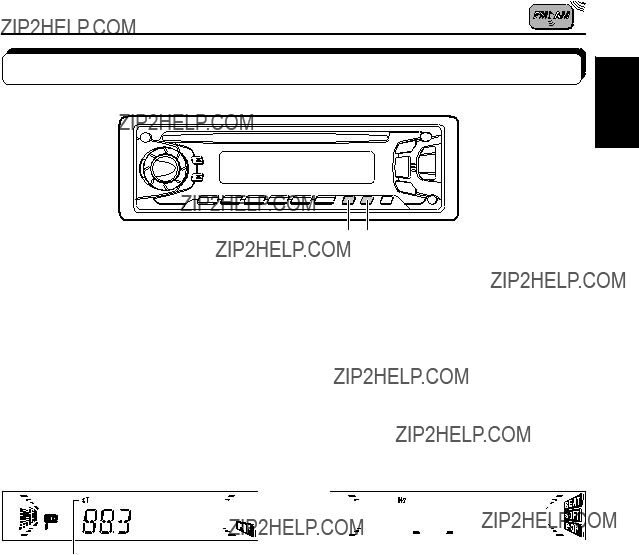


 A
A 


 A
A


 A
A 


 4
4
 , while playing a CD, to fast forward the track.
 , while playing a CD, to reverse the track.
 briefly, while playing a CD, to go ahead to the beginning of the next track. Each time you press the button consecutively, the beginning of the next tracks is located and played back.
 briefly, while playing a CD, to go back to the beginning of the current track. Each time you press the button consecutively, the beginning of the previous tracks is located and played back.


 @A
@A 


 bloque de fusibles

