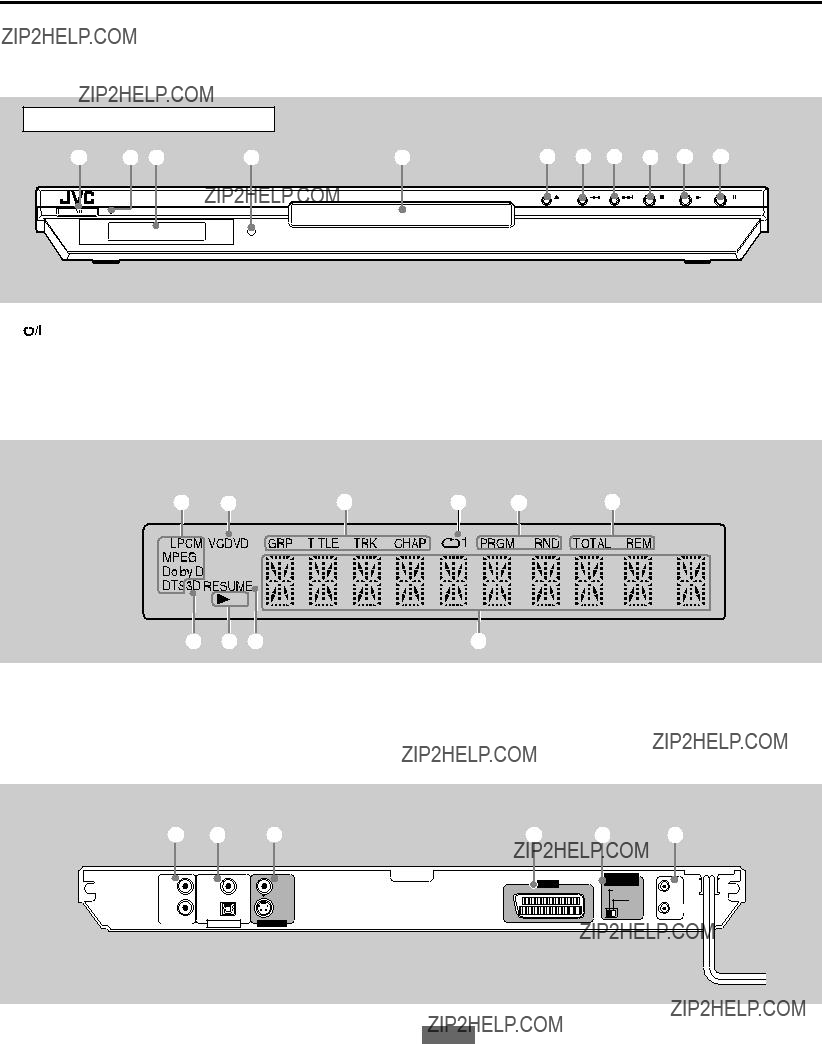
NOTE
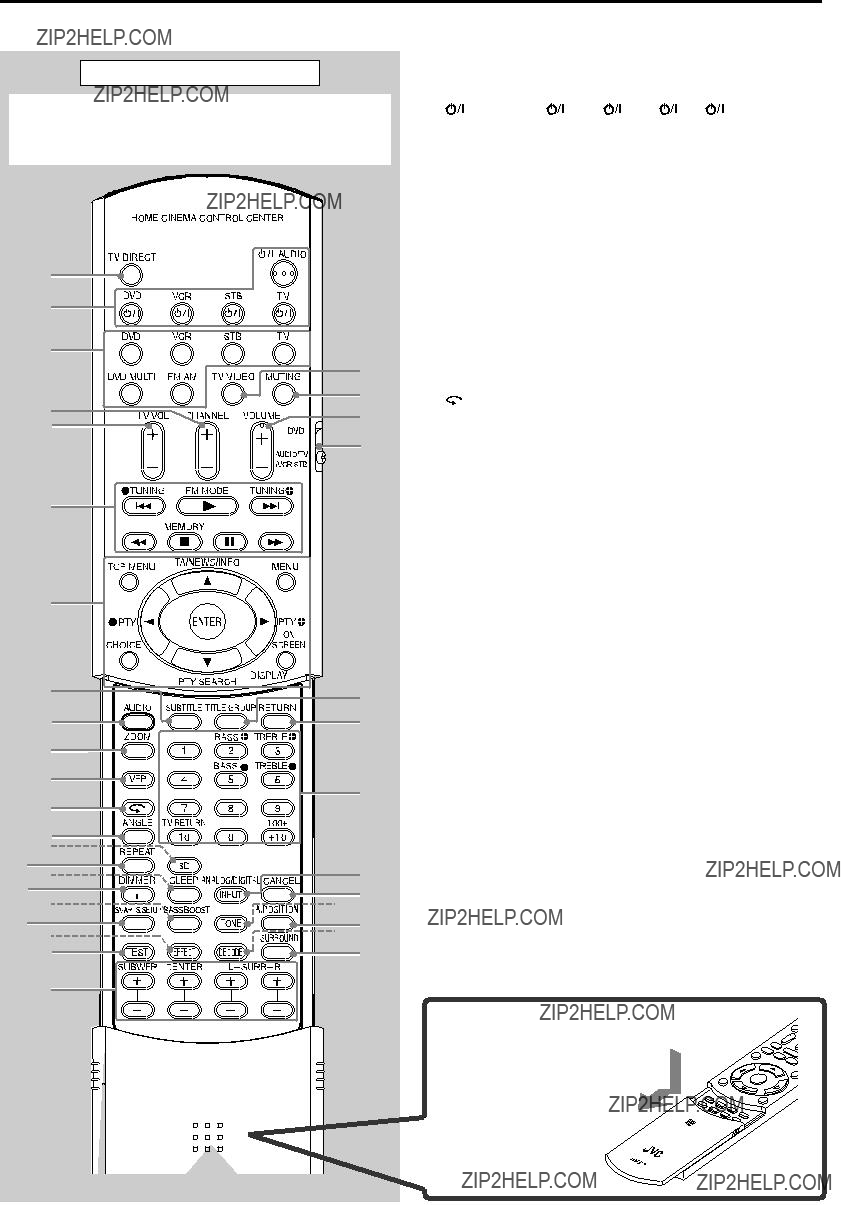
When operating the player using the remote control, always set the mode selector to ???DVD???.
Operations
The player can play back MP3 files and WMA files on a home recorded CD-R/RW disc or commercially available CD. We refer to a disc that contains MP3 and/or WMA files as an ???MP3/WMA disc??? in this manual.
Note that if a disc contains both of MP3/WMA files and JPEG files, you can only play back files of the type selected by the [MP3&WMA/JPEG] setting in the [PICTURE] preference display (see page 56).
About MP3/WMA discs
On an MP3/WMA disc, each song is recorded as a file (track). Files are sometimes grouped into folders by artists, album, etc.
???Each file is regarded as a track.
???A folder which has one or more files is regarded as a group.
???A folder which does not directly contain any tracks is ignored.
???Files which do not belong to any folder are grouped into ???group 1.???
???The player recognizes up to 150 tracks per group, and up to 99 groups per disc. If there are files other than MP3/WMA files, they also count in the 150-file total.
Max. 99 groups per disc
Notes for making your own MP3/WMA disc using a CD-R/CD-RW disc
??? Select ???ISO 9660??? as the disc format.
???As for MP3 files, we recommend you to record your material at a 44.1 kHz sampling rate, using the 128 kbps data transfer rate.
???As for WMA files, make sure that the copyright feature is set to off.
???As for WMA files, we recommend you to record your material at a bit rate of 64 kbps or higher.
Basic operations
Use the following buttons to control MP3/WMA disc playback.
ENTER: Starts playback while stopped.
3: Starts playback while stopped or paused.
7: Stops playback.
8: Pauses playback.
4/??:Skips back or forward a track during playback. Selects the previous or next track while stopped.
If you press 3 during playback, or press 7 to stop playback followed by 3, the player starts playback from the beginning of the current track.
NOTES
???The player does not support ???packet writing (UDF format)??? discs.
???The player does not support the ID3 tag.
???The player supports discs recorded with multiple sessions.
???Some discs may not play due to disc characteristics or recording conditions.
???Programmed and random playback functions do not work with MP3/WMA discs.
???As for MP3, the player only can play back tracks with the following file extensions; ???.MP3,??? ???.Mp3,??? ???.mp3??? and ???.mP3.???
???As for WMA, the player only can play back tracks with the following file extensions; ???.WMA,??? ???.wma,??? and any other combination of upper case and lower case letters (such as ???.Wma???).
???Time required for reading the disc contents may vary for different discs, depending on the numbers of groups (folders) and tracks (files) recorded, etc.
???You cannot advance or reverse playback by pressing ?? or 1, or by holding down ?? or 4 during MP3/WMA disc playback.
???The player supports WMA files recorded with a bit rate of 48 kbps or higher. The player cannot play back WMA files recorded with a bit rate under 48 kbps.
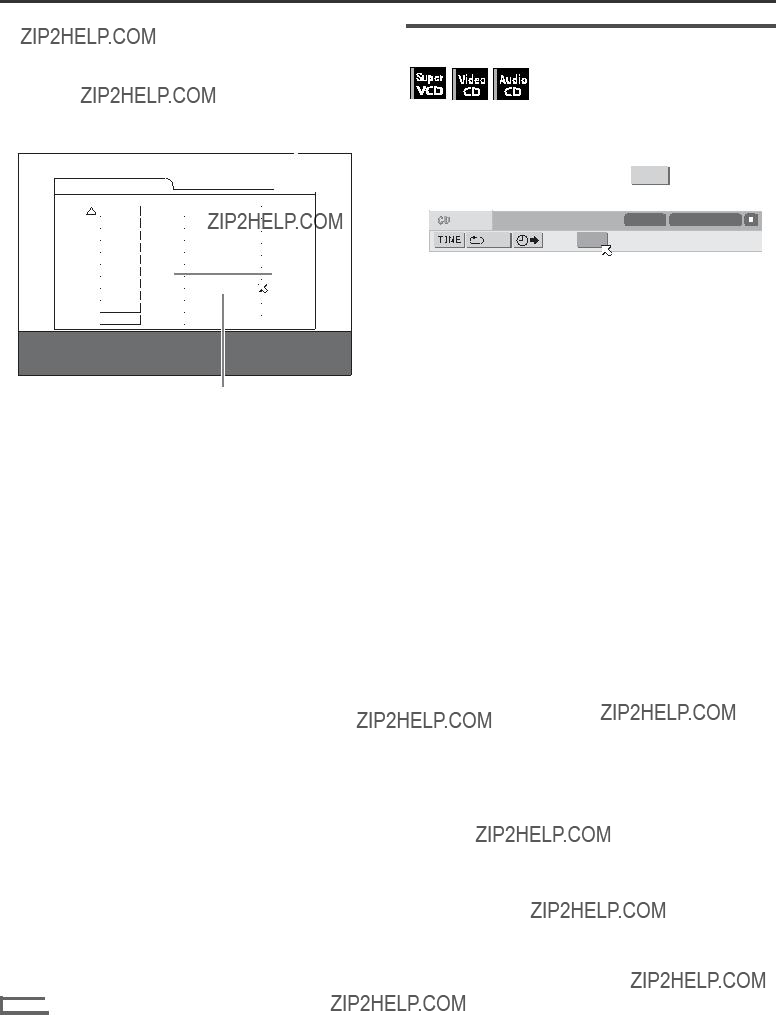
Selecting the desired group and track
When inserting an MP3/WMA disc, after the disc contents are read, the MP3/WMA CONTROL display automatically appears on the TV screen.
You can specify the desired group/track from the display using the following procedure.
1 Make sure that the black (cursor) bar is in the left (group) column.
If it is in the right column, press 2 to move it to the left column.
2 Press 5/??? to move the bar to a desired group.
On the right column, tracks in the selected group are shown.
3 Press 4/?? to select a desired track, then press ENTER or 3.
or
Press the numeric buttons to directly specify a desired track number.
To select 5: press 5.
To select 23: press +10, +10, then 3.
To select 40: press +10, +10, +10, then 10.
 switch!
 switch in any position does not disconnect the mains line. The power can be remote controlled.
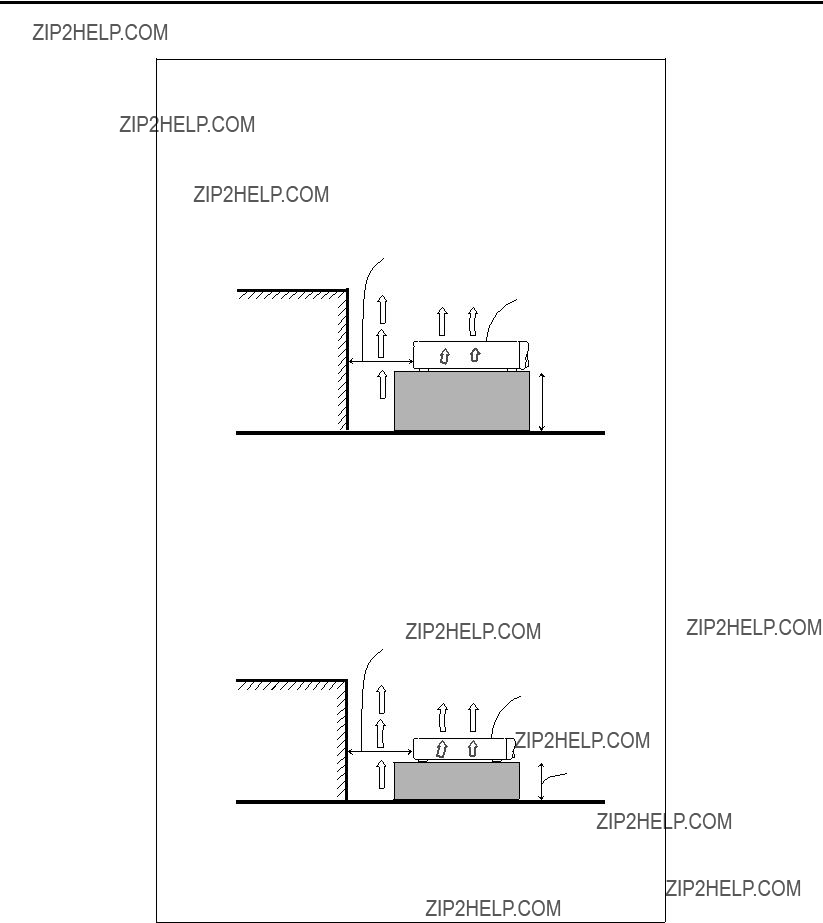
 15 cm or more

 CONTROL


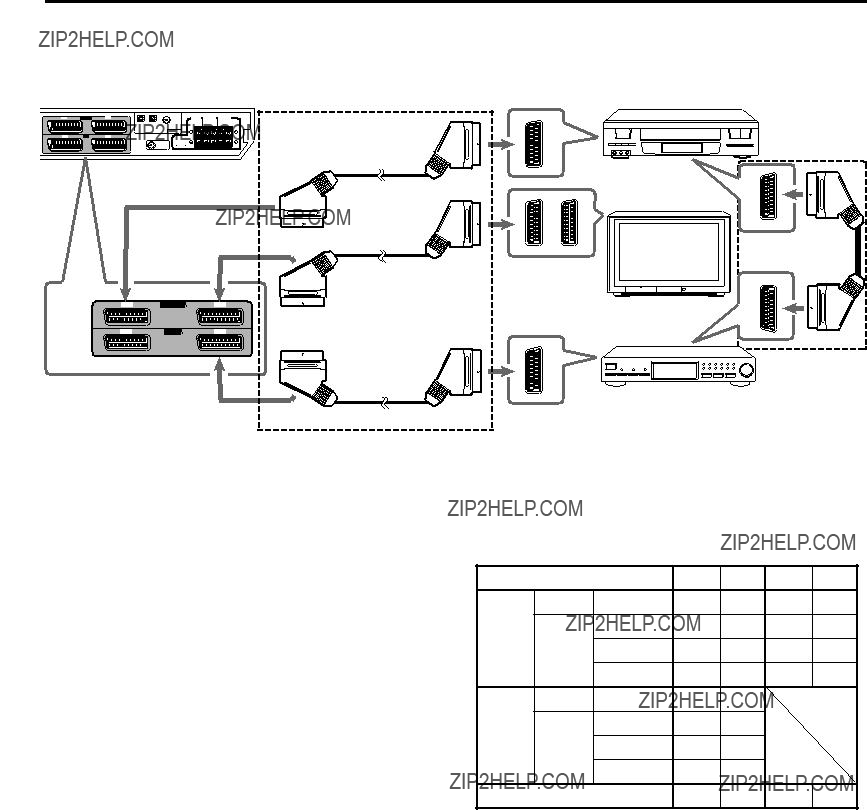

 To center channel audio output
 To surround right channel audio output
 To subwoofer output
 To front left channel audio output

 DVD (DVD DIGITAL)

 VCR
VCR TV (TV DIGITAL)


 (Back to the beginning)
 (or
(or  AUDIO on the remote control).
 again (or
  AUDIO on the remote control). The STANDBY lamp lights up.

 10
10  20
20  30
30  40
40  50
50  60
60


 FRNT SP
 CNTR SP


 CNTR DL
 SURR DL


 LFE
LFE 
 D.COMP
 AUTO SR
 MODE
MODE
 3 SPEAKERS
 4 SPEAKERS


 MEDIUM
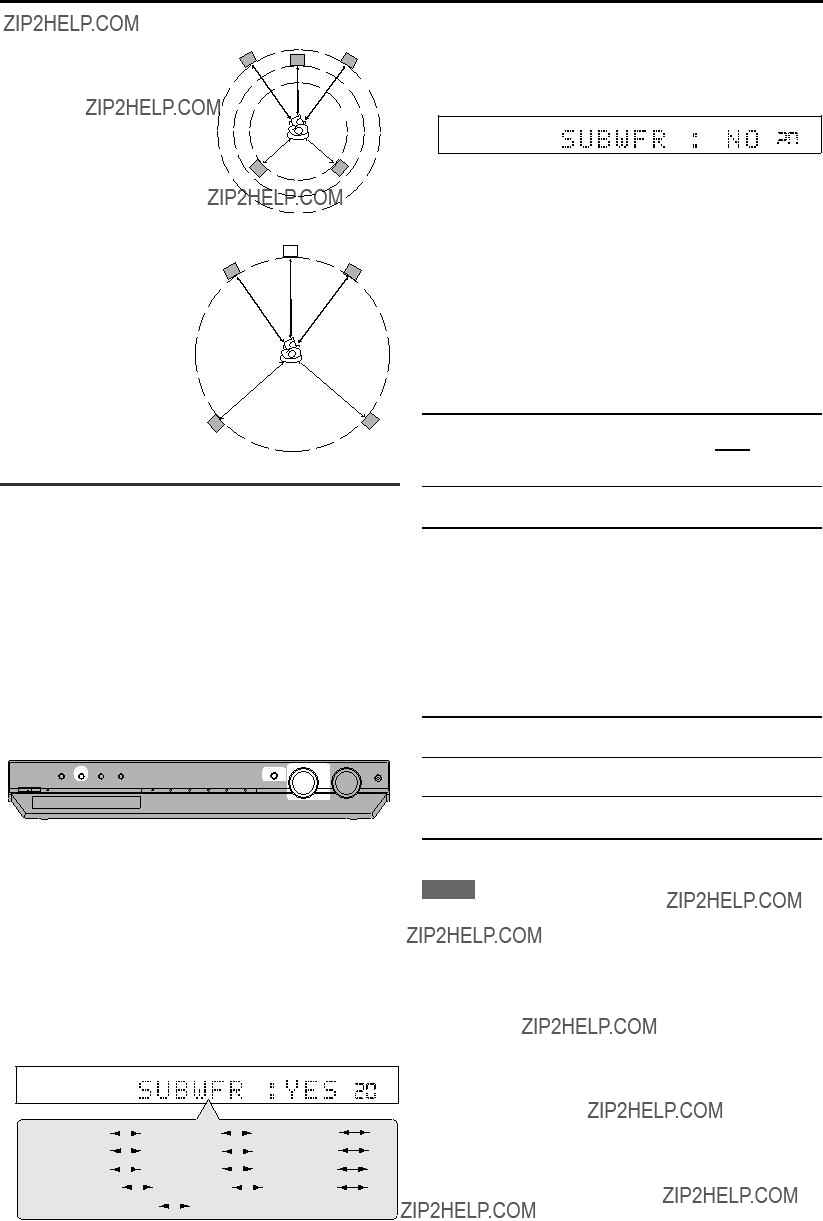


 PTY
PTY RT (Normal indication)
 TA
TA  NEWS
NEWS  INFO
INFO  TA/NEWS
 TA/INFO
 TA/NEWS/INFO
  NEWS/INFO


 PL II indicator lights up on the display.


 STEREO


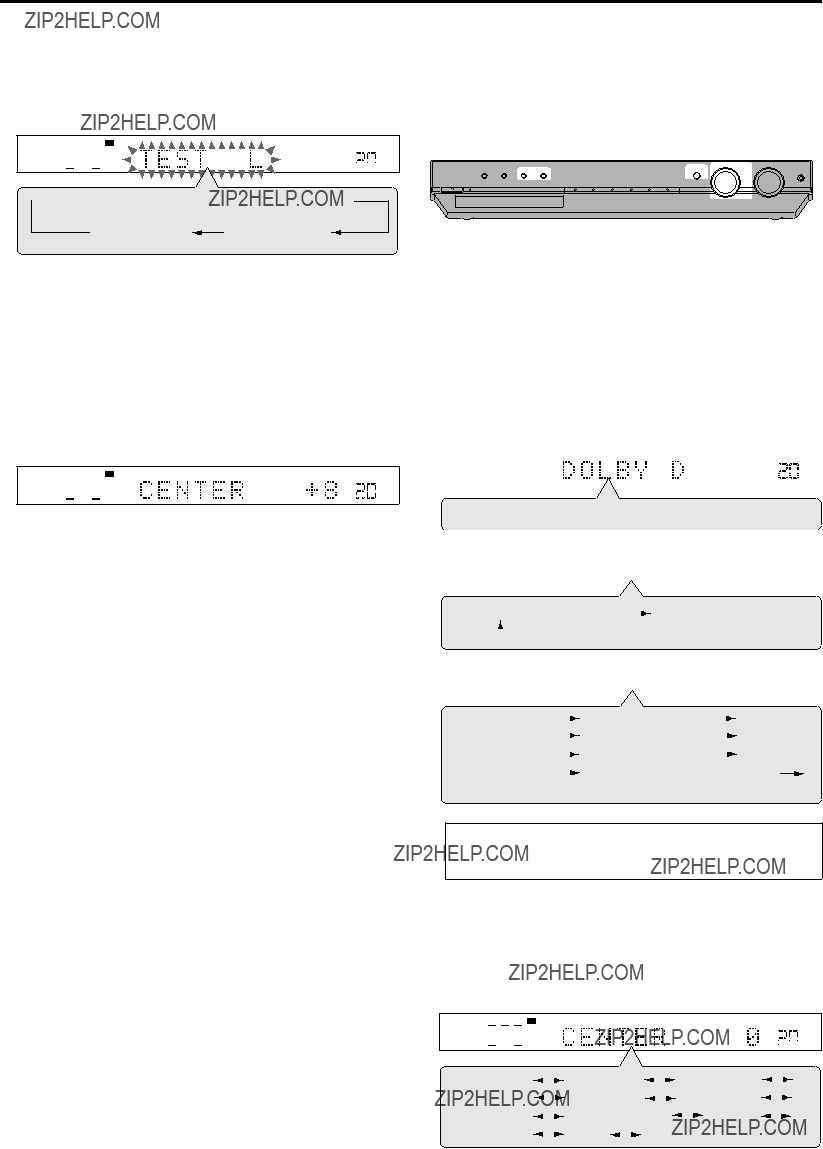


 TEST L
  TEST C
  TEST R


 STEREO


 EFFECT 4
  EFFECT 5
 EFFECT 2
  EFFECT 1


 appears on your TV screen. Operations are
 is not displayed.
 on the remote control or press
 on the front panel.


 then press


 .
.


 to
to  , then press
 to the track to be corrected, then
 to
to 

 CHAP
CHAP to
to  , then press
 ] indicator lights in the display window.
 to
to 


 appears on the TV screen (except when the [ON SCREEN GUIDE] preference is set to [OFF]).

 appears on the TV screen (except when the [ON SCREEN GUIDE] preference is set to [OFF]).
 1/3
1/3 1/3 ENGLISH
 2/3 FRENCH
 3/3 GERMAN

 ST1
ST1
 ST2
ST2
 L-1
L-1 R-1
R-1
 L-2
L-2
 R-2
R-2

 ST (Stereo)
 L
L
 R
R


 appears on the TV


 NORMAL
 CINEMA
 USER 1
  USER 2


 ACTION
 DRAMA
DRAMA
 THEATER
 NONE
NONE 


 ACTION


 .
.
 to the associated icon when it is not available.)
 Time mode selection
 Chapter search
 Subtitle selection
  Time mode selection
 Subtitle selection


 : LANGUAGE menu
 : PICTURE menu
 : AUDIO menu
 to select the item you want to edit.

 ,
, 
 ,
,
 is pointing to [COUNTRY CODE], press ENTER to bring up the
  moves to [SET LEVEL].
 moves to [PASSWORD].
 moves to [EXIT]. Pressing ENTER again returns to the [OTHERS] menu of the preference display.
 is pointing to [PASSWORD], press the numeric buttons to enter your current 4- digit password then press ENTER.
 moves to [COUNTRY CODE] if you enter the correct password.
 is pointing to the desired item.
 is pointing to [PASSWORD], press the numeric buttons to enter a
  moves to [EXIT]. Pressing ENTER again returns to the [OTHERS] menu of the preference display.
 moves to [EXIT] automatically and
  to [TEMPORARY
 moves to [NOT RELEASE] automatically and


 , ANGLE, REPEAT, DIMMER, 3D, and numeric buttons for operating JVC DVD player.
 .
. .
. .
.
 .
. .
. .
. .
. .
. .
.


 EN
EN