Features
DVD/CD Player/Video Cassette Recorder
???DVD/CD player with Video Cassette Recorder - Unique space saving design combines a DVD/CD player and a Hi-Fi Video cassette recorder. The DVD disc has much more capacity, but is the same size as the audio CD disc. Picture quality is higher
than Super VHS. Audio quality is higher than audio CD. The DVD PLAYER can play back video CDs and audio CDs.
???High Quality Picture - More than 500 lines(VCR mode: 230 lines) of Horizontal Resolution. It exceeds Super VHS (400 lines) or Laser Disc (430 lines) in resolution.
VCR Section
???Stereo/SAP Reception - This VCR is designed to receive stereo and separate audio program (SAP) broadcasts where available.
???SQPB - Tapes recorded in the S-VHS system can be played back simply on this VCR.
???4 Video Heads - Provides optimal picture quality for special effects playback.
???19??m HEAD - For superior picture quality even in EP mode, 19micron width technology helps to avoid crosstalk and
boost EP picture quality to near SP levels. With precision technology, ghosts and color beats are virtually eliminated.
???Hi-Fi Stereo Sound - With a frequency response of 20 to 20,000 Hz and a dynamic range of better than 90dB, this VCR provides a level of excellence that rivals compact discs.
???Instant Timer Recording (ITR) - Simply by pressing the REC and PLAY buttons, the VCR can be programmed for up to 5 hours of recording with an immediate start.
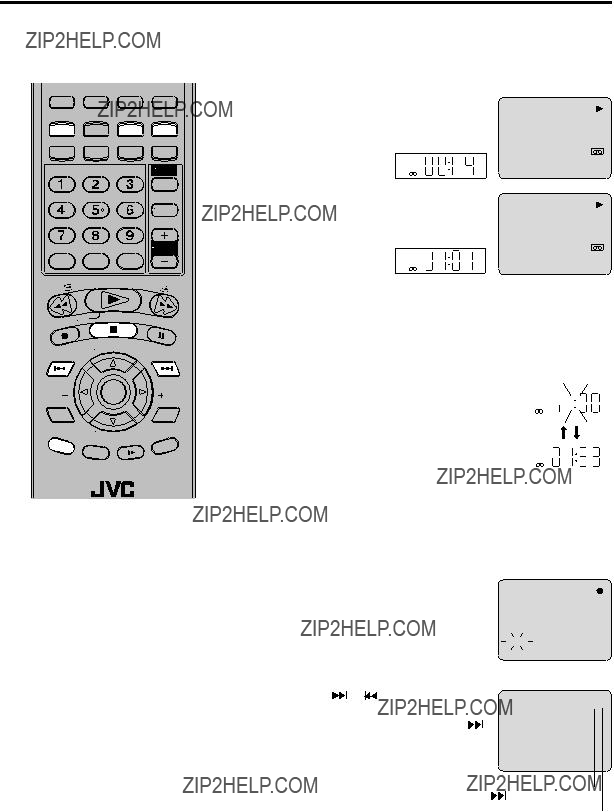
???Skip Search - When the SKIP SEARCH button is pressed during playback, the VCR will automatically search forward in 30 seconds increments to a maximum of 3 minutes with each press of the SKIP SEARCH button, and then return to normal playback.
DVD Section
???Compatible with a wide range of DVD audio outputs Digital Audio Jack (Optical or Coaxial):
???When a component with a built-in Dolby Digital decoder is connected, Dolby Digital sound can produce the effect of being in a movie theater or a concert hall.
???Surround standard different from Dolby Digital. This format is already in use in many theaters. By connecting this unit to a DTS decoder or an AV amplifier with a built-in DTS decoder, the DTS audio of DVD discs recorded in this format can be enjoyed. However, audio will not be output from the analog audio output jacks.
???The MPEG audio of DVD discs recorded in this format can be enjoyed.
???The Linear PCM sound of a 48 kHz/16 bit through 96 kHz/20 bit exceeds audio CD sound.
???Surround audio - This DVD equipped with a ???SPATIALIZER 3-D STEREO???. It can produce the effect of being in a cinema or a concert hall.
???Multi-Language - Since this DVD matches with 124 language-subtitles/-soundtracks, you can enjoy selecting a favorite one. (You can not select the language that is not recorded on the disc.)
???Multi-Angle - Pictures of Sports or a Live Concert are recorded with many cameras. When you play such a disc, you can change the angles during playback. (If a Multi-Angle is not recorded on the disc, you can not change the angle.)
???Repeat Playback - You can repeat chapter, track, title, sides or material between two selected points.
???Program/Random Playback (CD) - You can play back tracks in programmed or random-selected sequences.
???Zoom - You can zoom in on the selected subject on the screen during playback.
???Video Aspect Ratio - You can change the aspect ratio of the screen for your monitor/television on a suitable disc.
???Parental Control - You can limit the playback of scenes or sounds of adult DVD discs which have a parental level rating.

 FF
FF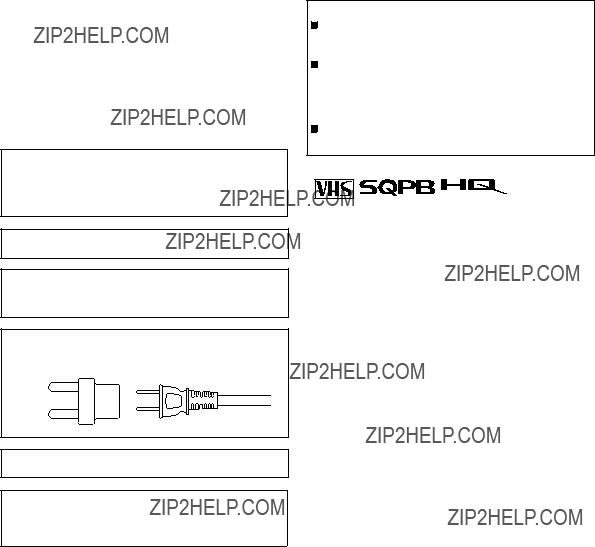
 /l button does not completely shut off mains power from the unit, but switches operating current on and off.
 ??? shows electrical power standby and ??? l ??? shows ON.
 and
and  ) matched correctly as indicated on the battery compartment or on the lid.
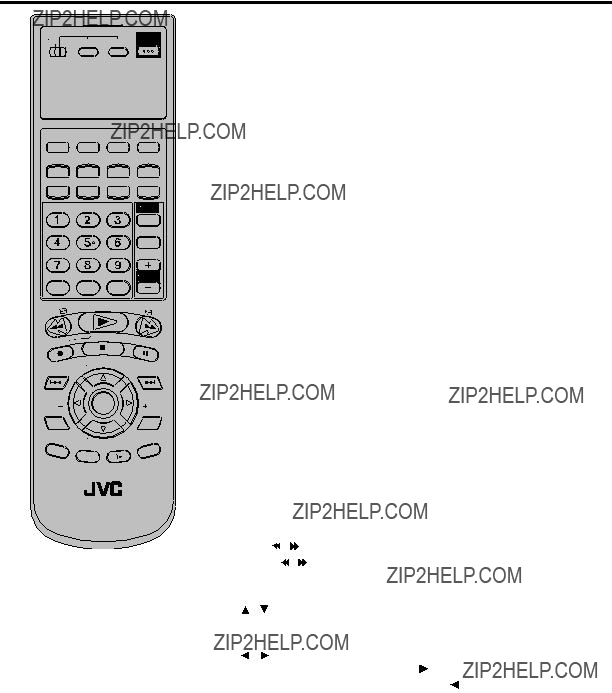
 Point the Remote toward the remote sensor on the target component.
 The maximum operating distance of the remote control is
 in an environment prone to extreme temperature or humidity.
 in a dusty environment
 flaw, dirt or mold on video tapes
 continuous usage for a long time
 Rough, poor picture appears while a tape is played back.
  The picture is unclear or no picture appears.


 ???). Then you can operate only this DVD/VCR with this changed remote control.
 ???.
???.

 TV
TV  TV
TV INPUT
INPUT

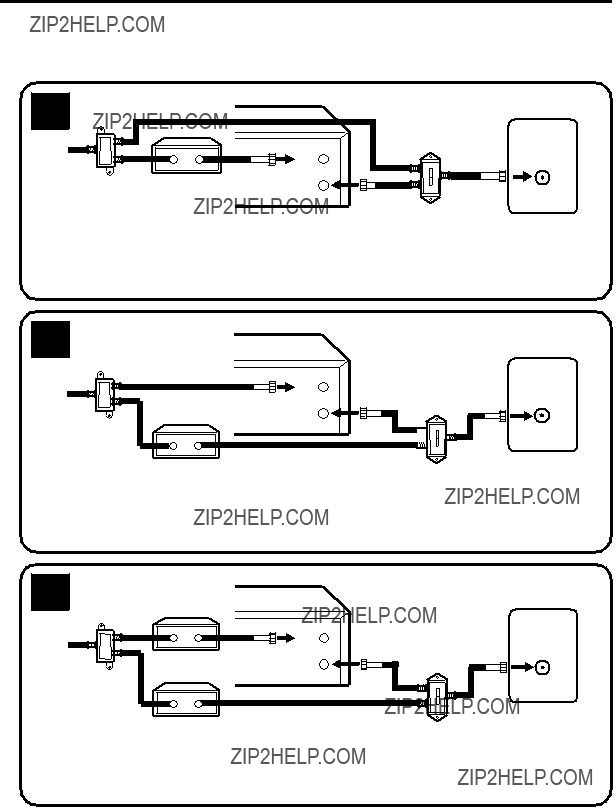
 UHF
UHF
 VHF
VHF UHF
UHF
 VHF
VHF


 A
A
 B
B
 VHF/UHF


 Video Input
 CLOCK SET
 LANGUAGE/IDIOMA/LANGUE
 NO NOISE BACKGROUND
 DAYLIGHT SAVING TIME
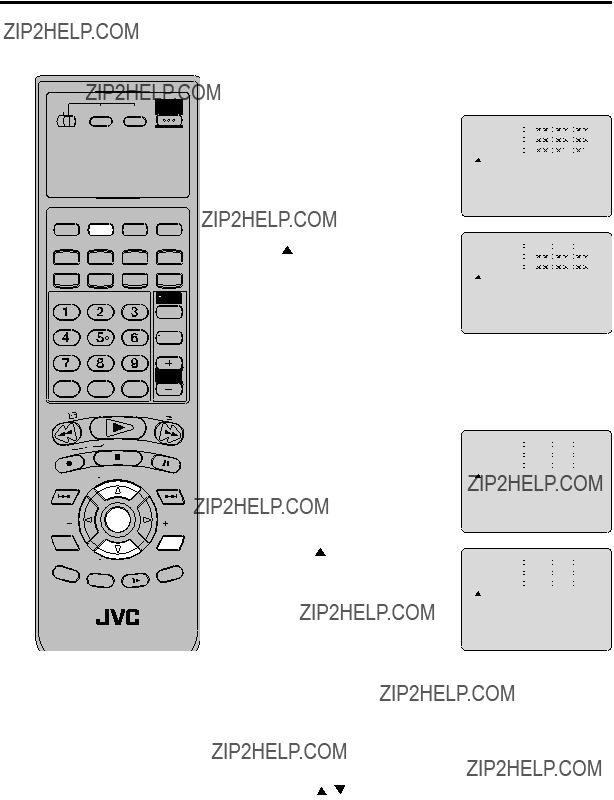
 to select AUTO CH
 TV CATV
 AUTO CH MEMORY
 ADD/DELETE
 TV CATV
 AUTO CH MEMORY
 ADD/DELETE
 or
or  to select
 CLOCK SET
 LANGUAGE/IDIOMA/LANGUE
 NO NOISE BACKGROUND
 DAYLIGHT SAVING TIME
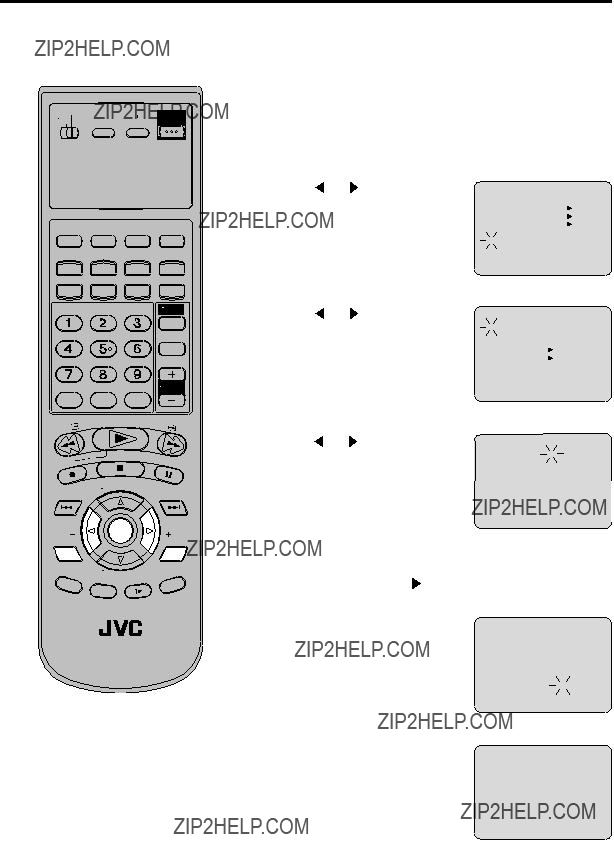
 or .
or .


 " will appear on the screen for about 4 seconds.
 " will appear on the screen for about 4 seconds.
 . (Additional press increases the INDEX NO. up to 9.)
 or
or is pressed, the
 +3
+3 is displayed


 " will appear on screen for about 4 seconds.
 " will appear on screen for about 4 seconds.


 TAPE IN
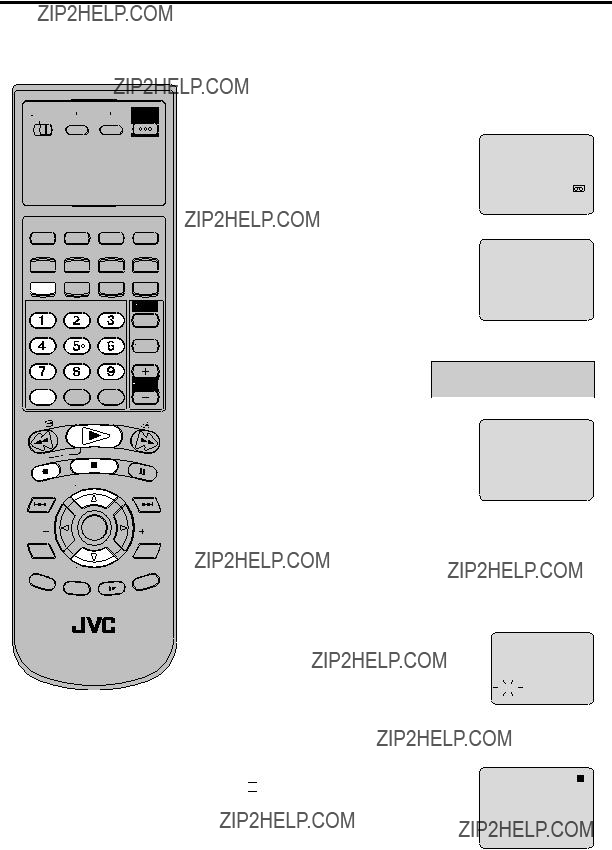

 " will appear on screen for about 4 seconds.
 ) does not appear on the display in spite of the pressing of
 ) will disappear. Then press


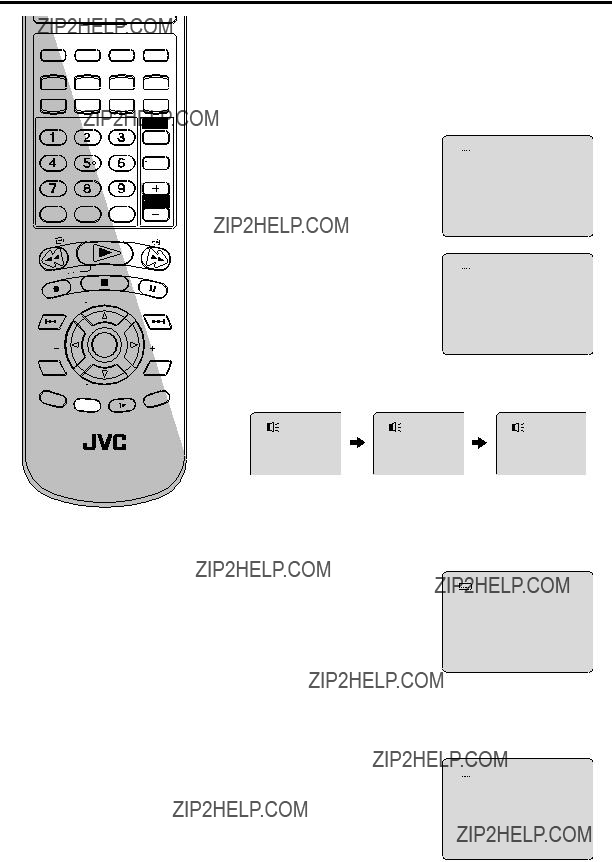
 to select SAP.


 To AUDIO (R) OUT


 To AUDIO (R) IN To AUDIO (L) IN
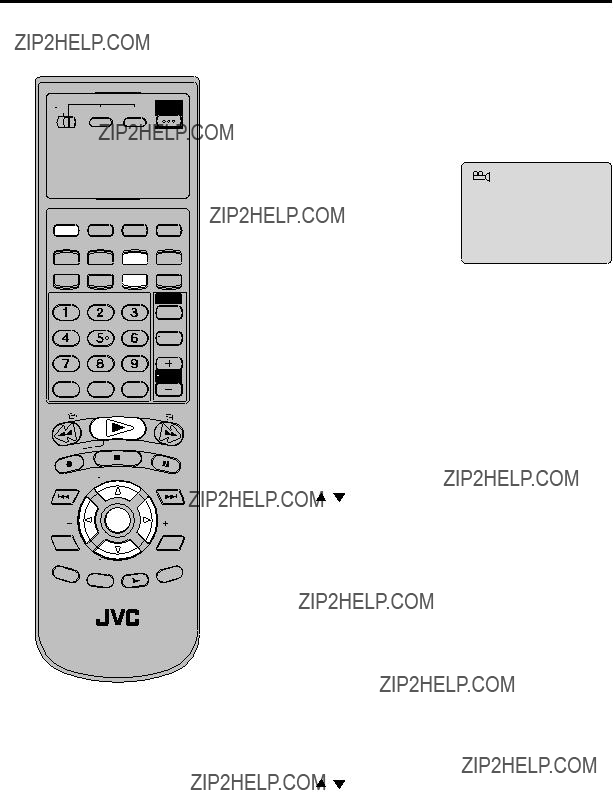
 ??? will appear on the screen for approx. 4 seconds. See page 37 for more information about the DVD playback.

 or
or  to select Other.
 /Enter/Setup/Return
 and then press
  or
or  to select desired language (e.g. English), then press
 /Enter/Setup/Return
 /Enter/Setup/Return
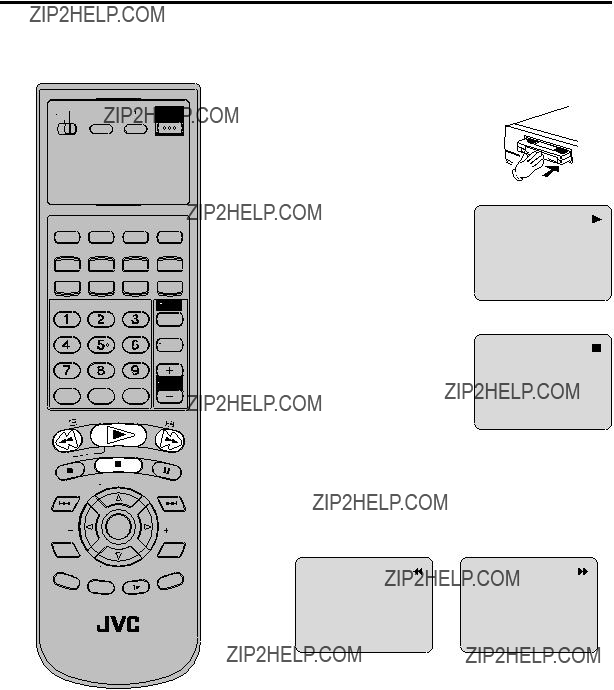
 changes to ???Reading??? and then playback will commence.
 ??? appears on the screen) or unload the disc, the DVD/VCR will clear the stopped point.
 may appear at the upper left of the screen. This symbol means either the feature you tried is not available on the disc, or the DVD/VCR can not access the feature at this time. This does not indicate a problem with the DVD/VCR.
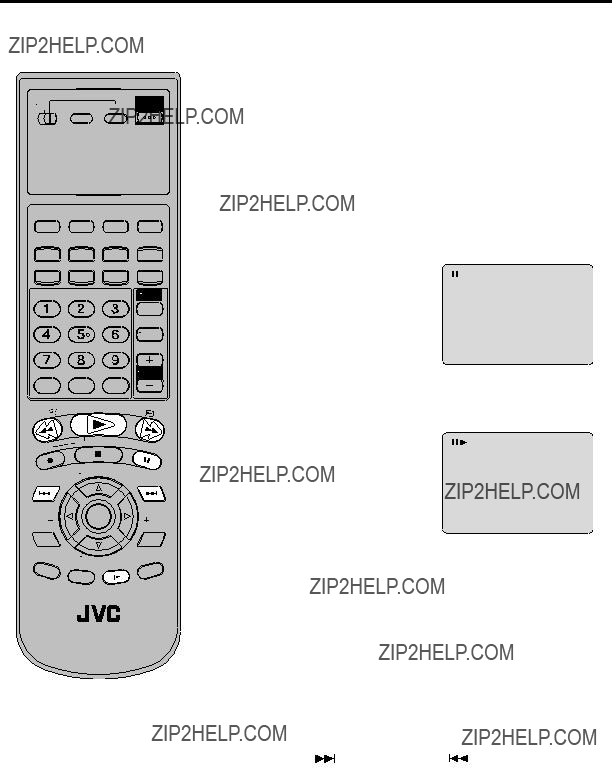

 Off).
Off). or
or  to select the ???Time???, ???Title??? or ???Chapter???.


 /Enter/0 9/Cancel/Play Mode
 /Enter/0 9/Cancel/Play Mode
 /
/ to select ???Random???.
 /Enter/Play Mode
 2/8 Fra DolbyDigital
 1/8 Eng DolbyDigital
 /
/ to select the desired title.
 /
/ to select the desired item.

 /Enter/Setup/Return
 once to select ???Password Then press
  ???.
???.
 /Enter/Setup/Return
 ??? (step
 will appear.

 or
or  , then press
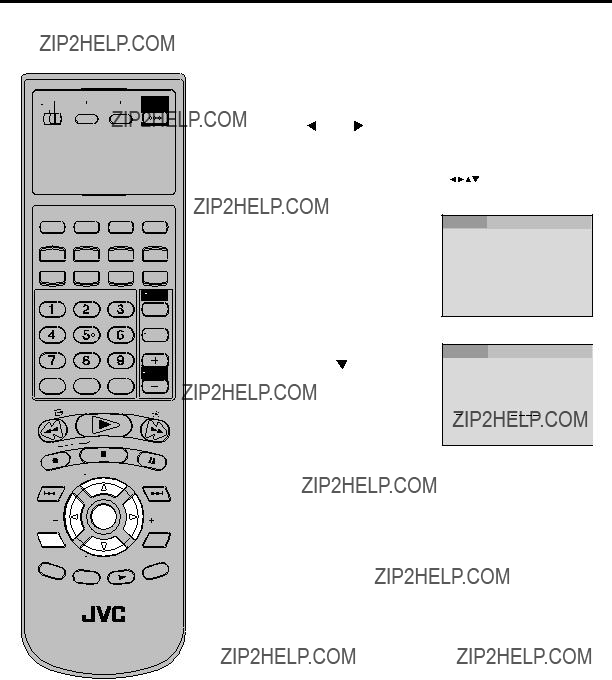
 or
or  to select ???Menu???.
 or to select your desired language, then press
 /Enter/Setup/Return
 /Enter/Setup/Return
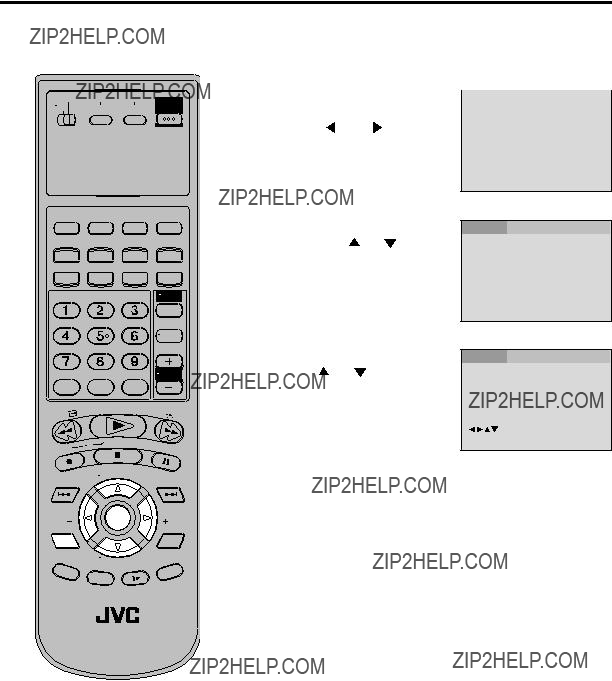

 /Enter/Setup/Return
 /Enter/Setup/Return
 or
or  to select ???Language???
 /Enter/Setup/Return
 SYSTEM SET UP
 or
or  to select ???Picture???.
 /Enter/Setup/Return
 or
or  to select ???Tv Screen???.
 or
or  to select your desired screen type, then press
 /Enter/Setup/Return
 /Enter/Setup/Return
 PAN SCAN
 WIDE SCREEN