CASSETTE RECEIVER
?????????????? ?? ?????????????????? ????????????????????????????
DISP
DAB
TP
RDS
PTY
789101112 
 MO
MO
LOUD
?????????????? ENGLISH
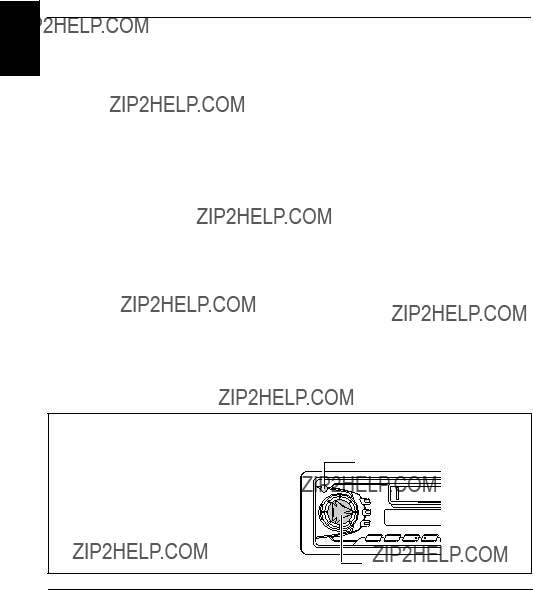
For installation and connections, refer to the separate manual.
?????????????????? ???? ???????????????????? ?? ????????????????????? ????????????????????? ??????????????????????? ??? ??????????????????? ?????????????????????.
?? ?????????????????????????? ?? ??????????????? ???????????????????? ????????????????????? ????? ????????????? ??????????? ???????????????????????????? ????????? ???????????? (??? ???????????????) ????????????????? ???????????????? ??????? ?????????????????? ?????????????????? ???? ?????????? ???????????????????????????? ??????????????????? ??????? ??????????, ??????????????????? ???????????????????????, ??????????????????? ???????? ??? ??????? ??????????????????? ?????? ?????????????????????? ??????? ???????? ?????????????????????? ???????? (7) ?????? ???? ??????? ???????????????? ?????????????. ???????? ????????? ????????????????? ??????????????????, ??? ?????????????? ?????????????????? ??????????????????????? ??????????????? ?? ???????????????? ?????????? ??????????????????? ???? ?????????????????? ???????? ??????? ?? ????????????? ?????????? ??????????? ????????????????????? ???? ???? ?????????????????????? ????????????????? ????????????????, ????????????????? ??????????????????????? ??????????????????????????, ?????????????????????? ????????????? ??? ?????????????????? ????? ??????????????????? ??/?????? ???????????????????????????????? ??????????????????? ?????????????????????? ??? ???????????????????????????????????????? ???????????????????? ?????????????.
???????????????????????????? ?? ???????????????????????? ????????????????????? ?? ???????????????? ????????????? ??, ?????????????????????????? ????????????? ?? ??????, ??????????? ????? ??????????????? ??? ?????????????? ?????? ???? (2) ?????? ???? ??????? ??????? ?????????????????????????????.
????????? ???????????? (??? ???????????????), ??????????? ???????????? ?????????????????? ????????????????????????????? ?????????????????????????? ????????????????????????, ???????????????????? ??? ??????? ???????????????? ?????? ???? ???????????????, ???? ???????????????????????????? ??????????????? ??????????????? ??????????? ???????????????????????, ??? ???????????????????, ????????????????????????????? ?????????????????????????????? JVC, ??????????????? ???? ?????????? ???????????????? ??? ?????????????????????????? ?? ??????? ???????? ?? ???????????????? ??????????????????????? ?????? ??????????????? ????????????????, ???????????????????? ?? ??????.
INSTRUCTIONS
???????????????????? ???? ????????????????????????


 (standby/on/attenuator)


 /
/  buttons
 (control panel release) button
 LOCATION OF THE BUTTONS
 /
/  buttons
 (control panel release) button


 briefly while listening to any source. ???ATT??? starts flashing on the display, and the volume level will drop in a moment.


 until ???SEE YOU??? appears on the display.
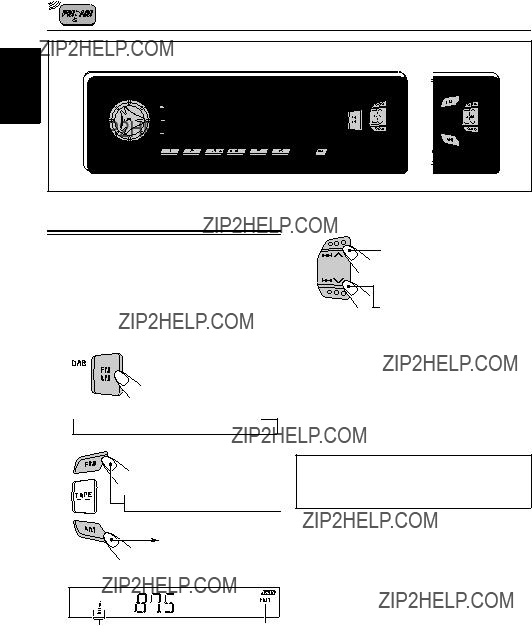
 FM1
FM1  FM2
FM2  FM3
FM3  AM
AM FM1
FM1  FM2
FM2  FM3
FM3 
 to search stations of higher frequencies.
 to search stations of lower frequencies.
 FM1
FM1  FM2
FM2  FM3
FM3  AM
AM FM1
FM1  FM2
FM2  FM3
FM3 or
or  until ???M (manual)??? starts flashing on the display.
 to tune in to stations of higher frequencies.
 to tune in to stations of lower frequencies.
 MO
MO
 FM1
FM1  FM2
FM2  FM3
FM3 
 FM1
FM1  FM2
FM2  FM3
FM3 FM1
FM1  FM2
FM2  FM3
FM3  AM
AM FM1
FM1  FM2
FM2  FM3
FM3
 to tune in to stations of higher frequencies.
 to tune in to stations of lower frequencies.
 FM1
FM1  FM2
FM2  FM3
FM3  AM
AM

 or
or  to engage the PTY standby mode. ???SEARCH??? appears on the display, and PTY station search starts. When a
 or
or  to engage the TA standby mode. ???SEARCH??? appears on the display, and TP station search starts. When a TP station is tuned into, the TP indicator is lit.
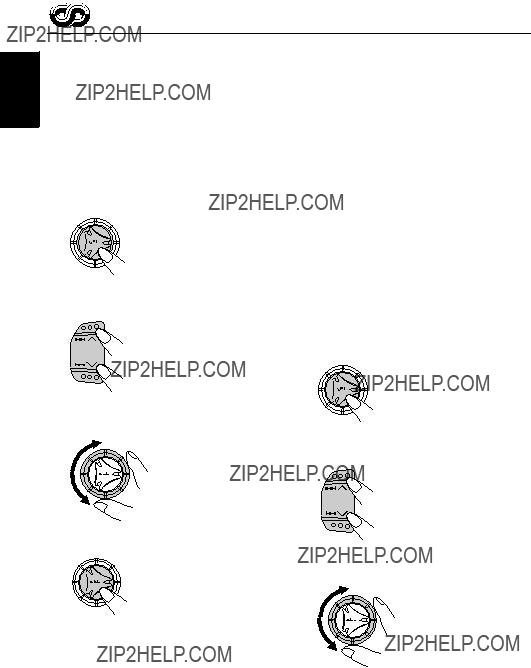
 or
or  to select
 or
or  to select ???DISPMODE (display mode).???
 or
or  to select ???TA VOL
 or
or  to select ???AUTO ADJ


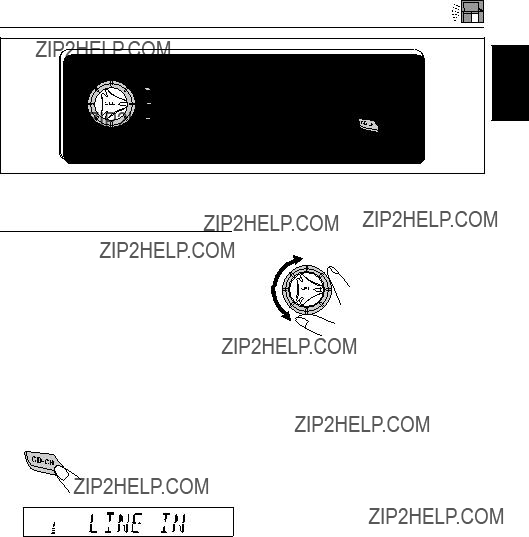
 ) and
) and

 ).
). for more than 1 second to
  for more than 1 second to rewind the tape. When the tape reaches its end, playback of the same side starts.
 to locate a tune ahead of the current tune on the cassette.
 to locate a tune before the current tune on the cassette.
 or
or  to select ???B. SKIP (blank skip).???
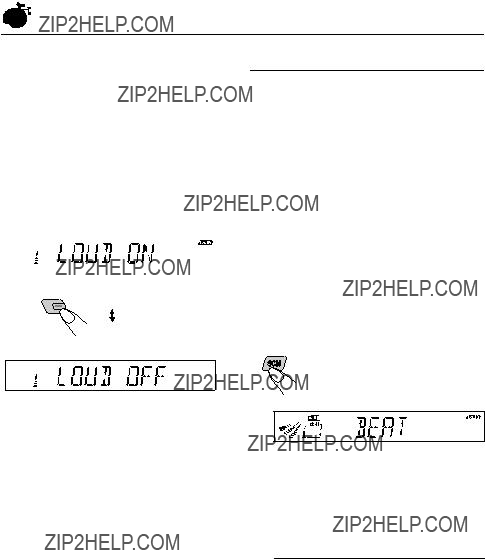

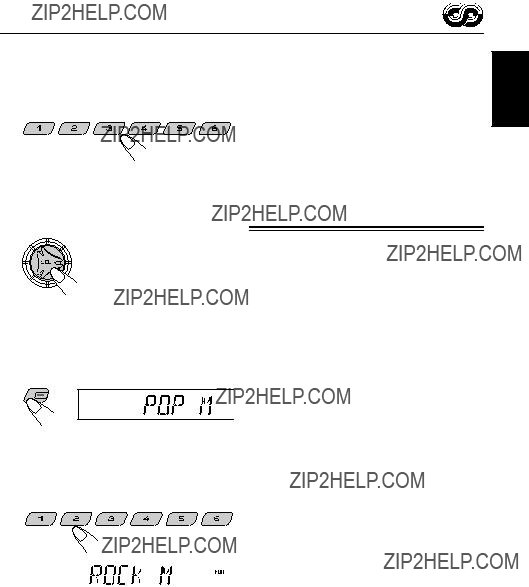
 SCM OFF
  BEAT
BEAT  SOFT
SOFT POP
POP 


 Clock
Clock
 Clock
Clock
 Clock
Clock Clock
Clock  Elapsed playing time


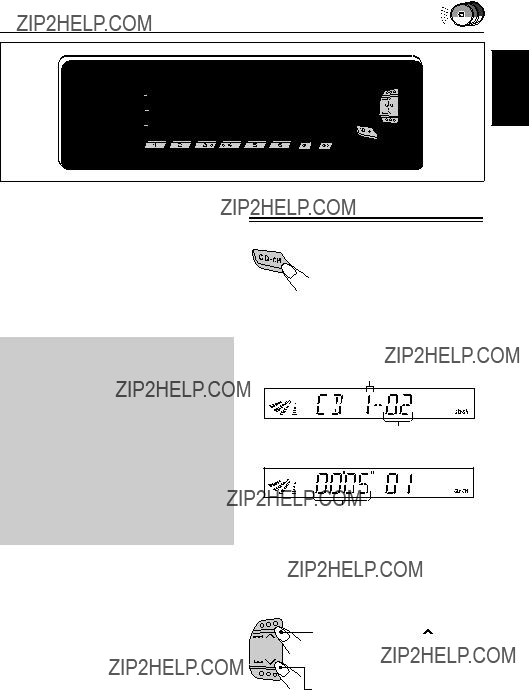


 to turn on the power.
 , while playing a CD, to reverse the track.
 briefly, while playing a CD, to go ahead to the beginning of the next track. Each time you press the button consecutively, the beginning of the next track is located and played back.


 to turn on the power.

 DAB TUNER OPERATIONS


 FM/AM
FM/AM DAB2
DAB2  DAB3
DAB3 to search ensembles of higher frequencies.
 to search ensembles of lower frequencies.
 MO
MO or
or  for more than 1 second.
 or
or  repeatedly until the ensemble you want is reached.

 FM/AM
FM/AM DAB2
DAB2  DAB3
DAB3 MO
MO

 FM/AM
FM/AM DAB2
DAB2  DAB3
DAB3