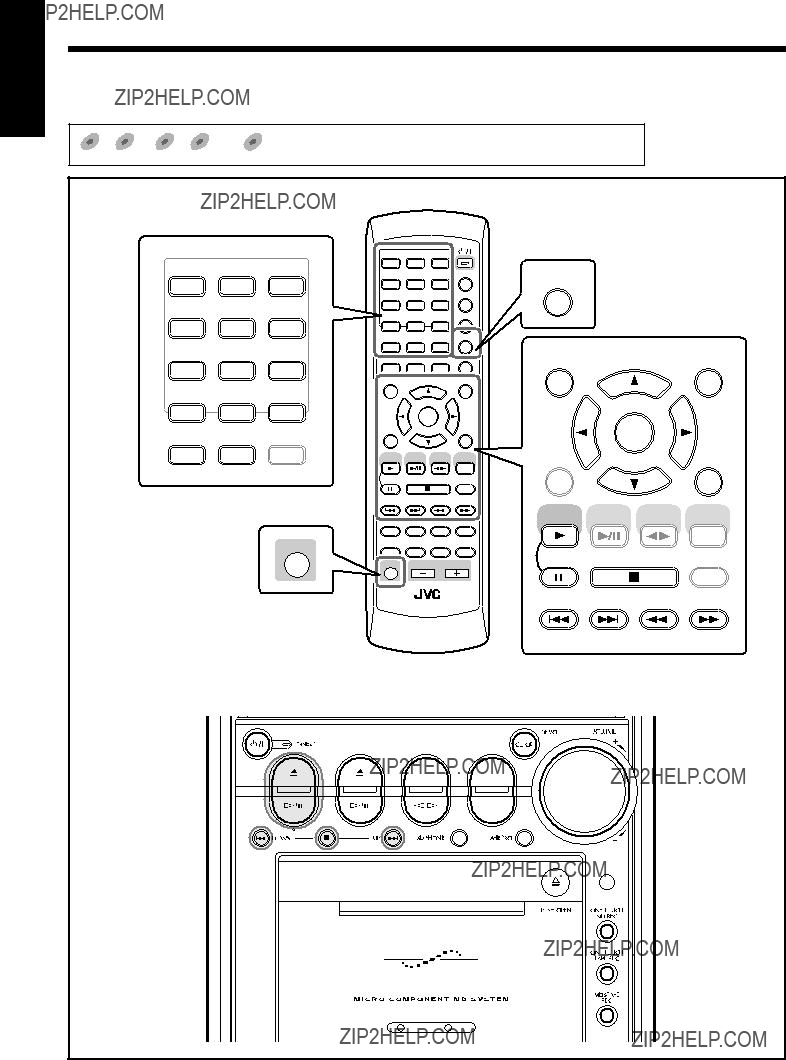
Selecting the Sources and Starting Play
To select the tuner or external equipment as the source
On the remote control:
Press FM/AM/AUX.
The unit automatically turns on (when the unit is in standby), and the last selected source appears in the main display.
???Each time you press the button, the source changes as follows:
 FM
FM  AM
AM
AUX-DIGITAL AUX
AUX
On the main unit:
???Press FM/AM to select the tuner.
Each time you press the button, the band alternates between FM and AM.
???Press AUX to select external equipment.
Each time you press the button, the source alternates between ???AUX??? and ???AUX-DIGITAL.???
???Select ???AUX??? to listen to the sound from external equipment connected to the AUX jacks.
???Select ???AUX-DIGITAL??? to listen to the sound from external equipment connected to the OPTICAL DIGITAL IN terminal.
???For more detailed tuner operations, see pages 24 to 26.
???For operating external equipment, see its manual also.
To select the DVD player as the source, press DVD SELECT 3 (or DVD #??8 on the main unit).
The unit automatically turns on (when the unit is in standby), and ???READING??? appears in the main display for a while.
???Play will start if a disc is in the disc tray.
??????NO DISC??? will appear in the main display if a disc is
not loaded.
To stop playback, press 7.
??? For more detailed operations, see pages 27 to 39, 49 to 55.
To select the MD player as the source, press MD 3/8. The unit automatically turns on (when the unit is in standby), and ???MD READING??? appears in the main display for a while.
???Play will start if an MD is in the MD loading slot.
??????MD NO DISC??? will appear in the main display if an MD is not loaded.
To stop playback, press 7.
??? For more detailed operations, see pages 40 to 46.
To select the tape as the source, press TAPE 2 3. The unit automatically turns on (when the unit is in standby), and ???TAPE??? appears in the main display.
??? Play will start if a tape is in the cassette holder. To stop playback, press 7.
??? For more detailed operations, see pages 47 and 48.
When changing from another source to ???AUX??? or ???AUX-DIGITAL???
If the sound from the component connected to the
AUX jacks or the OPTICAL DIGITAL IN terminal is too loud or is not loud enough (without changing the volume level), you can change the audio input level through the AUX jacks or the OPTICAL DIGITAL IN terminal. (See page 23.)
Adjusting the Volume
You can adjust the volume level only while the unit is turned on.
??? The volume level has no effect on recording.
On the remote control:
To increase the volume, press VOLUME +. To decrease the volume, press VOLUME ???.
???When you press and hold each button, you can change the volume level continuously.
On the main unit:
To increase the volume, turn VOLUME + / ??? control
clockwise.
To decrease the volume, turn VOLUME + / ??? control counterclockwise.
???You can adjust the volume level within the range of 0 (silent) to 40 (maximum).
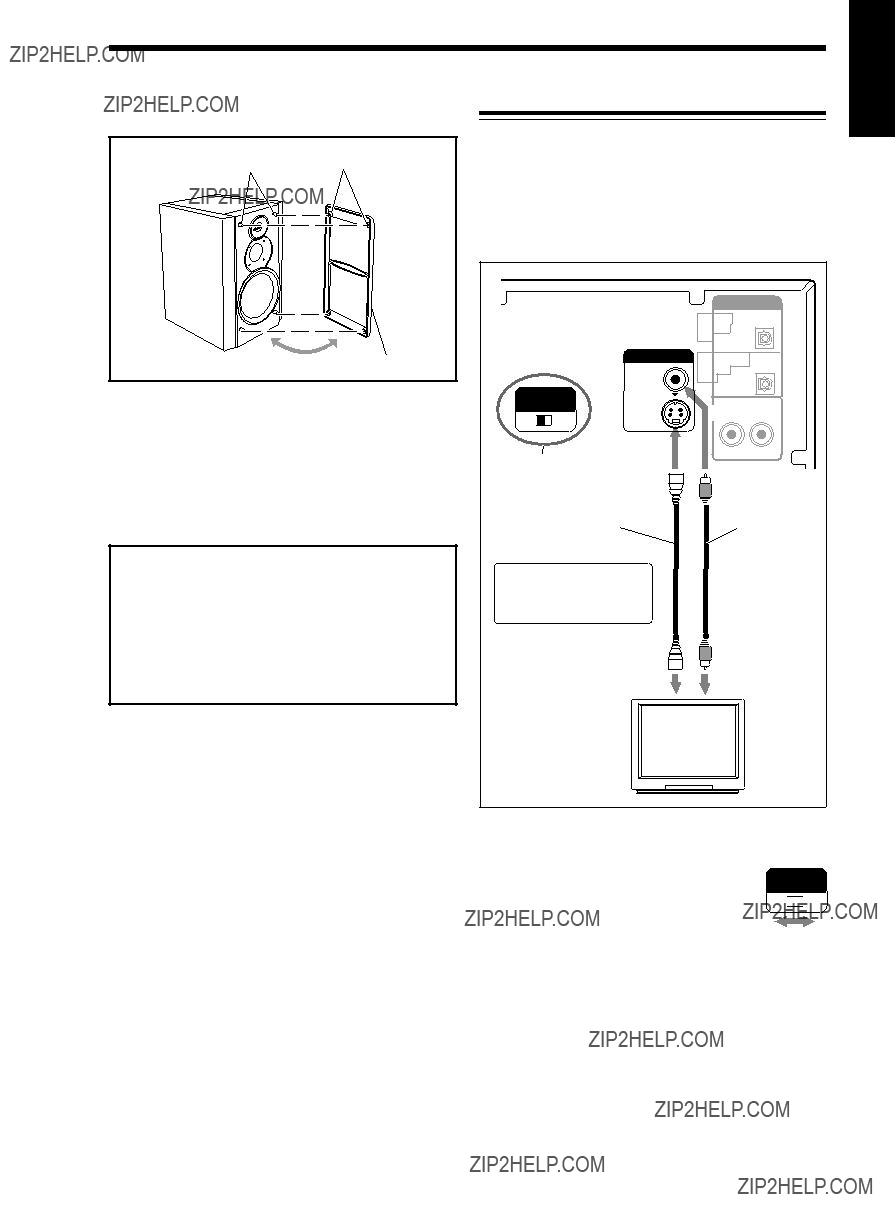
For private listening
Connect a pair of headphones to the PHONES jack. No sound comes out of the speakers. Be sure to turn down the volume before connecting or putting on the headphones.
DO NOT turn off (on standby) the unit with the volume set to an extremely high level; Otherwise, the sudden blast of sound can damage your hearing, speakers and/or headphones when you turn on the unit or start playing any source.
REMEMBER you cannot adjust the volume level while the unit is in standby mode.
To turn down the volume level temporarily
On the remote control ONLY:
Press FADE MUTING.
The volume level gradually decreases to ???VOLUME 0.???
To restore the sound, press FADE MUTING again.
???Turning VOLUME + / ??? control clockwise (to +) on the unit or pressing VOLUME + on the remote control also restores the sound.

 SP-UXA10DVD

 button in any position does not disconnect the mains line.


 (Standby/On) button and STANDBY lamp (19, 25, 90, 91)


 NTSC
NTSC
 cord
cord
 cord
cord


 (LANGUAGE) menu appears on the TV.
 ).
).
 to ???LANGUAGE.???
 to ???DISPLAY.???
 , 16:9 WIDE, 4:3 PS
 :
:
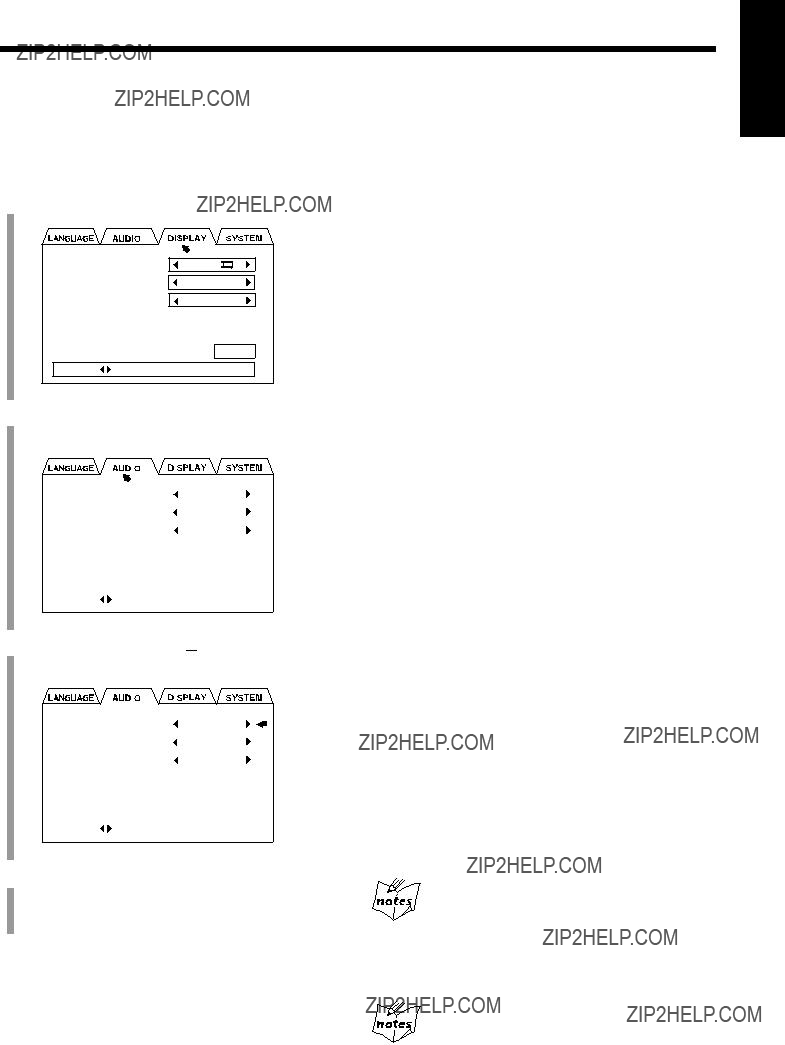
 to ???DISPLAY.???
 to ???AUDIO.???
 to ???DIGITAL AUDIO


 AHB PRO 2
 POP
POP  CLASSIC
 FLAT
FLAT  JAZZ
JAZZ 
 (canceled)

 FM
FM  AM
AM

 FM
FM  AM
AM


 . The unit turns on and tunes in to 531 kHz.
 FM
FM  AM
AM AUX
AUX 

 FM
FM  AM
AM


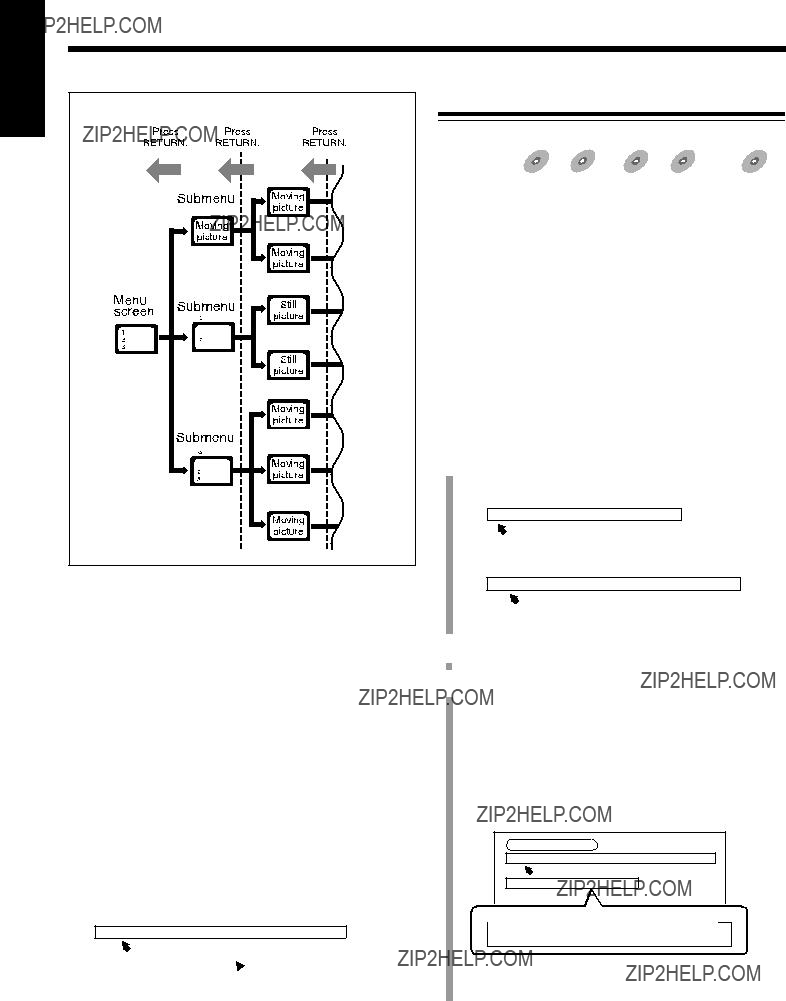
 ??? : appears at the beginning of a scene containing
 ??? : appears at the beginning of a scene containing
  ??? : appears at the beginning of a scene containing
  ??? (Play), ???
 ??? (Pause), ???
 ???/???
 ??? (Fast forward/backward), ???
 ???/???
 ???
???  ??? appears on the TV screen when pressing a button,
  ,??? operations will not be accepted.
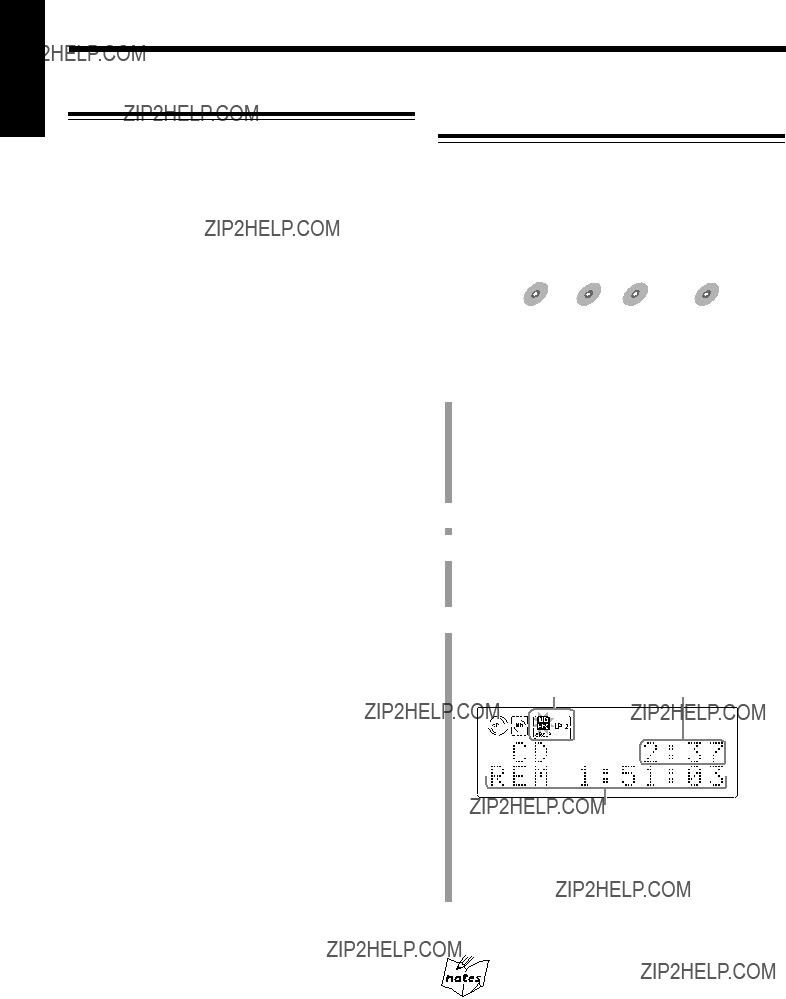
 Current disc information
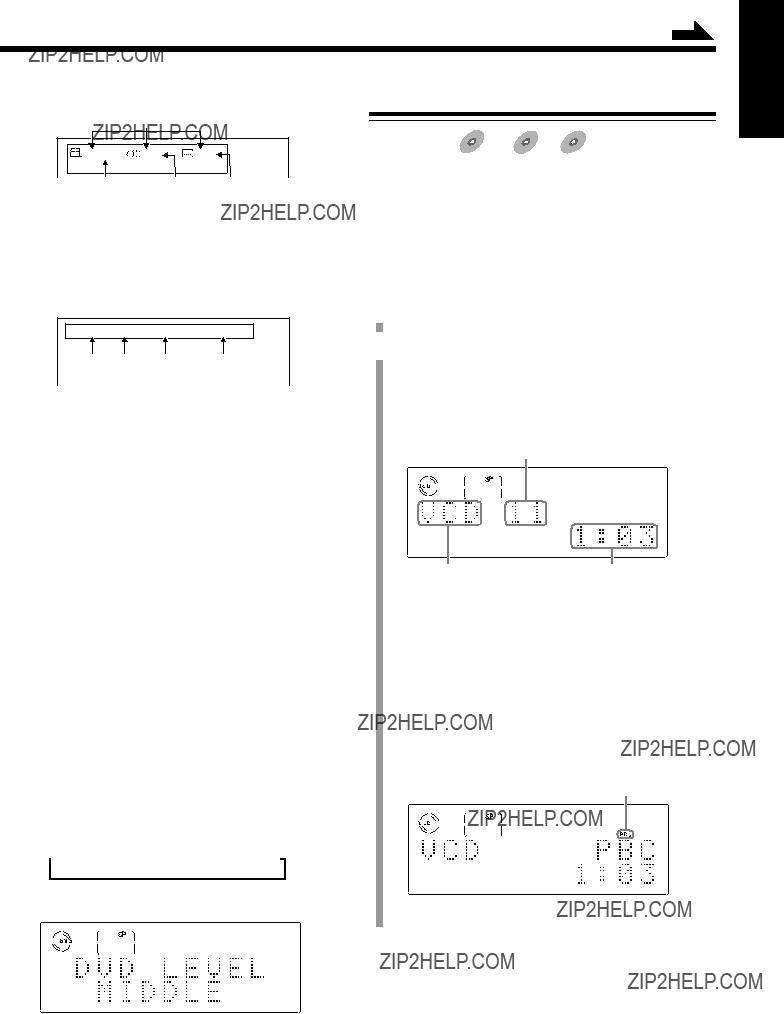
 NORMAL
  MIDDLE
  HIGH
HIGH

 to ???PBC CALL,??? then press
 to ???REPEAT.???
 TITLE
TITLE  CHAPTER
  No indication (canceled)
 1
1  No indication (canceled)
 1
1  No indication (canceled)
 to
to  A
A

 to ???PROGRAM,??? then press ENTER.
 to ???PROGRAM.??? Now you can modify your program.
 to ???RANDOM,??? then press ENTER.


 ALL
ALL  1
1 (canceled)
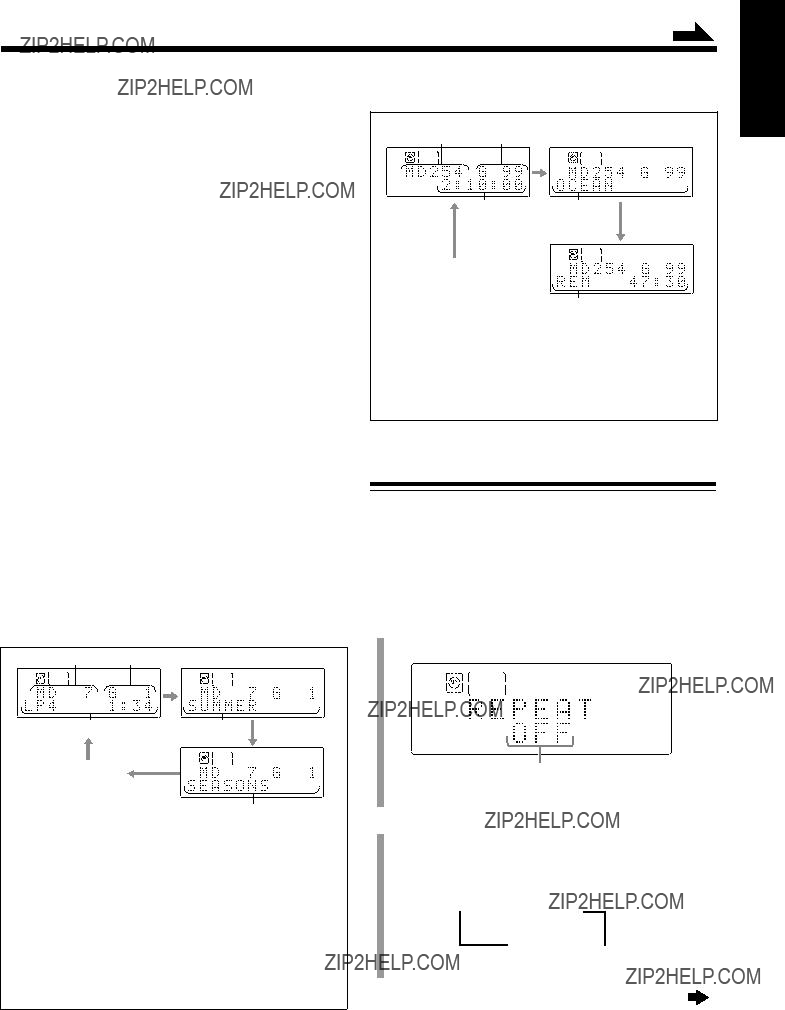
 REPEAT
 PROGRAM
 RANDOM
 Normal play
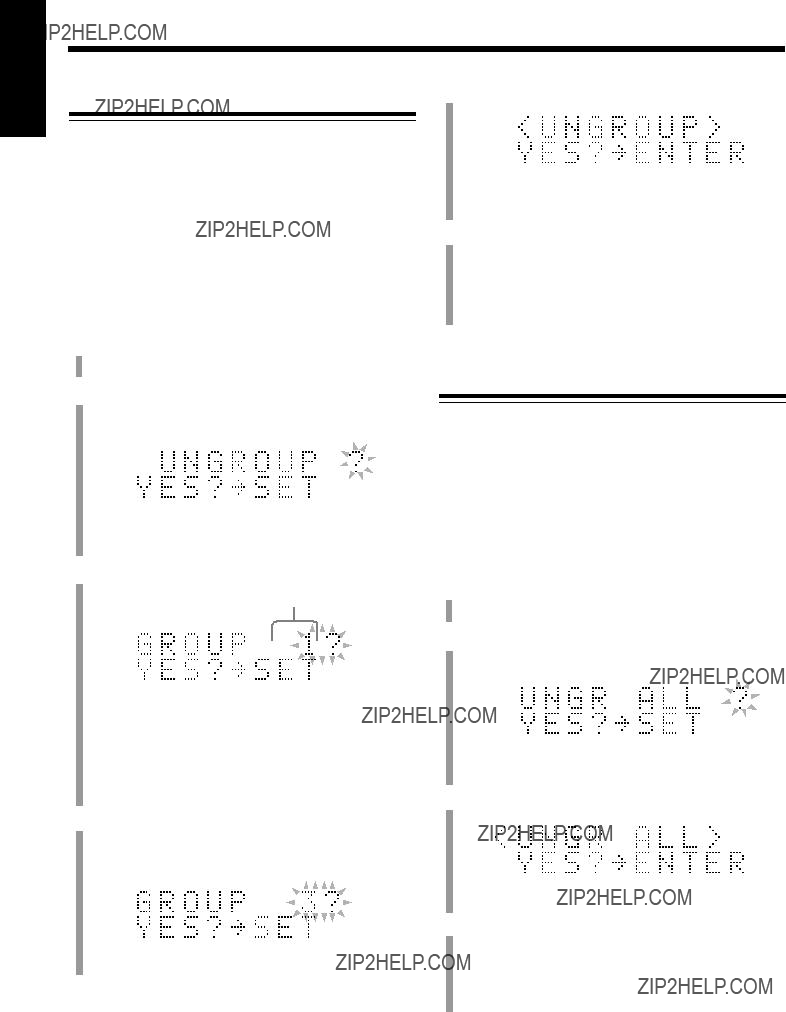
 GROUP
GROUP 

 REPEAT
 PROGRAM

 Normal play
 GROUP
GROUP 

 REPEAT
 PROGRAM
 RANDOM
 Normal play
 GROUP
GROUP 


 : Plays back only one side (front or reverse). : Plays back the front and reverse sides once.
  : Plays back both front and reverse sides
 or
or  . (See ???To play both


 to ???CHAP.
 to ???TIME
 to a scene you want to start playback.


 1 / 3
1 / 3 


 1 / 3
1 / 3 


 1 / 3
1 / 3 
 2 / 3
2 / 3
 3 / 3
3 / 3 

 to the desired view.


 1 / 3
1 / 3  ENGLISH

 1 / 3
1 / 3  ENGLISH
 1 / 3
1 / 3 ENGLISH

 2 / 3
2 / 3 FRENCH

 3 / 3
3 / 3 SPANISH


 STEREO
 STEREO
 R
R 
 L
L 


 1/16
1/16 


 1/8
1/8

 1/2
1/2 


 1/3
1/3 


 1/4
1/4

 1/16
1/16 


 1/12
1/12


 1/8
1/8 


 1/3
1/3 


 1/4
1/4
 ACTION
  DRAMA
DRAMA


 )??? below.


 )
)


 *
* will be shown during recording when you select
 .
.
 ). (See page 63.)


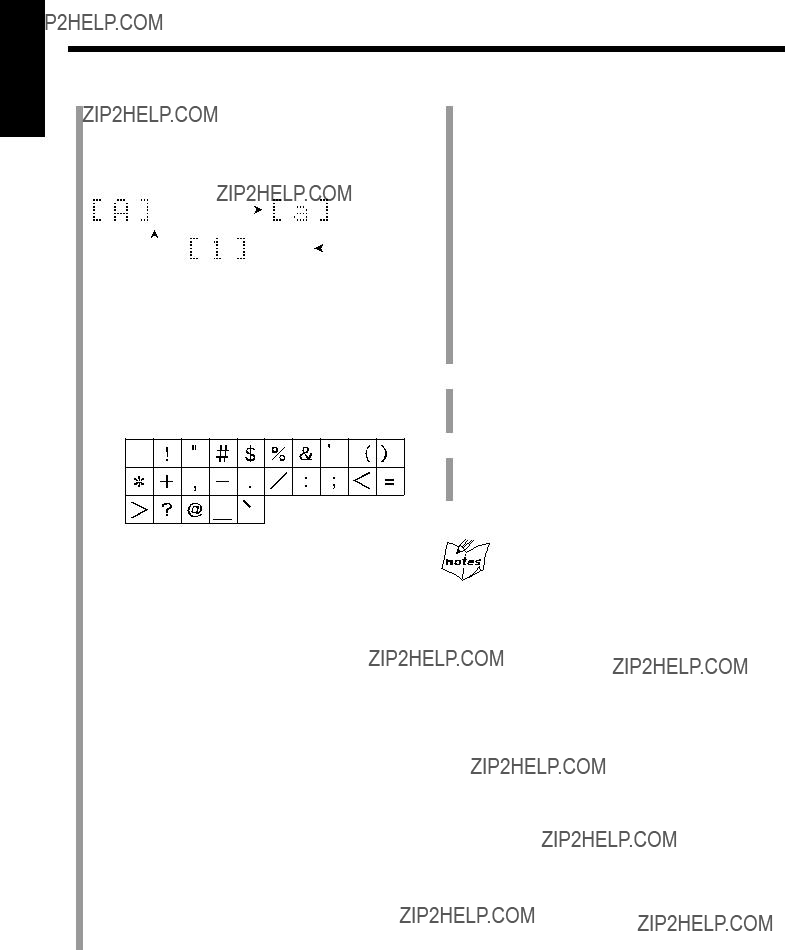
 1 2 3 4 5 6 7 8 9 10 11 12 13 14 15 16 17 18 19 20


 ??? appears in the main display.


 ??? will be erased.


 .???
.???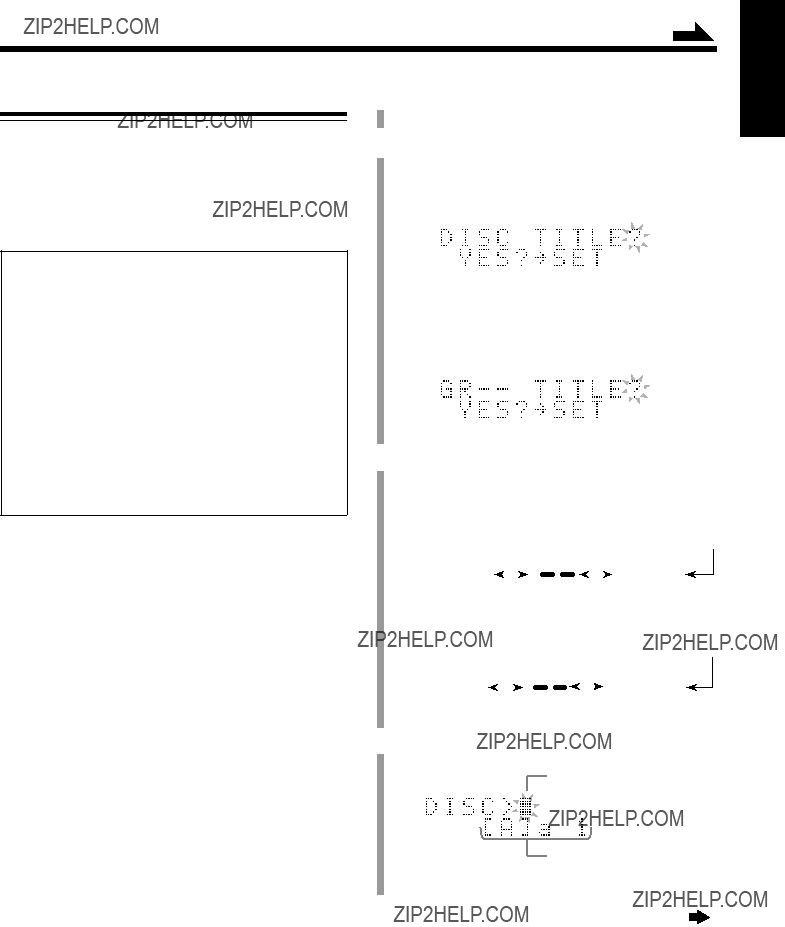

 1 TITLE?
 2 TITLE?
 GR1 TITLE?


 to the menu you
  to an item you want to set.

 (Chinese), ESPA??OL (Spanish)
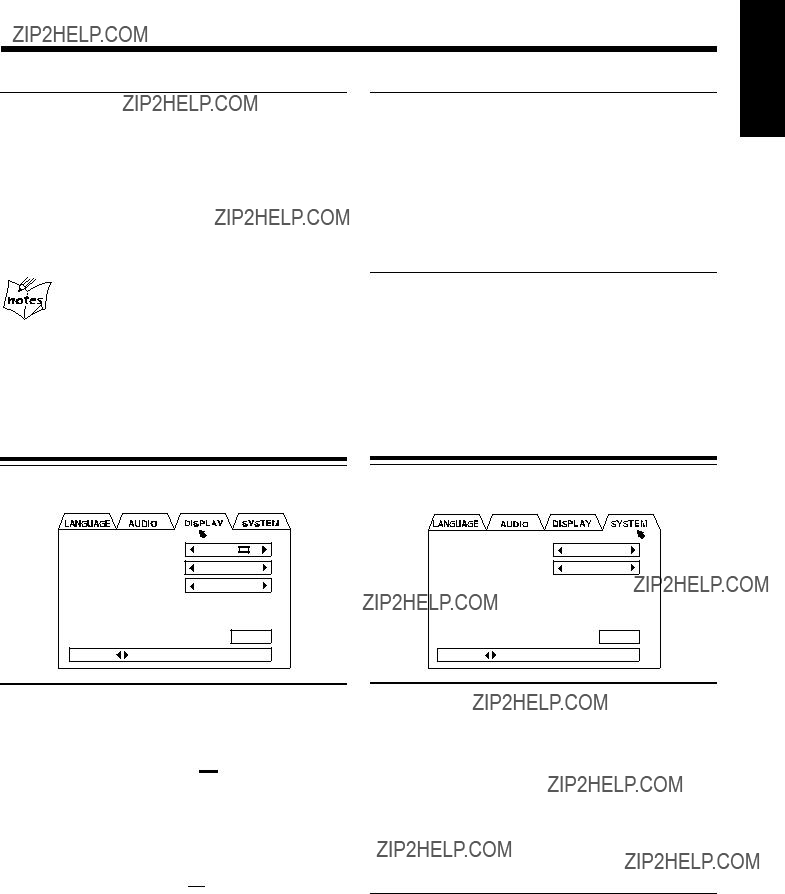

 ??? when viewing on a TV whose aspect ratio is 4:3.
 ??? when viewing on a TV whose aspect ratio is 4:3.
 points to ???Country Code.??? (Go to step
  points to ???PASSWORD.??? (Go to step
  moves to ???Country Code.???
 moves to ???Set Level.???
 moves to ???PASSWORD.???
 1
1 
 2
2 
 3
3 
 4
4 
 ???
??? 
 8
8 
 7
7 
 6
6 
 5
5 
 moves to ???EXIT.???
 moves to ???PASSWORD.???
 ) indicator lights up and the REC indicator starts flashing on the display.
 REC TIMER
  DAILY TIMER
 Clock time
  (canceled)
 FM
FM 
 AM
AM
 AUX-DIGITAL
 AUX
AUX

 TAPE REC
 (or
(or  on the main unit) to turn off the unit if necessary.
 ) and REC indicators go off from the display.
 ) indicator lights up and the DAILY indicator starts flashing on the display.
 REC TIMER
  DAILY TIMER
 Clock time
  (canceled)
 FM
FM
 AM
AM 
 DVD/CD
 MD
MD 
 AUX-DIGITAL
 AUX
AUX
 TAPE
TAPE
 (or
(or  on the main unit) to turn off the unit if necessary.
 ) and SLEEP indicators start flashing on the display.
 10
10  20
20  30
30  60
60 120
120  90
90 
 ) and SLEEP indicators stop flashing and remain lit.
 ) and SLEEP indicators go off.


 EN, CS