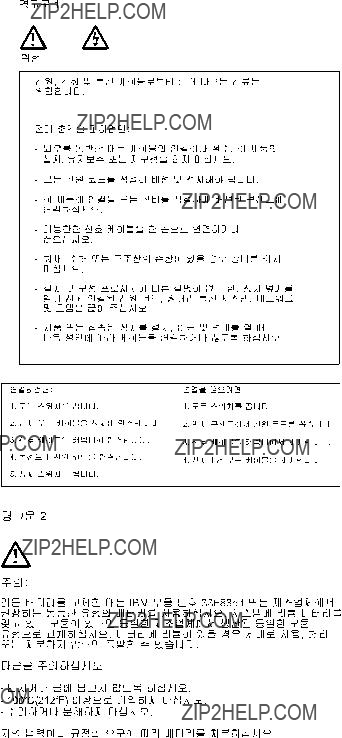
Note:
Before using this information and the product it supports, be sure to read the general information under ???Notices??? on page 228.
Second Edition (November 2000)
The following paragraph does not apply to the United Kingdom or any country where such provisions are inconsistent with local law:
INTERNATIONAL BUSINESS MACHINES CORPORATION PROVIDES THIS PUBLICATION ???AS IS??? WITHOUT
ANY WARRANTY OF ANY KIND, EITHER EXPRESS OR IMPLIED, INCLUDING, BUT NOT LIMITED TO, THE LIMITED WARRANTIES OF MERCHANTABILITY OR FITNESS FOR A PARTICULAR PURPOSE. Some states do not allow disclaimers or express or implied warranties in certain transactions; therefore, this statement may not apply to you.
This publication could include technical inaccuracies or typographical errors. Changes are periodically made to the information herein; these changes will be incorporated in new editions of the publication. IBM may make improvements or changes in the products or the programs described in this publication at any time.
Requests for technical information about IBM products should be made to your IBM Authorized Dealer or your IBM Marketing Representative.
?? Copyright International Business Machines Corporation 2000. All rights reserved.
US Government Users Restricted Rights ??? Use, duplication or disclosure restricted by GSA ADP Schedule Contract with IBM Corp.


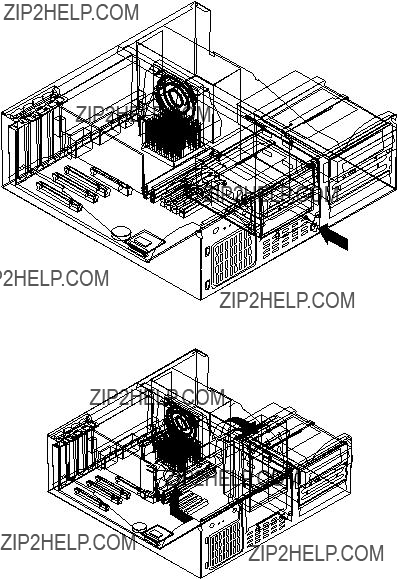


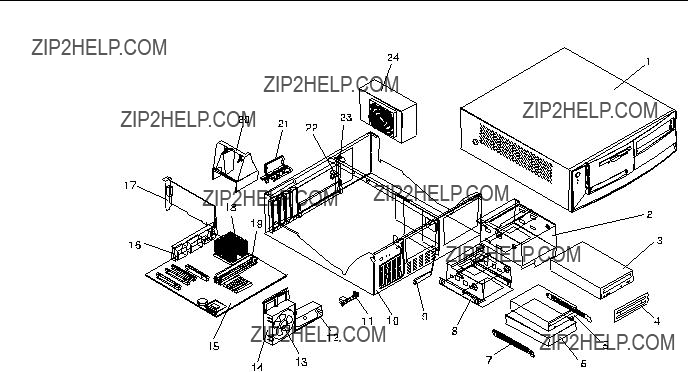


 1
1 


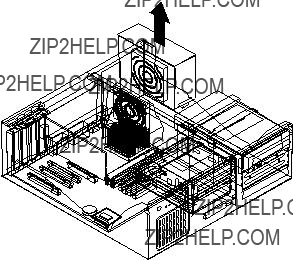
 1
1 


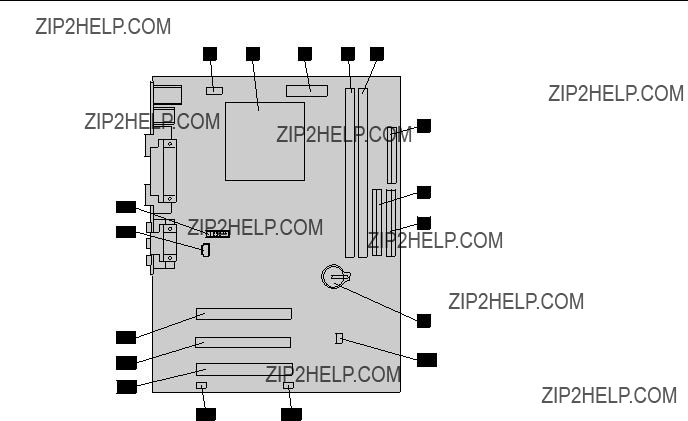
 1
1 


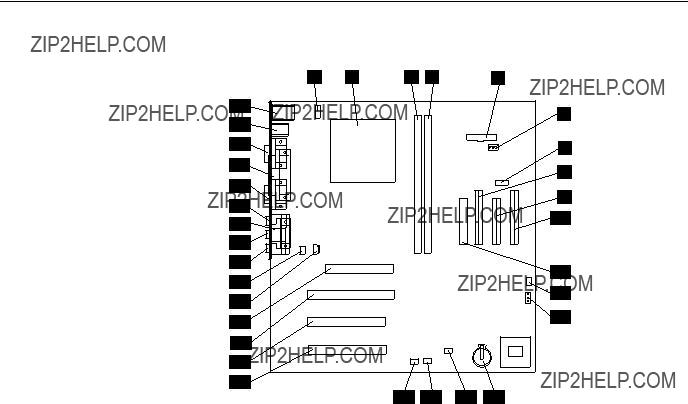
 1
1 


 1
1 


 1
1