Consumer Support.
Have a question or need assistance with your appliance? Try the Hotpoint Website 24 hours a day, any day of the year! You can also shop for more great Hotpoint products and take advantage of all of our on-line support services designed for your convenience.
Expert Hotpoint repair service is only one step away from your door. Get on-line and schedule your service at your convenience 24 hours any day of the year! Or call 800.GE.CARES (800.432.2737) during normal business hours.
GE supports the Universal Design concept???products, services and environments that can be used by people of all ages, sizes and capabilities. We recognize the need to design for a wide range of physical and mental abilities and impairments. For details of GE???s Universal Design applications, including kitchen design ideas for people with disabilities, check out our Website today. For the hearing impaired, please call 800.TDD.GEAC (800.833.4322).
Purchase a Hotpoint extended warranty and learn about special discounts that are available while your warranty is still in effect. You can purchase it on-line anytime, or call 800.626.2224 during normal business hours. Hotpoint Consumer Home Services will still be there after your warranty expires.
Individuals qualified to service their own appliances can have parts or accessories sent directly to their homes (VISA, MasterCard and Discover cards are accepted). Order on-line today, 24 hours every day or by phone at 800.626.2002 during normal business hours.
Instructions contained in this manual cover procedures to be performed by any user. Other servicing generally should be referred to qualified service personnel. Caution must be exercised since improper servicing may cause unsafe operation.
If you are not satisfied with the service you receive from Hotpoint, contact us on our Website with all the details including your phone number, or write to: General Manager, Customer Relations
Hotpoint, Appliance Park Louisville, KY 40225
Register your new appliance on-line???at your convenience! Timely product registration will allow for enhanced communication and prompt service under the terms of your warranty, should the need arise. You may also mail in the pre-printed registration card included in the packing material.
Printed in the United States

 WARNING!
 DANGER! RISK OF CHILD ENTRAPMENT
 WARNING!
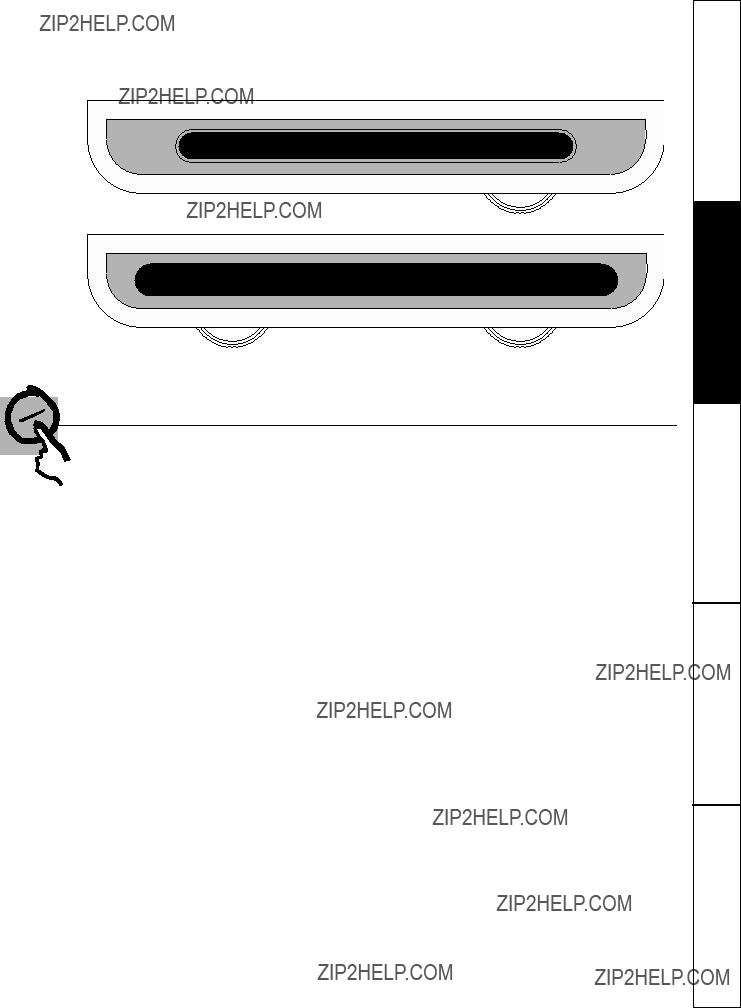

 Tilt the shelf up at the front.

 Remove all items from shelf.
 Slide the shelf out until it stops.
 Lift the front edge of the shelf until the tabs are above the shelf frame.
 Continue pulling the shelf forward until it can be lifted out and removed.
 Place the rear of the shelf on the shelf frame just behind the front bar.
 Slide the shelf back until the tabs are above the openings.
 Lower the shelf so that the tabs go into the openings; then slide the shelf all the way in.

 Push up the glass cover at the rear.
 Slide the glass cover backwards until the front edge comes out of the frame.
 Remove the glass cover.
 Lift up the front of the frame using both hands.
 Slide the frame forward.
 Rotate the side of the frame up.
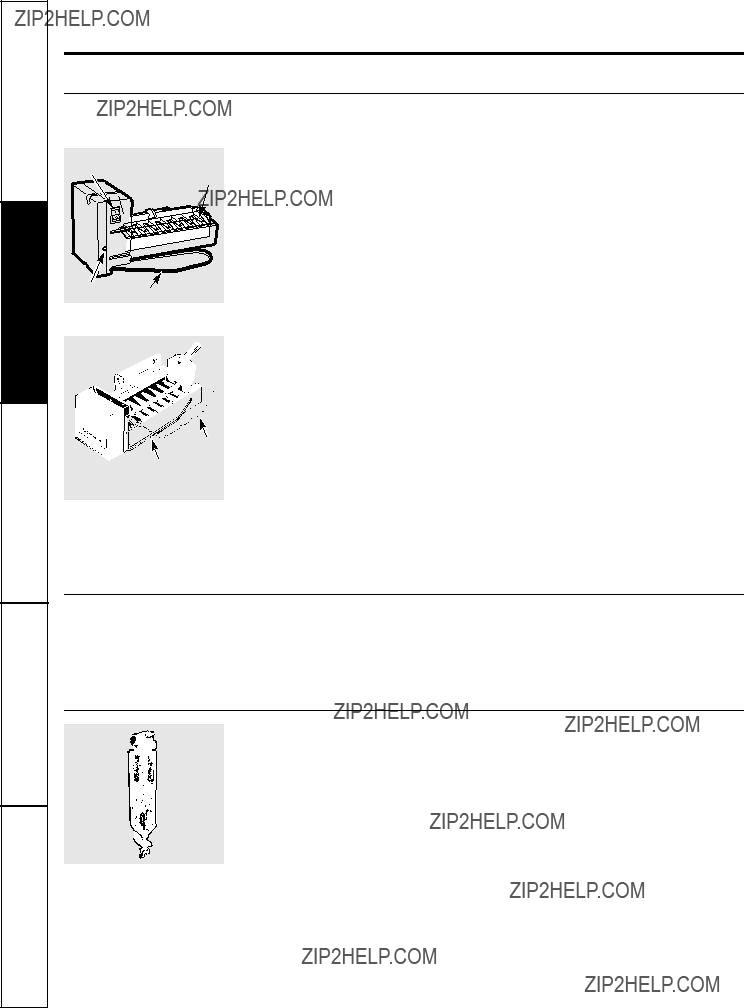


 Unplug the refrigerator.
 Plug the refrigerator back in.
 Unplug the refrigerator.
 After replacing with an appliance bulb of the same or lower wattage, replace the shield.
 Plug the refrigerator back in.

 Clockwise to raise refrigerator


 Nut
Nut

 (sleeve)


 Feeler Arm in the
 Feeler Arm in


 Printed on Recycled Paper