20??? and 24??? Compact Electric Ranges
ge.com
Safety Instructions . . . . . . . .
Operating Instructions
Surface Units . . . . . . . . . . . . . . . .5
Care and Cleaning
Broiler Pan and Grid . . . . . . . . 11
Cooktop . . . . . . . . . . . . . . . 10, 11
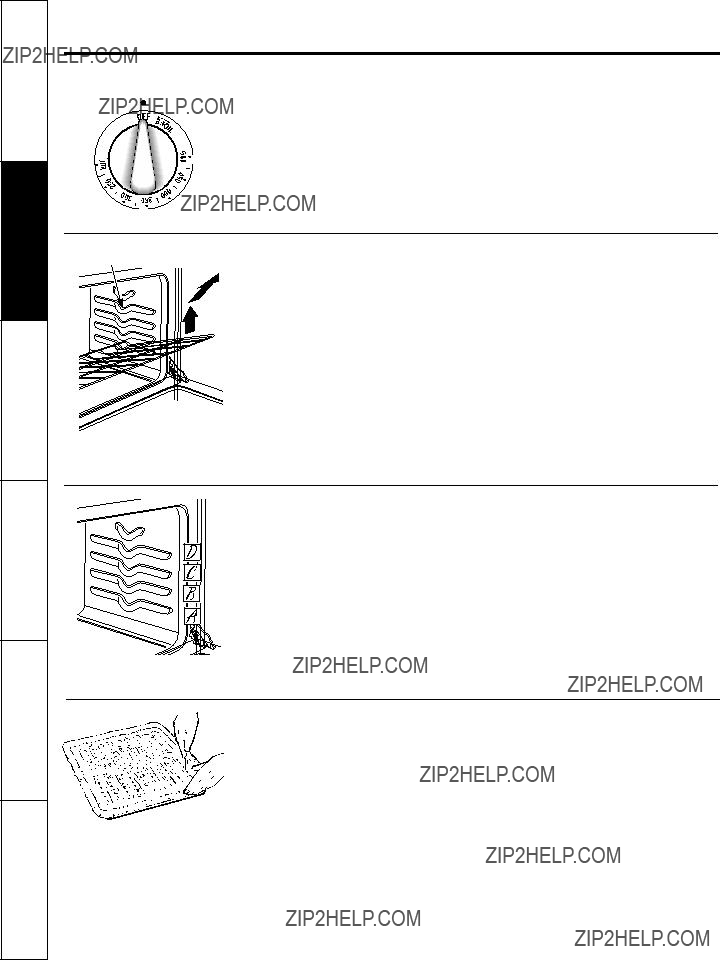
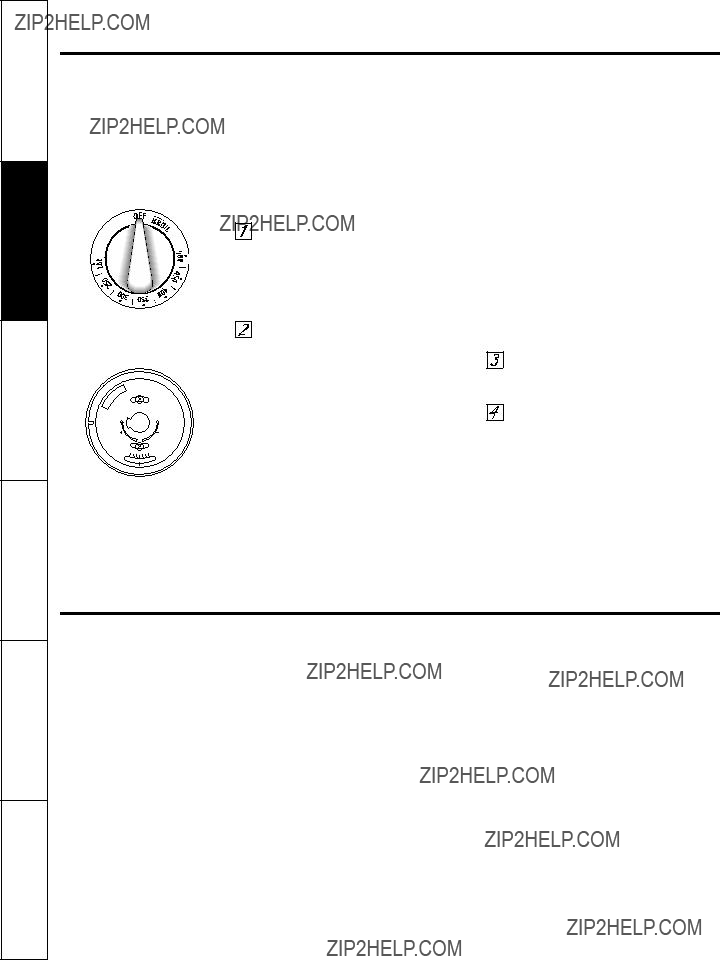
Knobs . . . . . . . . . . . . . . . . . . . . 12
Oven Door . . . . . . . . . . . . . . . . 11
Oven Heating Elements . . . . . . 11
Oven Interior . . . . . . . . . . . . . . 12
Painted Surfaces . . . . . . . . . . . . 12
Shelves . . . . . . . . . . . . . . . . . . . 10
Surface Units and Drip Pans . . .10
Installation Instructions
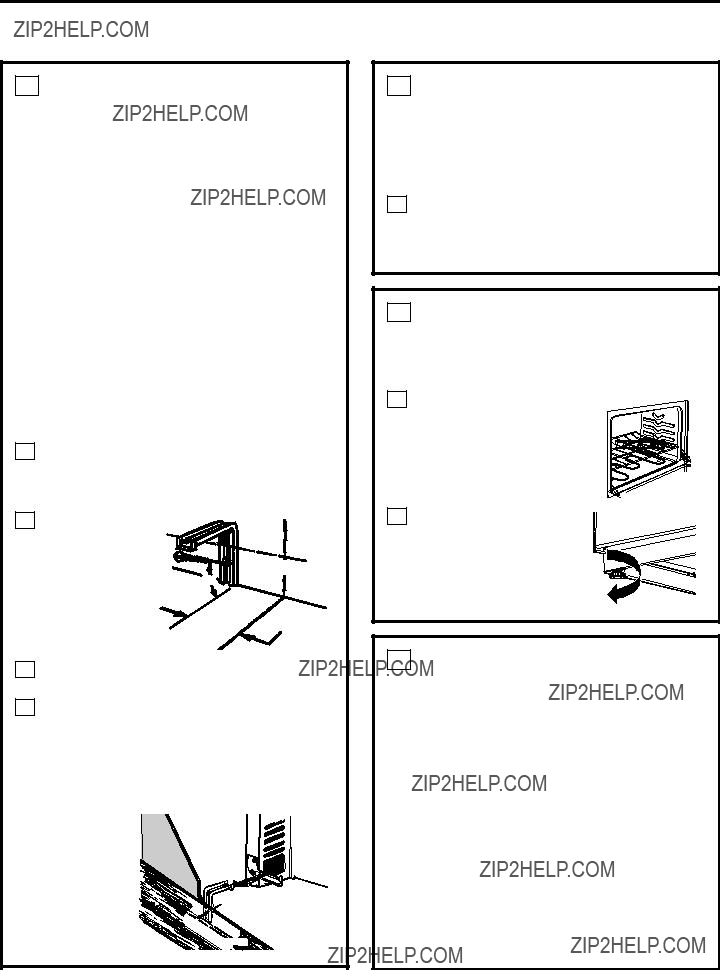
Dimensions and Clearances . . . 14
Electrical
Flooring . . . . . . . . . . . . . . . . . . 14
Leveling . . . . . . . . . . . . . . . . . . 19
Preparation . . . . . . . . . . . . . . . . 14
Tools You Will Need . . . . . . . . . 14
Troubleshooting Tips . . . . . . . 20
Consumer Support
Consumer Support . . . Back Cover
Product Registration . . . . . . 21, 22
Warranty . . . . . . . . . . . . . . . . . . 23
Write the model and serial numbers here:
Model # __________________
Serial # __________________
You can find them on a label under the cooktop. See the
HOTPOINT
Owner???s Manual and
Installation Instructions
RA720
RA724
183D9541P002
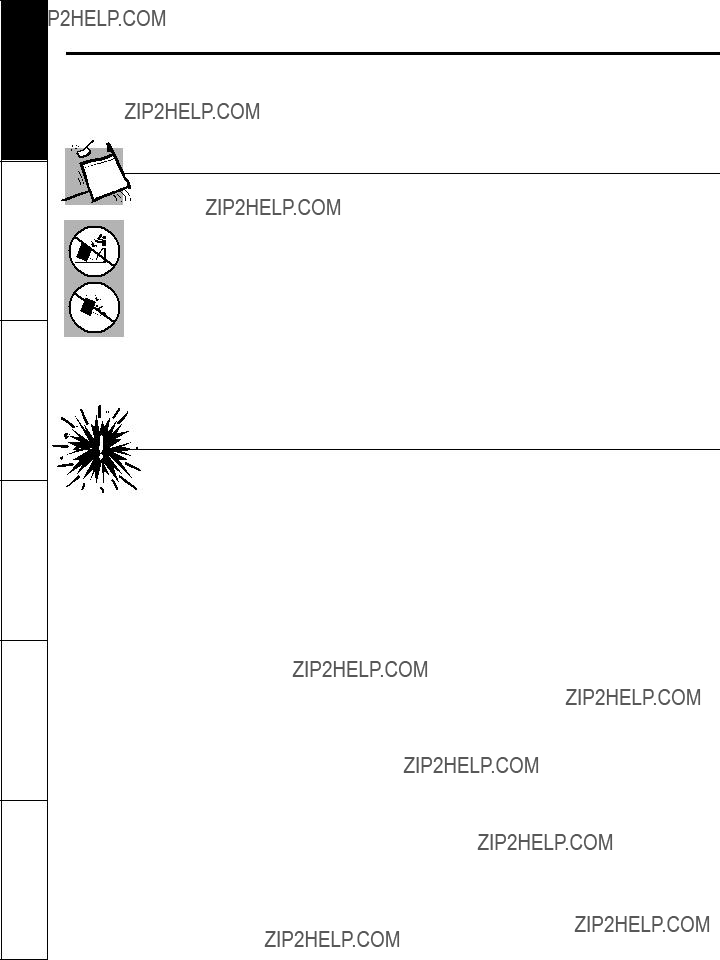
 WARNING!
 SAFETY PRECAUTIONS
 WARNING!
 SAFETY PRECAUTIONS
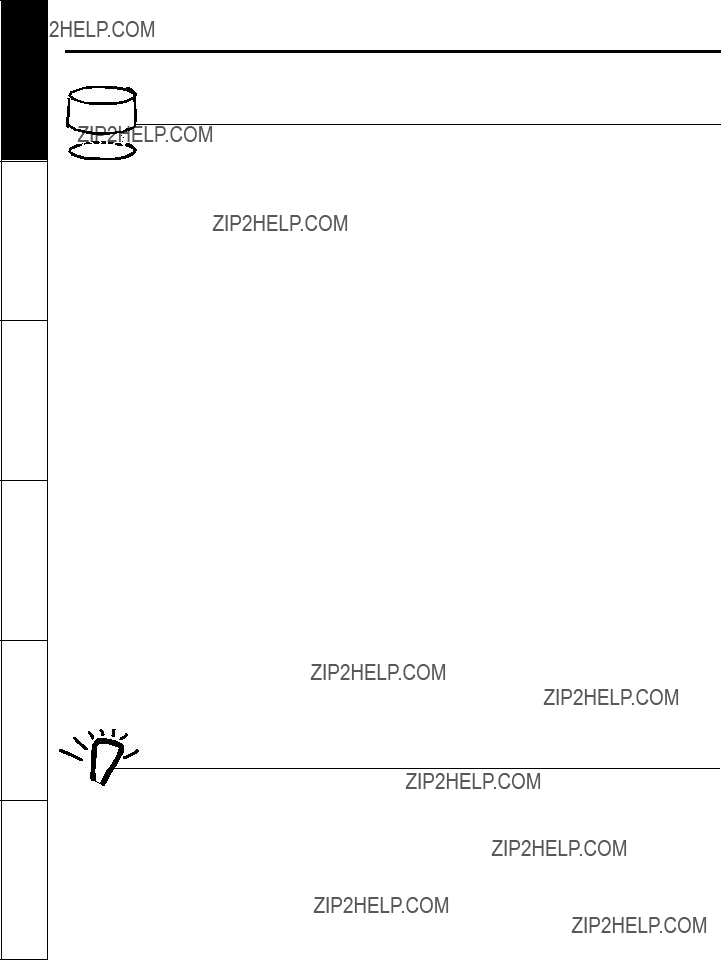
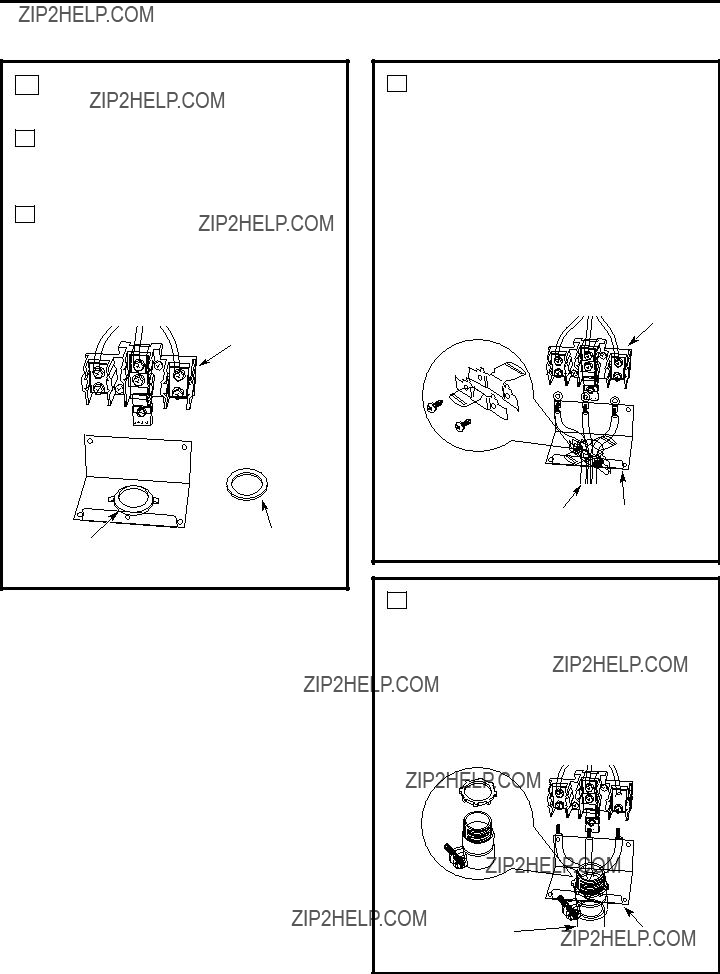
 SURFACE COOKING UNITS

 SAVE THESE INSTRUCTIONS
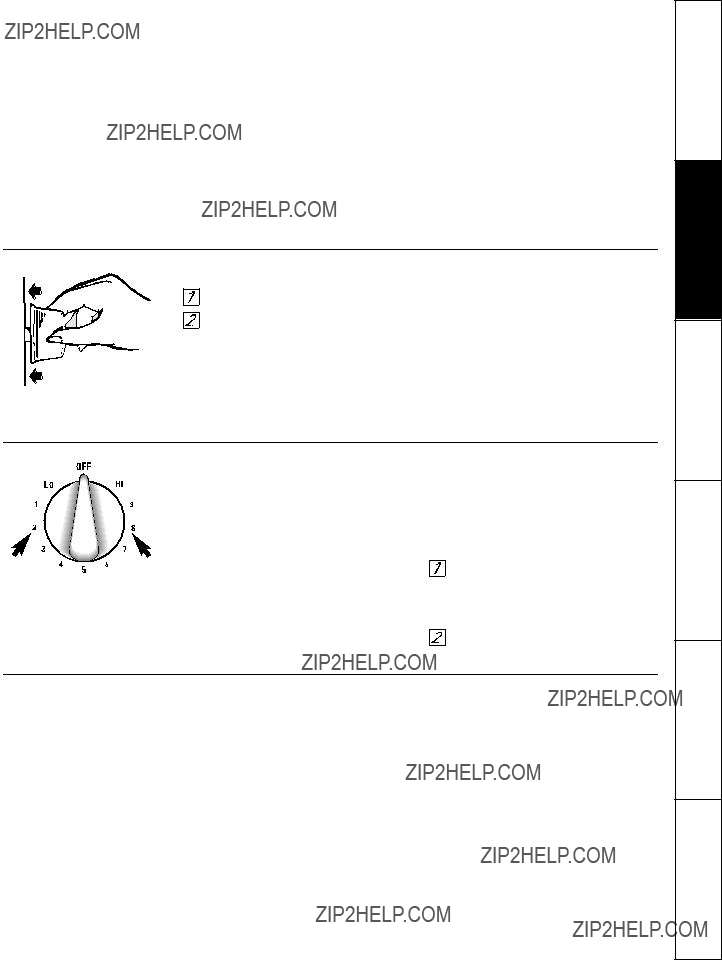

 TEMP
TEMP


 Questions? Call 800.GE.CARES (800.432.2737) or Visit our Website at: ge.com


 WARNING


 Terminal

 Neutral


 block
block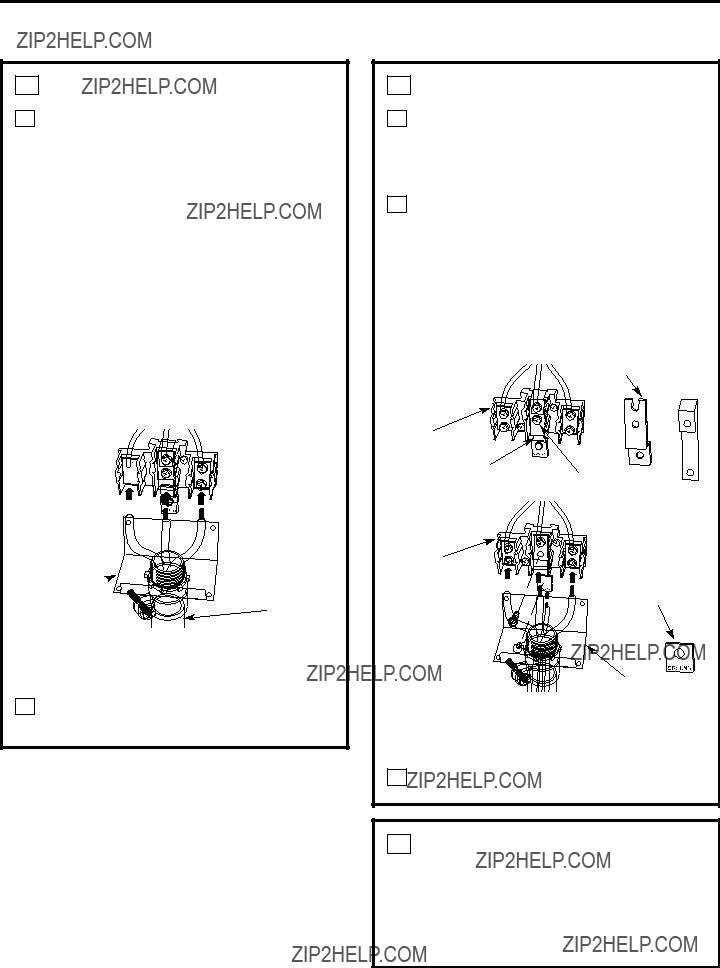


 block
block 


 screw
screw 


 (grounding

 WARNING: