In/Out Thermometer

with Remote Sensor

(TM004)

USER MANUAL

1

HONEYWELL TM004 MANUAL (ENG)

SIZE: W65 X H105 (mm)

BY EMILY TSOI 26/01/06

INTRODUCTION

Thank you for selecting the Honeywell In/Out Thermometer with Remote Sensor. This device displays and monitors temperature from up to three remote locations from the comfort of your home. In this package you will find:

???One main unit (receiver)

???One remote sensor (transmitter) TS03C

???One User Manual

Please keep this manual handy as you use your new item. It contains practical step-by-step instructions, as well as technical specifications and precautions you should know.

PRODUCT OVERVIEW

MAIN UNIT

FEATURES

???Wireless transmission of the temperature from the remote sensor to the main unit from up to 100 feet (30 meters) away

???Remote temperature display

???Indoor temperature display

???User-selectable temperature display in Celsius or Fahrenheit

???Memory for the indoor and remote temperature readings

???Wall mount or desktop option

???Low battery indicator

C

???Clears the maximum and minimum temperature memory

D. SEARCH BUTTON

???Enforces the remote sensors signal search

REMOTE SENSOR

FEATURES

???Remote temperature transmission to the main unit via 433 MHz signal

???Case can be wall mounted using built-in hanger

???100 feet (30 meters) transmission range without interference

???Selection of the temperature display in Celsius or Fahrenheit

???Channel selection

A.LED INDICATOR

???Flashes once when the remote sensor transmits a reading to the main unit.

???Flashes twice when battery power is low.

B.BATTERY COMPARTMENT

???Holds two AA-size batteries

C.RESET

???Resets all readings

D.WALL-MOUNT RECESSED HOLE

???Keeps the remote sensor on the wall

E.??C/ ??F SELECTOR

???Selects the temperature display in Celsius or Fahrenheit

F.CHANNEL SWITCH

???Selects the desired channel

6

BEFORE YOU BEGIN

???The remote sensor can be placed indoors or outdoors; the main unit must be placed indoors.

???We recommend using alkaline batteries for the remote sensor and main unit when temperatures are above 32??F (0??C). We recommend using AA lithium batteries for the remote sensor when temperatures are below 32??F (0??C).

???Avoid using rechargeable batteries. (Rechargeable batteries cannot maintain correct power requirements).

???Insert batteries before first use, matching the polarity in the battery compartment.

???ALWAYS install batteries in the remote sensor before the main unit.

???Press RESET after each battery change with a paper clip or similar tool.

???During an initial setup, place the main unit as close as possible to the remote sensor.

???After reception is established (the remote temperature will appear on the main unit???s display), position the remote sensor and the main unit within the effective transmission range of 100 feet (30 meters).

NOTE:

1.Avoid pressing any buttons on the main unit before the remote temperature is displayed for about 2 minutes.

2.The effective operating range may be influenced by the surrounding building materials and how the receiver and transmitter are positioned.

3.Place the remote sensor so that it faces the main unit (receiver), minimizing obstructions such as doors, walls, and furniture.

4.Though the remote sensors are weather-resistant, they should be placed away from direct sunlight, rain or snow.

7

NOTE:

When the temperature falls below freezing, the batteries in the outdoor remote sensor may have reduced voltage supply and a shorter effective range. We recommend using lithium batteries at temperatures of 32??F (0??C) and below.

BATTERY INSTALLATION

REMOTE SENSOR

NOTE: Install the batteries; select the channel and temperature in C?? or F?? before mounting the remote sensor.

???Remove the screws from the battery compartment with a small Phillips screwdriver.

???Set the channel. The switch is located in the battery compartment. Channel 1 is typically selected if only one remote sensor is being used.

???Install 2 ???AA??? size alkaline batteries (not included) matching the polarities shown in the battery compartment.

???Replace the battery compartment door and secure the screws.

???Secure the remote sensor in the desired location.

MAIN UNIT

???Open the battery compartment door.

???Install 2 batteries (UM-3 or ???AA??? size 1.5V) matching the polarity as shown in the battery compartment.

???Replace the battery compartment door.

LOW BATTERY WARNING

A low-battery indicator [ ] will appear on the indoor or remote temperature reading line of the main unit warning that the corresponding batteries need replacement.

8

GETTING STARTED

After batteries are installed; remote sensor will transmit temperature readings at 45 second intervals. The main unit may take up to two minutes to receive the initial readings. Upon successful reception, remote temperature will appear on the larger section of the main unit???s display (the default remote channel is channel one). The main unit will automatically update readings at 45-second intervals.

If no signal is received from the remote sensor within

two minutes, dashes [- - -] will be displayed. Press and hold the SEARCH button on the main unit for two

seconds to initiate another signal search.

CHECKING REMOTE AND INDOOR

TEMPERATURE

The remote temperature information is located on the larger section of the main unit???s display.

The wave icon is located above the remote channel number and indicates the reception status from the remote sensor.

There are three types of reception status that may be displayed:

The Unit is in searching mode

Temperature readings are securely registered

9

The indoor temperature with the icon IN is located next to the remote temperature information section. NOTE: If the indoor or remote temperature goes above or below operating range stated in specifications, the main unit???s display will show dashes ???- - -???

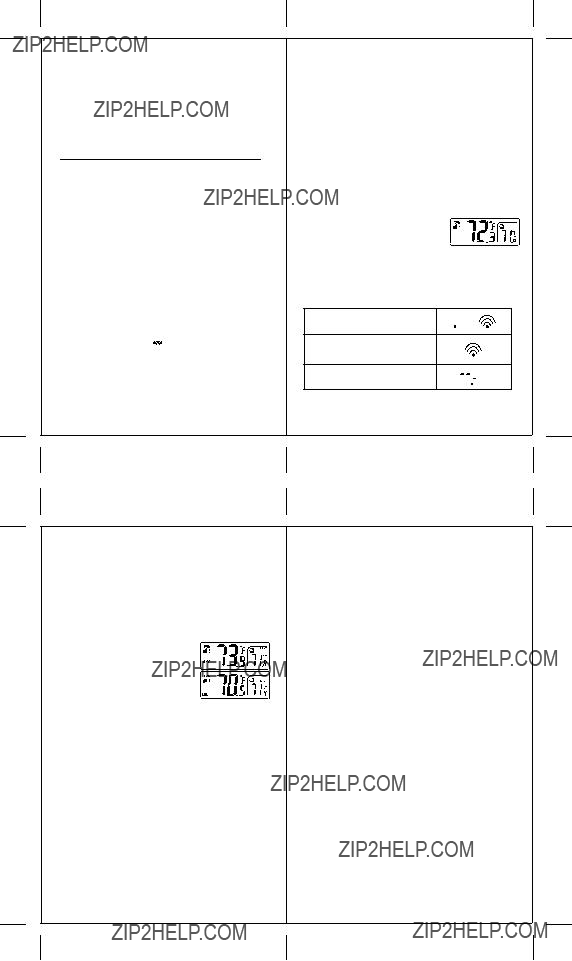
MAXIMUM AND MINIMUM READINGS

The maximum and minimum record of the indoor and remote temperatures will be automatically stored in the memory of the main unit (receiver).

To display the minimum, maximum or the current reading, press the

MEM button.

If no button is pressed for the next 15 seconds, the unit will return to the current temperature display.

To clear the memory, press and hold the MEM button for two seconds and all previously stored readings will be erased.

LOST COMMUNICATION

If the main unit display line for the remote sensor reading goes blank, press and hold the SEARCH button for 2 seconds to begin a new signal search.

If the signal still isn???t received, please make sure that:

???The remote sensor is in its proper location.

???The distance between main unit and remote sensor is not over 100 feet (30meters).

???The path between units is clear of obstacles. Shorten the distance if necessary.

???Fresh batteries are installed correctly in both remote sensor and main unit.

10

If there is still no communication, please perform the following steps:

???Bring the main unit and remote sensor close together.

???Remove four (4) small screws from the back of the remote sensor with a small Phillips screwdriver, and open the battery compartment.

???Remove the batteries from the battery compartment and reinstall them in the same manner. Remote sensor LED indicator will flash showing transmission of the signal.

???Remove the batteries from the main unit and reinstall them in the same manner.

???The remote temperature appearing on the main unit???s display will show that the transmission is being received successfully.

TRANSMISSION COLLISION

Signals from other household devices such as wireless doorbells, home security systems, and entry control may interfere with this product or cause temporary reception interruption. This is normal and will not affect the general performance of the product. The transmission and reception of the temperature readings will resume once the interference subsides.

PRECAUTIONS

This product is engineered to give you years of satisfactory service if handled carefully. Here are a few precautions:

???Do not immerse the units in water.

???Do not clean the units with abrasive or corrosive materials. They may scratch the plastic parts and corrode the electronic circuits.

???Do not subject the product to excessive force, shock, dust, temperature, or humidity, which may result in malfunctions, shorter lifespan, damaged batteries, and damaged parts.

???Do not tamper with the units internal components. Doing so will invalidate the warranty and may cause damage. These units contain no user-serviceable parts.

11