TIME PROJECTION
The Sport Alarm Clock can project the time display for a short period when operating on batteries, or continuously when using the AC/DC adapter. The clock is designed to project the time image on the ceiling in red, no focusing is required.
PC07
NOTE: Time display on the ceiling and the time on the LCD display cannot be viewed simultaneously, as their viewing directions are opposite. Place the unit at the head of your bed to view the projected image correctly.
8
CURRENT TIME PROJECTION
Press "LIGHT/SNOOZE" button to turn on the LCD backlight and project the time display onto the wall or the ceiling for 3 seconds.
CONTINUOUS TIME PROJECTION
Connect AC/DC adapter (optional) to project the time display continuously.
CALENDAR AND CLOCK DISPLAY MODES
The Alarm Clock has a three (3) display modes:
TIME, DATE and ALARM
The current time is displayed in hour-minutes format which is the default display mode. The date is displayed in month-date format.
The alarm time is displayed in hour-minutes format.
9
ENABLE OR DISABLE ALARM AND CHIME
??? Press SET button in TIME display mode. Alarm hour and minute digits will flash.
??? Press MODE button to enable or disable the alarm and chime in the following sequence:
ALARM ON-
ALARM&CHIMEON-
CHIME ON-
ALARM&CHIME OFF -
ALARM ON-
??? Press SET button to confirm the alarm and chime status. Clock will
go into TIME and DATE set mode. Wait and clock will return to TIME display mode.
TO STOP ALARM
To stop the alarm for 24 hours, press SET when alarm is activated.
To stop alarm for 5 minutes, press SNOOZE/LIGHT button
If no button is pressed, alarm will stop in 2 minutes. Press MODE button to disable the alarm in ALARM display format while alarm time digits are flashing. (The bell icon will disappear from the display when alarm is disabled).
CHIME
When CHIME is activated, it will sound at every hour.
12
PRECAUTIONS
This product is engineered to give you years of satisfactory service if handled carefully.
Here are a few precautions:
1. Do not immerse the unit in water.
2. Do not clean the unit with abrasive or corrosive materials. They may scratch the plastic parts and corrode the electronic circuits.
3. Do not subject the product to excessive force, shock, dust, temperature, or humidity, which may result in malfunctions, shorter lifespan, damaged batteries, and damaged parts.
4. Do not tamper with the unit's internal components. Doing so will invalidate the warranty and may cause damage. This unit contains no user-serviceable parts.
5. Use only fresh batteries. Do not mix new and old batteries.
6. Read the user's manual thoroughly before operating the unit.
SPECIFICATIONS
Projection
Current time display projected onto the ceiling or wall Fixed red display projection
Calendar and Clock
12/24 hour display in hh : mm format
Date Format: Month - Day format
Single 2-minute crescendo alarm with snooze and chime LED backlight
Power
2 AAA batteries (not included) AC/DC Adapter (3V, 100mA), center pin positive (optional)
Dimensions
4.33 (L) x 4.72 (H) x 4.33 (D) inches
13
SETTING THE CLOCK
TIME AND DATE
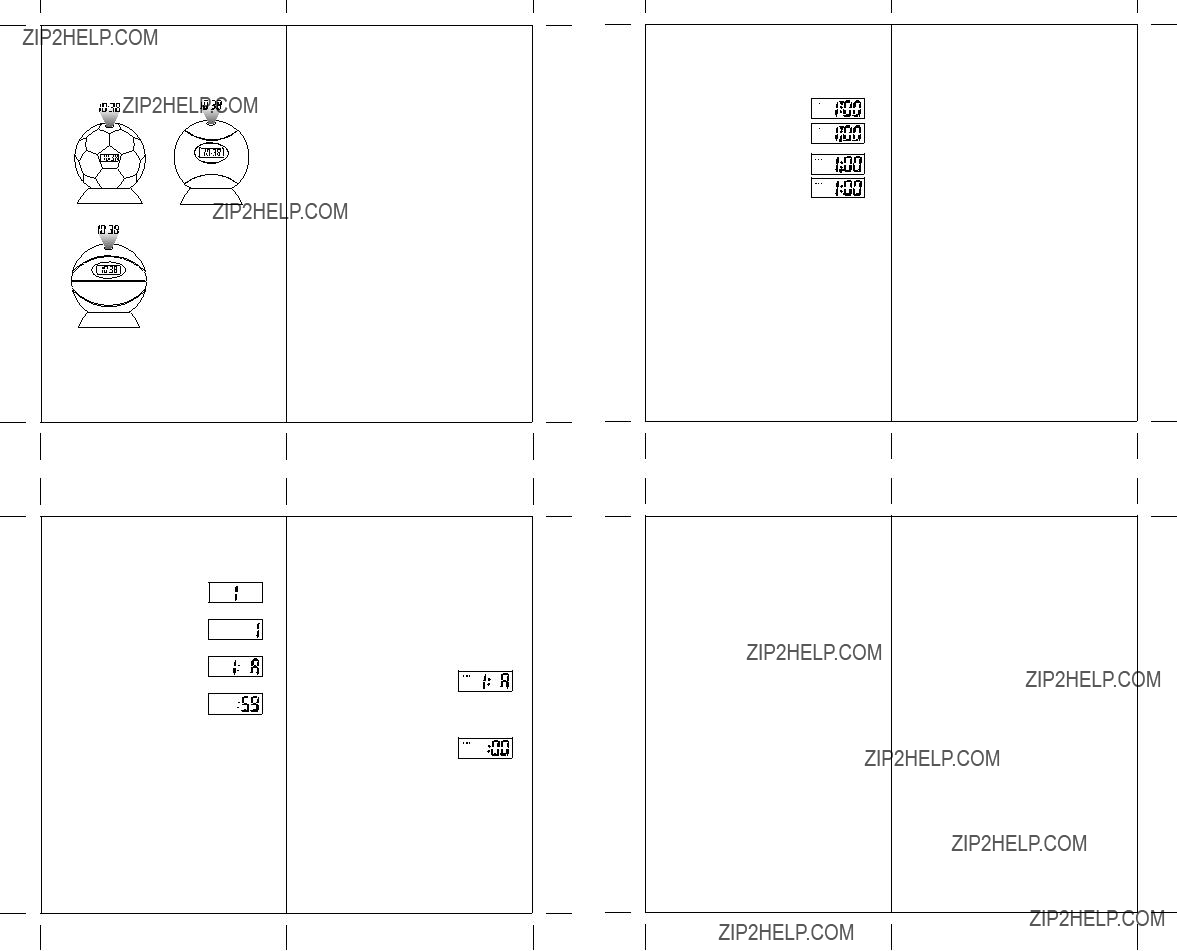
After batteries are installed as shown inside the battery compartment, the default time will be displayed as ???1:00??? To set current date and time:
1). Press SET button 4 times, and the MONTH will be displayed as ???1???.
2). Press MODE button to set the current month.
3). Press SET button and the DAY will be displayed.
4). Press MODE button to set the current day.
5). Press SET button again and the
HOUR will be displayed as 1: A. 6). Press MODE button to set current
hour (AM, 24 hour, PM). 7). Press SET button and the
MINUTES will be displayed. 8). Press MODE button to set the
correct minute.
9). Press SET button to complete setting the month, date, hour and minute.
10). Press MODE button to return clock to normal operation.
24 HOUR TIME FORMAT
Press MODE button until the desired hour in ???24 hour??? format is shown. To return to ???12 hour??? format continue pressing MODE.
ALARM
If the alarm is activated, it will sound at the set time and the (bell icon) will flash.
To review the alarm time, press MODE button once in TIME display and the default alarm time will be displayed as ???1:00??? and ???ALARM??? will be displayed in the top left of the LCD display.
To review the date, press MODE button when the ALARM TIME is displayed.
When MODE is pressed again the seconds will be displayed.
To return to the TIME display, press MODE button again or wait for it to change back.
TO SET ALARM TIME
Press SET button twice in TIME display. If the alarm is being set for the first time, ???1:A??? will be displayed
with flashing, and ???ALARM??? will display in the top left.
Press MODE button to adjust the desired alarm HOUR.
Press SET button to set the desired alarm MINUTES, the alarm minutes ???00???will flash.
Press MODE button to adjust the desired alarm minutes.
Press SET button again to confirm set alarm time. The clock will return to the TIME display mode.