2.Keep your work area clean and well lit. Cluttered benches and dark areas invite accidents.
3.Use protection: Always wear ANSI-approved safety eye goggles, dust mask/ respirator, work gloves, hard toed shoes, long sleeve shirt and long pants when using or servicing this Air Hammer.
4.Do not operate power tools in explosive atmospheres, such as in the pres- ence of flammable liquids, gases, or dust. Power tools create sparks which may ignite the dust or fumes.
5.Keep bystanders, children, and visitors away while operating a power tool.
Distractions can cause you to lose control. Protect others in the work area from debris such as chips and sparks. Provide barriers or shields as needed.
6.Stay alert. Watch what you are doing, and use common sense when operat- ing a power tool. Do not use a power tool while tired or under the influence of drugs, alcohol, or medication. A moment of inattention while operating power tools may result in serious personal injury.
7.Dress properly. Do not wear loose clothing or jewelry. Contain long hair. Keep your hair, clothing, and gloves away from moving parts. Loose clothes, jewelry, or long hair can be caught in moving parts.
8.Avoid accidental starting. Be sure the Power Switch is off before plugging in. Carrying power tools with your finger on the Power Switch, or plugging in power tools with the Power Switch on, invites accidents.
9.Be sure all tools and/or attachments used with this Air Hammer are secure before plugging in or turning on the air supply.
10.Be careful when connecting/disconnecting air supply. It is recommended to use quick disconnects (not included) rather than screw-on air connections.
11.Always disconnect the air supply when this Air Hammer is not being used.
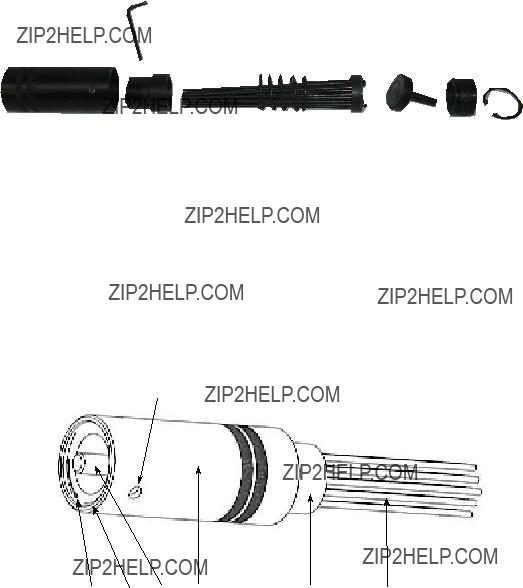
12.Use ONLY the attachments that come with this Air Hammer. Using or altering other parts/attachments could damage this tool or cause personal injury.
13.Remove adjusting keys or wrenches before turning the power tool on. A wrench or a key that is left attached to a moving part of the power tool may result in personal injury.
14.Do not overreach. Keep proper footing and balance at all times. Proper footing and balance enables better control of the power tool in unexpected situations.
15.Use clamps (not included) or other practical ways to secure and support the workpiece to a stable platform. Holding the work by hand or against your body is unstable and may lead to loss of control.

 WARNING!


 1
1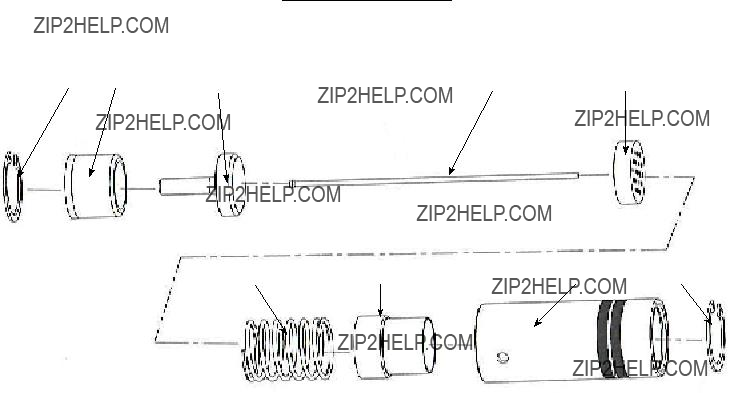


 warranty