Installation
Instructions
15???
GCG1580 SS
GCG1500 BB
GCG1500 WW
GCG1700 II*
ZCGS150 SS
ZCGP150 II*
*For ZCGP150 II and GCG1700 II, also refer to the instructions provided on the template packed with those models.
Installation
Instructions
15???
GCG1580 SS
GCG1500 BB
GCG1500 WW
GCG1700 II*
ZCGS150 SS
ZCGP150 II*
*For ZCGP150 II and GCG1700 II, also refer to the instructions provided on the template packed with those models.

Safety Information
BEFORE YOU BEGIN
Read these instructions completely and carefully.
??? IMPORTANT ??? Save these instructions for local inspector???s use.
??? IMPORTANT
and ordinances.
???Note to Installer ??? Be sure to leave these instructions with the Consumer.
???Note to Consumer ??? Keep these instructions with your Owner???s Manual for future reference.
???Skill Level ??? Installation of this appliance requires basic mechanical and electrical skills.
???Completion time ??? 1 hour.
???Proper installation is the responsibility of the installer.
???Product failure due to improper installation is not covered under the Warranty. See Owner???s Manual for warranty information.
IMPORTANT
???Use this compactor only for its intended purpose.
???This compactor is designed for
WARNING!
Do not allow items to fall or collect behind the compactor. Failure to follow this instruction could result in a fire.
CAUTION:
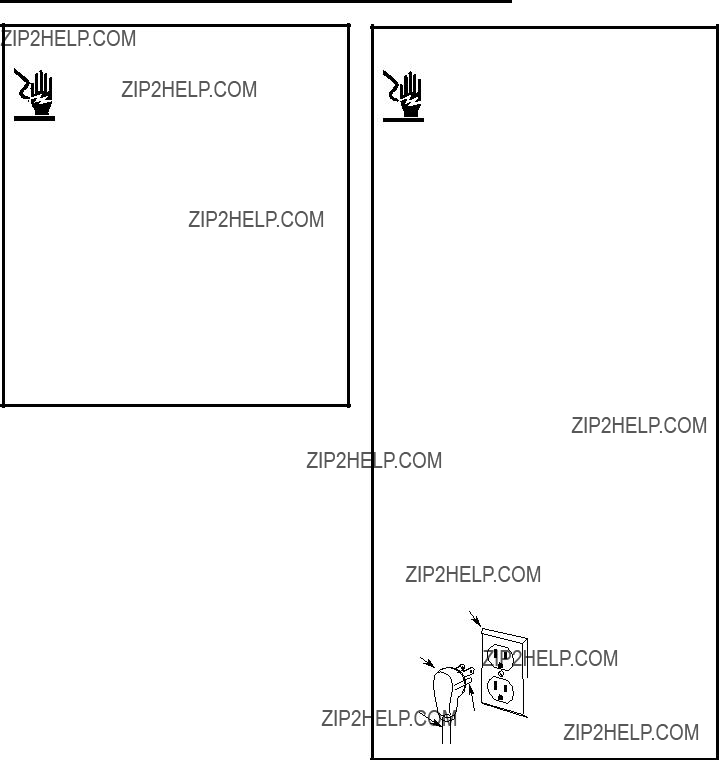
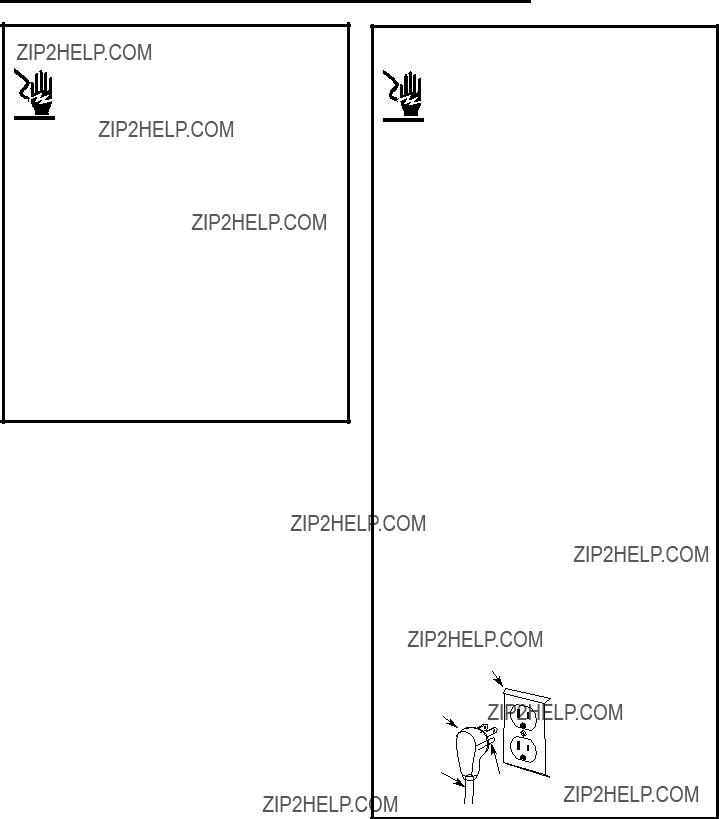
For personal safety, remove house fuse or oven circuit breaker before beginning installation to avoid severe or fatal
shock injury.
2

PRODUCT DIMENSIONS AND CLEARANCES
Locate the outlet 18??? (45.7 cm) min from the floor, 3??? (7.6 cm) min from either side
23??? (58.4 cm)
(85.8 cm) min.
to
35??? (88.9 cm) max.
???Allow 23??? (58.4 cm) clearance at the front for a full drawer opening.
???Allow 6??? (15.2 cm) clearance on the right side to the nearest vertical wall or cabinet for bag removal.
???Note: This compactor is designed for
3

ADVANCE PLANNING
CLEARANCES
???You should be able to fully open the compactor drawer. Six inches (15.2 cm) is required on the right side of the compactor for bag removal.
???Allow 23 inches (58.4 cm) in front of the compactor to remove the drawer.
???This compactor is designed as a
DO NOT OPERATE
???The compactor may be installed beneath countertops of stone or other materials that will not accept screws. No trim kit is required.
The compactor must be securely installed in a cabinet that is firmly attached to the house structure. Weight on the compactor drawer could cause the compactor to tip and result in injury. Never allow anyone to climb, sit or hang on the compactor drawer.
MODELS WITH A CUSTOM
DRAWER PANEL
Models ZCGP150 II and GCG1700 II
The custom drawer panel and custom handle of your choice should be secured to the compactor before installation begins. A template with instructions and installation hardware is provided with those models. For planning purposes, you may order the template in advance. Order Pub. No.
CUSTOM PANEL SIZE REQUIREMENTS:
Maximum panel weight is 12 LBS (5.4 kg).
(37.8 cm)
4
Installation Preparation
ELECTRICAL REQUIREMENTS
WARNING!
FOR PERSONAL SAFETY: Remove house fuse or open circuit breaker before beginning installation. Do not use an extension cord or adapter plug with this appliance.
???The power supply cord and plug should be brought to a separate 15 or 20 ampere branch circuit single grounded receptacle. The outlet box should be located within reach of the 36" (91.4 cm) power cord.
???This appliance must be supplied with 120V, 60Hz and connected to an individual properly grounded branch circuit, protected by a 15 or 20 ampere circuit breaker or time delay fuse.
???If the electrical supply does not meet the above requirements, call a licensed electrician before proceeding.
IMPORTANT: Observe all governing codes and ordinances.
GROUNDING REQUIREMENTS
WARNING!
The improper connection of the equipment grounding conductor can result in a risk of electric shock. Check with a qualified electrician or service representative if you are in doubt that the appliance is properly grounded.
???Electrical Ground is REQUIRED on this compactor.
???DO NOT ground to a gas pipe.
???DO NOT change the power supply cord plug. If it does not fit the outlet, have a proper outlet installed by a qualified electrician.
???DO NOT have a fuse in the neutral or grounding circuit. A fuse in the neutral or grounding circuit could result in an electrical shock.
???DO NOT use an extension cord with this compactor.
Failure to follow these instructions could result in death or serious injury.
Recommended Grounding Method:
For your personal safety, this appliance must be grounded. This appliance is equipped with a power supply cord having a
Copies of the standards listed may be obtained from:
*National Fire Protection Association Batterymarch Park, Quincy, MA 02260
5

Installation Preparation
1UNPACKING THE COMPACTOR
???Move the compactor close to the installation location.
???Use a section of the shipping carton to protect the finished floor.
???Do not use the handle to lift the compactor.
???Remove all protective packaging materials such as tape or shipping pads. Remove waxy residue caused by shipping material with a mild solution of liquid household cleaner and water.
???Check that the power supply cord is attached to the cord clip on the rear of the compactor.
Cord clip
IMPORTANT: Use the shipping carton as a pad. Do not slide the compactor across a finished floor. Damage will occur.
UNPACKING THE COMPACTOR
(CONT.)
???Open the compactor drawer and remove any shipping materials or other items shipped in the drawer.
???Do not remove the compactor bag (if installed).
???Grasp the sides of the drawer and lift it out of the compactor. Place the drawer on a protected surface. The drawer can scratch a finished floor.
6

Installation Preparation
2LEVELING THE COMPACTOR
???The top of the compactor should be at least 1/8???
(3 mm) from the top of the cabinet opening. You can adjust the height of the compactor by turning the screws on the front leveling legs and rear wheels.

 Front leveling legs

 Rear wheels
???Place a level inside the compactor on the floor of the cabinet.
???Use the leveling legs to adjust level front to back and side to side.
3ADJUST THE RETAINING
BRACKET
???Determine installation depth of the compactor beneath the countertop.
???Adjust the position of the retaining brackets so that the screws can meet the underside of the countertop.
???Mounting clips are provided for stone or other hard countertops that will not accept screws.
Retaining bracket
Countertop
4 ADJUSTING THE BASE TOEKICK
A toekick extension is supplied. It can be used to cover any gaps from the bottom of the compactor to the floor.
???Remove the top toekick screws as shown. Lift off top toekick piece.
???Loosen the base toekick screws, adjust to touch the floor and tighten the screws.
???Reinstall the top toekick piece with the original screws.
Top toekick
7

Installation
5POSITION COMPACTOR UNDER
THE COUNTERTOP
WARNING!
When moving the compactor, use gloves to protect and cushion your hands.
To protect the finished flooring, use a dolly to move the compactor near the installation location.
Failure to follow these instructions could result in injury.
???Plug the power cord into a properly grounded receptacle.
???Carefully lift the front of the compactor slightly and roll the unit into the cabinet opening until the retaining brackets stop.
Lift here
6ATTACH THE COMPACTOR TO
THE COUNTERTOP
???Use two
of the compactor to the underside of the countertop.


 Retaining
bracket
 Mounting
screws
???If the brackets cannot be attached to the underside of the countertop, attach mounting clips to the bracket. Fasten the compactor to the cabinet front with mounting screws through the mounting clips.


 Retaining
bracket
 Mounting
screw
Mounting clip
8

Installation
7REINSTALL THE COMPACTOR
DRAWER
???Grasp the sides of the drawer. Carefully slide the drawer into the compactor.
8INSTALLATION OF THE TRASH BAG CADDY (on some models)
???Set the bag caddy into the drawer and hook the
???Set the trash bag into the bag caddy and fold over.
???Hook the holes in the bag over the drawer buttons.
Trash bag caddy
Drawer buttons
9FINALIZE THE INSTALLATION
???Turn power on at the source.
???Refer to your Owner???s Manual for operating instructions.
9

Notes
10
Notes
11

NOTE: While performing installations described in this book, safety glasses or goggles should be worn.
NOTE: Product improvement is a continuing endeavor at General Electric. Therefore, materials, appearance and specifications are subject to change without notice.
GE Consumer & Industrial
Appliances

Instructions d???installation
Compacteur int??gr?? de 38 cm (15 po)
GCG1580 SS
GCG1500 BB
GCG1500 WW
GCG1700 II*
ZCGS150 SS
ZCGP150 II*
*Pour ZCGP150 II et GCG1700 II,

Information sur la s??curit??
AVANT DE
COMMENCER
Lisez attentivement et avec soin ces instructions.
??? IMPORTANT ??? Conservez ces instructions pour l???utilisation de l???inspecteur local.
??? IMPORTANT ??? Respectez tous les codes et les ordonnances en vigueur.
???Note ?? l???installateur ???
???Note au client ??? Gardez ces instructions avec votre manuel du propri??taire ?? titre de r??f??rence.
???Niveau de comp??tences ??? L???installation de cet appareil exige des comp??tences de base en m??canique et en ??lectricit??.
???Temps d???ex??cution ??? 1 heure.
???La bonne installation est la responsabilit?? de l???installateur.
???Toute d??faillance du produit ?? cause d???une mauvaise installation n???est pas couverte par la garantie. Consultez le manuel du propri??taire pour l???information sur la garantie.
IMPORTANT
???Utilisez ce compacteur seulement aux fins pr??vues.
???Ce compacteur est con??u SEULEMENT pour des installations ENCASTR??ES.
AVERTISSEMENT !
Ne laissez pas d???objets tomber ou s???accumuler derri??re le compacteur. Le
MISE EN GARDE :
Pour votre s??curit??, retirez le fusible de la maison ou ouvrez le disjoncteur du four avant l???installation, pour ??viter des blessures graves ou m??me le d??c??s pouvant ??tre caus?? par un choc ??lectrique.
2

DIMENSIONS ET D??GAGEMENTS DU PRODUIT
(85,8 cm) min. ?? 35 po (88,9 cm) max.
Placez la prise ?? 18 po (45,7 cm) ou plus du sol et ?? 3 po (7,6 cm) ou plus d'un c??t?? ou de l'autre.
23 po (58,4 cm)
14 7/8 po (37,8 cm)
???Pr??voyez un d??gagement de 23 po (58,4 cm) ?? l???avant pour l???ouverture compl??te du tiroir.
???Pr??voyez un d??gagement de 6 po (15,2 cm) du c??t?? droit jusqu???au mur vertical ou ?? l???armoire la plus proche pour retirer le sac.
???Remarque : ce compacteur est con??u pour une installation encastr??e.
3

Planification pr??alable
D??GAGEMENTS
???Vous devriez pouvoir ouvrir enti??rement le tiroir du compacteur. Il faut 6 pouces (15,2 cm) du c??t?? droit du compacteur pour retirer le sac.
???Pr??voyez 23 pouces (58,4 cm) devant le compacteur pour retirer le tiroir.
???Ce compacteur est con??u comme appareil encastr?? seulement. On peut le placer dans tout espace pratique sous un comptoir. NE L???UTILISEZ PAS
COMME MOD??LE AMOVIBLE.
???Le compacteur peut ??tre install?? sous les comptoirs de pierre ou autres mat??riaux qui n???acceptent pas les vis. Aucune trousse de garniture n??cessaire.
Le compacteur doit ??tre install?? de mani??re s??re dans une armoire solidement fix??e ?? la structure de la maison. Un poids sur le tiroir du compacteur pourrait faire basculer le compacteur et causer des blessures. Ne laissez personne grimper, s???asseoir ou se tenir debout au tiroir du compacteur.
MOD??LES AVEC UN PANNEAU
DE TIROIR SUR MESURE
Mod??les ZCGP150 II et GCG1700 II
Le panneau de tiroir et la poign??e sur mesure de votre choix devraient ??tre fix??s au compacteur avant le d??but de l???installation. Un gabarit avec instructions
et quincaillerie est fourni avec ces mod??les. Vous pouvez commander le gabarit ?? l???avance aux fins de planification. N?? de pub.
TAILLE DU PANNEAU SUR MESURE :
Le poids maximum du panneau est de 12 lb (5,4 kg).
Panneau sur mesure
d???une
(1,9 cm)
(37,8 cm)
4
Pr??paration ?? l???installation
EXIGENCES ??LECTRIQUES
AVERTISSEMENT !
S??CURIT?? PERSONNELLE : retirez les fusibles ou ouvrez le disjoncteur avant de commencer l???installation. N???utilisez pas de rallonge ou de fiche d???adaptation avec cet appareil ??lectrom??nager.
???Le cordon d???alimentation et la fiche doivent ??tre branch??s dans une prise simple avec mise ?? la terre simple d???une capacit?? de 15 ou 20 amp??res. La bo??te de sortie devrait se trouver ?? port??e d???un cordon de 36 po (91,4 cm).
???Cet appareil doit ??tre aliment?? d???un courant de
120 V, 60 Hz et branch?? ?? un circuit exclusif mis ?? la terre correctement et prot??g?? par un disjoncteur de 15 ou 20 amp??res ou un fusible temporis??.
???Si l???alimentation ??lectrique fournie ne r??pond pas aux exigences pr??c??dentes, appelez un ??lectricien agr???? avant de poursuivre.
IMPORTANT: respectez tous les codes et les ordonnances en vigueur.
EXIGENCES DE MISE ?? LA TERRE
AVERTISSEMENT !
Une mauvaise connexion du conducteur de mise ?? la terre de l???appareil pourrait cr??er un risque de choc ??lectrique. Consultez un ??lectricien qualifi?? ou un repr??sentant du service si vous n?????tes pas certain que l???appareil est correctement mis ?? la terre.
???Il FAUT une mise ?? la terre pour ce compacteur.
???NE mettez PAS ?? la terre sur une conduite ?? gaz.
???NE changez PAS le cordon d???alimentation. Si la fiche n???entre pas compl??tement dans la prise, faites installer une prise appropri??e par un ??lectricien qualifi??.
???NE mettez PAS de fusible dans un circuit neutre ou de mise ?? la terre. Un fusible dans un circuit neutre ou de mise ?? la terre pourrait provoquer un choc ??lectrique.
???N???utilisez PAS de rallonge avec ce compacteur.
Le
M??thode de mise ?? la terre recommand??e :
Pour votre s??curit??, cet appareil doit ??tre mis ?? la terre. Cet appareil est dot?? d???un cordon avec fiche de mise ?? la terre ?? 3 broches. Pour r??duire les dangers de chocs possibles, le cordon doit ??tre branch?? dans une prise murale correspondante ?? 3 broches et mise ?? la terre conform??ment ?? la plus r??cente ??dition* du code national de l?????lectricit?? ANSI/NFPA70 et ?? tous les codes et r??glements locaux. Si une prise murale correspondante n???est pas disponible, le client a la responsabilit?? et l???obligation de faire installer une prise conforme par un ??lectricien qualifi??.
Prise murale ?? 3 broches avec mise ?? la terre
Fiche ?? 3 broches avec mise ?? la terre
Cordon d???alimentation
Fiche avec mise ?? la terre
Vous pouvez obtenir des copies des normes indiqu??es de :
*National Fire Protection Association Batterymarch Park, Quincy, MA 02260
5

Pr??paration ?? l???installation
1D??BALLAGE DU COMPACTEUR
???D??placez le compacteur pr??s de l???emplacement de l???installation.
???Utilisez une section du carton d???exp??dition pour prot??ger le fini du plancher.
???N???utilisez pas la poign??e pour soulever le compacteur.
???Retirez tout mat??riau d???emballage de protection comme le ruban ou les coussins. Retirez le r??sidu de cire du mat??riau d???exp??dition avec une solution douce de nettoyant domestique et d???eau.
???V??rifiez que le cordon est fix?? ?? la pince du cordon ?? l???arri??re du compacteur.
Pince de cordon
IMPORTANT: utilisez le carton d???exp??dition comme coussin. Ne glissez pas le compacteur sur un plancher fini. Cela causera des dommages.
D??BALLAGE DU COMPACTEUR
(SUITE)
???Ouvrez le tiroir du compacteur et retirez tout mat??riau d???exp??dition et autres articles exp??di??s dans le tiroir.
???Ne retirez pas le sac du compacteur (s???il y a lieu).
???Agrippez les c??t??s du tiroir et
6

Pr??paration ?? l???installation
2MISE ?? NIVEAU DU
COMPACTEUR
???Le dessus du compacteur devrait ??tre ?? au moins 1/8 po (0,31 cm) du dessus de l???ouverture de l???armoire. Vous pouvez ajuster la hauteur du compacteur en tournant les vis ?? l???avant des pieds de nivellement et des roues arri??re.

 Pieds de nivellement
 avant
avant

 Roues arri??re
???Placez un niveau ?? l???int??rieur du compacteur sur le plancher de la carrosserie.
???Utilisez les pieds de nivellement pour ajuster le niveau d???avant ?? l???arri??re et d???un c??t?? ?? l???autre.
3AJUSTEZ LA FIXATION DE
RETENUE
???D??terminez la profondeur de l???installation du compacteur sous le comptoir.
???Ajustez la position des fixations de retenue pour que les vis puissent atteindre le dessous du comptoir.
???Les pinces de montage sont fournies pour les comptoirs de pierre ou autres surfaces dures qui n???acceptent pas les vis.
Fixation de retenue
Comptoir
4AJUSTEMENT DE LA PLINTHE
DE BASE
Une rallonge de plinthe est fournie. Elle peut servir ?? couvrir tous les ??carts entre le bas du compacteur et le plancher.
???Retirez les vis de la plinthe sup??rieure tel qu???illustr??. Sortez la plinthe sup??rieure.
???Desserrez les vis de la plinthe de base, ajustez pour toucher le plancher et resserrez les vis.
???R??installez la plinthe sup??rieure avec les vis originales.
Plinthe
sup??rieure Plinthe inf??rieure Desserrez la vis de chaque c??t??
ajustable
7

Installation
5POSITIONNEMENT DU
COMPACTEUR SOUS LE
COMPTOIR
AVERTISSEMENT !
En d??pla??ant le compacteur, portez des gants pour prot??ger et matelasser les mains.
Pour prot??ger le fini du plancher, utilisez un chariot pour d??placer le compacteur et le rapprocher du site d???installation.
Le
???Branchez le cordon dans une prise correctement mise ?? la terre.
???Soulevez soigneusement l???avant du compacteur et roulez l???appareil dans l???ouverture de l???armoire jusqu????? ce que les fixations de retenue s???arr??tent.
6FIXATION DU COMPACTEUR
AU COMPTOIR
???Utilisez deux vis


 Fixation de
  retenue
 Vis de montage
???Si les fixations ne peuvent pas ??tre attach??es sous le comptoir, fixez les pinces de montage ?? la fixation. Fixez le compacteur ?? l???avant de l???armoire avec les vis de montage ?? travers les pinces de montage.


 Fixation de
  retenue
 Vis de montage
Pince de montage
Soulevez ici
8
Installation
7R??INSTALLATION DU TIROIR DU
COMPACTEUR
???Agrippez les c??t??s du tiroir. Glissez avec soin le tiroir dans le compacteur.
8 INSTALLATION DU CHARIOT DE
SAC D???ORDURES
(sur certains mod??les)
???Placez le chariot de sac dans le tiroir et accrochez les trous pr??perc??s dans le chariot sur les boutons du tiroir.
???D??posez le sac d???ordures dans le chariot du sac et repliez.
???Accrochez les trous du sac sur les boutons du tiroir.
Chariot de sac d???ordures m??nag??res
Boutons de tiroir
9FINALISATION DE
L???INSTALLATION
???Coupez le courant ?? la source.
???
9

Remarques
10

Remarques
11
