About the dishwasher control panel
Control Settings
Cycles
An indicator light above the selected pad will be ON to indicate which CYCLE has been selected, on some models.
POTS & PANS/ For heavily soiled dishes or cookware with dried-on or baked-on soils. Everyday dishes may be included. HEAVY WASH This cycle will not remove burned-on foods.
(on some models)
NORMAL/ For loads of everyday dishes, glasses and cookware with medium soils. NOTE: Many dishes have lighter NORMAL WASH soil than normal. Choosing a cycle other than NORMAL WASH will save energy and water.
SHORT WASH For quickly washing loads of everyday dishes with medium soils that have not dried on, such as loads (on some models) consisting mostly of glasses.
WATER SAVER For dishes with light soils.
LIGHT WASH
(on some models)
RINSE ONLY For rinsing partial loads that will be washed later. Do not use detergent.
DRYING For warming clean dishes and serving plates. This cycle will take approximately 30 minutes.
PLATE WARMER
HOT PREWASH Preheats wash water to the correct temperature.
HOT START
CHINA CRYSTAL For lightly soiled china and crystal.
(on some models)
Options
An indicator light above the selected pad will be ON to indicate which OPTION has been selected, on some models.
HI TEMP Turns on the heater in all final rinse cycles to help prevent spotting on dishware. This option may be
RINSE turned ON or OFF during the wash cycle.
(on some models)
HI TEMP Energizes the heater to boost water temperature in prewash and main wash fill cycles. Recommended WASH for use with heavily soiled dishes. Option may be turned ON or OFF during the wash cycle.
HEATED DRY Shuts off the drying heat option. Dishes air dry naturally and energy is saved. Open the dishwasher door OFF to speed drying.
HEATED DRY Turns the heater on for fast drying. This cycle will extend the time to your wash cycle by 30 minutes. ON DO NOT use with RINSE ONLY cycle.
LOCK When the LOCK pad is touched twice within 3 seconds, all pads become inoperative. You can lock the controls to
(electronic models prevent any selections from being made. Or you can lock the controls after you have started a cycle or selected only) DELAY START so the cycle or DELAY START is not interrupted.
Children cannot accidentally start dishwasher by touching pads with this option selected.
To unlock the dishwasher after it has been locked, touch the LOCK pad twice within 3 seconds. The light above the LOCK pad will turn off.
DELAY HOURS Delays the start of a wash cycle for up to 8 hours.
(on some models)
RESET Touch RESET to cancel options.
(timer models)
START/RESET Touch START/RESET one time to start dishwasher cycle. Touch START/RESET a second time to pump out (electronic models) and then turn off the dishwasher. Do not touch START/RESET more than one time unless you intend to
end the cycle.
4
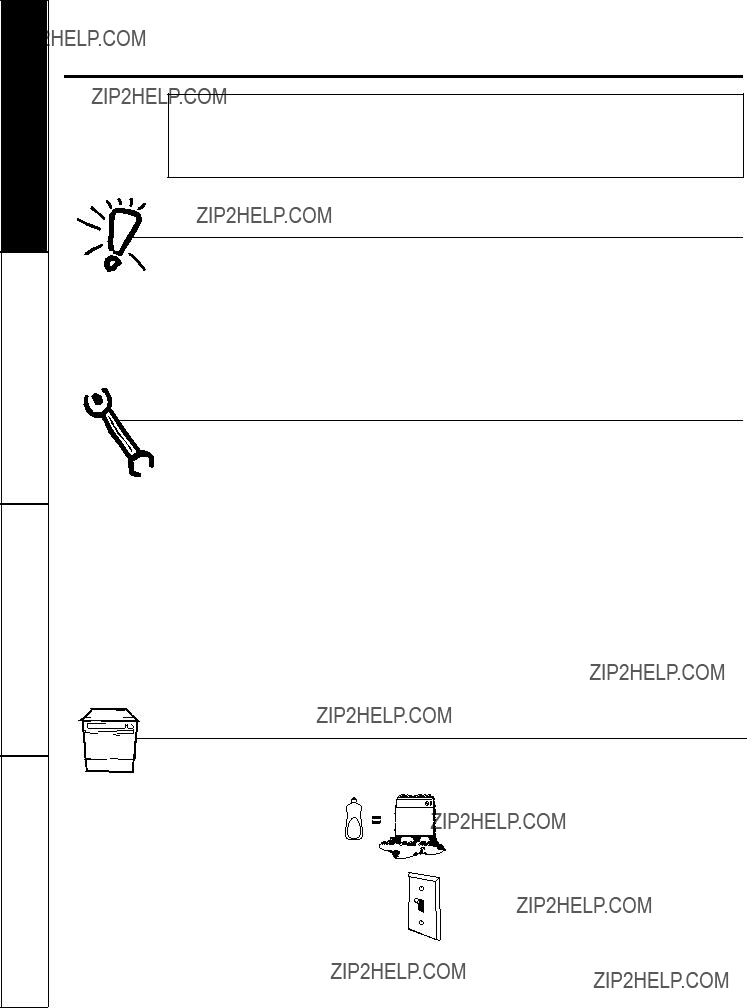
 WARNING!

 Under certain conditions, hydrogen gas may be produced in a water heater that has not been used for two or more weeks.

 WARNING! RISK OF CHILD ENTRAPMENT

 SAVE THESE INSTRUCTIONS


 Printed on Recycled Paper