Owner???s Manual
AHM30
AHW30
AHH40
AHM40
AHM65*
220264A035 49-7558 11-06 JR
IMPORTANT SAFETY INFORMATION.
READ ALL INSTRUCTIONS BEFORE USING.
 WARNING!
For your safety, the information in this manual must be followed to minimize the risk of fire, electric shock or personal injury.
 SAFETY PRECAUTIONS
 When using this dehumidifier, always follow basic safety precautions, including the following:
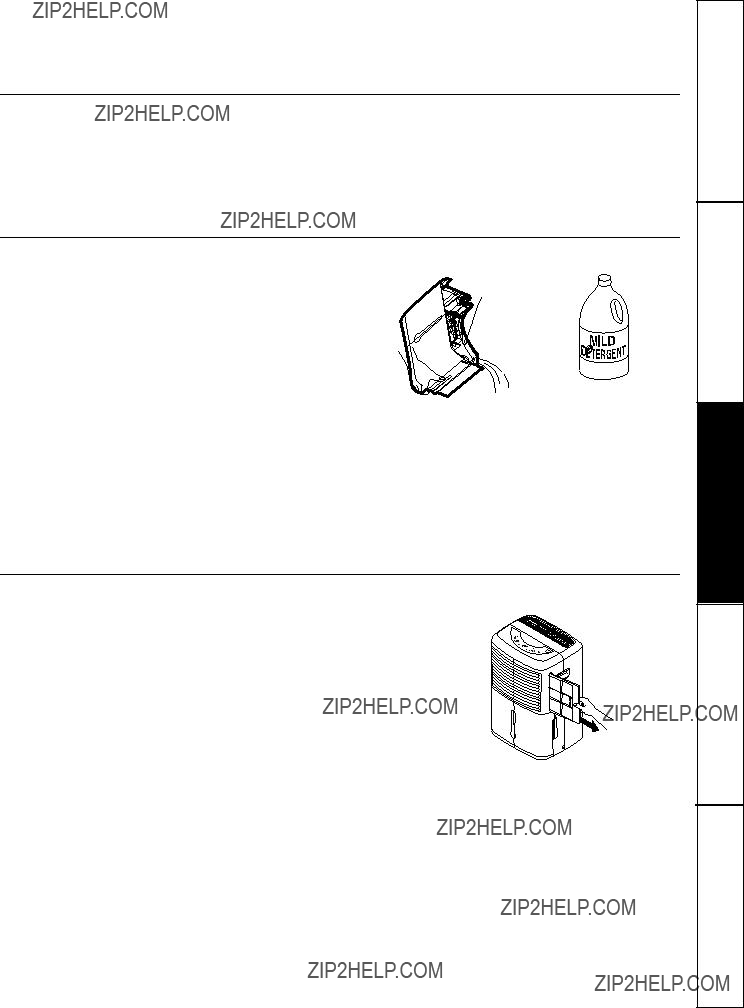
Tips Care and Cleaning Operating Instructions
???Use this appliance only for its intended purpose as described in this Owner???s Manual.
???This dehumidifier must be properly installed and grounded as described in this manual before it is used.
???Never operate this dehumidifier in an area that is likely to accumulate standing water.
If this condition develops, for your safety disconnect the power supply before stepping into the water.
???Never unplug your dehumidifier by pulling on the power cord. Always grip plug firmly and pull straight out from the receptacle.
???Replace immediately all electric service cords that have become frayed or otherwise damaged. A damaged power supply cord must be replaced with a new power supply cord obtained from the manufacturer and not repaired. Do not use a cord that shows cracks or abrasion damage along its length or at either the plug or connector end.
???If the receptacle does not match the plug, the receptacle must be changed out by a qualified electrician.
???Turn the dehumidifier OFF and unplug it before cleaning.
???GE does not support any servicing of
the dehumidifier. We strongly recommend that you do not attempt to service the dehumidifier yourself.
???For your safety, do not store or use combustible materials, gasoline or other flammable vapors or liquids in the vicinity of this or any other appliance.
???All dehumidifiers contain refrigerants, which under federal law must be removed prior to product disposal. If you are getting rid of an old product with refrigerants, check with the company handling disposal about what to do.
???Do not use outdoors.
???This dehumidifier is intended for indoor residential applications only. This dehumidifier should not be used for commercial or industrial applications.
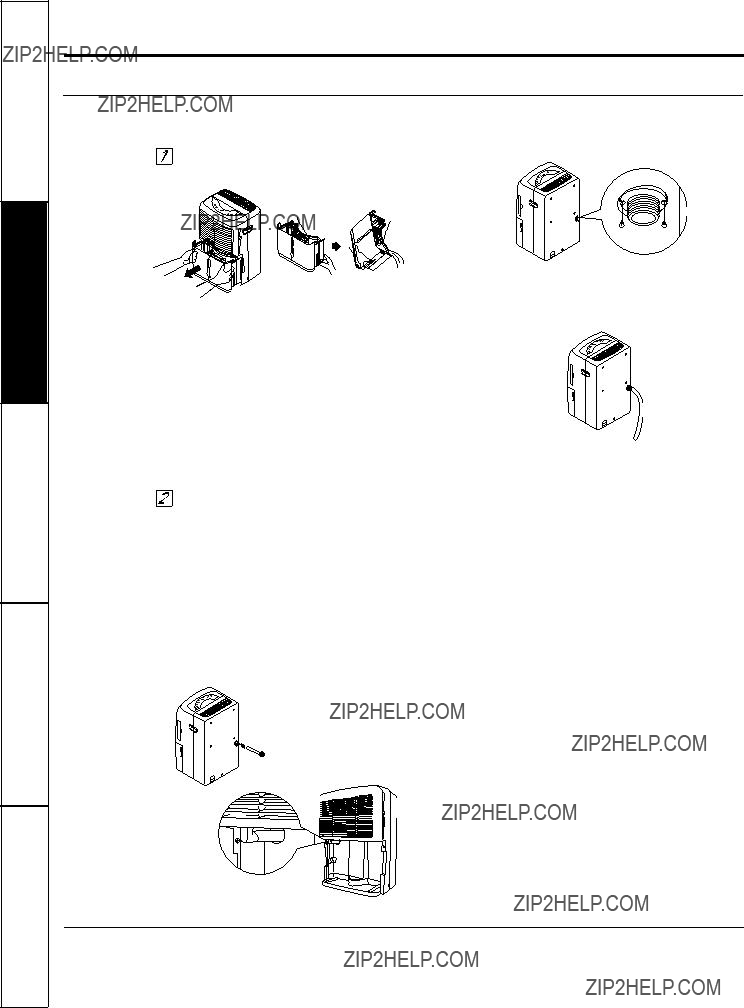
HOW TO CONNECT ELECTRICITY
Consumer Support Troubleshooting
Do not, under any circumstances, cut or remove the third (ground) prong from the power cord. For personal safety, this appliance must be properly grounded.
DO NOT use an adapter plug with this appliance.
The power cord of this appliance is equipped with a 3-prong (grounding) plug which mates with a standard 3-prong (grounding) wall outlet to minimize the possibility of electric shock hazard from this appliance.
Have the wall outlet and circuit checked by a qualified electrician to make sure the outlet is properly grounded.
Where a 2-prong wall outlet is encountered,
it is your personal responsibility and obligation to have it replaced with a properly grounded 3-prong wall outlet.
The dehumidifier should always be plugged into its own individual electrical outlet, which has a voltage rating matching the rating plate.
This provides the best performance and also prevents overloading house wiring circuits, which could cause a fire hazard from overheated wires.

Consumer Support.
Have a question or need assistance with your appliance? Try the GE Appliances Website 24 hours a day, any day of the year! For greater convenience and faster service, you can now download Owner???s Manuals, or even order parts on-line.
GE supports the Universal Design concept???products, services and environments that can be used by people of all ages, sizes and capabilities. We recognize the need to design for a wide range of physical and mental abilities and impairments. For details of GE???s Universal Design applications, including kitchen design ideas for people with disabilities, check out our Website today. For the hearing impaired, please call 800.TDD.GEAC (800.833.4322).
Individuals qualified to service their own appliances can have parts or accessories sent directly to their homes (VISA, MasterCard and Discover cards are accepted). Order on-line today, 24 hours every day or by phone at 800.626.2002 during normal business hours.
Instructions contained in this manual cover procedures to be performed by any user. GE does not support any servicing of the dehumidifier. We strongly recommend that you do not attempt to service the dehumidifier yourself.
If you are not satisfied with the service you receive from GE, contact us on our Website with all the details including your phone number, or write to: General Manager, Customer Relations
GE Appliances, Appliance Park Louisville, KY 40225
ge.com
COMO CONECTAR LA ELECTRICIDAD
Bajo ninguna circunstancia, corte o remueva la tercera p??a (tierra) del cable el??ctrico. En pos de la seguridad personal, este electrodom??stico debe siempre conectarse a tierra.
NO USE un enchufe adaptador con este aparato.
El cable el??ctrico de este electrodom??stico est?? equipado con un enchufe de tres p??as (tierra) que combina con un tomacorriente est??ndar de tres tomas de pared para minimizar la posibilidad de una descarga el??ctrica.
Pida a un t??cnico que inspeccione el tomacorriente y el circuito para cerciorarse de que el tomacorriente est?? conectado a tierra de la manera apropiada.
Donde exista un tomacorriente de dos tomas, es su responsabilidad y obligaci??n personal hacer que dicho tomacorriente sea reemplazado por uno de tres tomas con conexi??n a tierra.
El deshumedificador deber??a siempre estar conectado a un tomacorriente individual con su circuito de voltaje correspondiente.
Esto proporciona el mayor rendimiento y adem??s evita que los circuitos del resto de
la casa se sobrecarguen, lo cual podr??a causar incendios por el sobrecalentamiento
del cableado.
USO DE CABLES DE EXTENSI??N
Debido al potencial de riesgos de seguridad bajo ciertas condiciones, en??rgicamente recomendamos en contra del uso de cables de extensi??n.
Sin embargo, si usted se ve en la necesidad de usar un cable el??ctrico de extensi??n, es absolutamente necesario que el mismo est?? listado bajo UL, sea calibre 14, del tipo
de 3 tomas con conexi??n a tierra para electrodom??sticos y el ??ndice el??ctrico debe ser de 15 amperios (m??nimo) y 125 voltios.
LEA Y SIGA ESTAS INSTRUCCIONES DE SEGURIDAD CUIDADOSAMENTE.


 GUARDE ESTAS INSTRUCCIONES
3
cliente al Ayuda problemas de Soluci??n

Ayuda al cliente.
??Tiene alguna pregunta sobre su electrodom??stico? ??Pruebe la p??gina Web de GE Appliances 24 horas al d??a, cualquier d??a del a??o! Para mayor conveniencia y servicio m??s r??pido, ya puede descargar los Manuales de los Propietarios, o incluso pedir piezas hacer una cita en l??nea.
GE apoya el concepto de Dise??o Universal???productos, servicios y ambientes que pueden usar gente de todas las edades, tama??os y capacidades. Reconocemos la necesidad de dise??ar para una gran gama de habilidades y dificultades f??sicas y mentales. Para m??s detalles cobre las aplicaciones de GE Dise??o Universal, incluyendo ideas de dise??o para la cocina para personas con discapacidades, mire nuestra p??gina Web hoy mismo. Para personas con dificultades auditivas, favor de llamar al 800.TDD.GEAC (800.833.4322).
Aquellos individuos con la calificaci??n necesaria para reparar sus propios electrodom??sticos pueden pedir que se les manden las piezas o accesorios directamente a sus hogares (aceptamos las tarjetas VISA, MasterCard y Discover). Haga su pedido en l??nea hoy, 24 horas cada d??a o llamar por tel??fono al 800.626.2002 durante horas normales de oficina.
Las instrucciones descritas en este manual cubren los procedimientos a seguir por cualquier usuario. GE no est?? no apoya que se le proporcione ning??n servicio al acondicionador de aire. Vehementemente recomendamos que usted no intente proporcionar servicio al acondicionador de aire usted mismo.
Si no est?? satisfecho con el servicio que recibe de GE, p??ngase en contacto con nosotros en nuestra p??gina Web indicando todos los detalles as?? como su n??mero de tel??fono o escr??banos a:
General Manager, Customer Relations GE Appliances, Appliance Park Louisville, KY 40225


 SAVE THESE INSTRUCTIONS


 ??ADVERTENCIA!
 PRECAUCIONES DE SEGURIDAD
 Al usar este deshumedificador, se deben seguir precauciones b??sicas de seguridad, incluyendo las siguientes:


 PRECAUCI??N:
