RIDING HAZARD
WARNING
???Prevent Injuries and Deaths
???Direct Adult Supervision Required
???Never Ride at Night.
???Keep Children Within Safe Riding Areas. These areas must be:
-away from swimming pools and other bodies of water to prevent drownings
-generally level to prevent tipovers
-away from steps, steep inclines, cars, roads and alleys.
???Riding Rules
Make sure children know and follow these rules for safe driving and riding.
-Always sit on the seat.
-Always wear shoes.
-Only 1 (one) riders at a time.
Use vehicle on generally level ground ONLY!
Teach Safety Rules to Children
While children can quickly develop the skill necessary to drive this vehicle, it is important to remember that their judgment skills are still very immature. Unsupervised driving by children can lead to serious injury. Before children use this vehicle, an adult should carefully evaluate the driving area as well as the children???s skill level and ability to drive this vehicle safely. Children are not always able to recognize or anticipate hazards, even when they have been taught about them. There is no acceptable substitute for direct adult supervision.
Teach appropriate safety rules to your child before allowing operation of this vehicle. These rules should also be reviewed with neighborhood children or other playmates who want to drive this vehicle.
Riding Rules
Make sure children know and follow these rules for safe driving:
1.Always sit on the seat.
2.Always wear shoes.
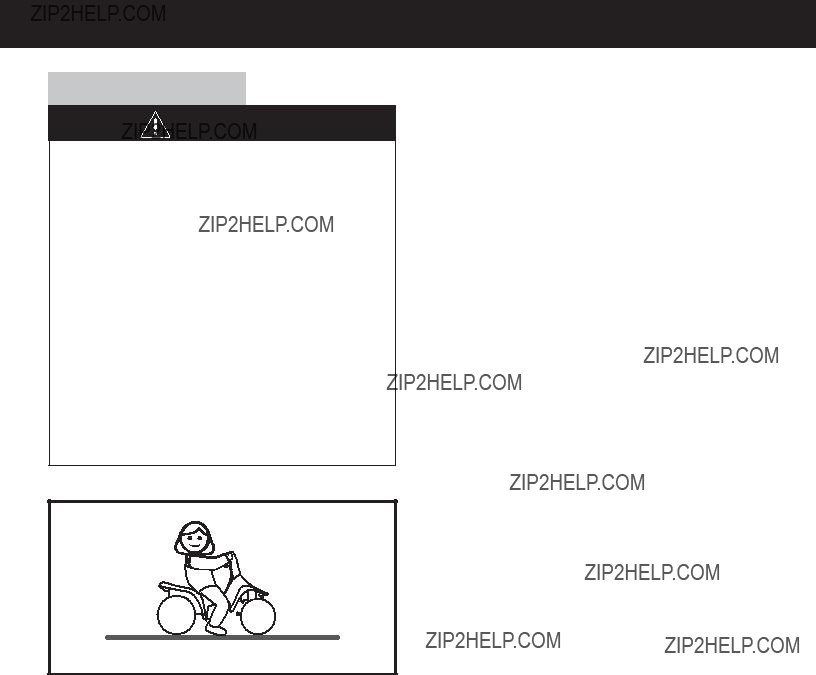
3.Only 1 (one) rider at a time. A child who is not sitting on the seat or who is standing on the vehicle could fall off, cause a tip-over or block the driver???s view. A child could be seriously injured.
4.Do not allow any child to drive the vehicle in the street or near moving (motorized) vehicles.
5.Do not allow any child to drive near bodies of water (such as pools or creeks), obstructions (such as furniture, low tree limbs or play equipment), or drop-offs (such as stairs or decks).
6.Do not allow any child to drive the vehicle in the dark. A child could encounter unexpected obstacles and have an accident. Operate the vehicle only in the daytime or a well-lit area.
7.Do not allow your child to drive on sloped or inclined surfaces. Restrict your child???s driving to generally level ground ONLY!
8.Do not allow your child to drive down or across a steep slope.
-The vehicle may gain unsafe speed, even if the pedal is released to stop.
-The vehicle may tilt and tip over.
-The wheels could lose traction, causing the vehicle to slip.
9.Do not allow your child to drive up steep inclines. The motor may stop and the vehicle could roll backwards at an unsafe speed.
10.Never put anything near any moving parts. Rotating parts such as motors, gear boxes and wheels can snag fingers, hair, etc., causing serious injury. Do not allow operation of the vehicle when it is on its side or in an upside-down position.
11.Do not operate the vehicle near flammable vapors (gasoline, paint thinner, acetone, liquid wax, etc.). The vehicle???s electrical switches, like most electrical switches, emit an internal spark when first turned on or turned off. The presence of flammable liquids or vapors could cause an explosion or a fire. Keep all flammable products in tightly sealed containers and away from the vehicle.
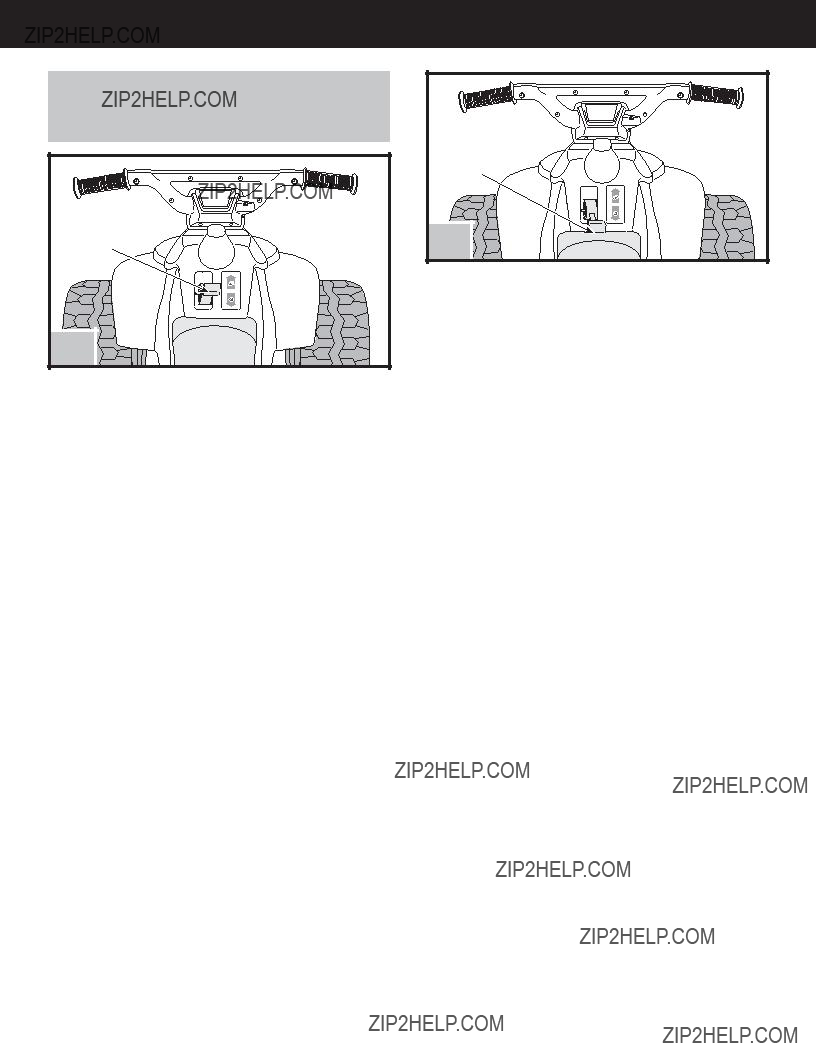
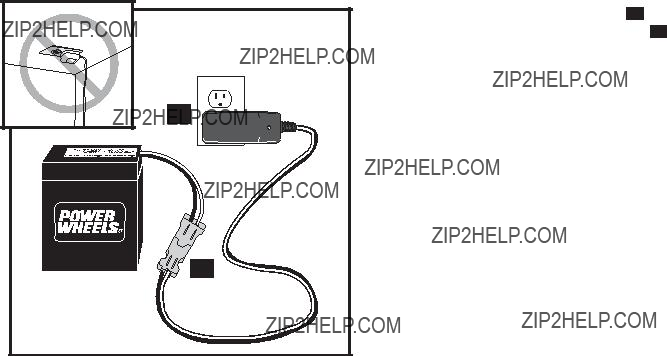
12.Do not allow a child to operate the vehicle without direct adult supervision. To prevent unsupervised use of the vehicle,
disconnect the motor harness from the battery when the vehicle is not in use.
To disconnect the motor harness and battery connector:
-Press the tab under the back of the seat and lift to remove the seat.
-Pull the motor harness connector from the battery.
-Replace the seat on the vehicle.


 4
4 


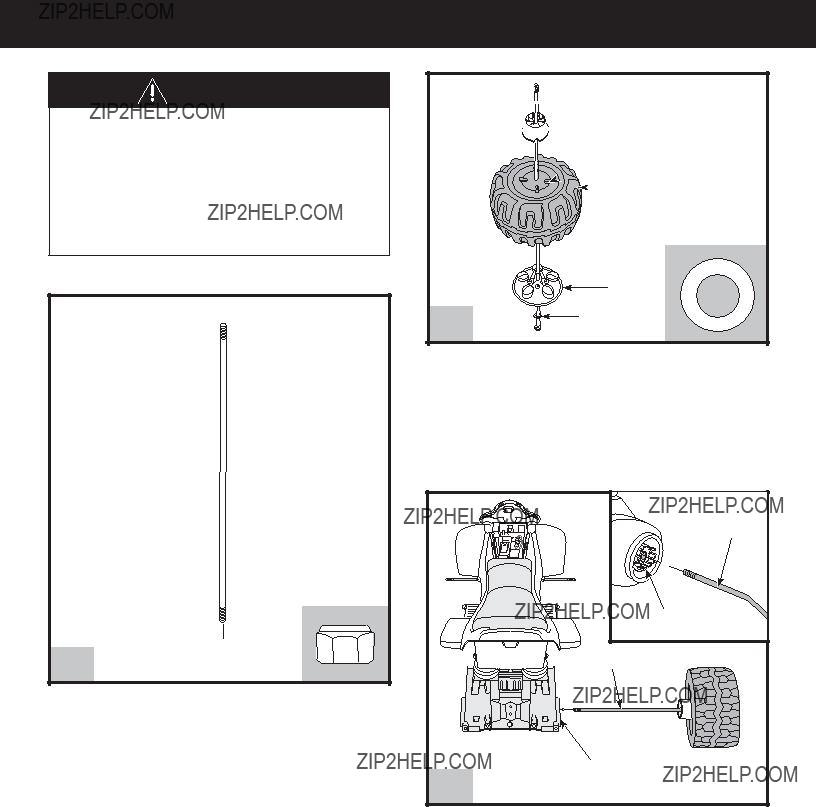
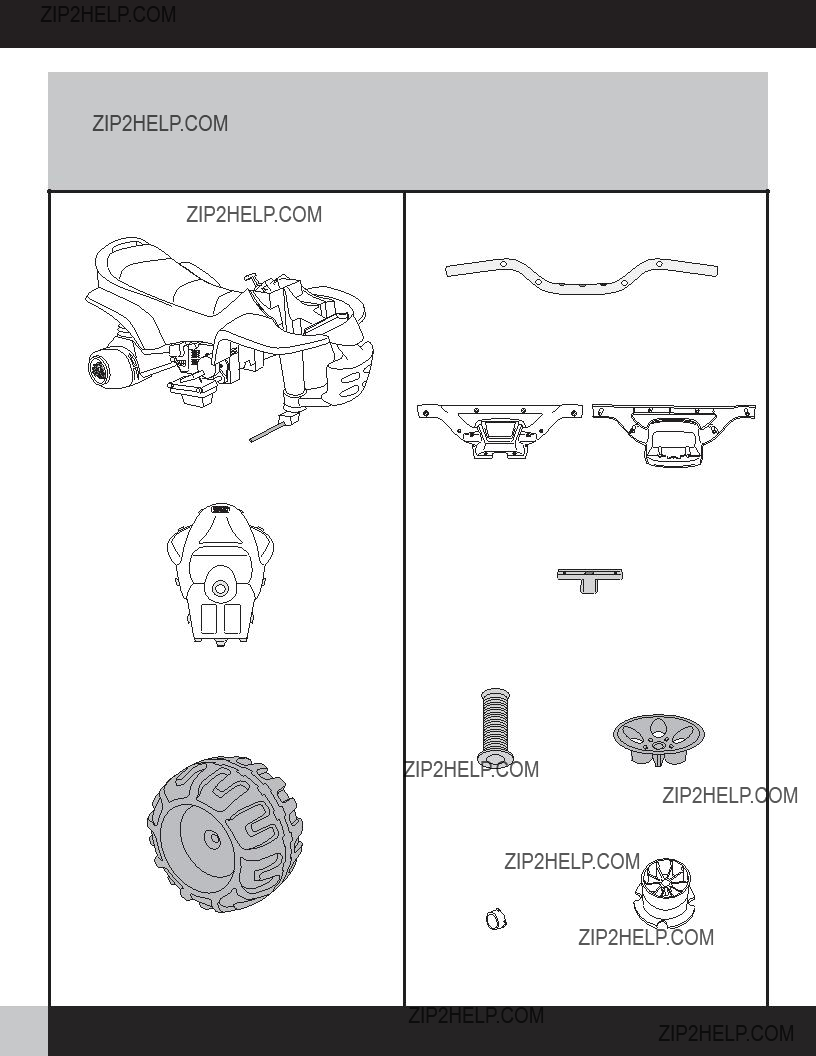
 Rear Axle


 Rear Wheel Driver
 Rib
Rib Wheel
Wheel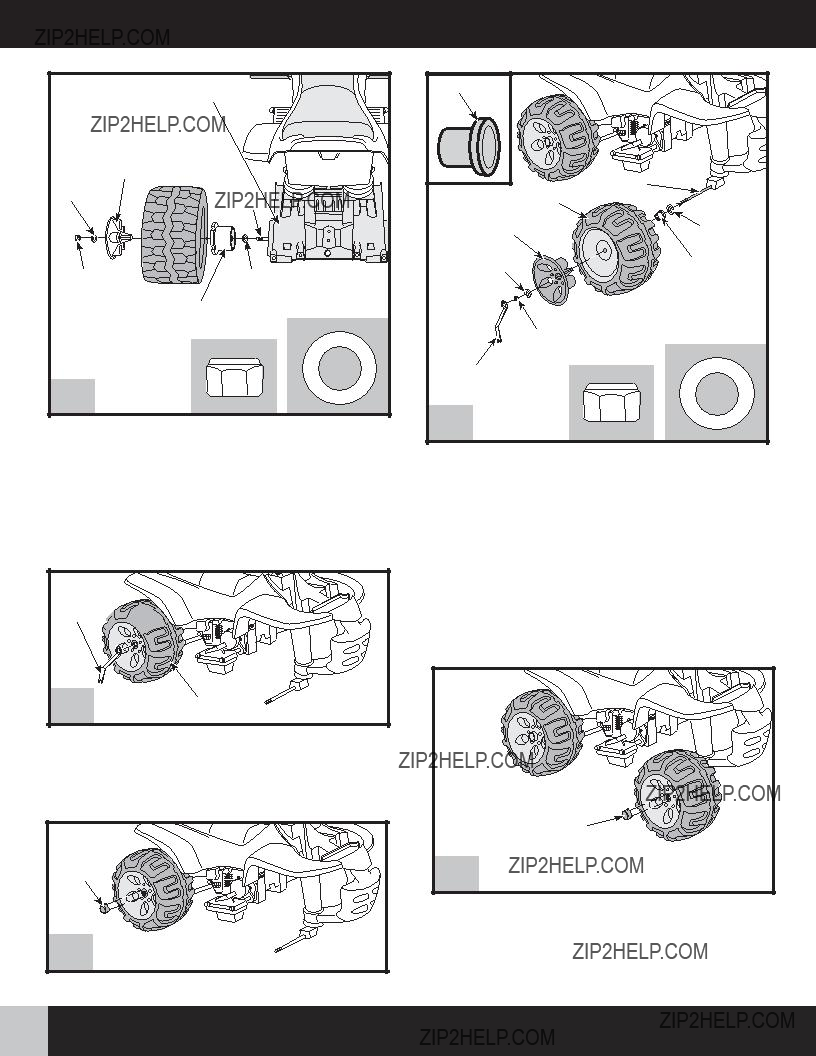


 Front Tabs


 positioned in the channel to prevent


 PULL
PULL  Snap Front Tabs
 Steering Bushing

 Steering
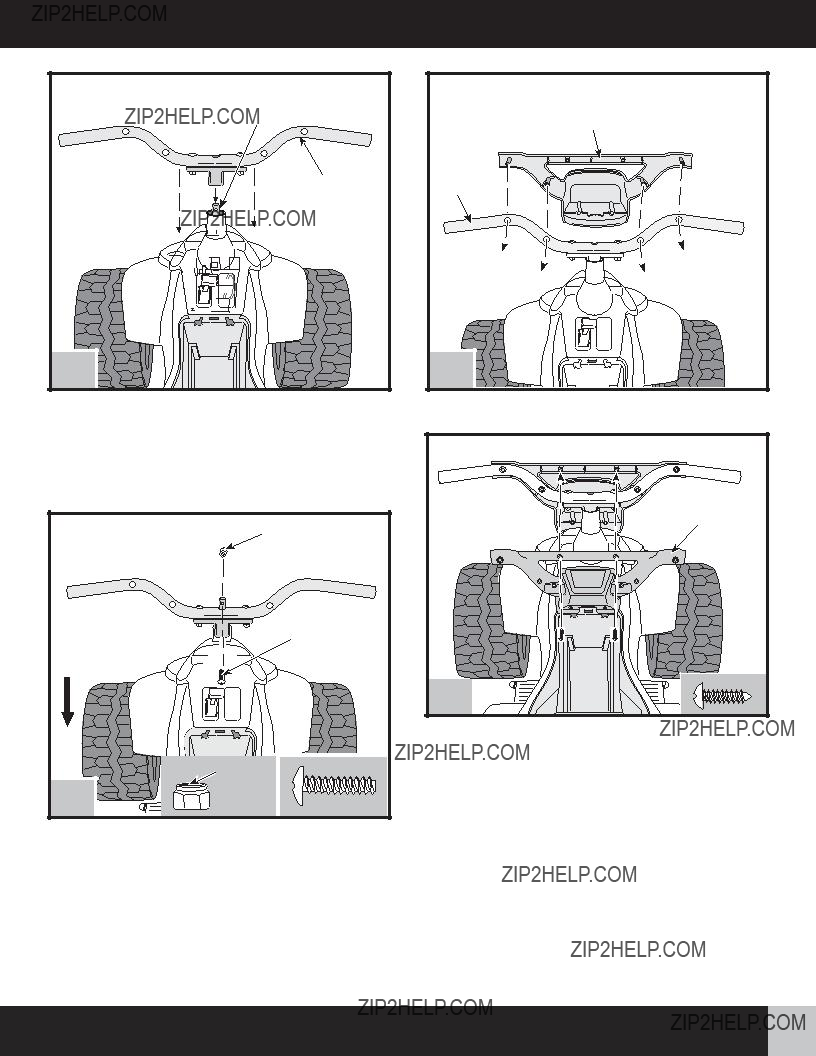
 15
15


 12 7
12 7