Before calling for service
If the unit appears to be malfunctioning, check the following points before calling for service.
Air conditioner does not operate at all
???Is the unit plugged in or is the plug loose?
???Has the fuse blown or has the circuit breaker tripped?
???Did you restart the unit within 3 minutes of a power failure? If the power was off for less than 3 minutes when, you restarted the air conditioner, a protective device may cause the compressor to shut off, preventing cooling for about 5 minutes.
???Are the OPERATION and TIMER lamps on the unit blinking?
If so, the water tank inside the unit is full. It must be drained. (See page 19)
Air conditioner does not cool properly
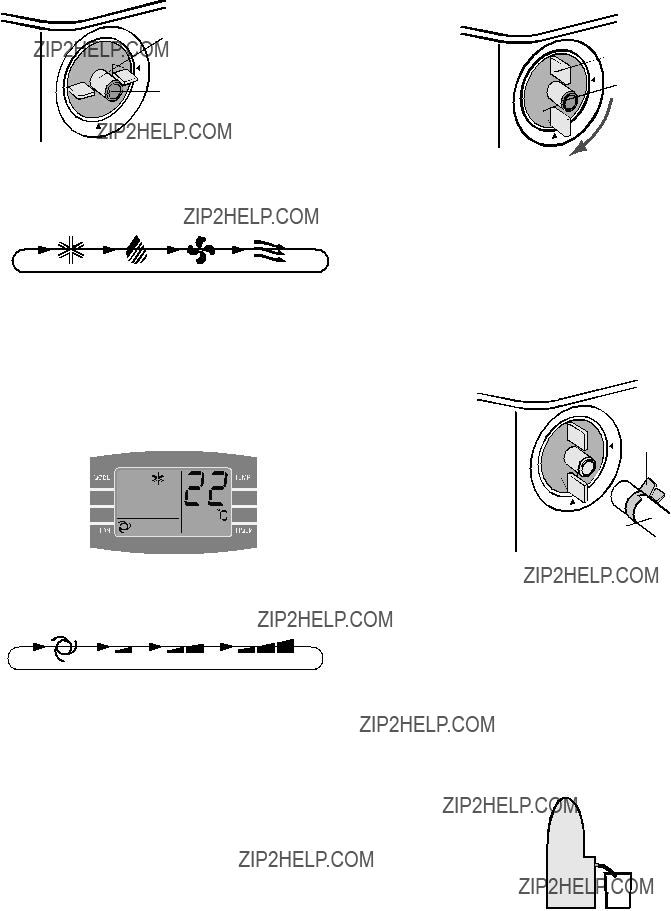
???Is the unit set to FAN, DEHUMIDIFICATION or VENTILATION mode? Cooling does not take place in these modes. Change the MODE setting.
???Are the filters clogged with dust?
Clean and refit the filters.
??? Is the cooling coil frozen?
No air will blow out if the cooling coil is frozen.
Run the air conditioner in FAN mode with the fan speed set to ???HIGH??? until all ice dissipates.
???Is the temperature set properly?
???Is the room exposed to direct sunlight?
Close the curtains or blinds to minimize solar energy heating the room.
??? Is the exhaust hose too long?
For efficient operation, make the hose as short as possible. The exhaust hose must not be twisted.
Sounds
???The unit may seem rather loud for the first 2 to 3 minutes when turned on. This is the sound of the compressor starting-up and is perfectly normal.
???A soft, swishing noise can be heard immediately after the unit is turned on or off, and also during operation. This is the sound of the refrigerant flowing inside the unit.
???A low buzzing noise is emitted when the unit is generating Plasmacluster ions.
???This air conditioner evaporates water condensed during cooling operation within the unit through the exhaust air outlet. Although a water flowing sound may be heard, this is normal.
???An audible gurgling sound may be heard for about a minute upon starting MANUAL mode. This is the sound of the drainage pump operating inside the unit.
???An audible gurgling sound may be heard when the unit is operated on a gently sloping floor.
Place the unit on a level floor.
electrolux EXP09CS1WI before calling for service 21
Timer does not work properly
???If a power failure occurs while the TIMER is set, the TIMER setting will be cancelled and will not be retrieved even after the power is restored. This is normal for this unit.
The unit fails to react to the remote control signal
???Check the batteries in the remote control. Replace if necessary.
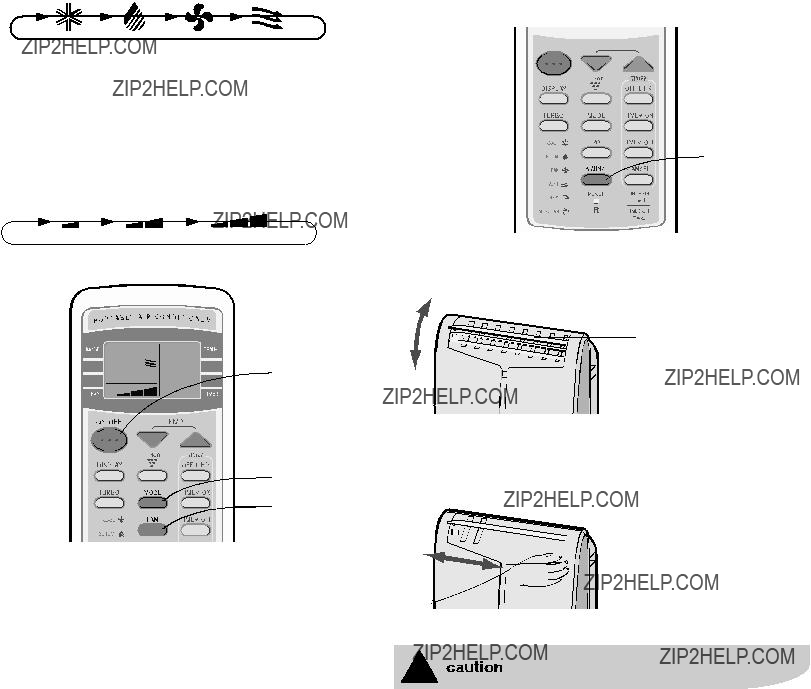
???Try to send the signal again with the remote control pointed directly at the unit???s signal receiver window.
???Check whether the remote control batteries are installed with the polarities properly orientated.
The discharged air has an odour
??? This is the smell of ozone generated from the Plasmacluster Ion generator. The ozone concentration is very small, posing no adverse effect to your health. The ozone discharged into the air rapidly decomposes, and its density in the room will not increase beyond acceptable levels .

 Plasmacluster is a trademark of SHARP Corporation
 warning
 This symbol indicates never to do this
  This symbol indicates always do this
 warning
 Plug in power plug properly
 Do not operate or stop the unit by inserting or pulling out the power plug
 Do not damage or use an unspecified power cord
 Do not modify power cord length or share the outlet with other appliances
 Do not operate with wet hands or in damp environment
 Do not direct airflow at room occupants
 Always ensure effective earthing
 Do not allow water to run into electric parts
 Always install circuit breaker and a dedicated power circuit
 Unplug the unit if strange sounds, smell, or smoke comes from it
 Do not use the socket if it is loose or damaged
 Do not open the unit during operation
 Keep firearms away
 Do not use the power cord close to heating appliances
 Do not use the power cord near flammable gas or combustibles, such as gasoline, benzene, thinner, etc.
 Ventilate room before operating air conditioner if there is a gas leakage from another appliance
 Do not disassemble or modify unit
 When the air filter is to be removed, do not touch the metal parts of the unit
 Do not clean the air conditioner with water
 Ventilate the room well when used together with a stove, etc.
 When the unit is to be cleaned, switch off, and turn off the circuit breaker
 Do not place a pet or house plant where it will be exposed to direct air flow
 Do not use for special purposes
 Stop operation and close the window in storm or cyclone
 Hold the plug by the head of the power plug when taking it out
 Turn off the main power switch when not using the unit for a long time
 Do not place obstacles around
  Always insert the filters securely. Clean filter once every two weeks
 Do not use strong detergent such as wax or thinner ??? use a soft cloth
 Do not place heavy object on the power cord and ensure that the cord is not compressed
 Do not drink water drained from air conditioner
 Use caution when unpacking and installing
 If water enters the unit, turn the unit off at the power outlet and switch off the circuit breaker. Isolate supply by taking the power- plug out and contact a qualified service technician


 and
and  polarities are correctly aligned, as shown.
 Remote
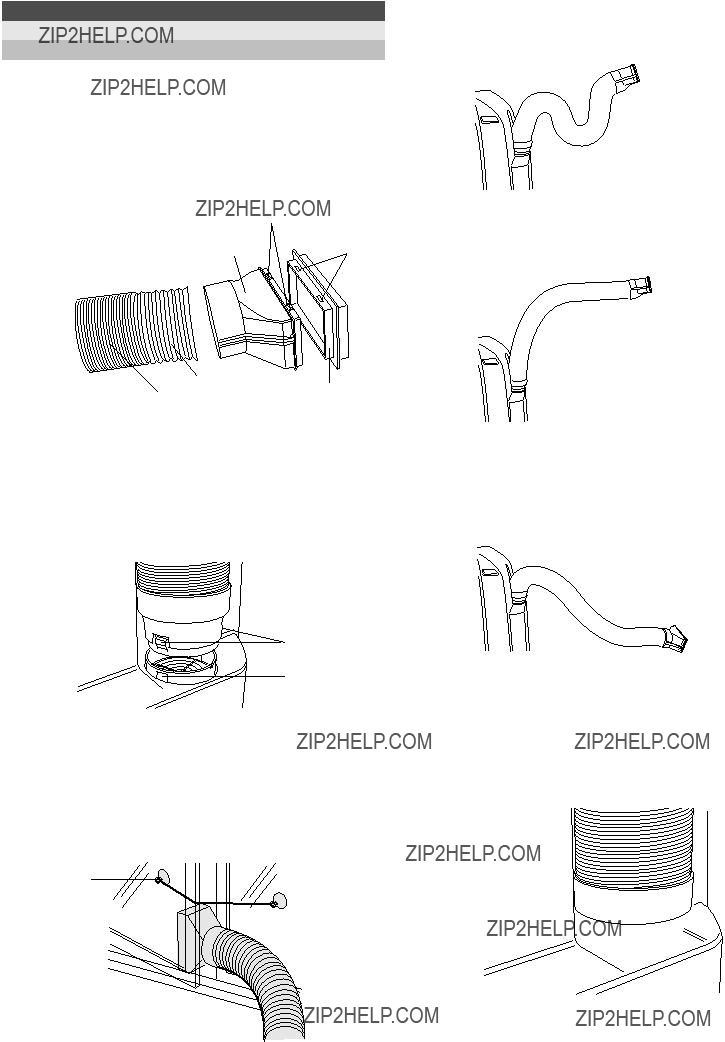
 Projection
 Extend


 Bracket
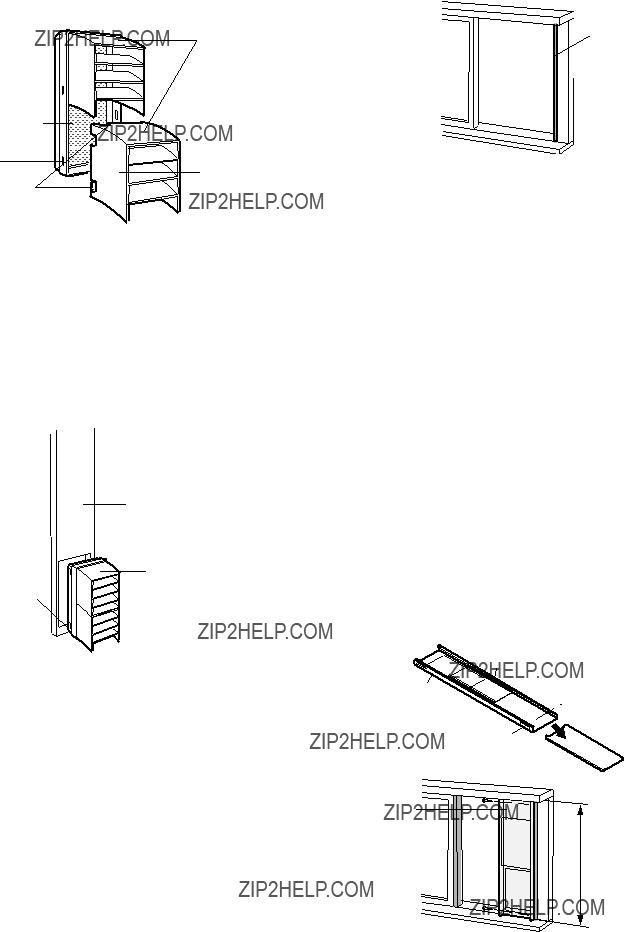


 ???
??? ???????????????????????? ?????????????????????
 )??? for an extended period of time.
 ???.
???.

 ???.
???. CANCEL
 ) button and set the time as desired.
 0.5h
0.5h  1.0h
1.0h  1.5h
1.5h 10h
10h  11h
11h  12h
12h ) button and set the time as desired.
 0.5h
0.5h  1.0h
1.0h  1.5h
1.5h 10h
10h  11h
11h  12h
12h
 ???.
???.


 Guarantee/Customer Service