Standby Mode
Standby mode conserves power by turning off the display and the hard drive after a time-out. When the computer exits from standby mode, it returns to the operating state it was in before it entered standby mode.
To set standby mode to automatically activate after a defined period of inactivity:
1Click the Start button and click Control Panel.
2Under Pick a category, click Performance and Maintenance.
3Under or pick a Control Panel icon, click Power Options.
To immediately activate standby mode without a period of inactivity, click the Start button, click
Turn Off Computer, and then click Stand by.
To exit from standby mode, press a key on the keyboard or move the mouse.
NOTICE: If your computer loses power while in standby mode, it may lose data.
Hibernate Mode
Hibernate mode conserves power by copying system data to a reserved area on the hard drive and then completely turning off the computer. When the computer exits from hibernate mode, the desktop is restored to the state it was in before it entered hibernate mode.
To activate hibernate mode:
1Click the Start button and click Control Panel.
2Under Pick a category, click Performance and Maintenance.
3Under or pick a Control Panel icon, click Power Options.
4Define your hibernate settings on the Power Schemes tab, Advanced tab, and Hibernate tab.
To exit from hibernate mode, press the power button. The computer may take a short time to exit from hibernate mode. Pressing a key on the keyboard or moving the mouse does not bring the computer out of hibernation, because the keyboard and the mouse do not function when the computer is in hibernate mode.
Because hibernate mode requires a special file on your hard drive with enough disk space to store the contents of the computer memory, Dell creates an appropriately sized hibernate mode file before shipping the computer to you. If the computer???s hard drive becomes corrupted, Windows XP recreates the hibernate file automatically.
Power Options Properties
Define your standby mode settings, hibernate mode settings, and other power settings in the
Power Options Properties window. To access the Power Options Properties window:
1Click the Start button and click Control Panel.
2Under Pick a category, click Performance and Maintenance.
3Under or pick a Control Panel icon, click Power Options.
4Define your power settings on the Power Schemes tab, Advanced tab, and Hibernate tab.


 cover latch release


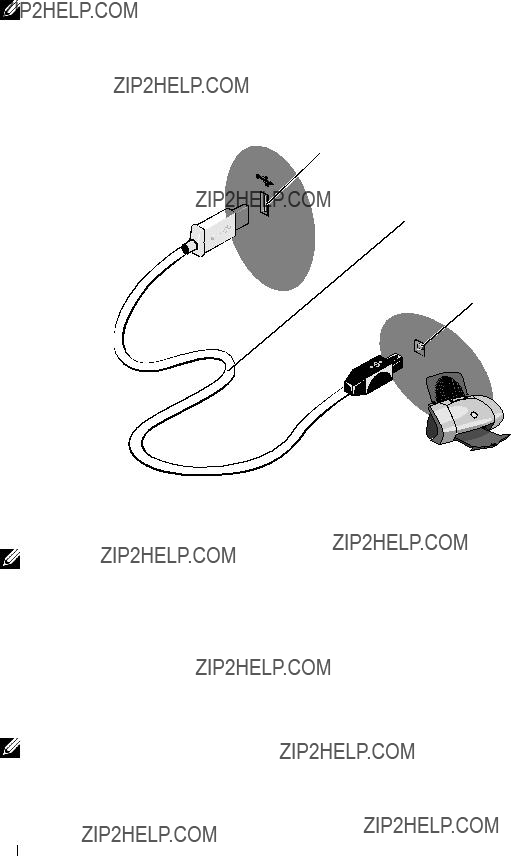
 USB connector on computer
 USB printer cable
 USB connector on printer


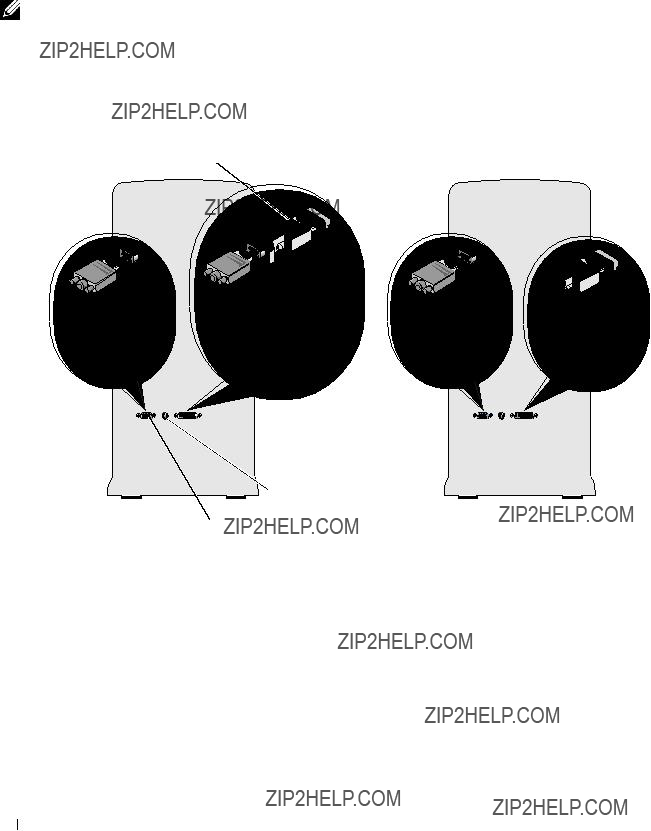

 DVI (white) connector*
 VGA (blue) connector *May not be present on your computer.
 network cable


 2
2 3
3 4
4

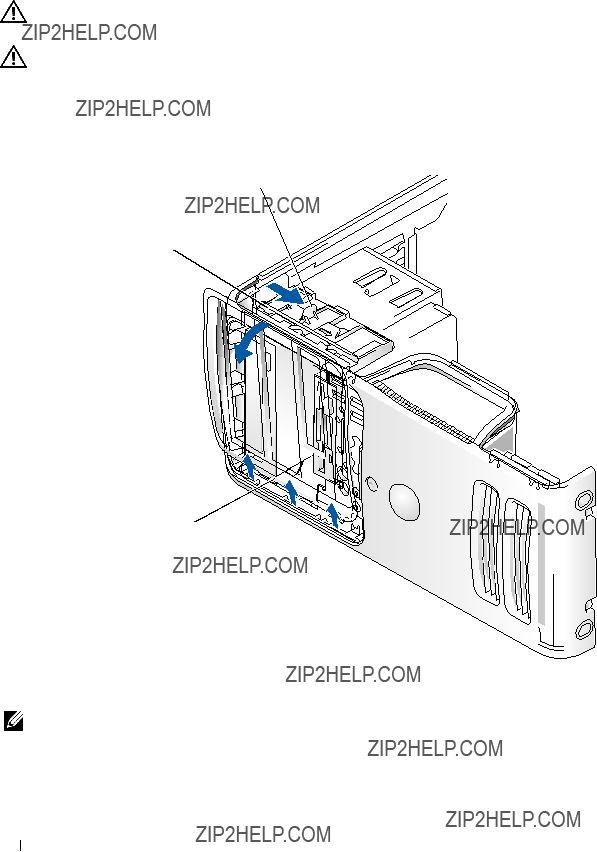
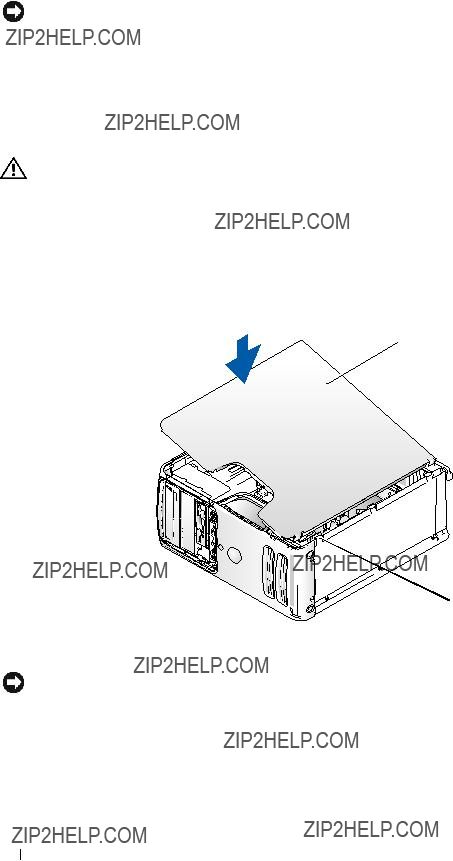
 cover latch release
 computer cover
 bottom hinges

 system board


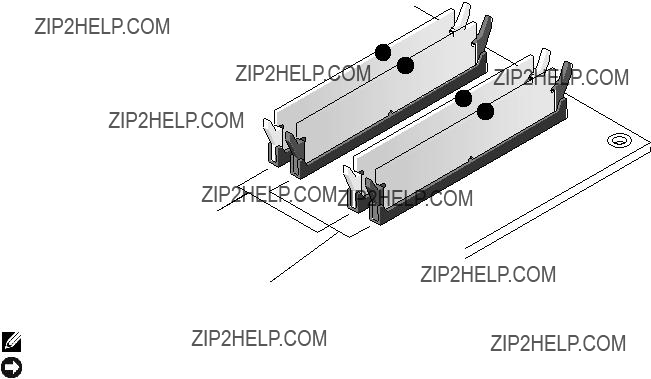


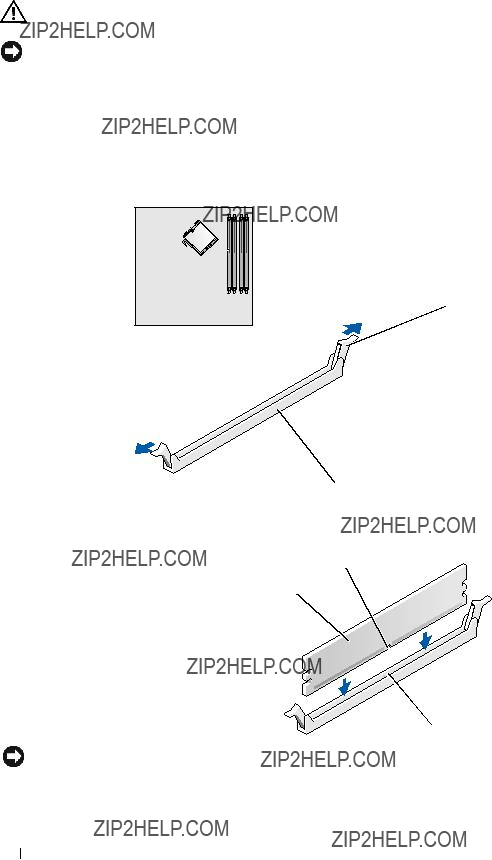
 memory connector closest to processor
 securing clips (2)
 connector


 crossbar


 alignment guide
  alignment bar


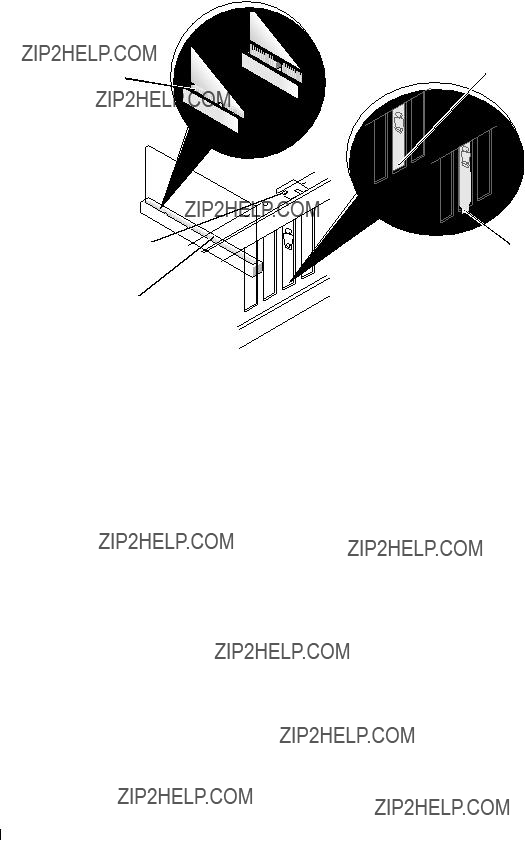
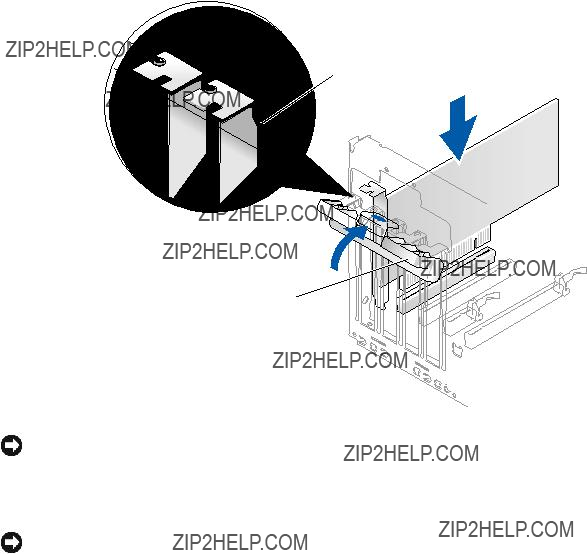
 card retention door
 card retention mechanism
 release tabs (2)


 card retention door
 card retention mechanism
 release tabs (2)


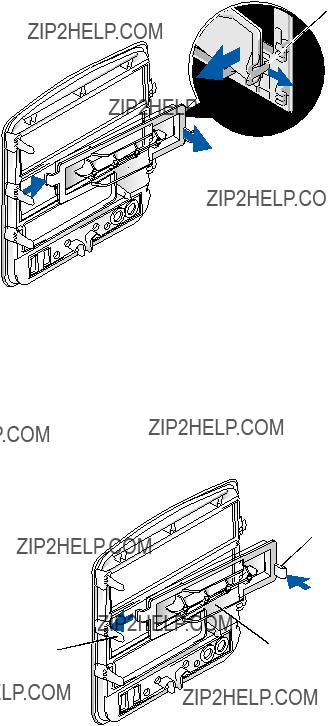
 drive panel


 drive panel insert
 drive panel insert tab


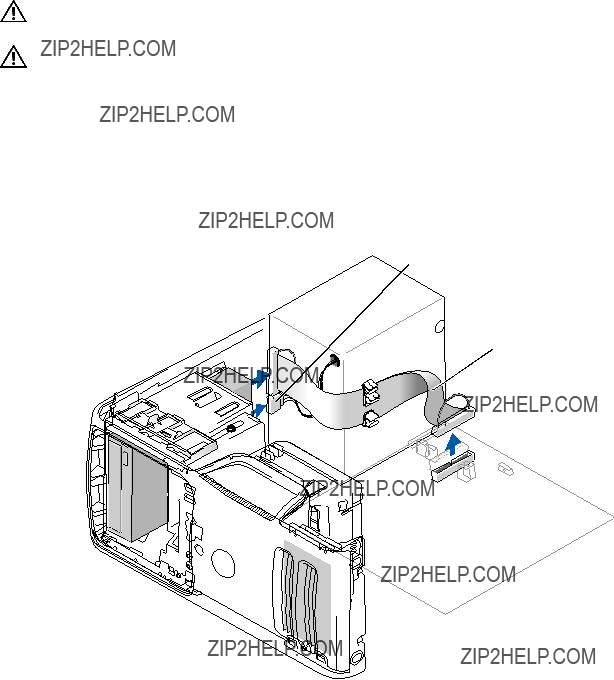
 power input connector
 power cable
 serial ATA data cable
 power cable
 hard drive
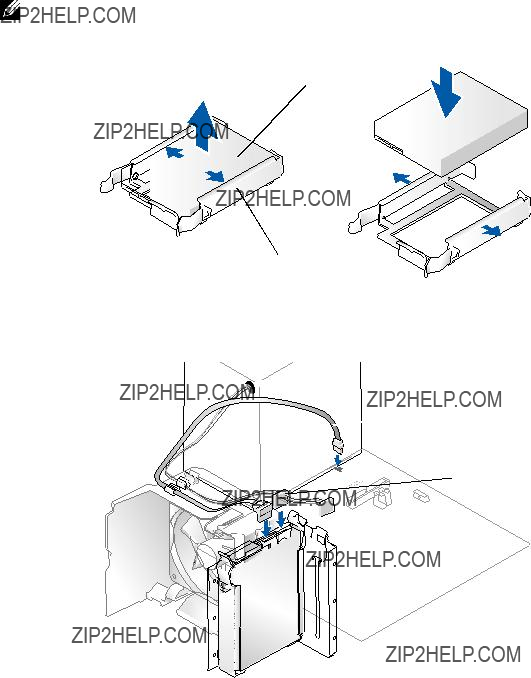
 drive
drive serial ATA data cable
 power cable
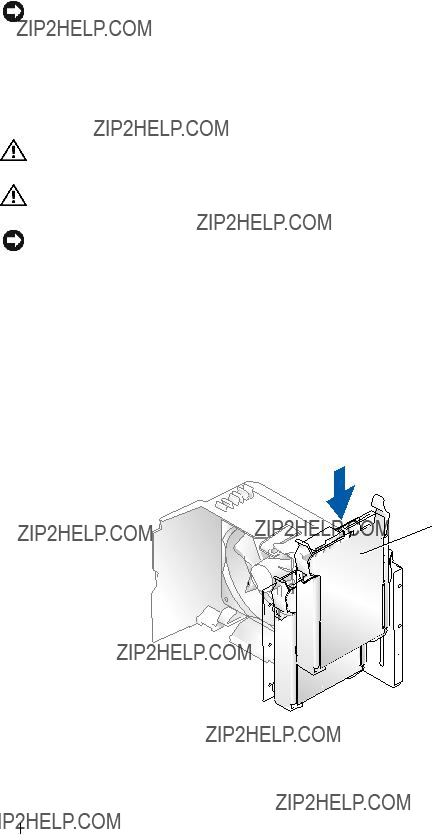
 release tabs (2)
 second hard drive in lower bay
 hard drive bay
 primary hard drive in upper bay

 data cable


 drive
drive screws (4)

 data cable


 Media Card
 screws (4)


 power cable
 data cable
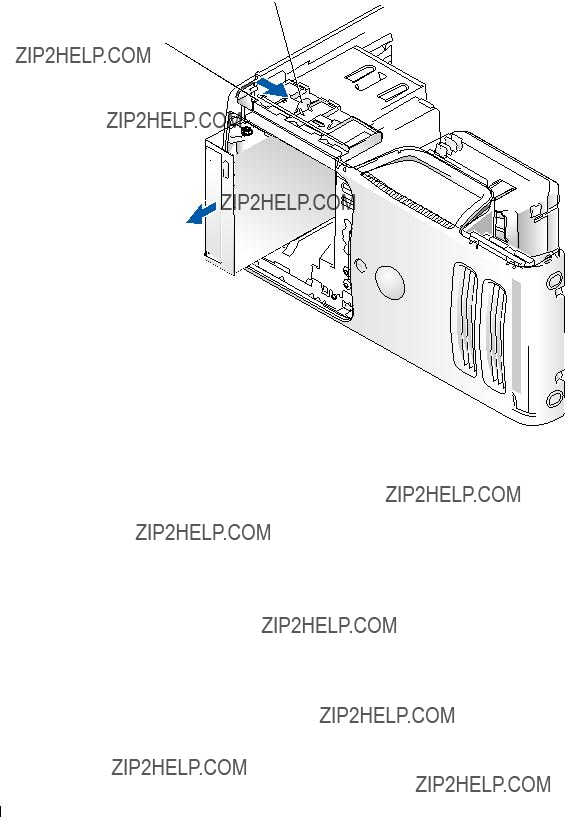


 CD/DVD drive
 screws (4)
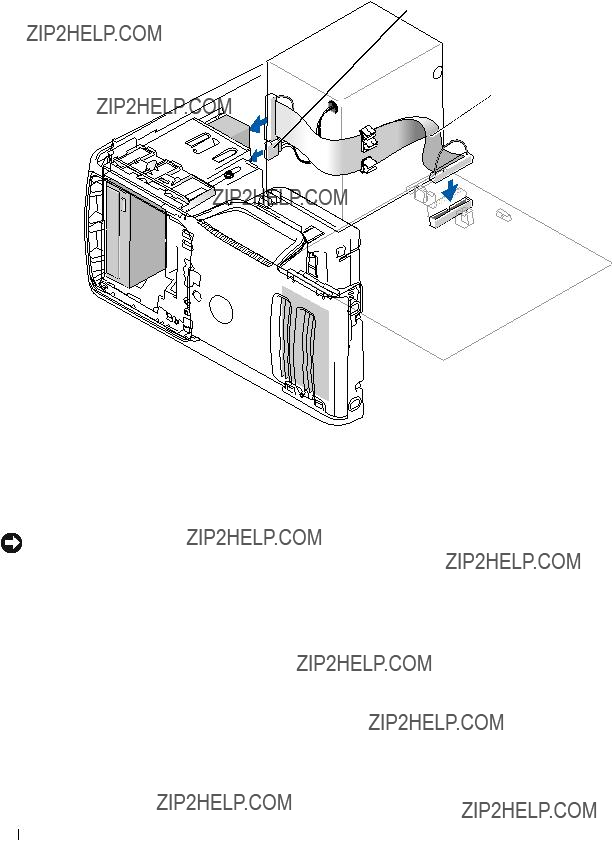
 power cable
 data cable


 computer cover
 bottom hinges


 ), your system is considered to be a Class B digital device.