SAFETY INSTRUCTIONS cont.
SAFETY RULES FOR BATTERY CHARGING STAND/ TRANSFORMER cont.
3.Do not abuse the cord on the battery charging stand / transformer. Never carry the charging stand / transformer by its power cord. Never pull the power cord to remove the transformer from the power outlet. Damage to the cord or charging stand / transformer could occur and create an electric shock hazard. Keep cord away from heat, oil, sharp edges or moving parts. Replace damaged cords immediately. Damaged cords increase the risk of electric shock.
4.Make sure cord is located so that it will not be stepped on, tripped over, come in contact with sharp edges or moving parts, heat, oil, or otherwise subjected to damage or stress. This will reduce the risk of accidental falls, which could cause injury, and damage to the cord which could result in electric shock.
5.Keep cord and charging stand / transformer away from heat to prevent damage to housing or internal parts.
6.Do not let gasoline, oils, petroleum-based products, etc. come in contact with plastic parts. They contain chemicals which can damage, weaken or destroy plastic.
7.An extension cord should not be used unless absolutely necessary. Use of improper extension cord could result in a risk of fire and electric shock. If an extension cord must be used, make sure: a) That pins on plug of extension cord are the same number, size and shape as those on the transformer, b) That extension cord is properly wired and in good electrical condition, and c) That you use a proper extension cord. ONLY use cords listed by Underwriters Laboratories (UL). Other extension cords can cause a drop in line voltage, resulting in a loss of power and overheating of charging stand/transformer. An AWG (American Wire Gauge) size of at least 14-gauge is recommended for an extension cord of 25-ft. or less in length. Use 12-gauge for an extension cord of 50-ft.
Extension cords 100-ft. or longer are not recommended.
8.INSPECT tool cords for damage. Do not operate charging stand with a damaged cord or transformer, which could cause shorting and electric shock. Have damaged tool cords repaired at a Sears Service Center.
9.Do not operate charging stand / transformer if it has received a sharp blow, been dropped, or otherwise damaged in any way. Take it to an authorized serviceman for electrical check to determine if the charging stand / transformer is in good working order.
10.Do not disassemble charging stand / transformer. Take it to a Sears Parts and Repair Center when service or repair is required. Incorrect reassembly may result in a risk of electric shock or fire.
11.Disconnect charging stand/transformer from the power supply when not in use.
This will reduce the risk of electric shock or damage if metal items should fall into the opening in the charging stand. It also will help prevent damage during a power surge.
12.Risk of electric shock. Do not touch un-insulated portion of output connector or un-insulated battery terminal.
13.Save these instructions. Refer to them frequently and use them to instruct others who may use this tool. If you loan someone this tool, also loan them these instructions to prevent misuse of the product and possible injury.
10
SAFETY INSTRUCTIONS cont.
! WARNING: Some dust created by using power tools contains chemicals known to the State of California to cause cancer and birth defects or other reproductive harm. Some examples of these chemicals are:
???Lead from lead-based paints.
???Crystalline silica from bricks and cement and other masonry products.
???Arsenic and chromium, from chemically treated lumber.
Your risk from these exposures varies, depending upon how often you do this type of work. To reduce your exposure to these chemicals:
???Work in a well-ventilated area.
???Work with approved safety equipment, such as those dust masks that are specially designed to filter out microscopic particles.
Avoid prolonged contact with dust from power sanding, sawing, grinding, drilling and other construction activities. Wear protective clothing and wash exposed areas with soap and water. Allowing dust to get into your mouth, eyes, or lay on the skin may promote absorption of harmful chemicals.
! WARNING: Use of this tool can generate and/or disburse dust, which may cause serious and permanent respiratory or other injury. Always use NIOSH/OSHA approved respiratory protection appropriate for the dust exposure. Direct particles away from face and body.
ADDITIONAL RULES FOR SAFE OPERATION
! WARNING: BE SURE to read and understand all instructions. Failure to follow all instructions listed may result in electric shock, fire and/or serious
personal injury.
1.Know your power tool. Read operator???s manual carefully. Learn the applications and limitations, as well as the specific potential hazards related to this tool. Following this rule will reduce the risk of electric shock, fire or serious injury.
2.ALWAYS wear safety glasses or eye shields when using this tool. Everyday eyeglasses have only impact-resistant lenses; they are NOT safety glasses.
3.PROTECT your lungs. Wear a face mask or dust mask if the operation is dusty.
4.PROTECT your hearing. Wear appropriate personal hearing protection during use. Under some conditions noise from this product may contribute to hearing loss.
5.ALL VISTORS AND BYSTANDERS MUST wear the same safety equipment that the operator of the tool wears.
6.ALWAYS check the tool for damaged parts. Before further use of the tool, a guard or other part that is damaged should be carefully checked to determine if it will operate properly and perform its intended function. Check for misalignment or binding of moving parts, breakage of parts, and any other condition that may affect the tool???s operation.
A guard or other part that is damaged should be properly repaired or replaced at a Sears Service center.
7.SAVE THESE INSTRUCTIONS. Refer to them frequently and use them to instruct others who may use this tool. If someone borrows this tool, make sure they have these instructions also.
11


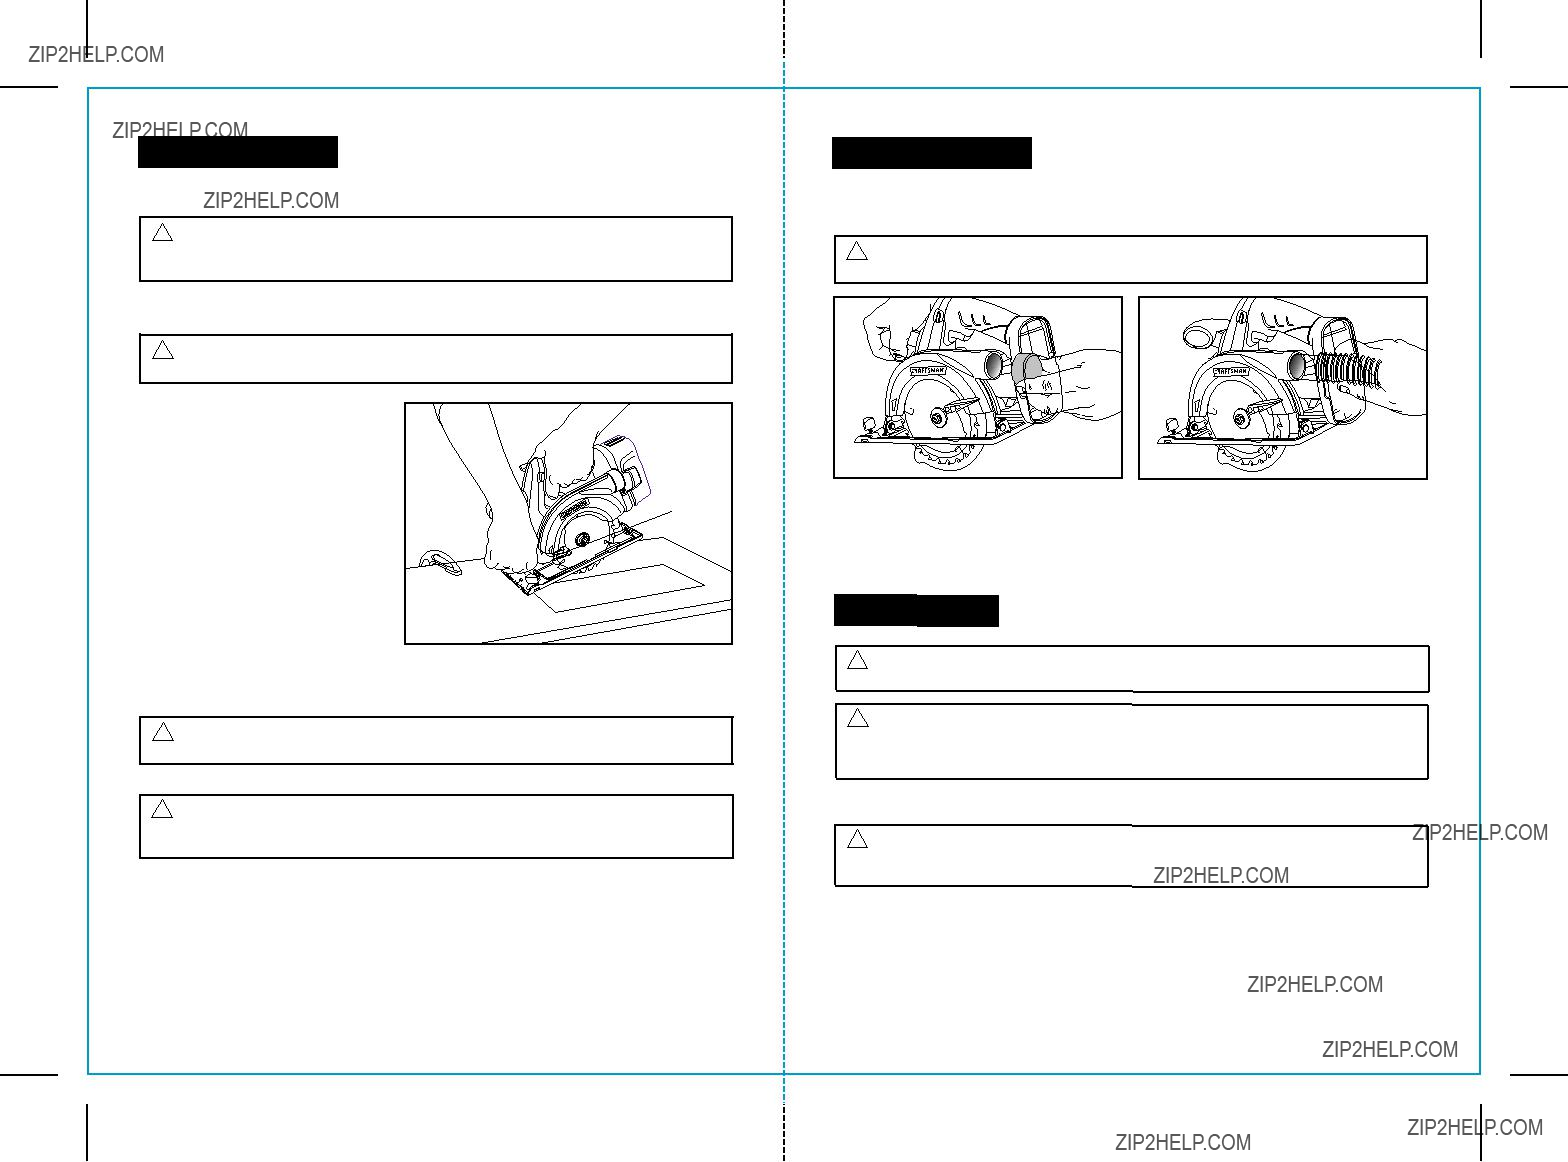
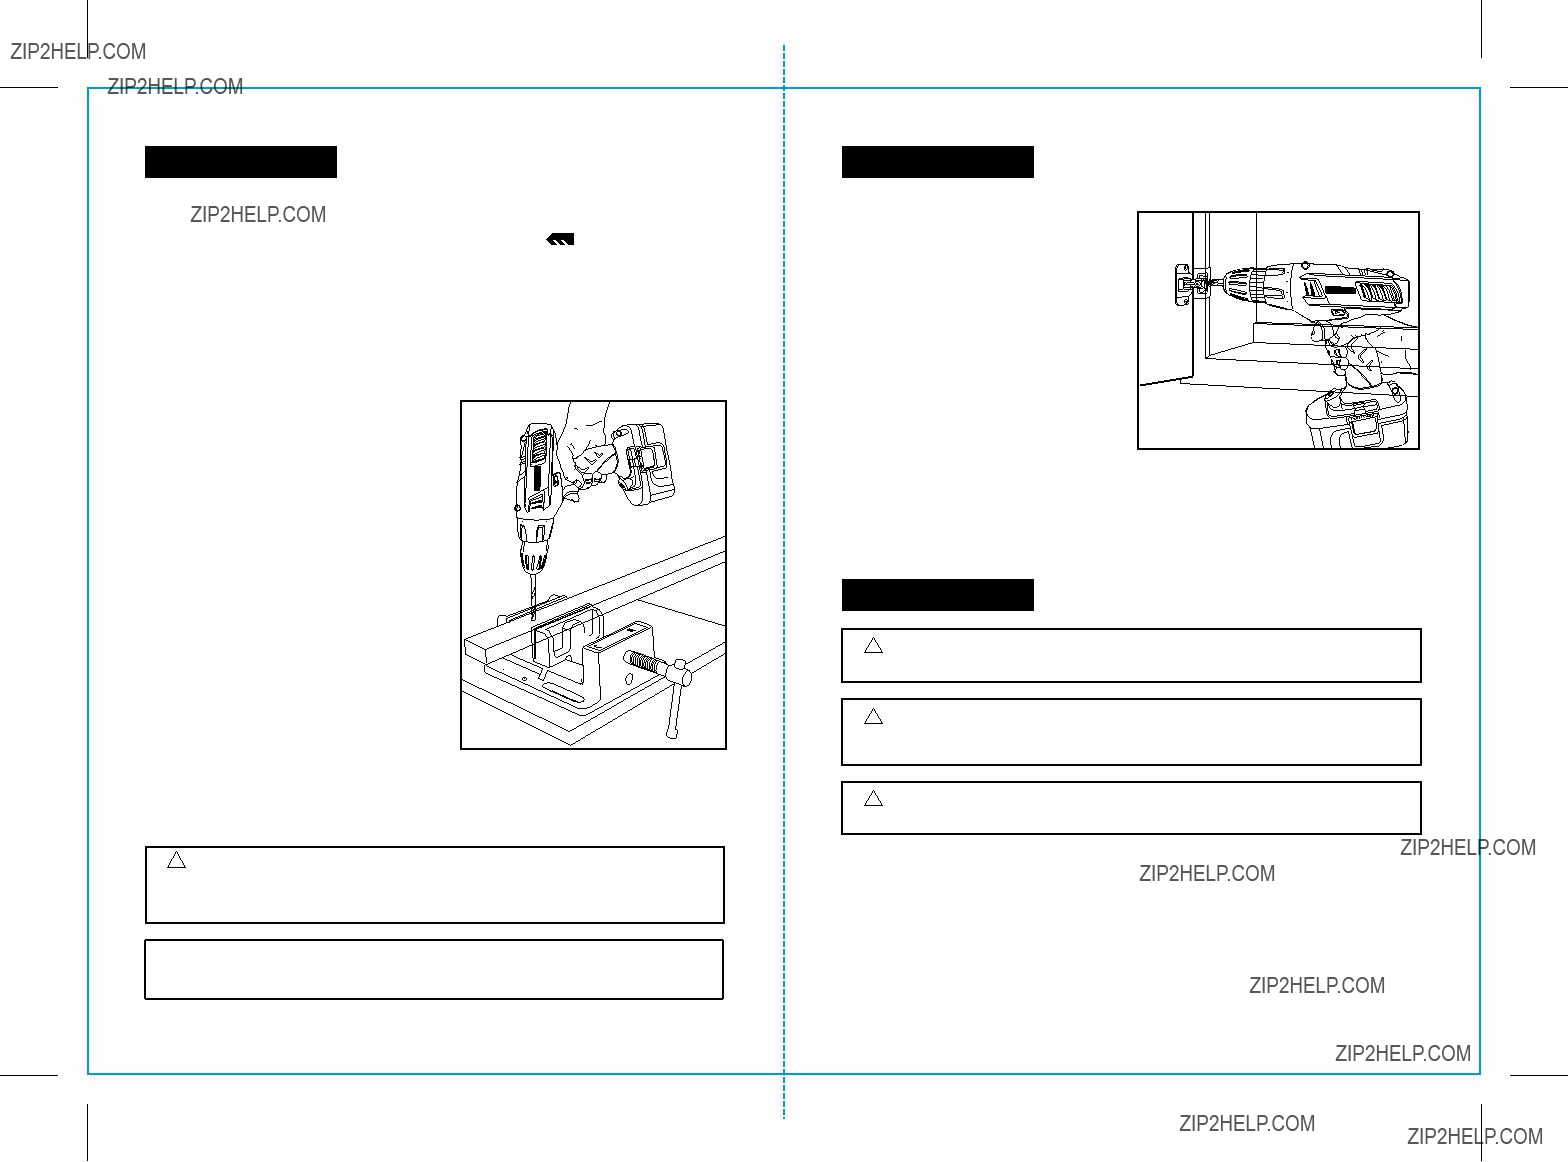
 Sawdust Ejection Port with Cover Cap (Remove cap to attach

 50
50  40
40 

 0
0 50
50  40
40 

 0
0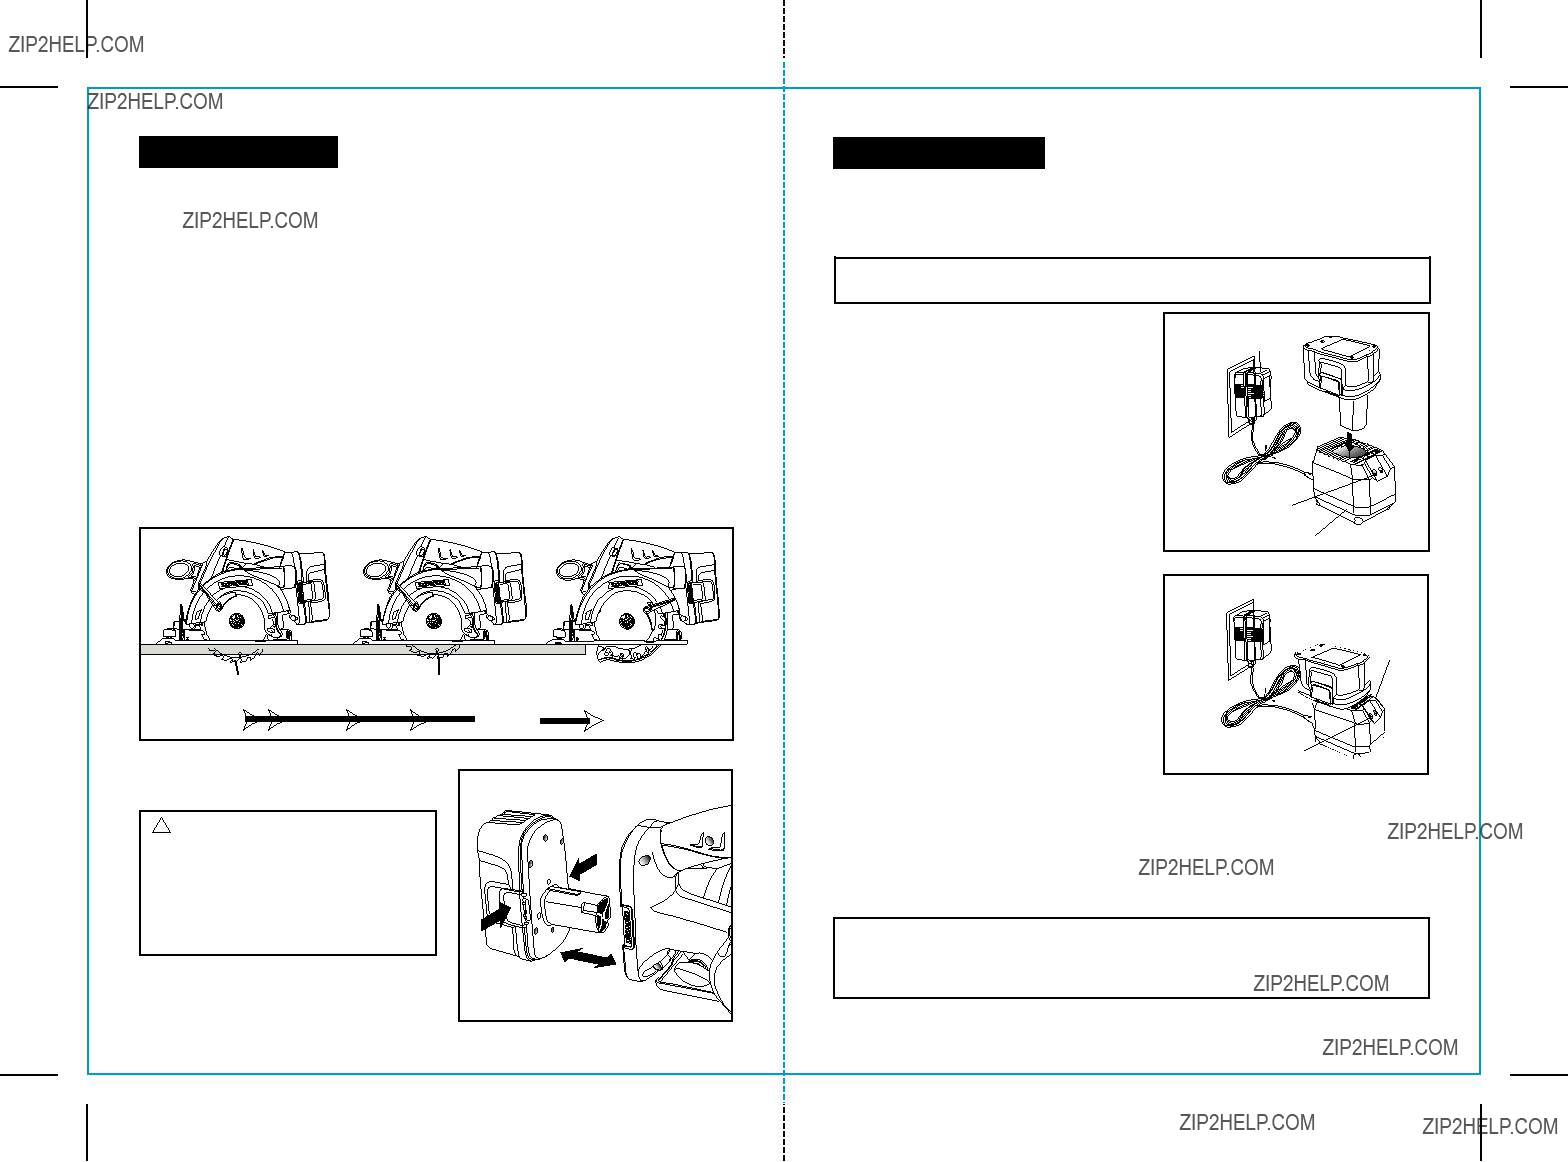

 Mark on the
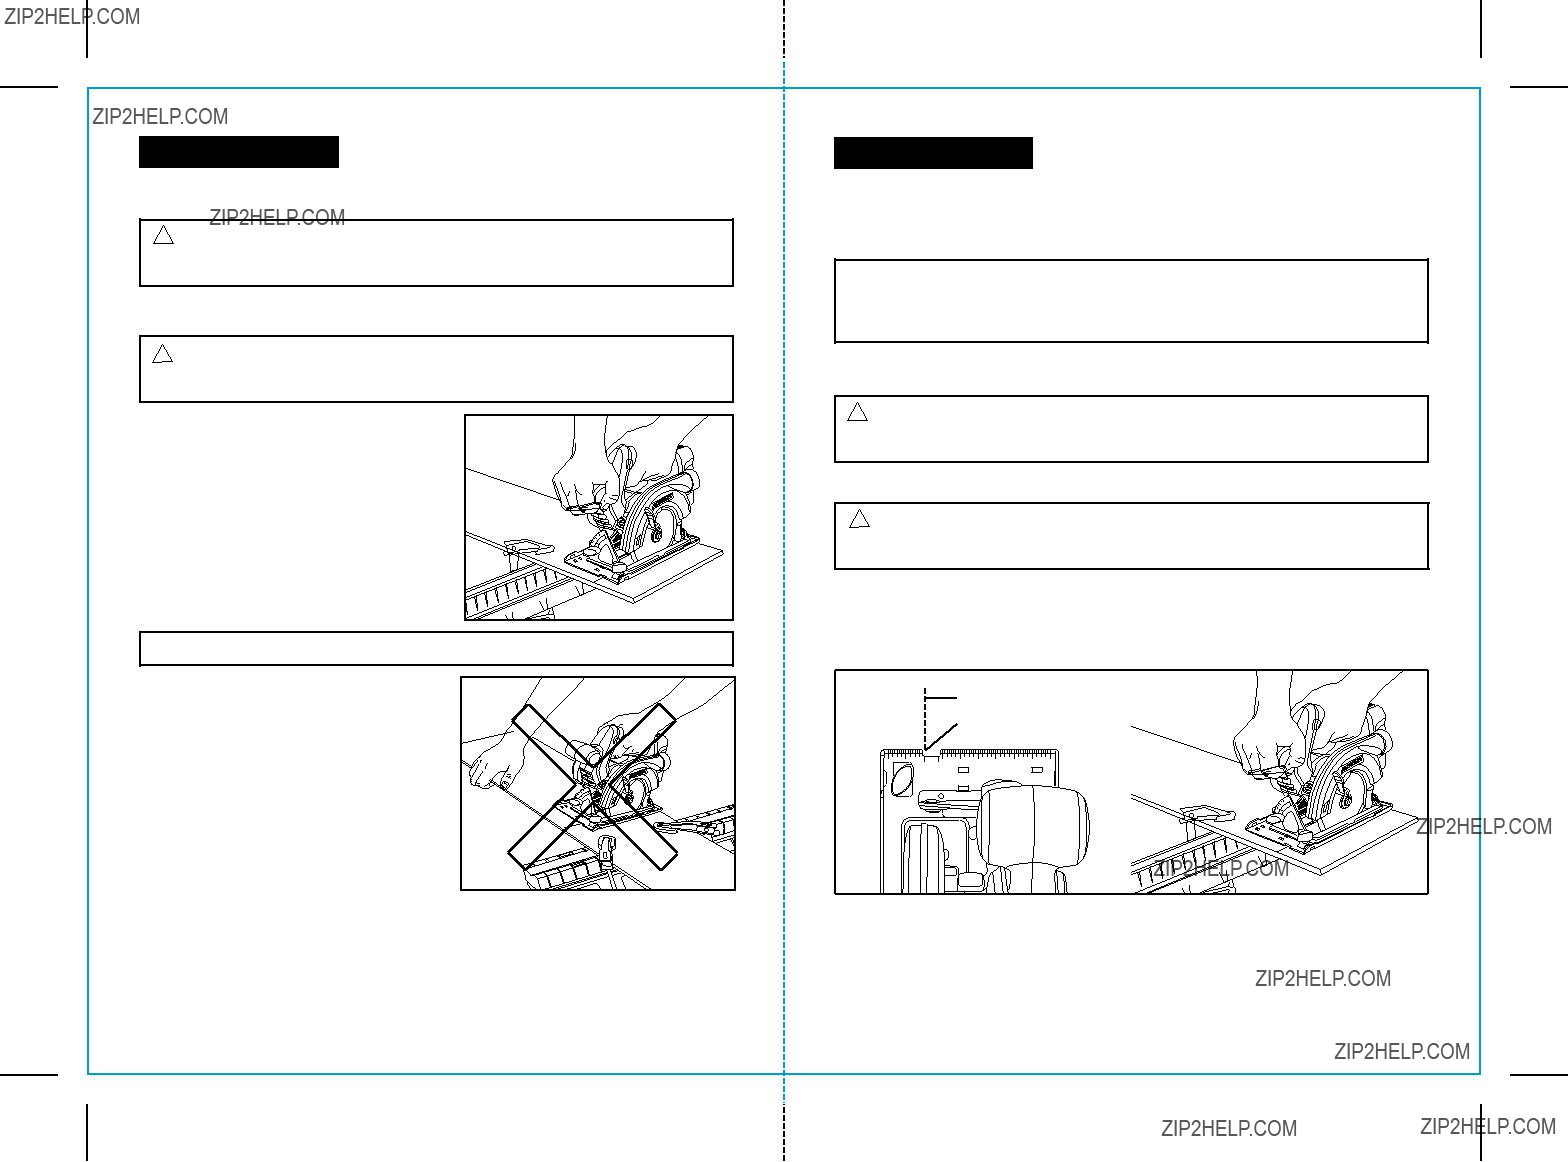
 When sawing through a workpiece, the lower blade guard DOES NOT cover the blade on the underside of the workpiece (see Fig. 4, page 17). ALWAYS keep your hands and fingers away from the cutting area. Any part of your body coming in contact with the moving blade will result in serious injury.
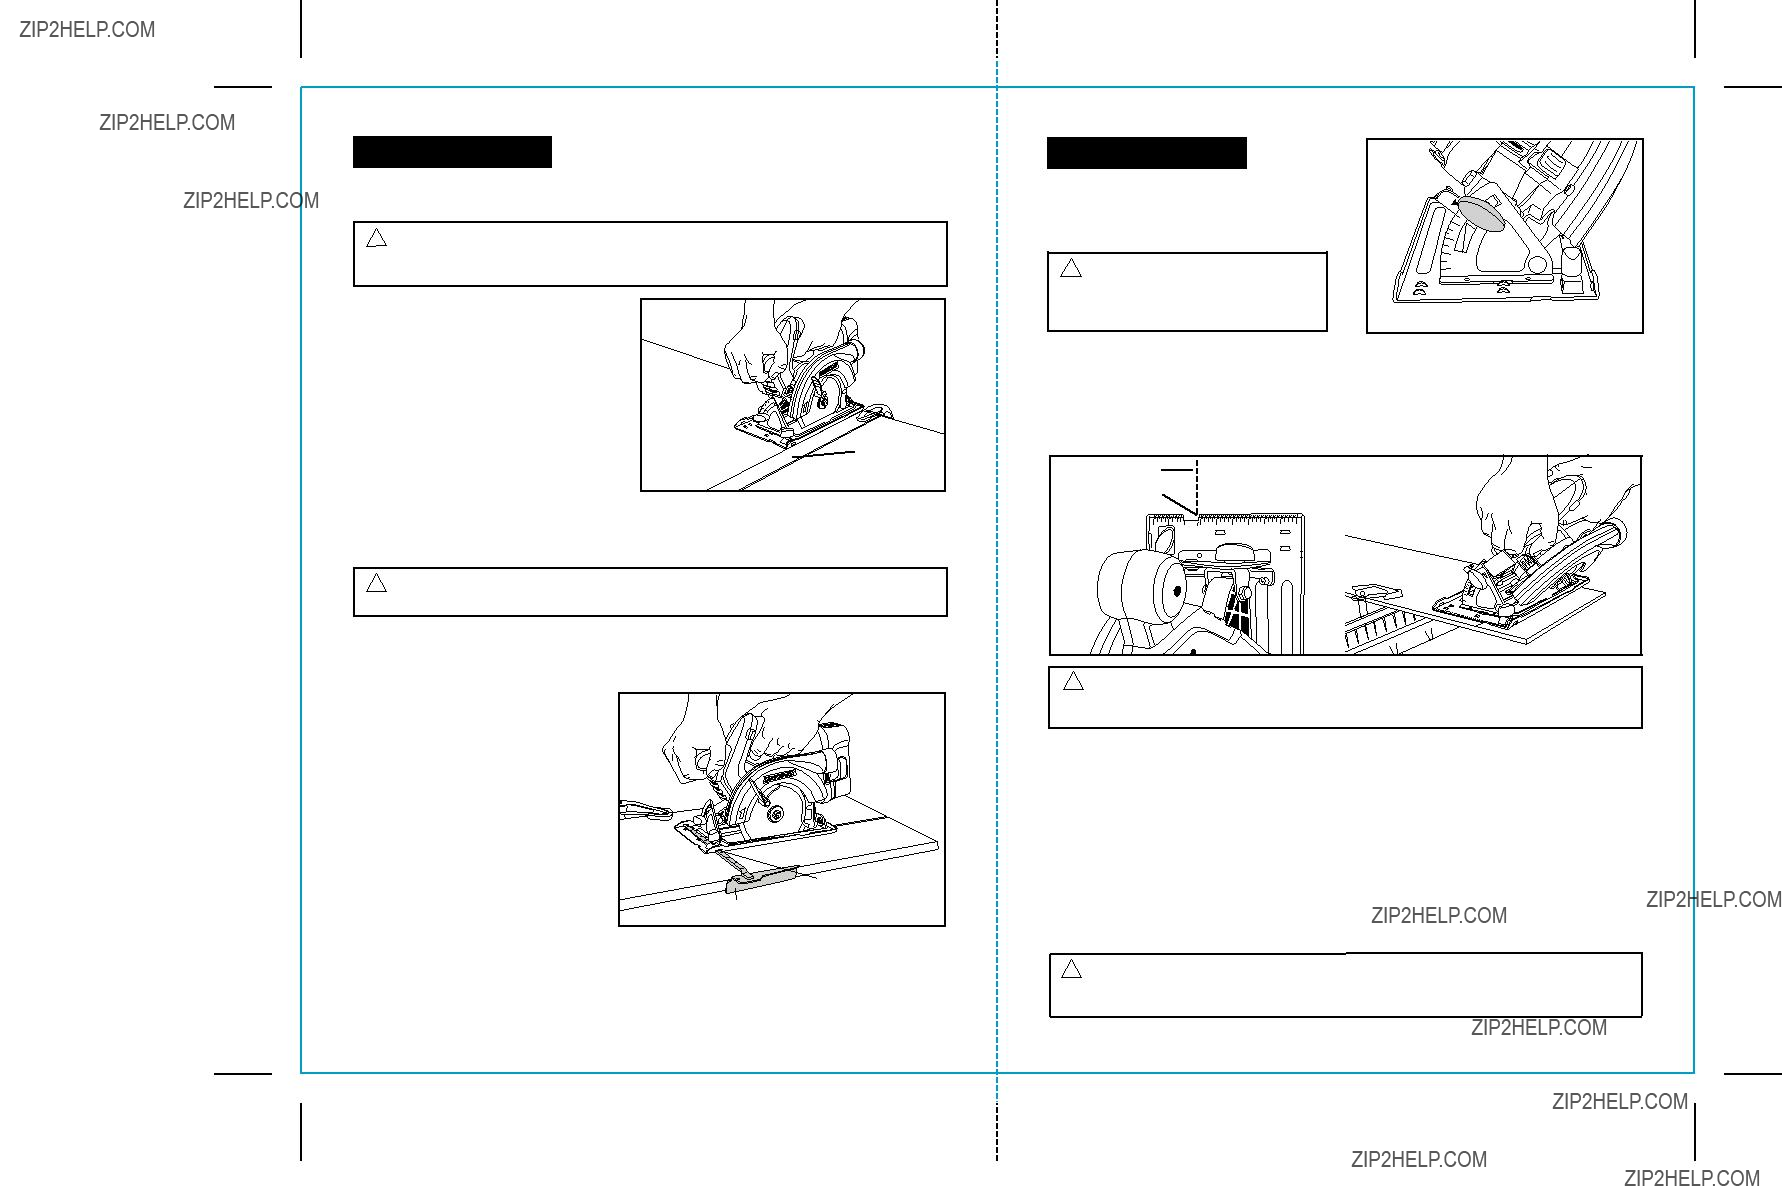


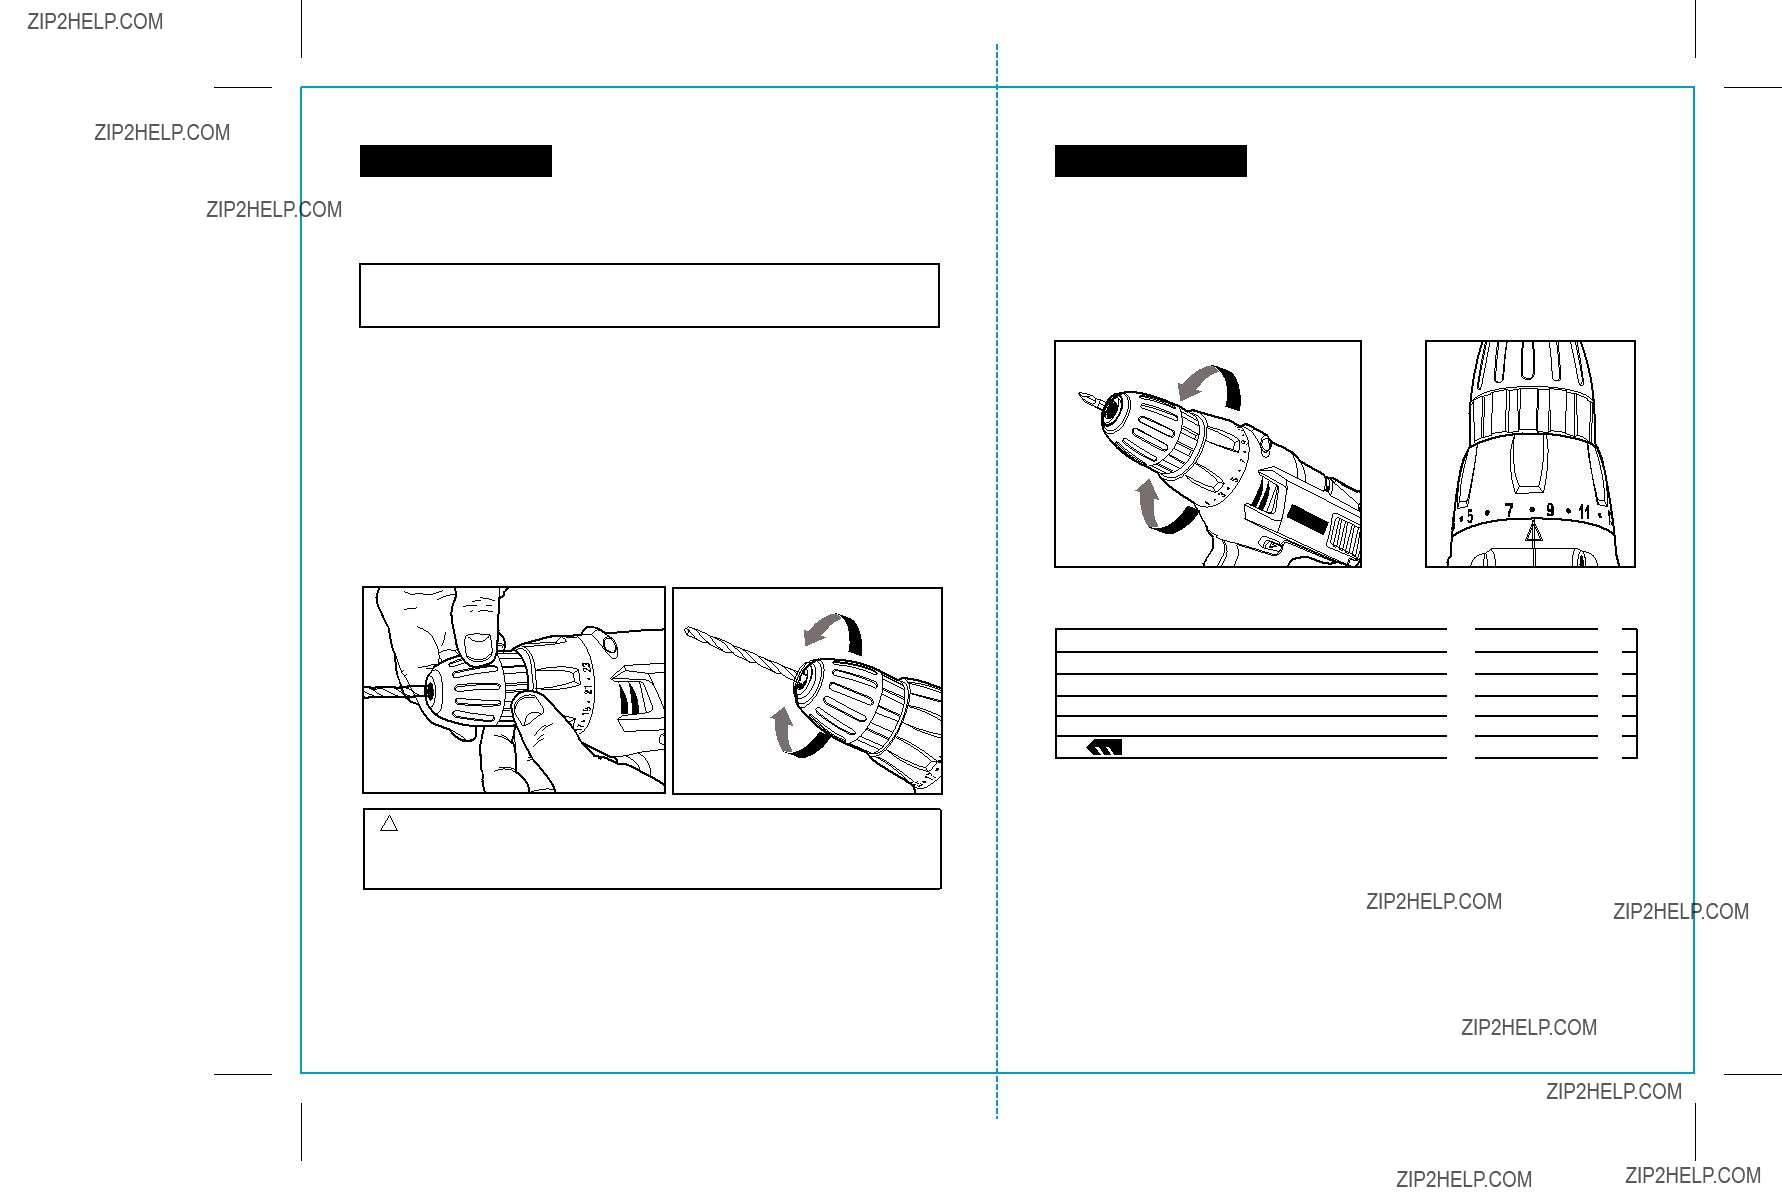

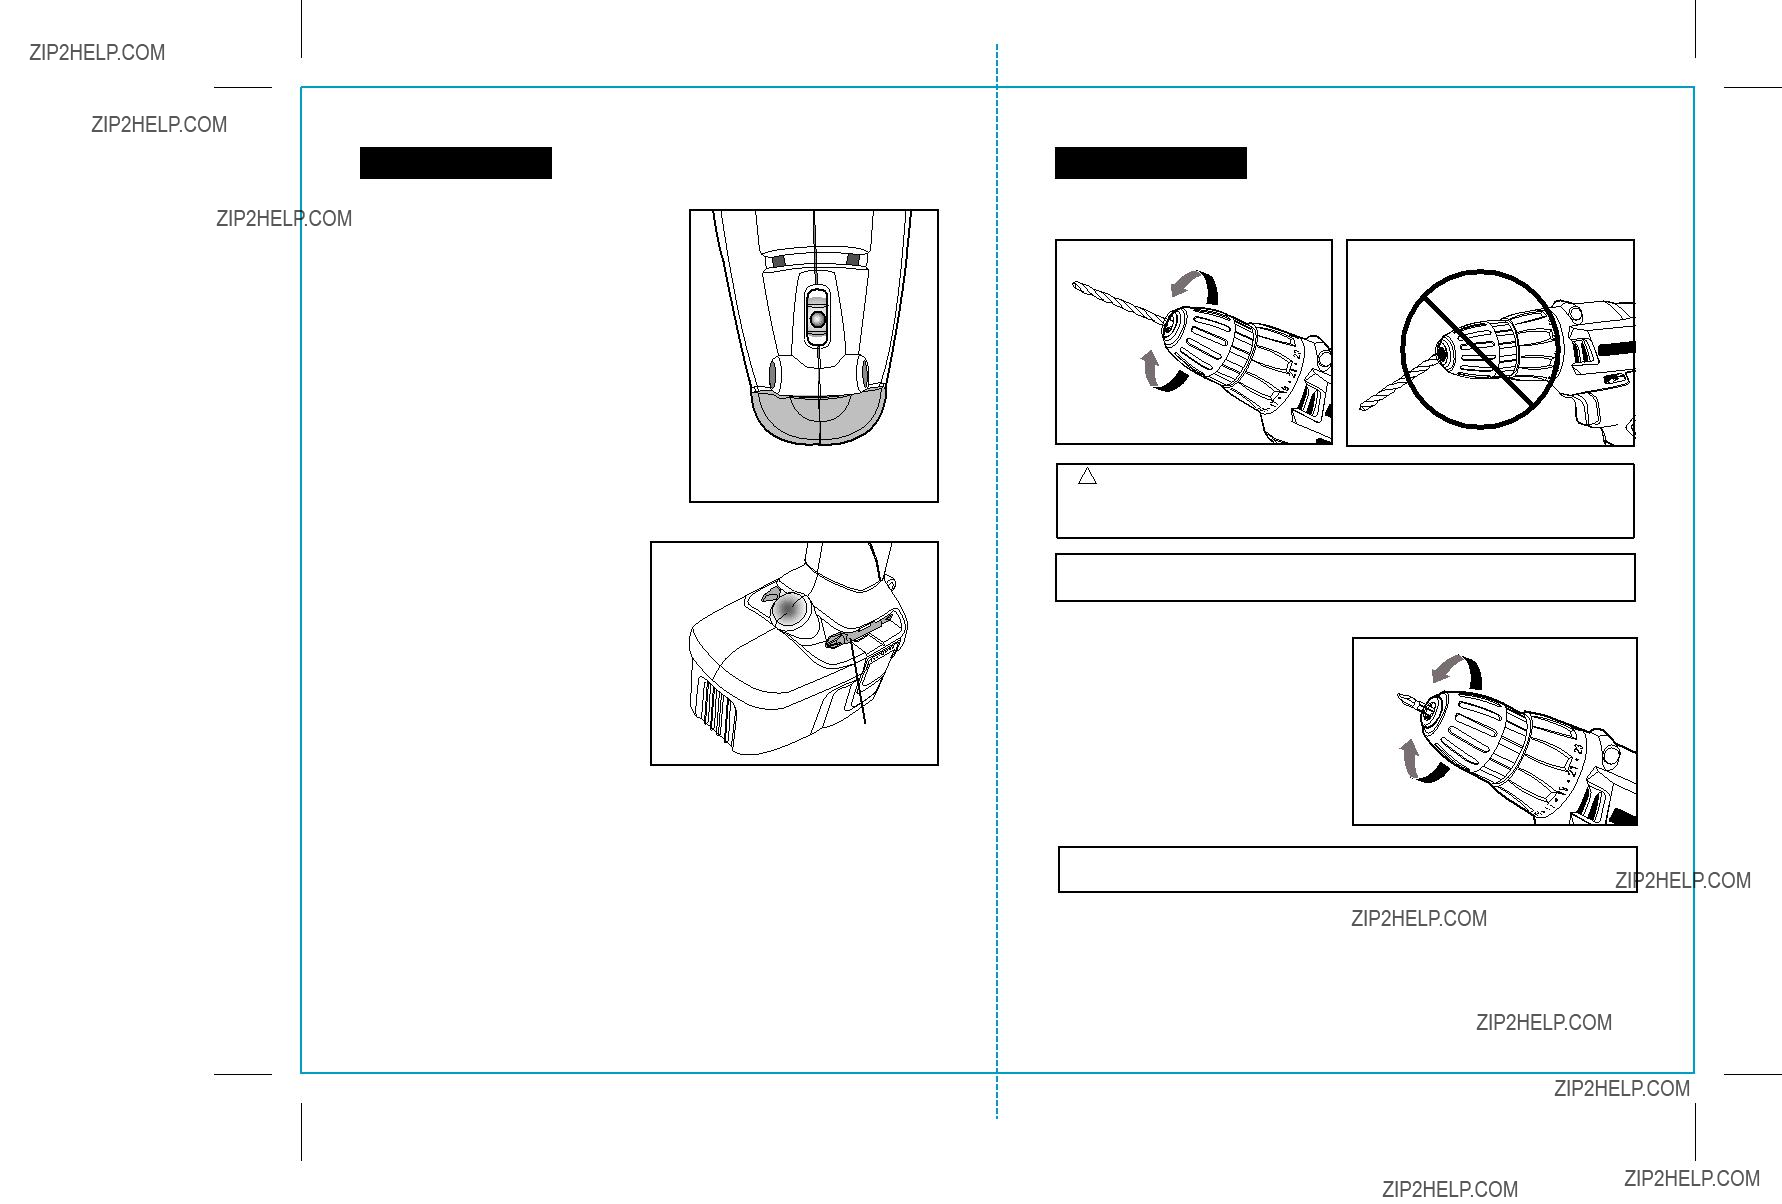


 Do not force the drill or apply side pressure
  to elongate a hole. Let the tool do the work.


 center punch to mark the desired hole


 location. This will prevent the drill bit from


 slipping


 workpiece, it is usually because the
 TRIGGER SWITCH IMMEDIATELY and