6. DVD VIDEO SYSTEM
2. PRECAUTIONS
3. HANDLING DISCS
DVD video is a
Dolby digital 5.1 channel surround let you enjoy a realistic sound that emulates the sound of a movie theater.
When a DVD video contains more than one story for a film, you can select the story you wish to enjoy. The operation procedures vary with the disc; observe the instructions for selecting a story provided during playback.
WARNING !
For your safety, the driver should not watch the TV or operate the controls while driv- ing. Please note that watching and operat- ing the TV while driving are prohibited by law in some countries. Also, while driving, keep the volume to a level at which external
This equipment has been tested and found to comply with the limits for a Class B digi- tal device, pursuant to Part 15 of the FCC Rules. These limits are designed to provide reasonable protection against harmful in- terference in a residential installation. This equipment generates, uses, and can radi-
DVD Video Features
This unit provides the following functions in ad- dition to the high image quality and sound qual- ity of DVD video.
Notes:
???The functions described in the section, ???Features???, for example, the recorded language, subtitles, angles, etc. differ with the DVD video disc. Refer to the instructions provided with the DVD video.
???Some disc functions may operate differently than described in this manual.
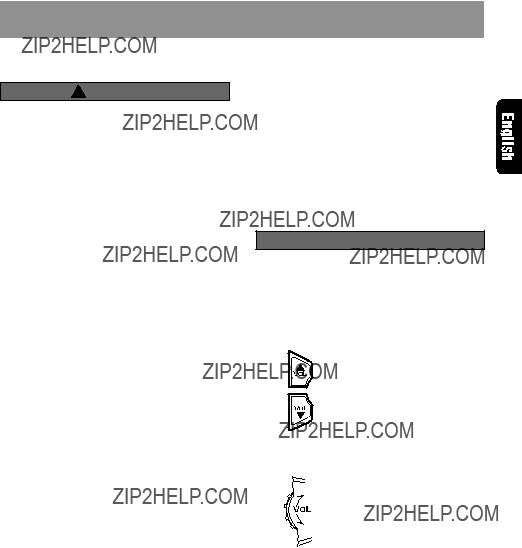
DVD video can store up to 8 languages for one film; select the language of your preference.
???The languages stored on the disc are indicated by the icon shown below.
A DVD video that is filmed from multiple angles allows you to select the angle of choice.
???The number of recorded angles are indicated by the icon shown below.
Subpicture (subtitles) function
Dolby digital
Dolby digital enables up to 5.1 independent multi- channel audio reproduction, the same type of surround system that is also used in movie the- aters.
DTS
DTS (Digital Theater System) is a sound system that differs from the Dolby digital system. DTS provides a larger amount of data than Dolby digital enabling
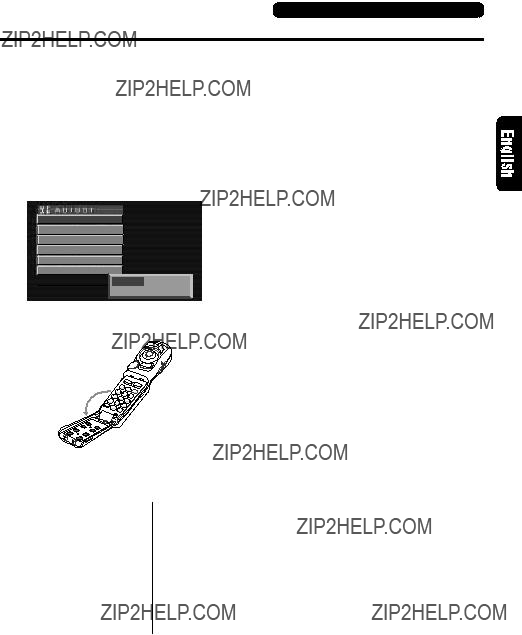
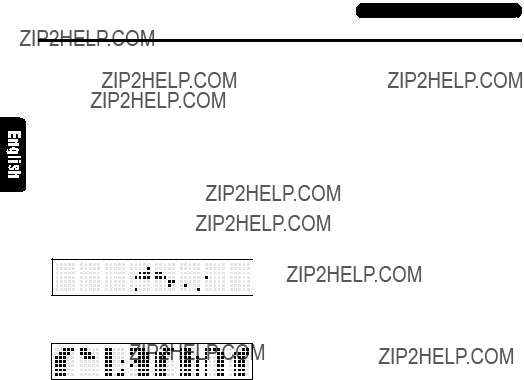
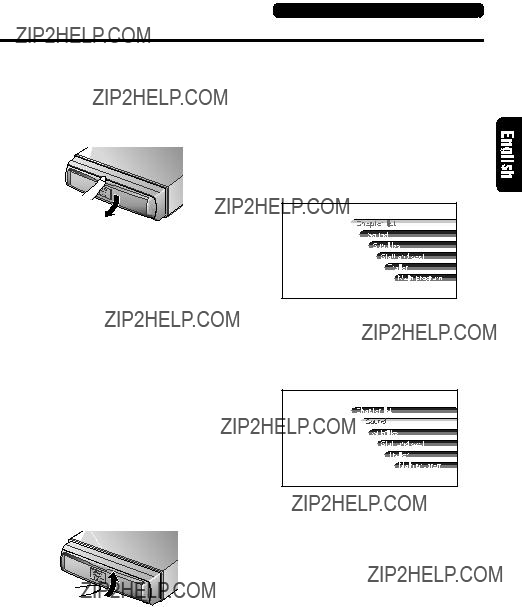
Menu screens
Menus can be called up during DVD video play- back to perform menu setting.
Example showing menu display
Main Menu
sounds can be heard.
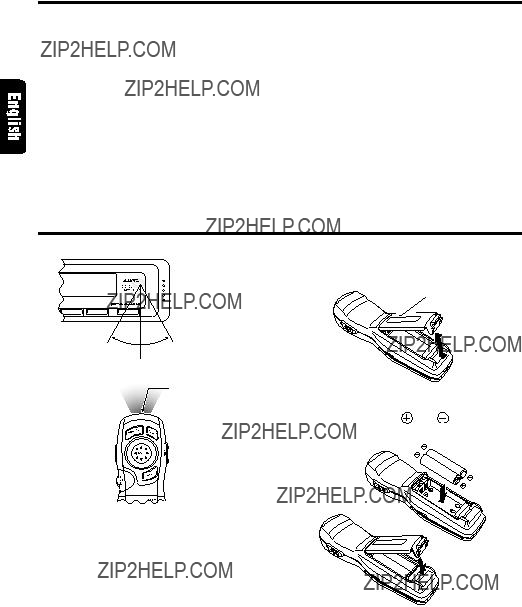
1.When the inside of the car is very cold and the player is used soon after switching on the heater, moisture may form on the disc or the optical parts of the player and proper play- back may not be possible. If moisture forms on the disc, wipe it off with a soft cloth. If mois- ture forms on the optical parts of the player, do not use the player for about one hour. The condensation will disappear naturally allow- ing normal operation.
2.Driving on extremely bumpy roads which cause severe vibration may cause the sound to skip.
3.This unit uses a precision mechanism. Even in the event that trouble arises, never open the case, disassemble the unit, or lubricate the rotating parts.
ate radio frequency energy and, if not in- stalled and used in accordance with the in- structions, may cause harmful interference to radio communications. However, there is no guarantee that interference will not occur in a particular installation. If this equipment does cause harmful interfer- ence to radio or television reception, which can be determined by turning the equip- ment off and on, the user is encouraged to consult the dealer or an experienced radio/ TV technician for help.
Always handle the disc by the edges. Never touch the surface.
To remove fingermarks and dust, use a soft cloth, and wipe in a straight line from the centre of the disc to the circumference.
No
New discs may have some roughness around the edges. The unit may not work or the sound may skip if such discs are used. Use a
Roughness
Do not use any solvents such as commercially available cleaners,
No
Do not use discs that have large scratches, are misshapen, or cracked, etc. Use of such discs will cause misoperation or damage.
No
Do not expose discs to direct sunlight or any heat source.
No
A DVD video can record subtitles for up to 32 languages and you can select the language of the subtitles you wish to see.
Note:
???The number of recorded subtitle languages are indicated by the icon shown below.
INFORMATION FOR USERS:
CHANGES OR MODIFICATIONS TO THIS PRODUCT NOT APPROVED BY THE MANUFAC-
TURER WILL VOID THE WARRANTY AND WILL VIOLATE FCC APPROVAL.
Be sure to unfold and read the next page. / Veuillez d??plier et vous r??f??rer ?? la page suivante. / Cerci??rese de desplegar y de leer la p??gina siguiente.
 ) is dis- played.
 Title indication
 ] button:
 ] button:

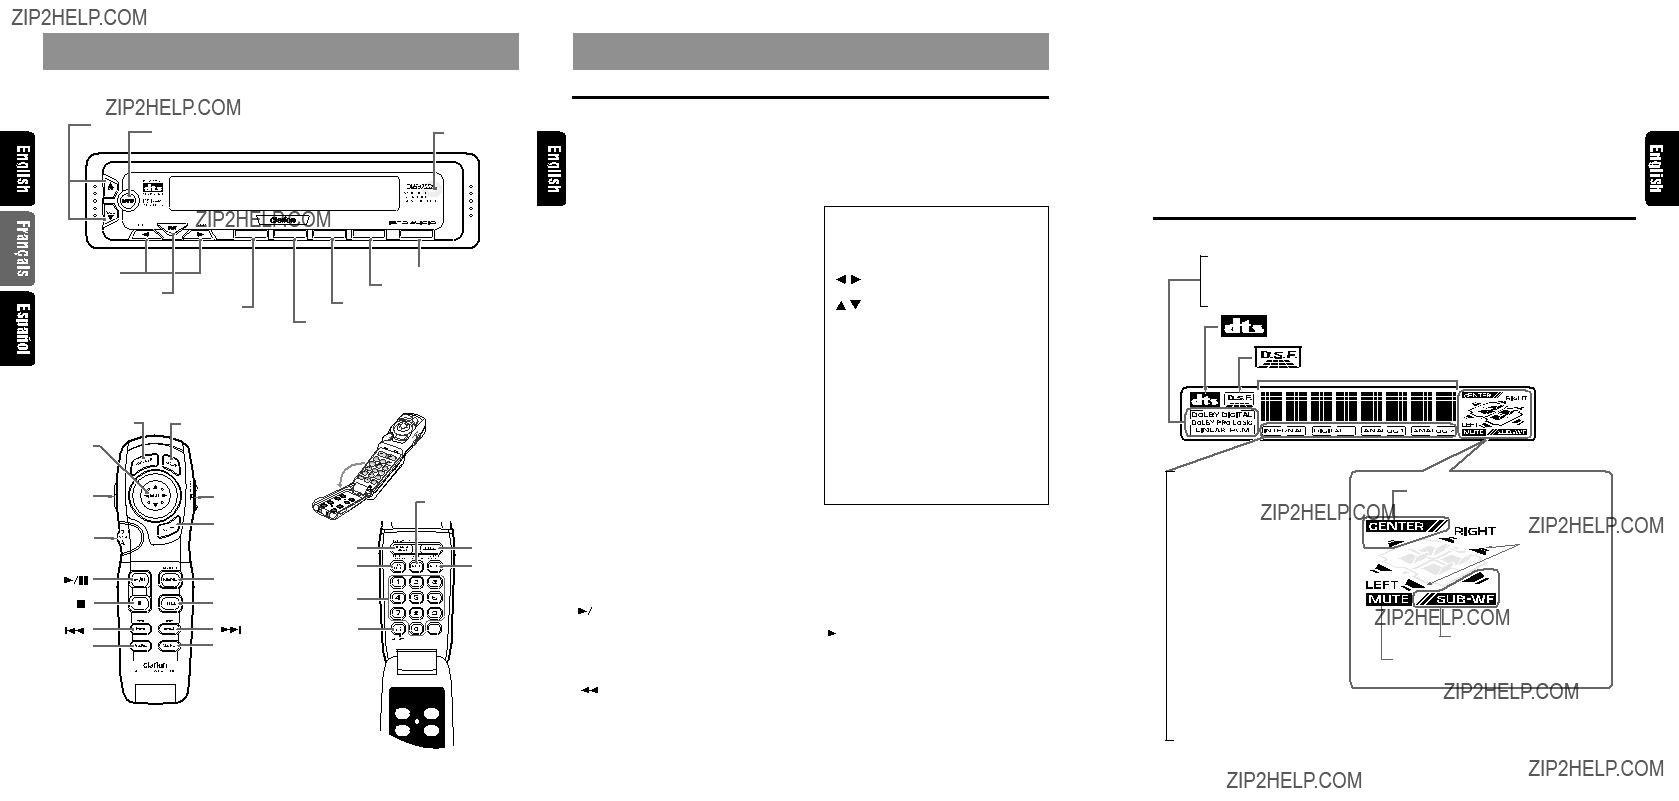
 Front speaker(left)
 Surround speaker(left)
 CAUTION
 CAUTION
 ] or [
 ] [
] [ ] or [
 ] [
] [


 ] button.

 ] button to start playback. Press- ing the [

 ] button again stops playback.
 ] button to stop playback.

 ] button to start playback from the location where playback was pre- viously stopped.
 ] button is pressed once again after the disc has been stopped and the

 ] button is also pressed, the DVD video disc is played back from the begin- ning.


 ] button to pause playback. Nor- mal playback is resumed when the [

 ] button is pressed again.
 ] button is pressed while disc playback is paused.
 ] button is held down in pause mode.
 ] or [
 ] button during playback.
 ] button to start playback from the beginning of the next chapter or track.
 ] button to start playback from the beginning of the current chapter or track.
 ] or [
 ] button is pressed.
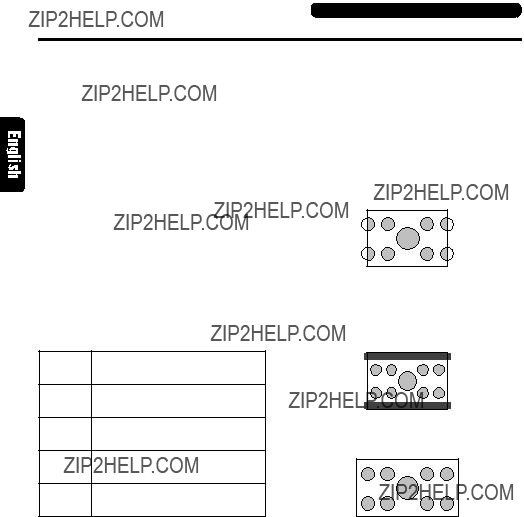
 : indicates 2 angles).
 : in- dicates 8 languages).
 ] causes the corresponding playback status symbol to be displayed.

 ] button.
 ] button to stop playback.

 ] button to start playback from the location where playback was pre- viously stopped.
 ] button is pressed again after the disc has been stopped, the disc is played back from the beginning.

 ] button to pause playback. Nor- mal playback is resumed when the [

 ] button is pressed again.
 ] or [
 ] button during playback.
 ] button to start playback from the beginning of the next track.
 ] button to start playback from the beginning of the current track. When this button is pressed again within 1 sec, playback starts from the beginning of the previous track.
 ] or [
 ] button during play- back.

 ] button to start playback. Press- ing the [

 ] button again stops playback.
 ] and [
 ] buttons are also used to locate the beginning of a section. When one of these buttons is held down for 1 sec or less, the beginning of a section is located and playback starts from there.
 ] or [
 ] [
] [ ] or [
 ] [
] [ is displayed at the end of a setting, press the [
 illustration is shown, press


 ] is displayed to the left of the adjusted value, press the [
 ] or [
 ] [
] [

 ] is displayed to the left of the ad- justed value, press the [
 ] or [
 ] [
] [

 ] or [
 ] [
] [ ] or [
 ] [
] [ ] or [
 ] [
] [ ] or [
 ] [
] [ ] or [
 ] [
] [ ] or [
 ] [
] [ ] or [
 ] [
] [ ] or [
 ] [
] [ ] or [
 ] [
] [
 ] or [
 ] [
] [ ] or [
 ] [
] [ ] or [
 ] [
] [ ] or [
 ] [
] [ ] or [
 ] [
] [ ] or [
 ] [
] [ ] or [
 ] [
] [ ] or [
 ] [
] [ ] or [
 ] [
] [ ] or [
 ] [
] [
 ] or [
 ] [
] [ ] or [
 ] [
] [ ] or [
 ] [
] [ ] or [
 ] [
] [ ] or [
 ] [
] [ ] or [
 ] [
] [
 ] button to pause playback.
 (Sub menu)